Making homemade pie dough for the first time is brutal. B-R-U-T-A-L.
No lies, here. It is tough to make, especially if you’re a newbie. It’s frustrating. It’s a time-consuming process that feels like it is ripping out your soul if you mess it up. Truth.
It requires patience, experience, know-how, and perseverance through all of the many problems that could go wrong.
Oh, and it also requires that you have back-up ingredients. Because when things go wrong, terribly wrong, you don’t want to be running out of your house in a desperate frenzy to pick up more butter when you realize you only have a little tablespoon-sized nub left.
Ninety-nine point nine percent of the time, your first pie dough experience will be nowhere near perfect. And I’m pretty sure the other 0.1% is just lying when they claim their crust came out flawless.
Even with detailed instructions on a perfect little recipe that you’ve printed out and reviewed over and over again, you still won’t be prepared.
But here’s the silver lining: you’ll get better.
With each pie that you make, with each crust you roll out, you’ll gain more confidence. You’ll develop this strong baker’s bond between you and the dough, to the point that you’ll know what it needs.
Feels a little dry? Add more water. Is the butter getting too soft? Stick it in the fridge for 15 minutes or so. Is it too stiff to roll out? Let it sit on the counter for a little bit before you try rolling it again.
It’s our mission here to ensure that making pie is an enjoyable process for everyone. If you follow our instructions, and everything turns out beautifully – GREAT! Let’s eat!
And if it doesn’t… fine. We’ll provide you with all the info you need on how to recover (virtual hugs), and we’re always here to answer your questions.
That’s why we have our article on how to perfect your pie game – for you to learn all the essentials! And once you do, you can graduate from that fundamental recipe to fun alternatives.
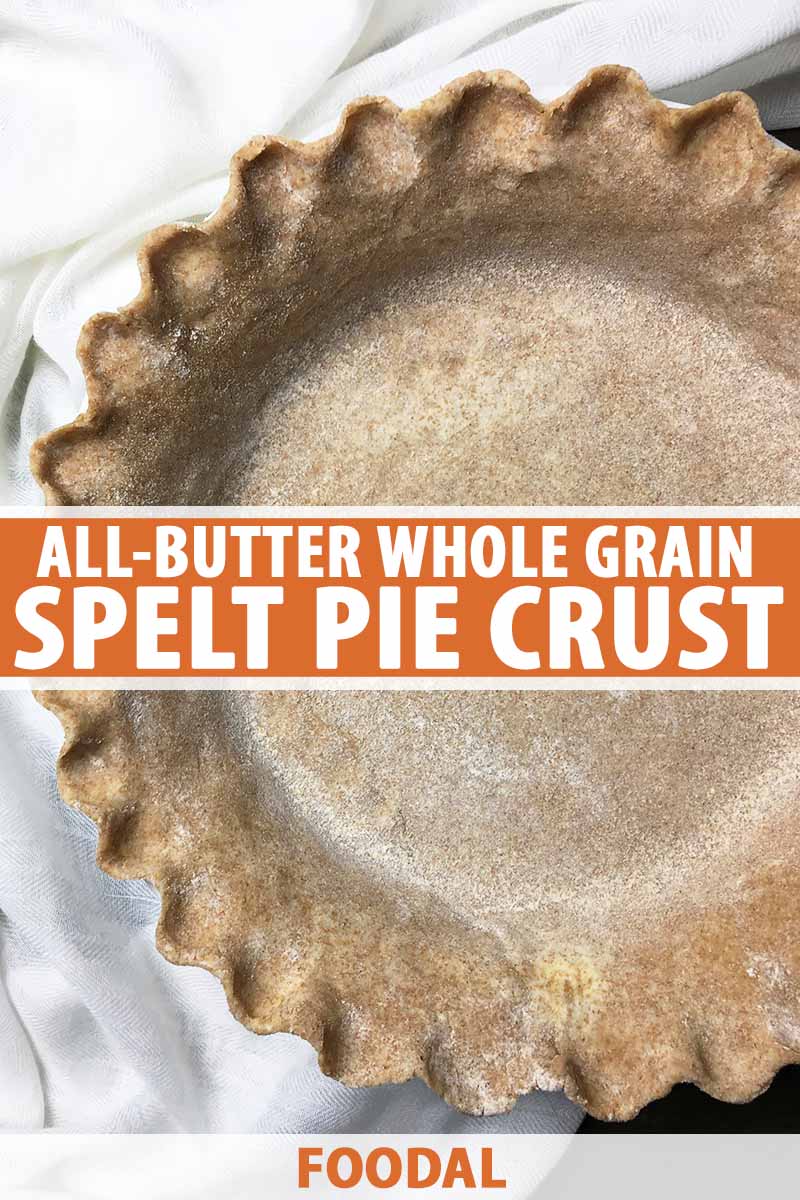
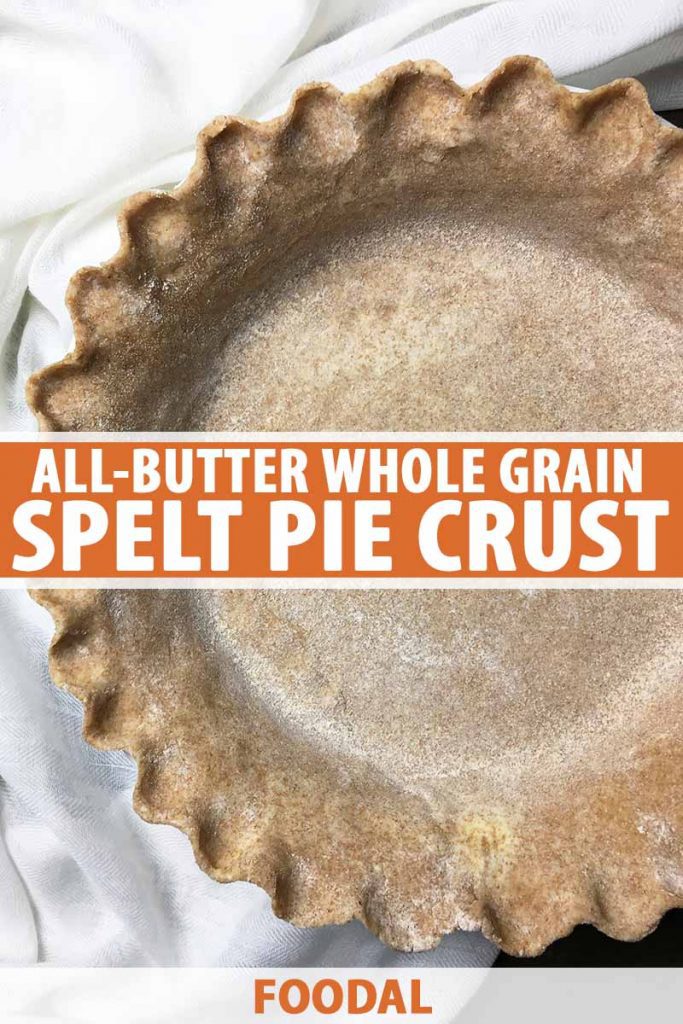
This all-butter spelt flour crust is waiting for you, chosen ones.
You can make it with whole grain spelt flour (which is what I used), with white spelt flour, or with white or whole grain einkorn flour.
With these more natural, less processed flours, the crust will turn out very tender and delicate, since the whole grains “cut” into the gluten network, limiting elasticity typically produced from refined, all-purpose flour crusts.
And with all that of butter, the crust will be light and flaky every time.
That’s why understanding the basics first is necessary. Review our pie crust tutorial, and conquer the baking world with this delicious alternative crust!
Print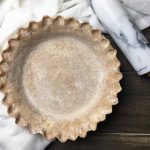
All-Butter Whole Grain Spelt Pie Crust
- Total Time: 1 hour 30 minutes
- Yield: 1 9-inch pie crust 1x
Description
Need a new pie crust recipe? An all-butter whole grain spelt crust has a delicate texture and nutty flavor that’s great for any filling.
Ingredients
- 1 cup whole grain spelt flour, plus more for dusting
- 1/2 teaspoon salt
- 1/2 cup (1 stick) cold unsalted butter
- 1/4 cup cold water, divided
Instructions
- In a large bowl, whisk together the flour and salt. With a chef’s knife, cut the butter into small cubes.
- Use a pastry cutter to cut and mix the cubed butter into the flour and salt mixture, until the mixture resembles the size of peas and each piece of butter is entirely coated in flour.
- With your hands, mix in half the cold water (about 1/8 cup) to the flour mixture. If the dough still feels dry and crumbly, add the remaining water a tablespoon at a time. Mix just until a dough forms.
- Form the dough into a flat disc, cover in plastic wrap, and refrigerate for 30 minutes to 1 hour.
- Once chilled, lightly flour your clean countertop and place the chilled disc on top. Let the disc sit at room temperature for 10 minutes. Lightly dust the top of the disc with more flour. With a rolling pin, roll out and flatten the dough until it is about 1/8 inch thick and about 1 inch wider than the circumference of a 9-inch pie pan.
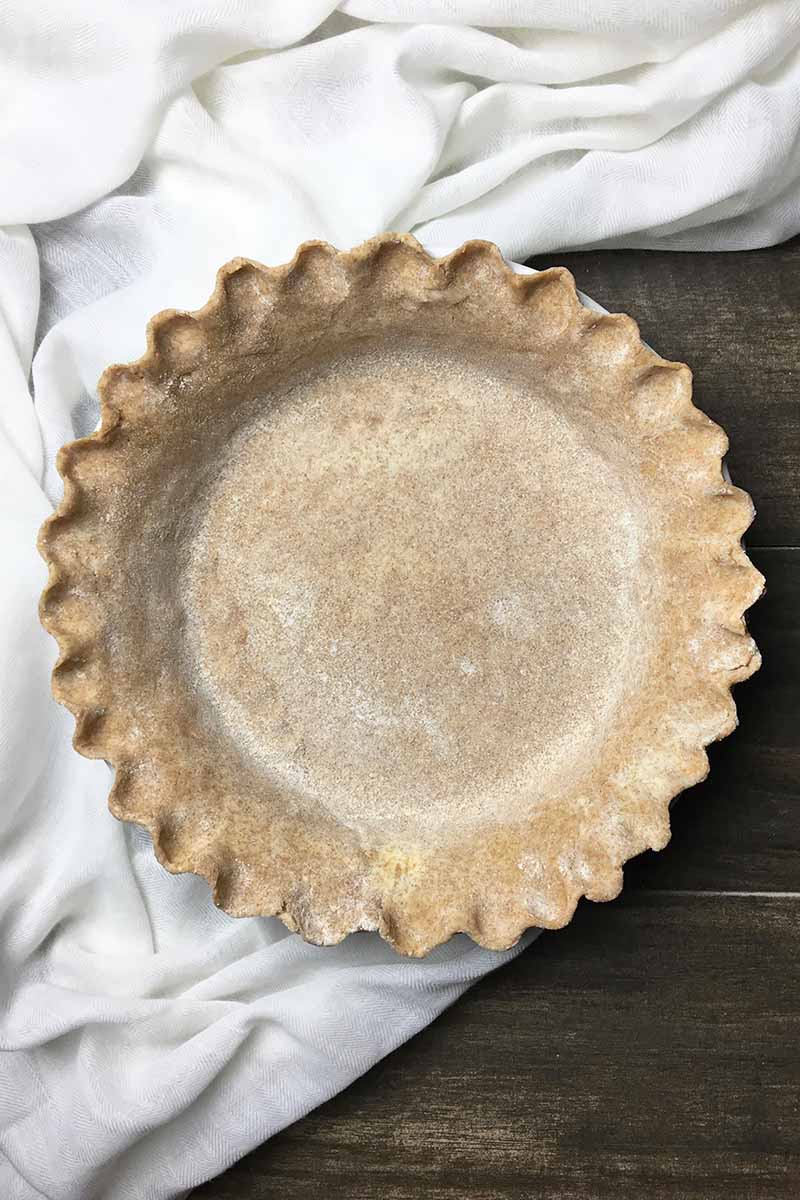
- Carefully transfer the dough to the pan. Press the dough into the bottom and up the sides. Fold the excess dough underneath itself to create a thick border. Crimp or style the edges in any design you prefer, using extra flour if needed to prevent sticking.
- Chill in the refrigerator for another 30 minutes to 1 hour before filling and baking according to your pie recipe’s instructions. Enjoy!
- Prep Time: 1 hour, 30 minutes
- Category: Pie
- Method: Baking
- Cuisine: Dessert
Keywords: spelt flour, butter, pie crust
Cooking by the Numbers…
Step 1 – Prep
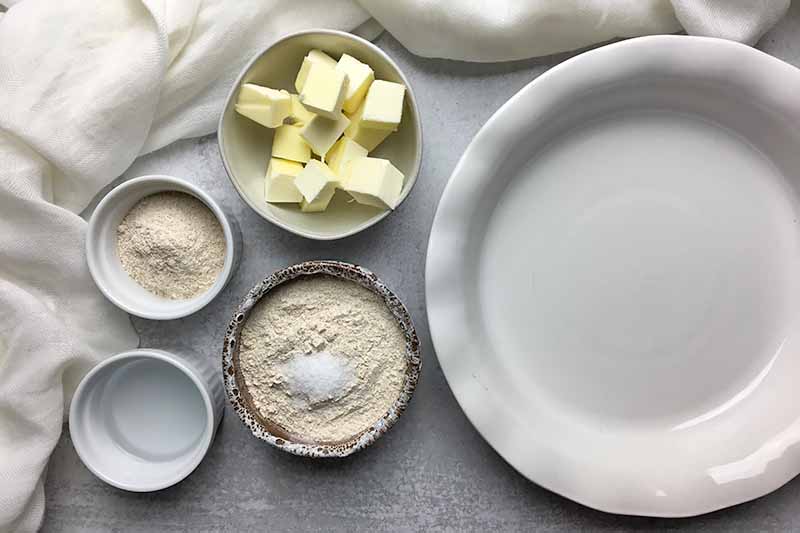
Set out a 9-inch-round pie pan. Gather and prep your ingredients: measure the spelt flour, salt, and water. With a sturdy cutting board and sharp knife, cut the unsalted butter into small cubes.
Step 2 – Cut the Butter into the Dry Ingredients
Whisk together the spelt flour and salt in a large bowl.
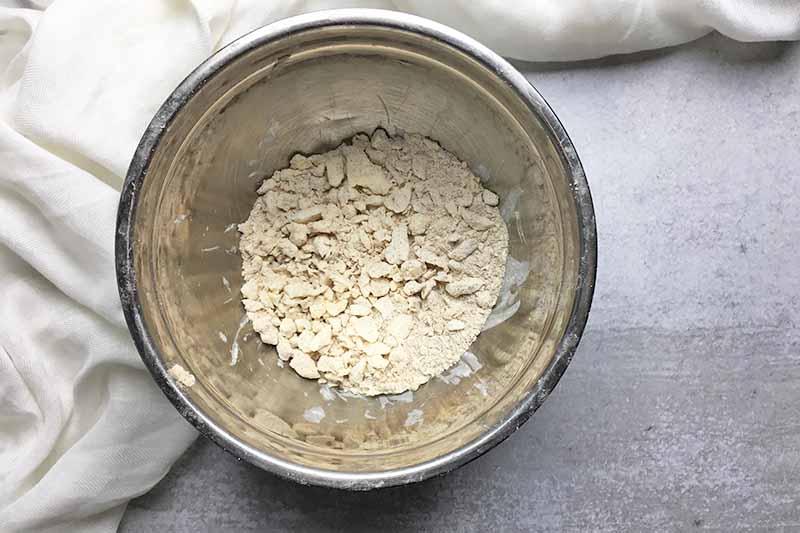
Use a pastry cutter to cut and mix the cubed butter into the flour and salt mixture, mixing it quickly to keep the butter cold, until each bit of butter is entirely coated in flour.
The chunks don’t have to be teeny-tiny, just roughly broken up throughout the flour into small bits the size of large peas.
Step 3 – Add the Cold Water
With your hands, mix half of the cold water (about 1/8 cup) into the flour mixture. If it still feels dry and crumbly, add the remaining water about a tablespoon at a time. Mix just until a dough forms.
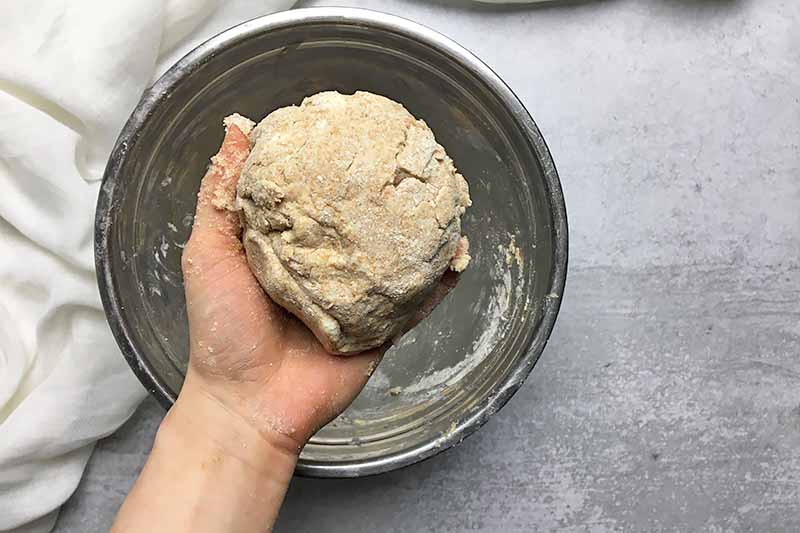
This pushing and pressing will be a fast process, maybe 30 seconds in total. You’re using your body heat to just warm the butter enough to get it softened with the dough – not so soft that the dough becomes a wet mess, but soft enough that it can come together to form a firm mass.
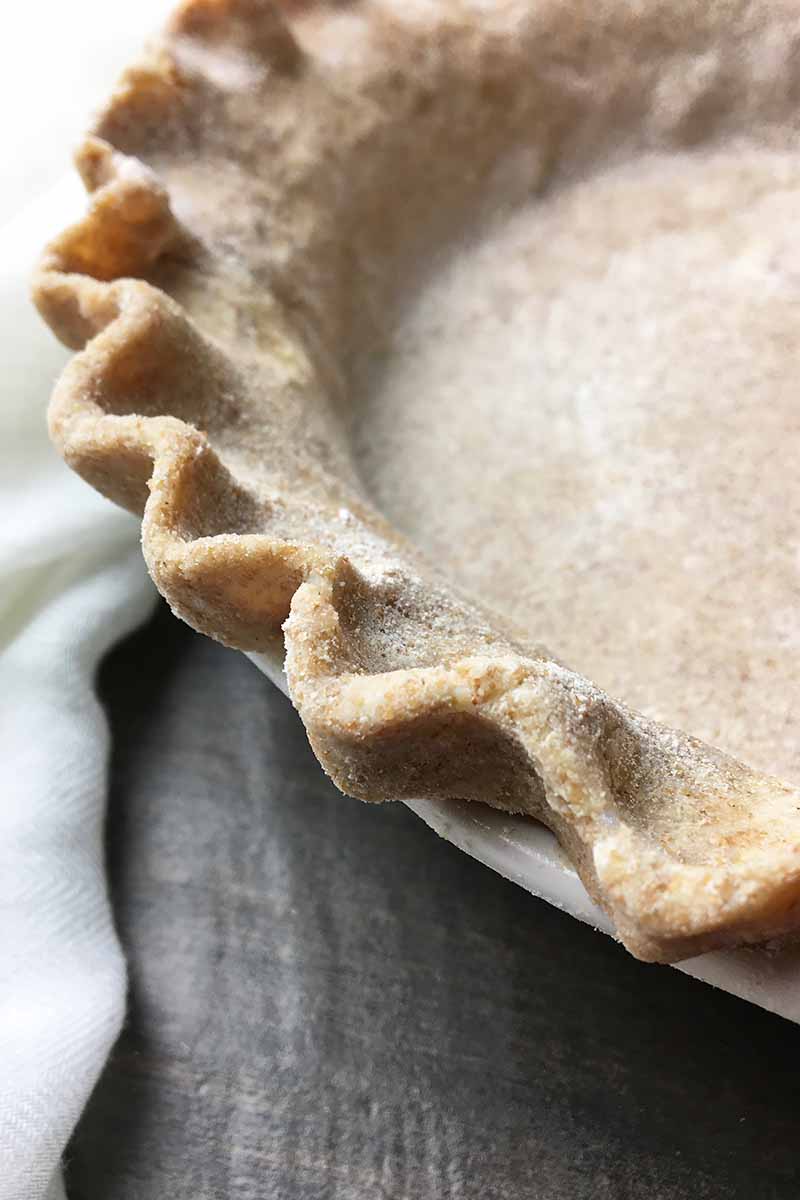
Note: Whole-grain flours, like the whole-grain spelt pictured in this article, typically create a grainier appearance and a slightly sandier final product than refined all-purpose wheat flour.
Step 4 – Form into Disc and Chill
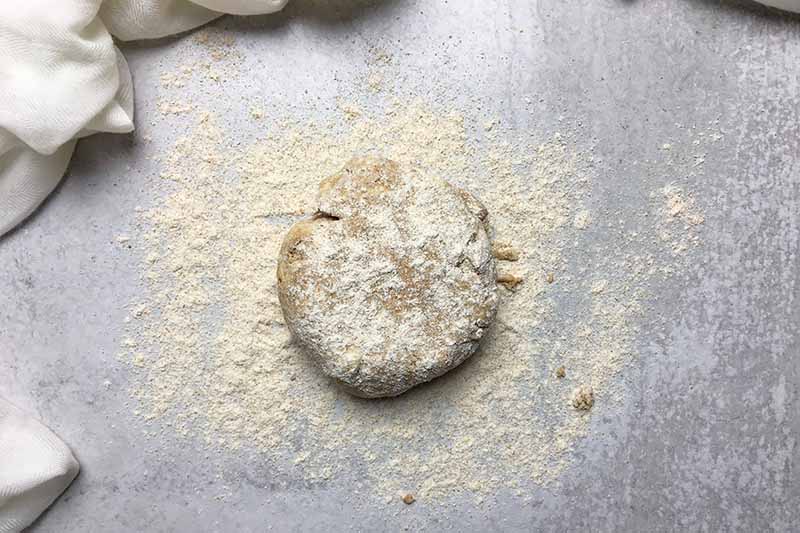
Form it into a flat disc (you may need more flour to prevent any sticking), and chill in the refrigerator for 30 minutes to an hour.
Step 5 – Roll and Shape
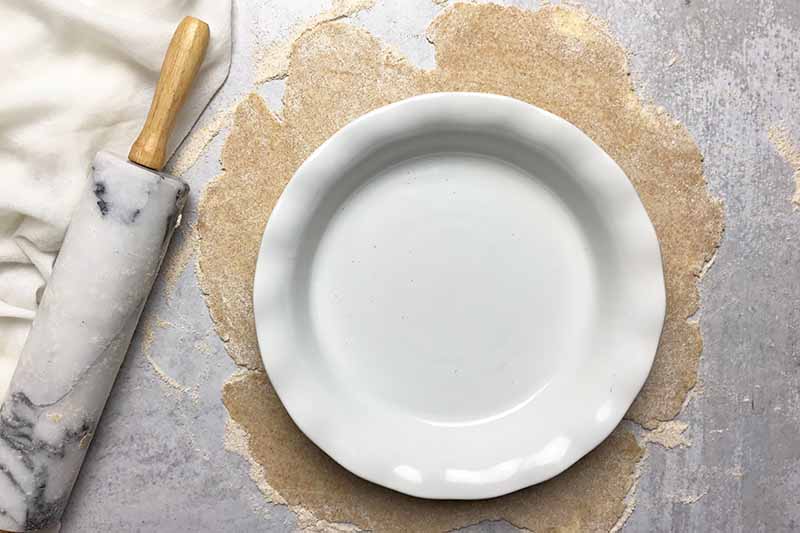
Once chilled, lightly flour your countertop or clean work surface and place the chilled disc on top. Let it sit at room temperature for 10 minutes.
Lightly dust the top of the disc with more flour. With a rolling pin, roll out and flatten the dough until it is about an 1/8 inch thick and about 1 inch wider than the circumference of a 9-inch pie pan.
I gently place my pan on top to check my progress as I go, and make sure I’m rolling it in an even circle.
Is it getting sticky during this process? Be sure to continually dust the rolling surface and the dough with flour throughout the rolling and shaping process.
Step 6 – Transfer to Pan and Crimp
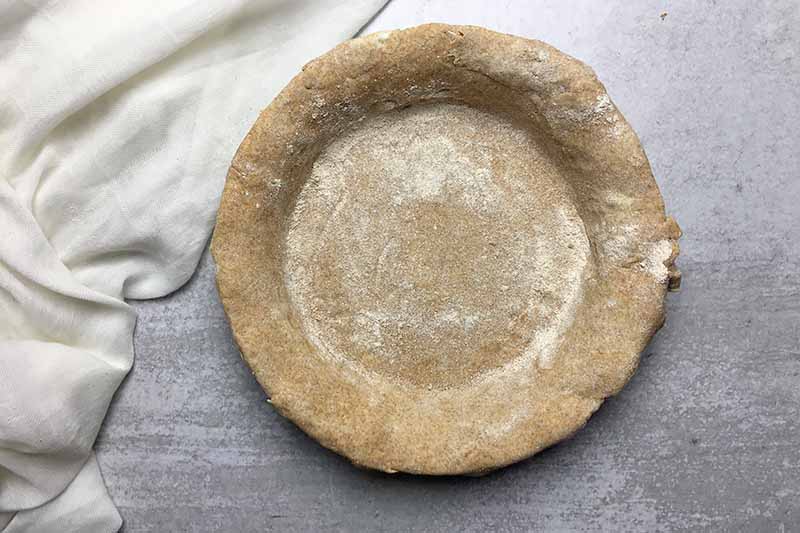
Carefully transfer the dough to the pan, either by gently folding it in half and placing it on top of the pan and unfolding, or rolling it around your rolling pin and unrolling it over the pan.
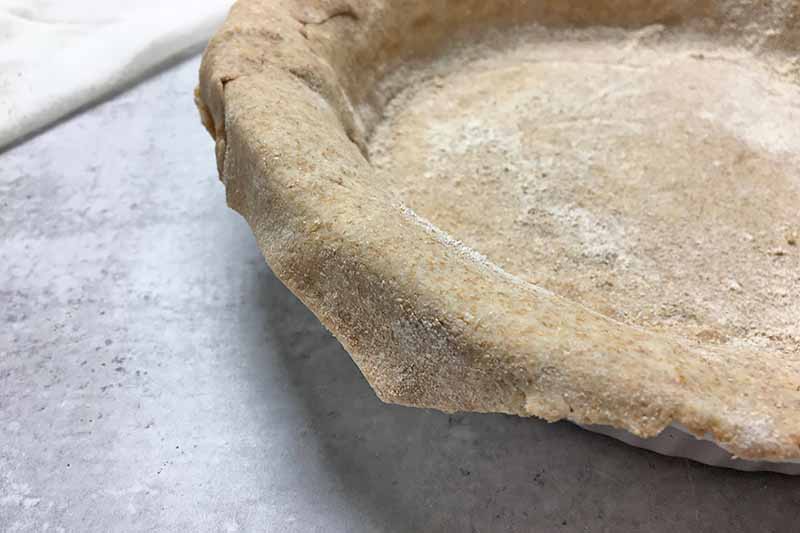
Press the dough into the bottom and up the sides of the pie dish, allowing the excess to hang off the sides. Fold the excess dough underneath itself to create a thick border.
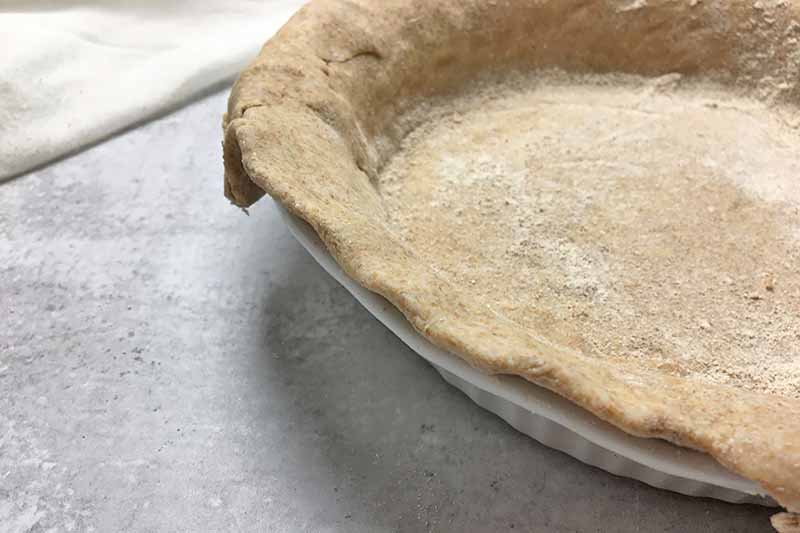
Crimp or style the edges in any design you prefer, using extra flour if needed to prevent sticking.
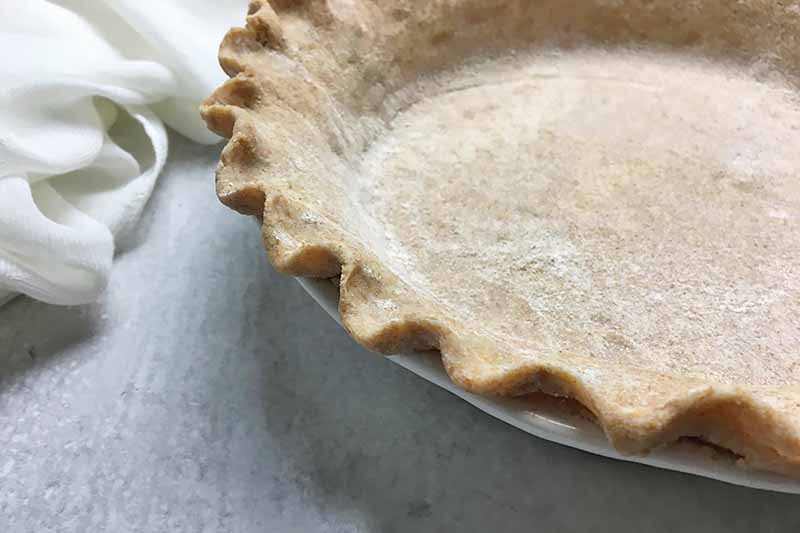
Let chill in your refrigerator for another 30 minutes to an hour.
Step 7 – Bake As You Wish
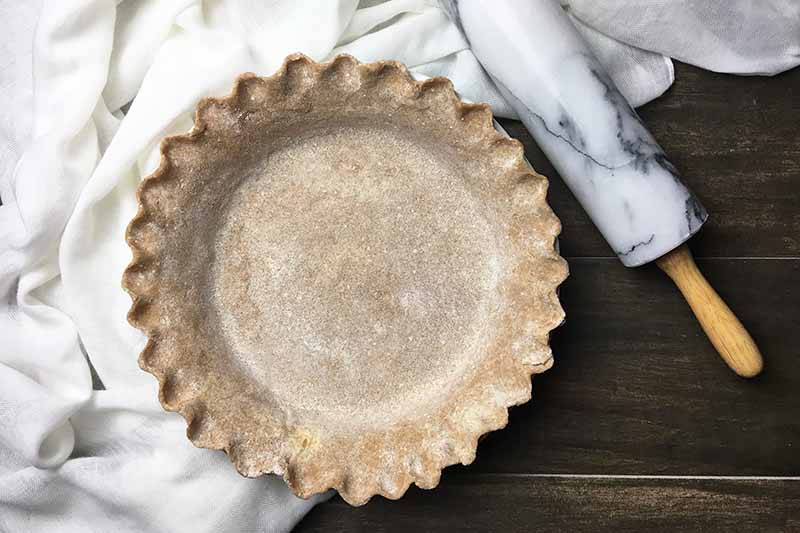
Once you have chilled the crust, you can now bake your pie according to your recipe’s instructions, and enjoy!
All Butter, Whole Grains, Better Crust
Do you remember pie crusts from your childhood that were hard and dry, the kind of thing you’d leave on your plate?
This is not that crust.
We are addicted to this all-butter, whole grain crust because it’s so flaky, and has such a unique nutty, toasty flavor from the spelt flour.
It’s as good as your filling, maybe better. It’s flavorful and almost tender in texture, the kind of pie crust that stands out when you take a bite.
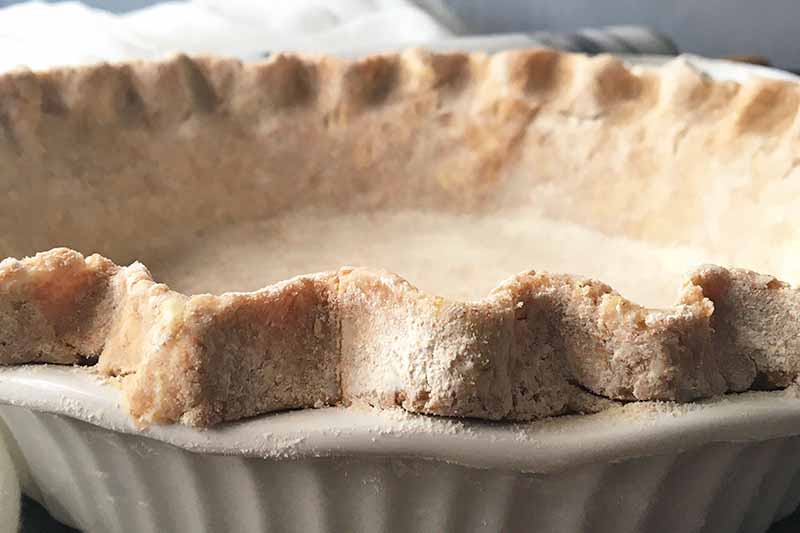
Will you be playing with your flour selection? What will you choose? Know that you can add a little more water (common in baking with whole grain spelt or einkorn flours), or less (common with refined white spelt or einkorn flours) to get the dough to come together.
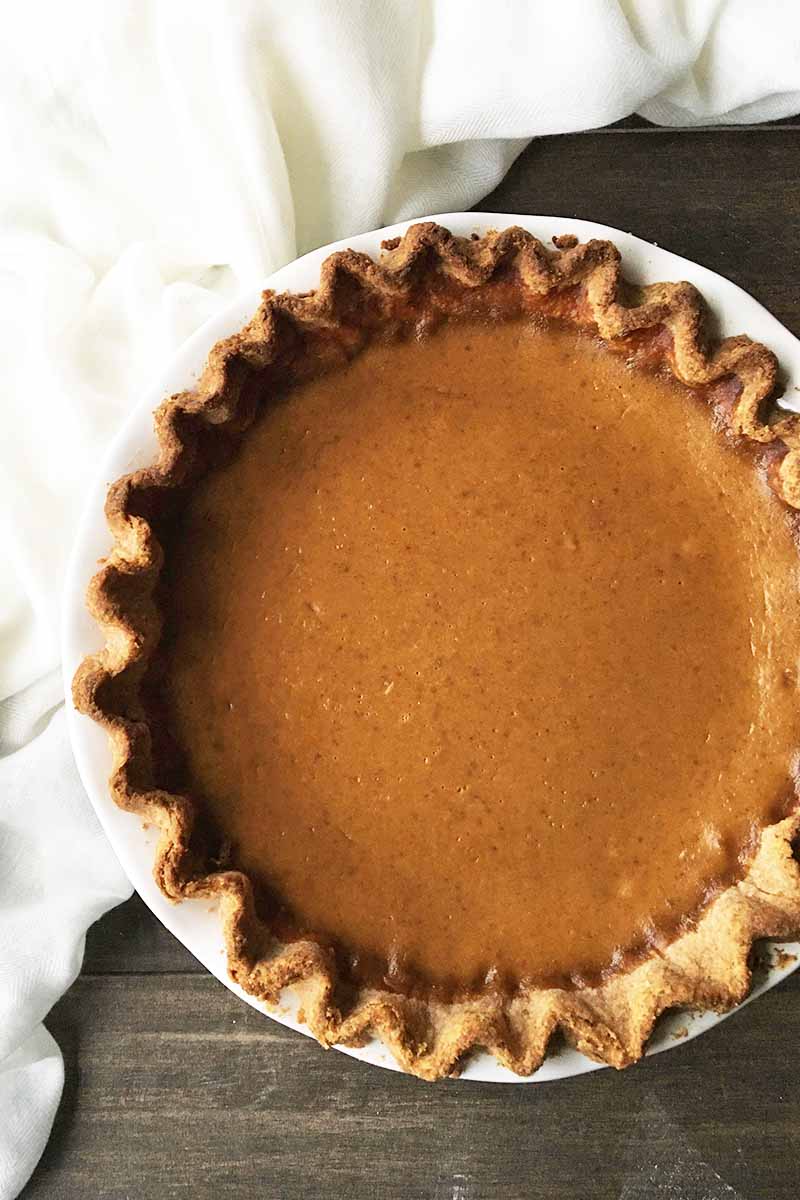
We can’t wait to hear what you’ll make with this crust! Maybe spiced pumpkin? Or perhaps chocolate blueberry? Leave a comment below, and let’s chat!
If you’re intrigued by spelt flour, we have so many more desserts using this ingredient for you to try next:
Photos by Nikki Cervone, © Ask the Experts, LLC. ALL RIGHTS RESERVED. See our TOS for more details. Originally published by Shanna Mallon on February 18, 2015. Last updated: December 29, 2019 at 18:38 pm.
Nutritional information derived from a database of known generic and branded foods and ingredients and was not compiled by a registered dietitian or submitted for lab testing. It should be viewed as an approximation.
About Nikki Cervone
Nikki Cervone is an ACS Certified Cheese Professional and cheesemonger living in Pittsburgh. Nikki holds an AAS in baking/pastry from Westmoreland County Community College, a BA in Communications from Duquesne University, and an MLA in Gastronomy from Boston University. When she's not nibbling on her favorite cheeses or testing a batch of cupcakes, Nikki enjoys a healthy dose of yoga, wine, hiking, singing in the shower, and chocolate. Lots of chocolate.

I typically work with about an 80 percent pie dough success rate. Still, I like seeing the step-by-step pictures. It gives me confidence.
=Pie crust eluded me for years and when I finally discovered the pastry cutter, I’ve been a happy pie crust maker ever since. Only butter all the time!
Ever since I began to make your chicken pot pie – this is the recipe and method for pie crust that I have used whenever I do a crust. I’m planning to use it again for a quiche this weekend – it’s so versatile and fail safe! Thanks for the step by step – I so enjoyed it and found it helpful!!
I have to admit, using so much butter in a pie crust was totally foreign to me (for whatever reason, and I notice this a lot, recipes in the UK are a lot more abstemious in their use of butter than US recipes) but it does produce such a good result in the end and your step-by-step instructions + pictures are so helpful.
I can’t wait to try this – I’ve had one very traumatic pie crust making experience and swore it off! Thank you for the step-by-step – I’m an absolute novice and this makes me feel confident in revisiting homemade pies!
I loved the step-by-step instructions.
I love how easy you’ve made making an all-butter pie crust sound. It’s awesome.
I love that you posted a how to on this, I am a baker also and LOVE making crust and I know a lot of people have trouble in this department! Really love this!
There is nothing better than homemade pie crust! I can never go back to store bought again..
Your technique is definitely what I need because I really want to perfect my crust every time I am making pies at home.
Saving this post with the holidays coming up!