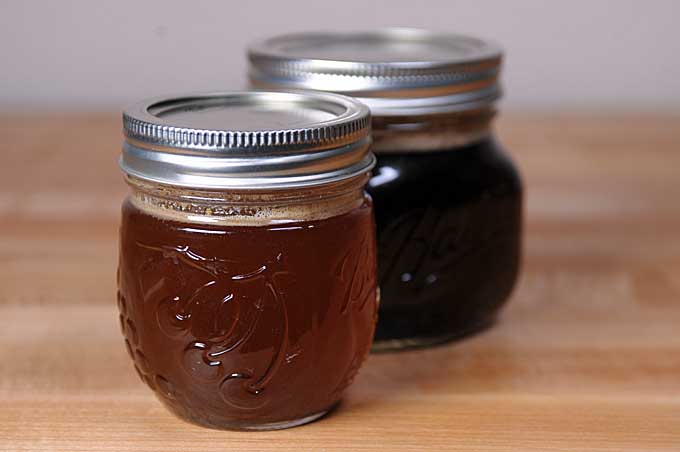
Nutty, buttery goodness! You can turn your ordinary butter into something special with just a few short steps.
Brown butter is simply butter that is slowly heated at a low temperature, which allows its milk solids to caramelize, bringing out a slightly sweet and nutty flavor.
The unique taste of brown butter is a perfect flavoring component to add toasty dimension in a variety of food items: from sauces to pastries like brioche rolls and pumpkin pie.
Making it is a pretty simple process – in theory.
Because it is so quick to make (only a couple minutes!), it’s a bit harder to get just right in practice. You can suddenly go from perfectly browned to disastrously burnt.
But with this easy step-by-step guide, we’ll make you a butter browning expert, and you’ll be making up reasons and recipes to employ this yummy technique in no time.
So without further ado, go gather up a pot and some sticks of butter, and let’s get some practice under our belt.
The Recipe

- 1 stick unsalted butter 4 ounces
- Chop each stick of butter that you are browning into eight evenly sized pieces.
- In a medium-sized clean pot over medium-low heat, completely melt the butter.
- Stirring the butter with a whisk, continue to cook the butter until it starts foaming. Keep stirring until the butter turns a deep golden color, develops dark flecks, and releases a nutty aroma.
- Immediately remove from the heat and pour the browned butter into a heatproof clean bowl.
- Use immediately or store in the refrigerator in an airtight container.
Cooking by the Numbers…
Step 1 – Chop and Melt
Chop up your butter into evenly sized pieces. It’s easy just to use the tablespoon markings and cut each stick up into eight equally sized chunks.
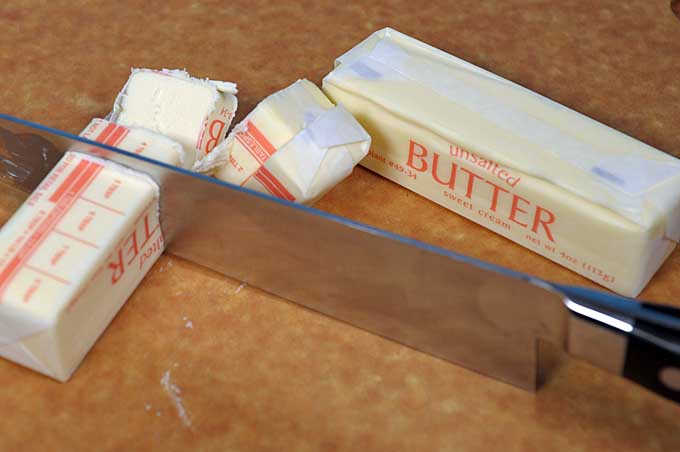
Tip: Why Chop It?
Don’t just throw whole sticks into the pot. Why? If the butter is not cut evenly, it will cook unevenly. It will break up into pieces of different sizes and will brown at an uneven heat – with some molecules burning, some “just right,” and some not browned at all.
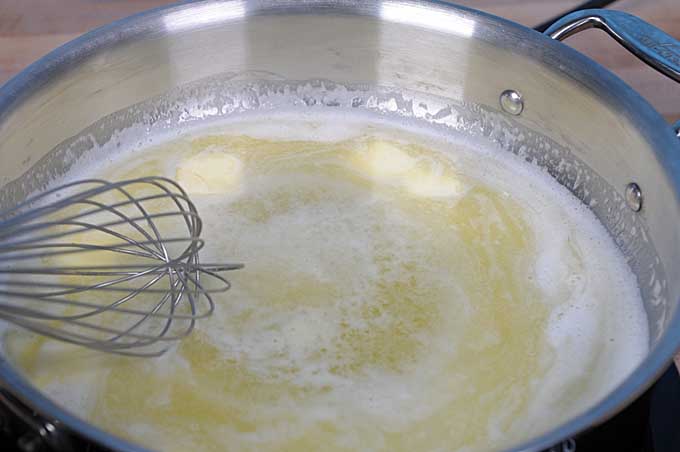
In a medium-sized pot, heat the butter pieces over medium-low heat until the entire batch has melted.
At this stage, the melted liquid will still appear bright yellow.
If you are using two or more sticks, use a larger pot to ensure that the melted fat does not overflow.
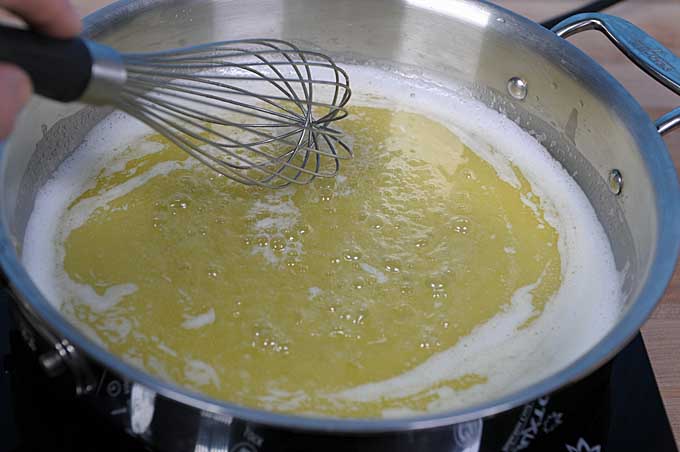
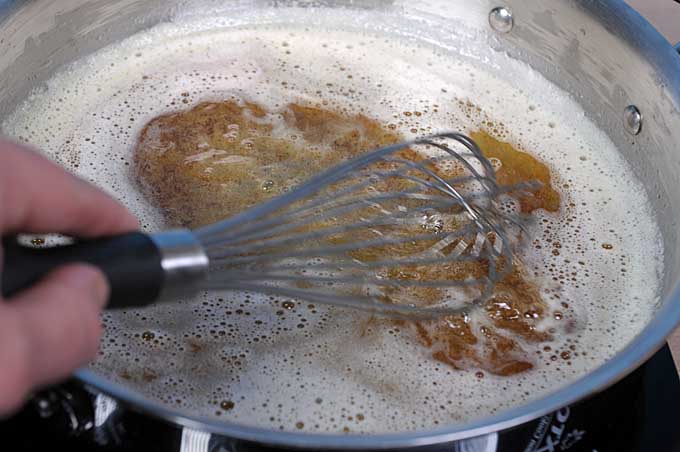
Step 2 – Foam
Maintaining a medium-low heat, continue to cook the melted butter.
At this stage, the liquid will start developing a foam. This shows that the water is quickly evaporating and separating from the milk fat.
Tip: Use Stainless Tri-Ply or a Copper Pan
Leave your dark nonstick pots on the racks and grab a thick stainless-lined copper or tri-ply stainless pan. Why? You need to be able to closely monitor how the butter solids heat and change color. With a dark finished pan, this process is hard or impossible to fully follow.
More importantly, copper has the ability to easily adjust to temperature changes. Remove from the heat source, and most of the heat is already dissipated. The thick aluminum in tri-ply is almost as good as copper (and much more common in most kitchens).
Stir the butter regularly with a sturdy whisk. Constant stirring releases the foam and continues cooking the fat evenly without burning. It’s important that you keep stirring it in order to keep the solids from sticking to the bottom. Also, the stirring process will ensure that you maintain visibility of the color.
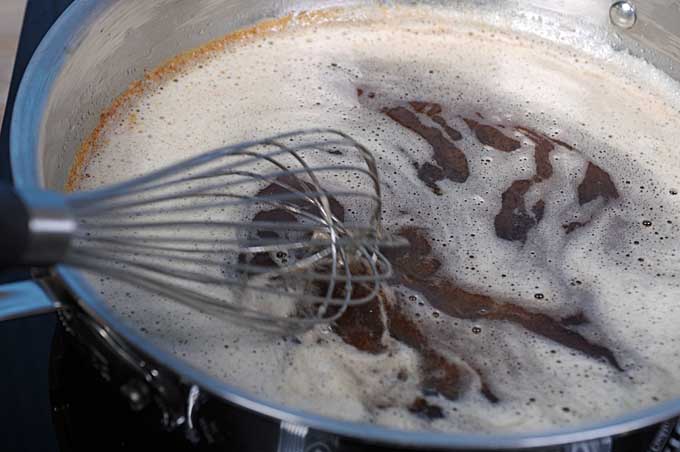
Step 3 – Darken
Continue to stir at medium-low heat. The butter will keep foaming, and will start to darken.
At this stage, the color of the butter will soon turn to a dark golden hue.
Tip: Don’t Rush It
The butter will change color very quickly. Don’t get in a rush. Stick to medium-low heat to avoid burning.
Step 4 – Brown
As you keep stirring, the butter will continue to darken and will release a subtle nutty scent.
As soon as it hits this nutty stage, the butter is successfully browned!
You can adjust it from a cinnamon brown to a dark, dark brown – but note that there is only 20 to 30 seconds of cooking time between these two states.
Your butter can turn from perfectly brown to burnt very quickly, so stand close by during this process.
Other than the nutty smell and toasty brown appearance, there is one more visual sign that it is ready: you will see the milk solids turn darker than the rest of the butter, appearing as dark flecks on the sides of the pot and in the liquid.
Step 5 – Transfer and Cool
Immediately remove the browned butter from the heat and pour into a separate heat-proof bowl.
We recommend straining it through a fine-mesh strainer in order to remove any excessively browned or burnt solid particles.
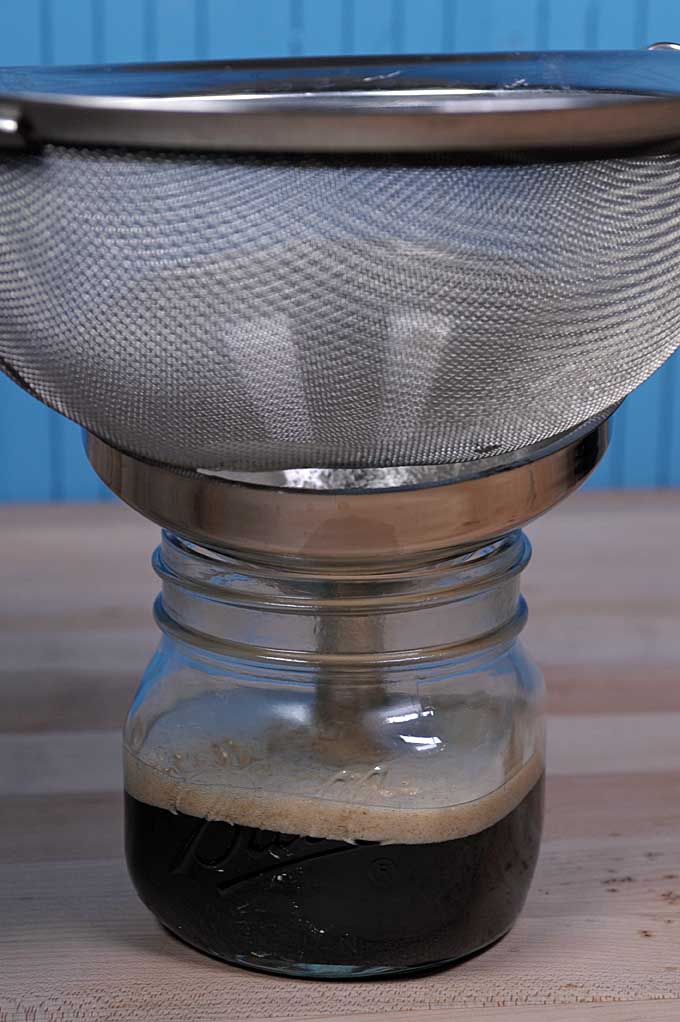
Quickly transferring the butter from the hot pot to a clean bowl or container minimizes the risk of carryover cooking and burning.
Step 6 – Serve or Store
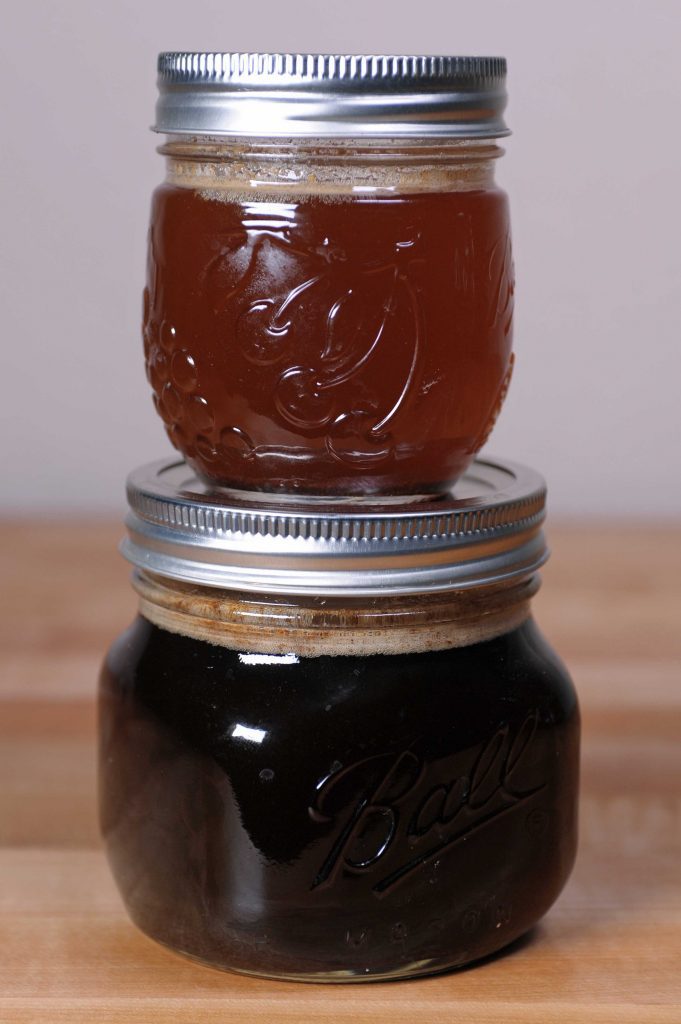
You can use your browned butter immediately, or let it cool completely before pouring it into an airtight container and storing it in the refrigerator.
As it chills, the fat will thicken and slightly re-solidify.
Mastering a Perfect Flavor Boost
With just a little bit of heat, constant stirring, and quick action, you can unleash HUGE flavor from one of the most common ingredients in your kitchen.
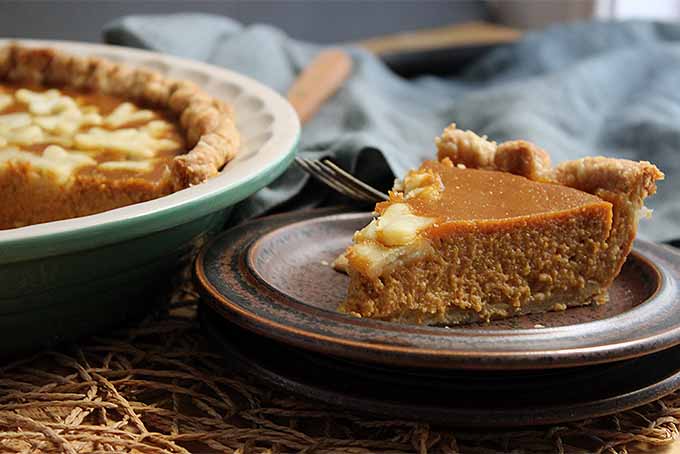
Pumpkin Pie with Sage and Brown Butter – Get the Recipe Now!
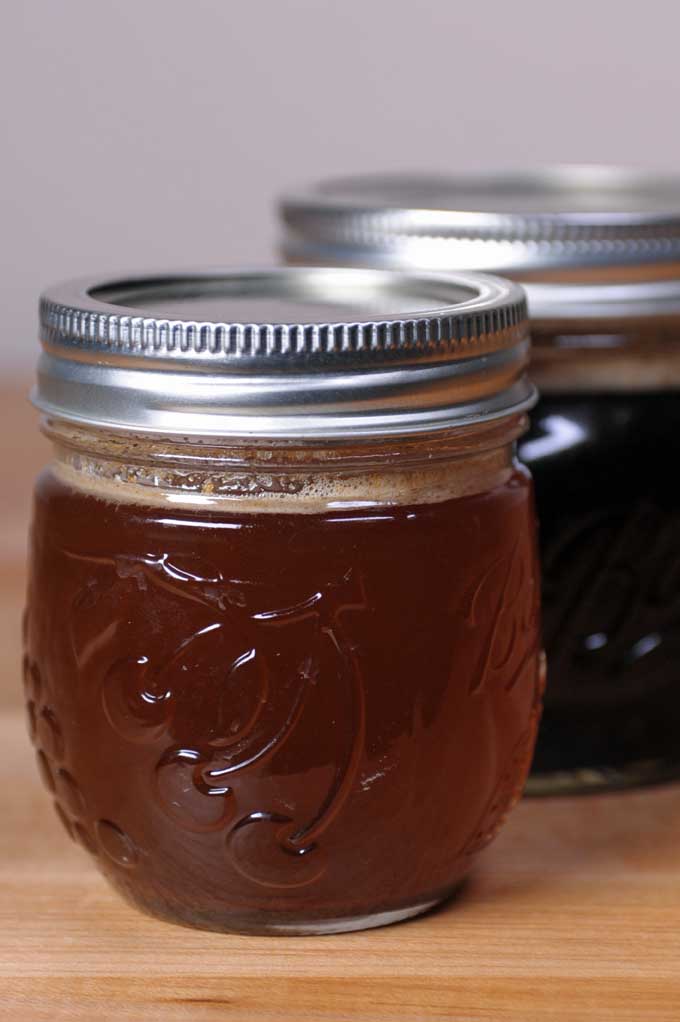
Creamy butter transforms into a toasty, nutty, and caramelized creation when browned to perfection!
As we already know, and certainly can’t deny, so many recipes are better with butter. And now that you have mastered making this new form of your favorite fat, you can start adding it to so many recipes.
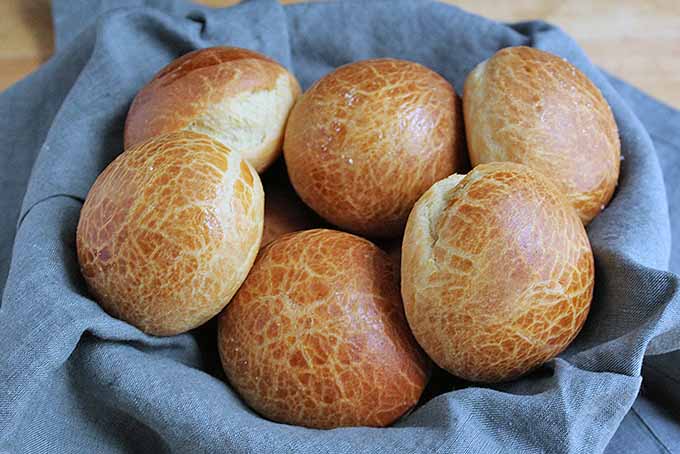
Brown Butter Brioche Dinner Rolls – Get the Recipe Now!
Top a fluffy Dutch baby with this browned deliciousness, or dip baked donuts in it before rolling them in sugar. Serve it alongside a juicy steak, or use it in baked shrimp scampi.
Some Great Recipe Ideas
Pretty much whenever a recipe calls for plain butter, you can swap it with its toasty counterpart to add fatty goodness and dynamic flavor, not to mention pure awesomeness.
Try some of these recipes today:
- Homemade Brown Butter Brioche Dinner Rolls
- Pumpkin Pie with Sage and Brown Butter
- Pecorino-Encrusted Cod in Brown Butter
- Roasted Carrot Ravioli in Thyme Brown Butter
- Sweet Potato Gnocchi in Brown Butter Sage Sauce
- Brown Butter Shortbread Cookies
- Grandma’s Brown Butter Cookies
Be sure to tell us about your experiences when you make this, one of our favorite flavoring components, and share how you like to add it to your food in the comments below!
Don’t forget to Pin It!
Photos by Mike Quinn, © Ask the Experts, LLC. ALL RIGHTS RESERVED. See our TOS for more details. With additional writing by Mike Quinn.
About Nikki Cervone
Nikki Cervone is an ACS Certified Cheese Professional and cheesemonger living in Pittsburgh. Nikki holds an AAS in baking/pastry from Westmoreland County Community College, a BA in Communications from Duquesne University, and an MLA in Gastronomy from Boston University. When she's not nibbling on her favorite cheeses or testing a batch of cupcakes, Nikki enjoys a healthy dose of yoga, wine, hiking, singing in the shower, and chocolate. Lots of chocolate.


How to use brown butter?? It for to spread on what??
I can’t say that I’ve ever spread it on anything, Janet. One of my favorite ways to enjoy brown butter is putting it on sweet potato gnocchi, with a few leaves of fried sage. It adds a delicious nutty flavor to sauces and baked goods like brioche, and it’s wonderful on fish and roasted vegetables. You can find our favorite recipes for using it here.