Broccoli just so happens to be one of my favorite vegetables.
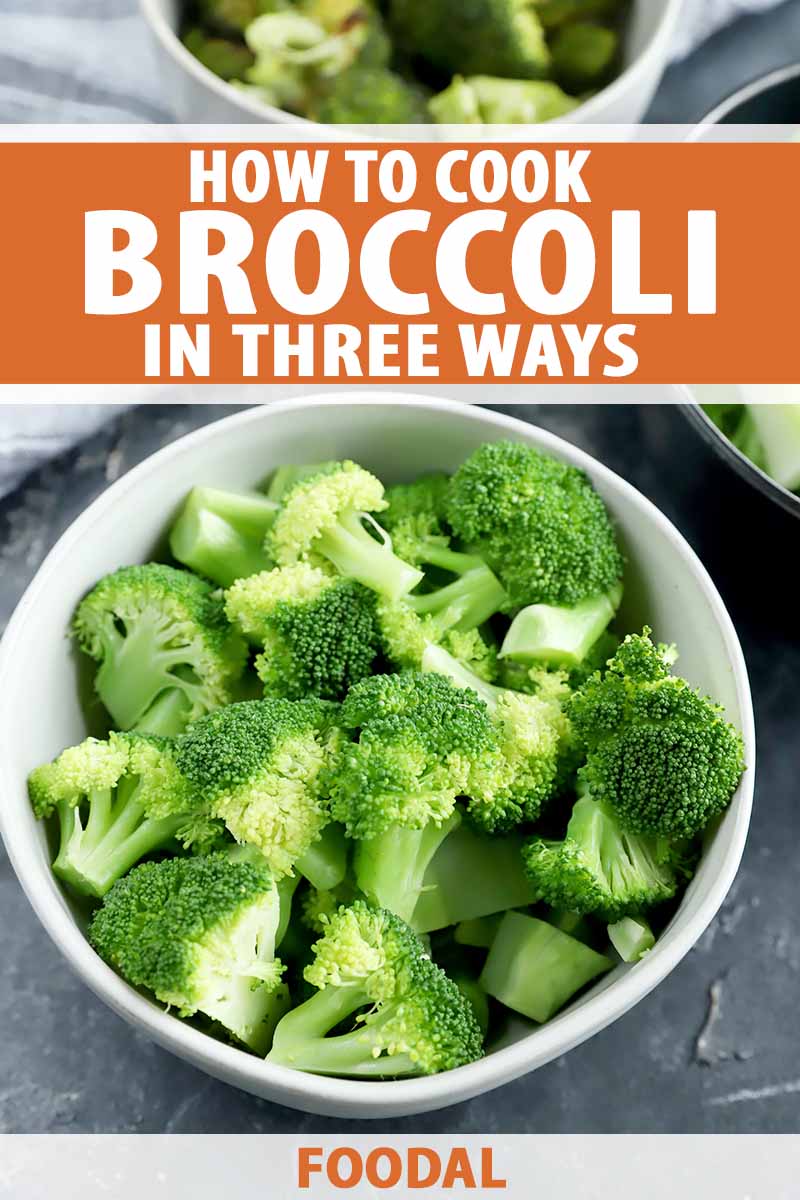
When I was little, my mom had this little steamer that she would pop in the microwave to cook it.
She would add a little cheese on top in the last minute of steaming, so it would come out all gooey and delicious. It was hands down my favorite side dish, alongside whatever main she was serving.
Yes, the cheese sold me on broccoli at first, but then I started to enjoy it roasted and steamed without the cheese.
Now, it’s my favorite vegetable and I could eat it over and over again. Well, next to asparagus, that is!
When I was in college, it was one of the cheaper fresh produce options I could afford, and it would last me a long time since I was only cooking for myself. Learning all the different ways to cook it was of the utmost importance, to keep things interesting each week.
This vegetable is so versatile because it can be steamed, roasted, or blanched. It can also be pressure cooked, cooked in the microwave, or the air fryer. Oh, and you haven’t lived until you’ve tried cooking it on the grill!
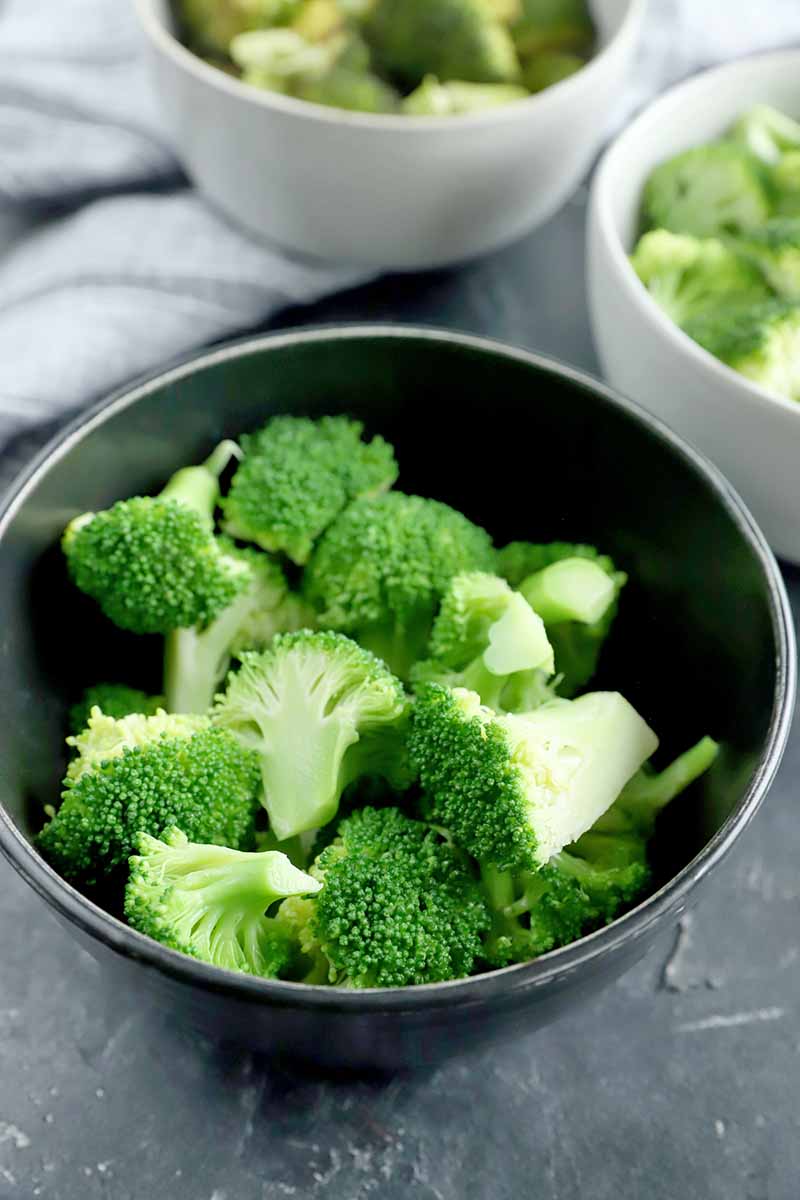
In this article, I’ll cover how to roast, steam, and blanch this popular and nutritious green vegetable, without it becoming too soft and mushy. I’ll also include some additional purchasing tips and serving suggestions as well.
You can use just the florets, or chop up the stems and use them too.
I personally like to use the stems since it cuts down on food waste, and they are actually really good for you.
Here’s what’s ahead in this article:
What You’ll Learn
How to Buy the Best Broccoli
When you select a head of broccoli, make sure it has tight green florets with firm stalks. The stalks should not be easy to bend, as this is a sign that they are starting to go bad.
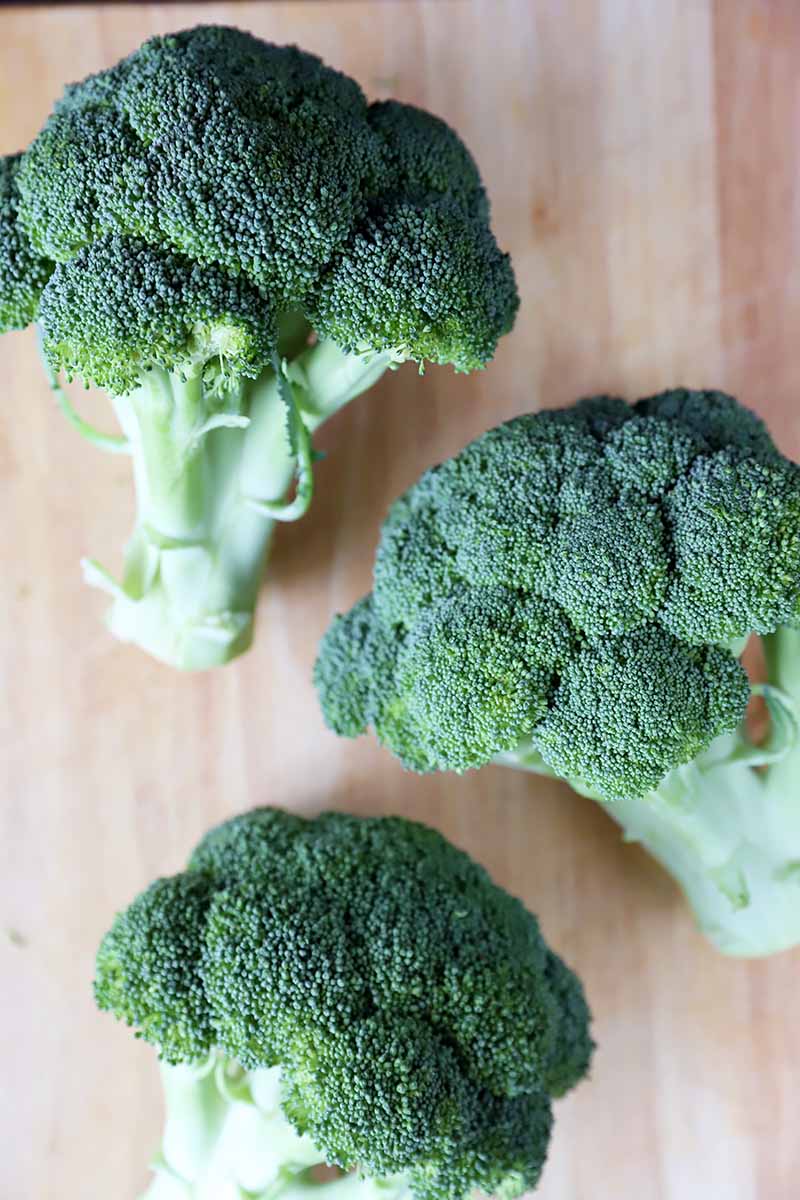
The crown should feel heavy and the cut ends should be fresh, not dried out. Avoid stems that are dried out or browning, as well as yellowed florets. If you aren’t interested in the stems at all, sometimes you can buy crowns that have already been trimmed.
When bought fresh, this vegetable can be stored in the refrigerator for 7 to 10 days.
Get Inspired: Serving Tips
While it’s always easy to serve up a plate of perfectly cooked florets with just some butter, salt, and pepper for seasoning, there are so many other ways to enjoy this vegetable.

Here are several of my personal favorite ideas to give you some inspiration:
- Chop it up and use it in soups, or blend it into a puree to incorporate into a creamy soup.
- Toss into cooked pasta with some pesto sauce.
- Use it as a pizza topping. This is especially delicious on a white or pesto pizza.
- Incorporate it into a rice bowl with your favorite protein and other kinds of produce.
- Steam, then top with a cheese sauce like this homemade mornay.
- Use in an omelet or frittata with other vegetables.
- Toss with a vinaigrette to make a hot or cold salad.
With all these ideas at the ready, you can serve this vegetable more than once a week without getting bored! They are all tasty options, and give you the best opportunities to eat healthfully without sacrificing flavor and texture.
Now, let’s learn how to cook it.
How to Roast Broccoli in the Oven
Beautifully roasted, this vegetable gets a little golden and crispy in the oven.
Step 1 – Trim Florets
First, gather your ingredients:
- 1 head broccoli (or more if desired)
- 2 teaspoons olive oil
- 1/4 teaspoon salt
- 1/4 teaspoon ground black pepper
Cut off the stem, slicing through as close to the crown as you can get. This will cause the crown to break off into large florets. Cut through the stem of each of the larger florets to make them into bite-sized pieces.
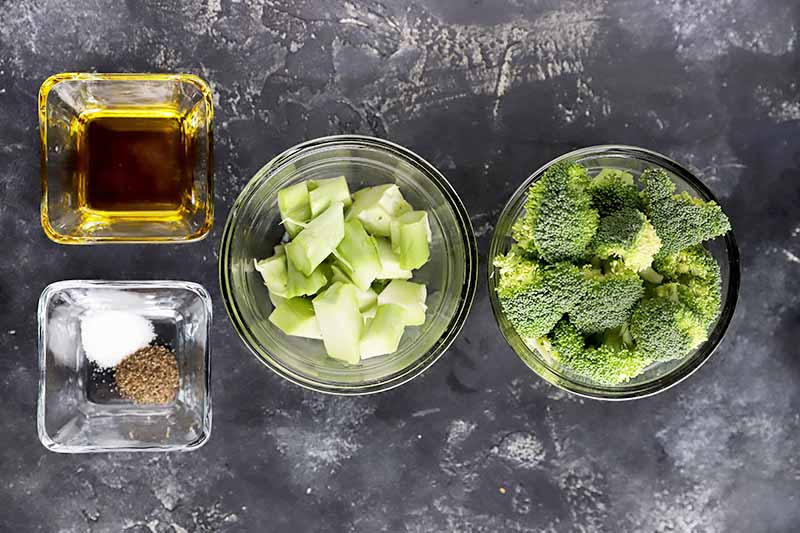
You can also cut the stems into smaller pieces if you choose to use them. I chop mine to about 1 inch in size.
Preheat the oven to 425˚F. Line a rimmed baking sheet with aluminum foil.
Step 2 – Roast
Toss the florets and stems (if using) in a large bowl with olive oil, salt, and pepper. Spread in a single layer on the prepared baking sheet.
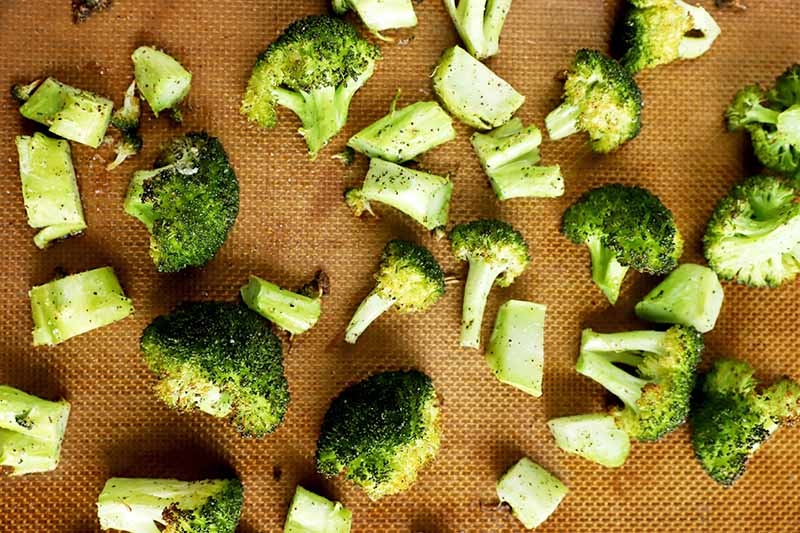
Roast for 20 to 25 minutes, until each piece is crisp-tender and starting to brown. Remove from the oven and serve.
To store for later use, cool completely, then place in an airtight container. Store in the refrigerator for up to 4 days.
How to Steam Broccoli
Bring out the natural flavor of this vegetable by simply steaming it for a few minutes over simmering water.
Step 1 – Trim Florets
Gather your ingredients to begin:
- 1 head broccoli (or more if desired)
Cut off the stem, slicing through as close to the crown as you can get. This will cause the crown to break off into large florets.
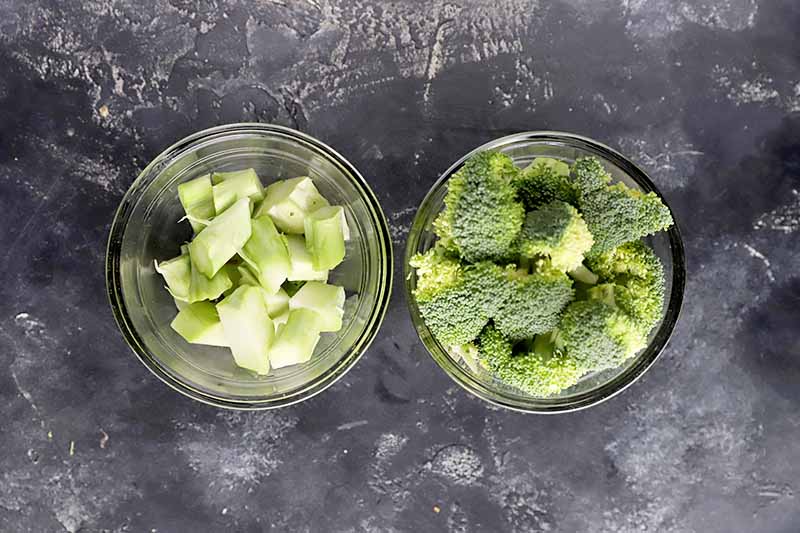
Cut through the stem of each floret to make bite-sized pieces. You can also cut the stems into smaller pieces if you choose to use them, as described above.
Fill a pot with a few inches of water and insert a steamer basket over the top, or use a bamboo steamer as you see pictured here, making sure the water doesn’t touch the bottom of the basket.
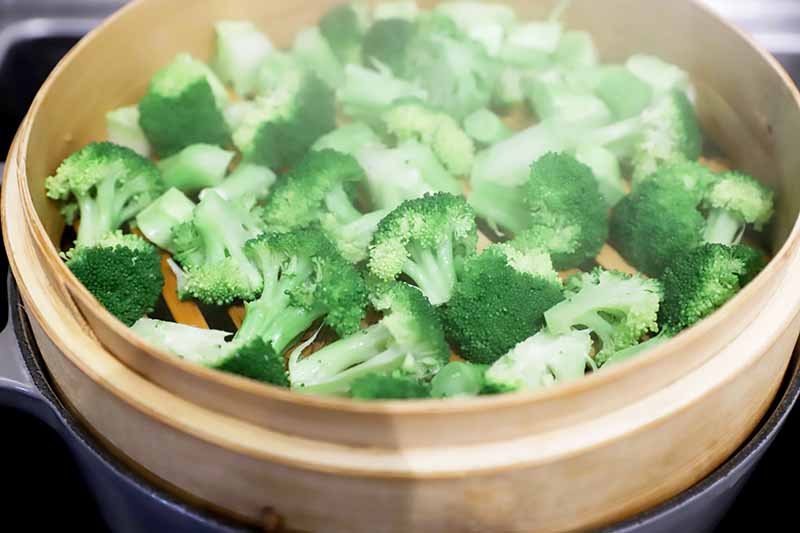
Bring the water to a simmer over medium-high heat.
Step 2 – Steam
Once the water is simmering, add the florets and stems (if you opt to use them) to the basket and cover. Steam for 4 to 5 minutes, until fork tender. Season and serve as desired.
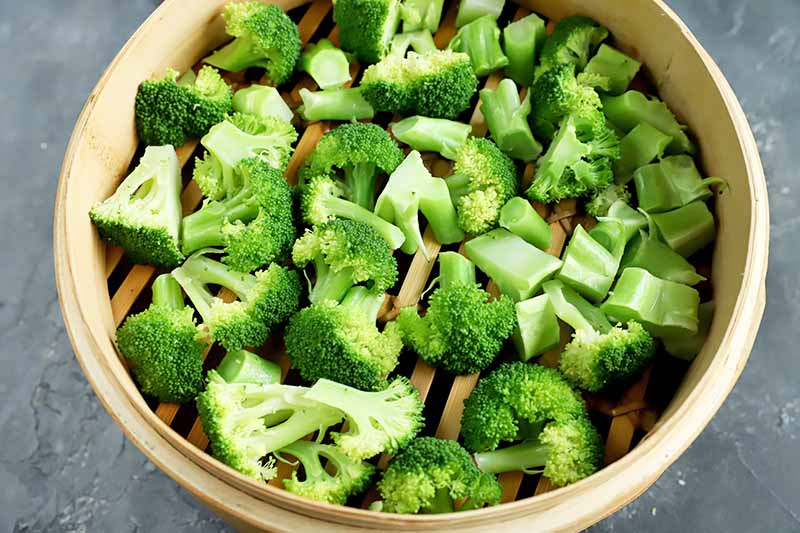
To store for later use, cool completely, then place in an airtight container and refrigerate for up to 4 days.
How to Blanch Broccoli
Blanching this vegetable is a fantastic option if you want to incorporate it into other recipes, or for freezing and using at a later date.
Step 1 – Trim Florets
Begin with 1 head broccoli (or more if desired).
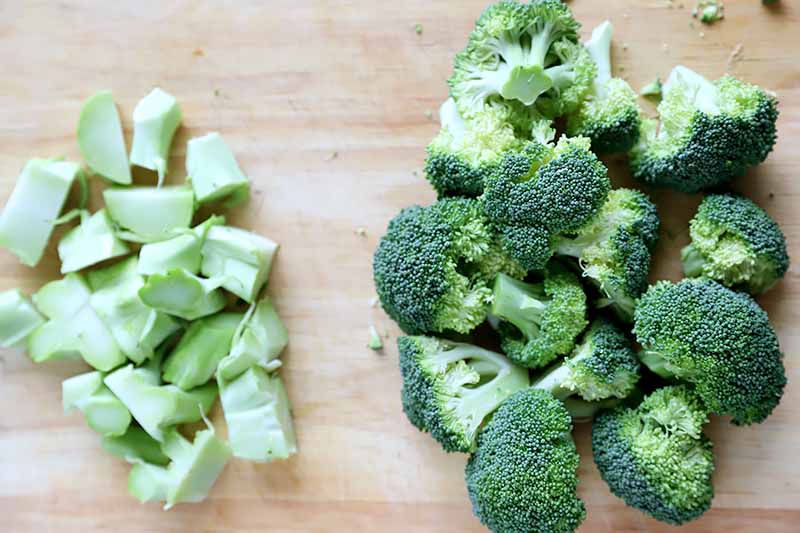
Cut off the stem, slicing through it as close to the crown as you can get, to make it easy to break up into large florets. Cut through the stem of each of the larger ones, to create bite-sized pieces.
Want to use those stems? You can for this method as well! Again, I like to cut mine so they’re about an inch in size.
Fill a large mixing bowl halfway with ice, and fill it most of the rest of the way with cold water. Set aside.
Bring a large pot of salted water to a boil over high heat.
Step 2 – Blanch
Once the water is boiling, add the florets (just the florets!) and cook until crisp-tender, about 1 to 1 1/2 minutes. Remove with a slotted spoon or spider utensil, and add to the ice water bath for 3 minutes to stop the cooking process.
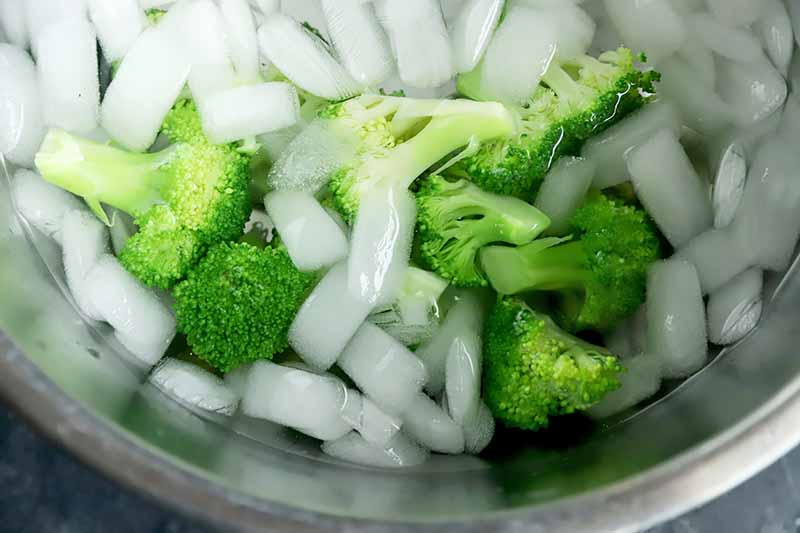
If you are using the stems, add them to the boiling water and cook until crisp-tender, about 1 1/2 to 2 minutes. I find they tend to take a little longer, depending on how large you cut them. Remove with a slotted spoon or spider and transfer to the water bath for 3 minutes to cool.
Drain and use as desired. Note that you can also freeze blanched pieces for later use in an airtight container.
If you would like to freeze them, once the vegetables are drained after being shocked in the ice water bath, spread them out on a baking sheet in a single layer. Freeze for about 1 to 2 hours.
Transfer to freezer bags or airtight containers, then store in the freezer. These will keep for up to one year in the freezer.
Is There Another Way to Use the Stalks?
I know that some people don’t like to eat the stalks simply chopped up and combined with the florets. But you can still use them and eliminate any food waste in a couple different ways.
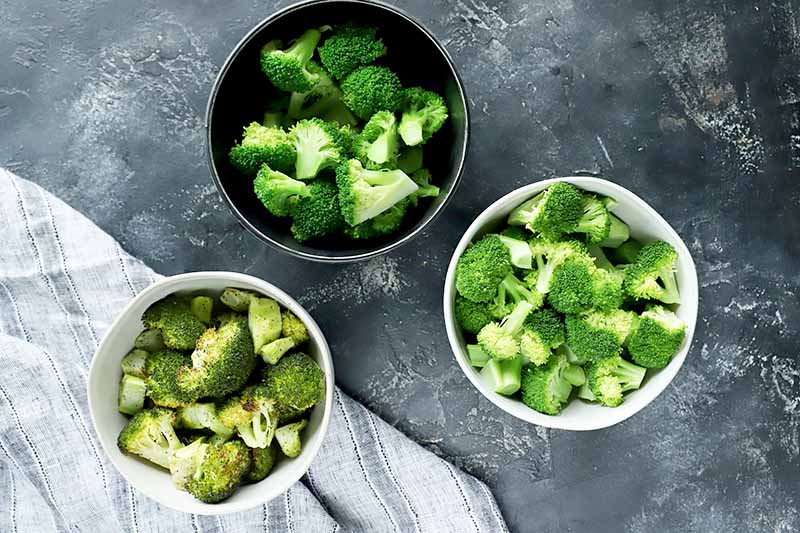
Try shredding them to eat in a slaw, with dressing and other vegetables.
Cut them into ribbons for a salad – this technique looks really pretty and you can use a simple vegetable peeler to accomplish it if you don’t have a mandoline.
Finally, you can give broccoli rice a try with the stems if you are feeling adventurous, just like what you might be more familiar with using cauliflower.
What’s your favorite way to serve this amazing veggie? Tell us in the comments below!
If you want to master cooking your favorite vegetables, try these how-to’s from Foodal next:
- How to Cook Asparagus
- How to Cook Carrots in the Electric Pressure Cooker
- How to Cook Collard Greens in the Electric Pressure Cooker
Photos by Meghan Yager, © Ask the Experts, LLC. ALL RIGHTS RESERVED. See our TOS for more details.
About Meghan Yager
Meghan Yager is a food addict turned food and travel writer with a love for creating uncomplicated, gourmet recipes and devouring anything the world serves up. As the author of the food and travel blog Cake 'n Knife, Meghan focuses on unique foodie experiences from around the world to right at home in your own kitchen.


