I am going to be honest right now: I used to be so intimidated by the mere idea of breaking down an entire chicken myself.

Of course, I had watched chefs do it hundreds of times on the food competition shows I obsess over. But they made it look so easy.
All I could think was, “Yeah, sure, it’s easy for them. But for me, that would be way too hard.”
The funny thing is, cutting a whole bird into parts is not as difficult as one might think. All it requires is a little knowledge, a little practice, and a sharp knife.
This is one skill that every cook should learn, because it might also save you some money. When you buy a chicken from the store that’s already been broken down into parts, you often end up paying more per pound for that poultry than you do for a whole option.
The parts will end up being a similar size, so they will cook more evenly (you know, instead of having one giant breast and another one that is half its size in the same package).
Also, there’s the added bonus of having the carcass to make delicious stocks and comforting soups out of. It’s like getting a bonus meal or ingredient.
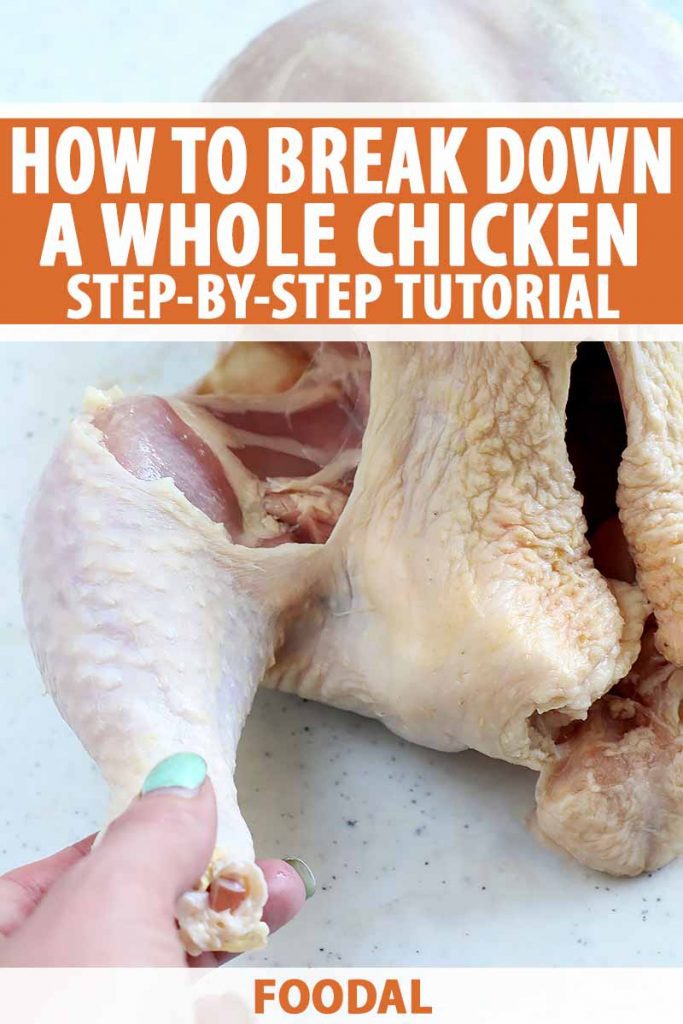
So without further ado, here’s the how-to guide you need to learn the art of butchering a chicken.
How to Break Down a Whole Chicken
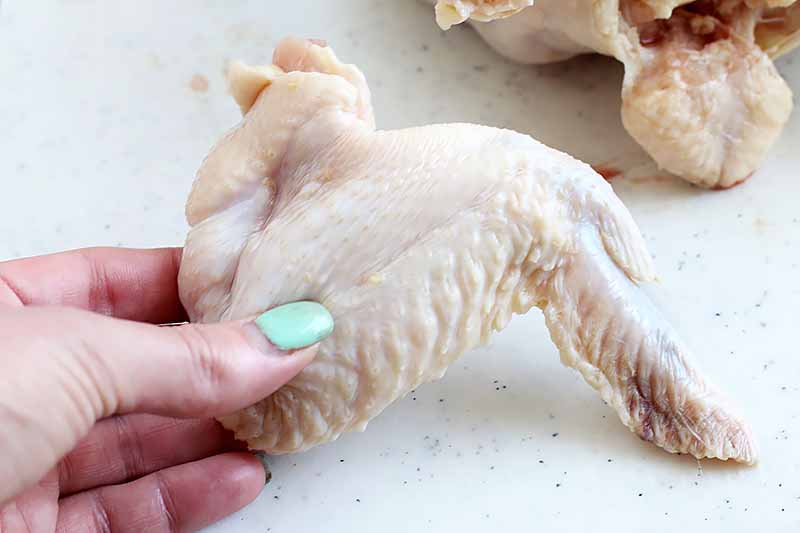
Step 1 – Remove the Wings
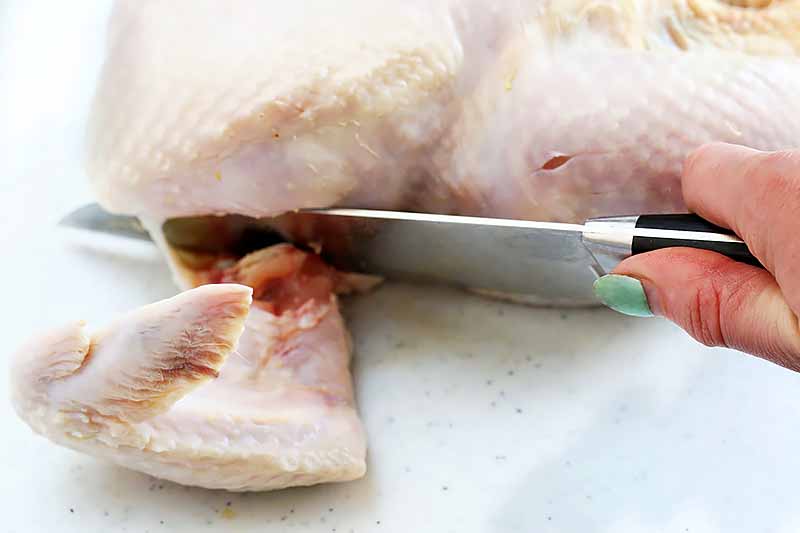
With the bird on your cutting board breast-side up, bend out one of the wings from the body.
As you are pulling on the wing, you will see tension on the skin. Use a sharp knife to cut through this tense section of the skin to start to free the wing from the body.
Cut through the joint between the wing and the breast to remove it. Make sure you are using a sharp, well honed knife and make your cut in a confident, smooth movement.
Don’t worry – because you are cutting through softer cartilage, you won’t damage your knife.
Boning and fillet knives, two styles of knives specifically designed to help with the process of removing meat from bone, will be able to cut through smaller bones and soft cartilage. However, they should not be used to cut through bigger, heartier bones.
You’ll generally want to use a cleaver for that process, but that particular knife will be unnecessary for breaking down smaller bone-in meats like chicken.
If you find that any bones or cartilage have splintered, be sure to thoroughly remove these splintered pieces before continuing to the next steps.
Repeat this on the other side to remove the other wing.
You don’t have to stop here with the wings! Review our tutorial to break down whole wings.
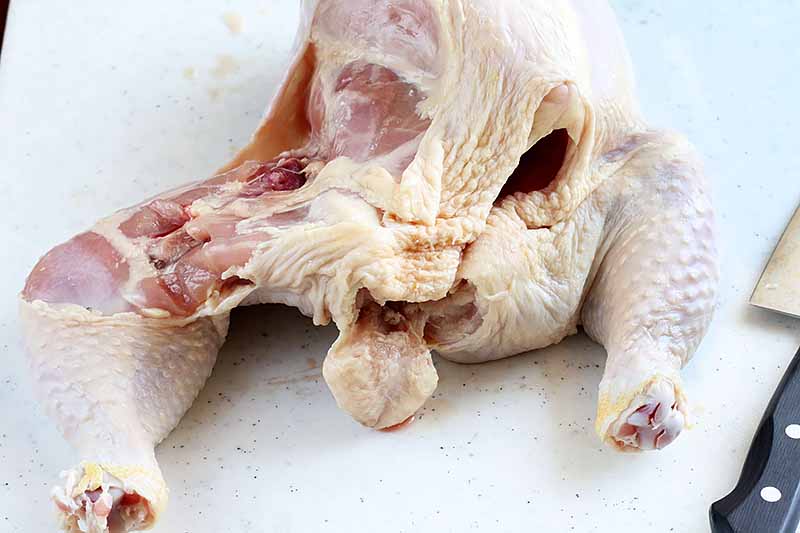
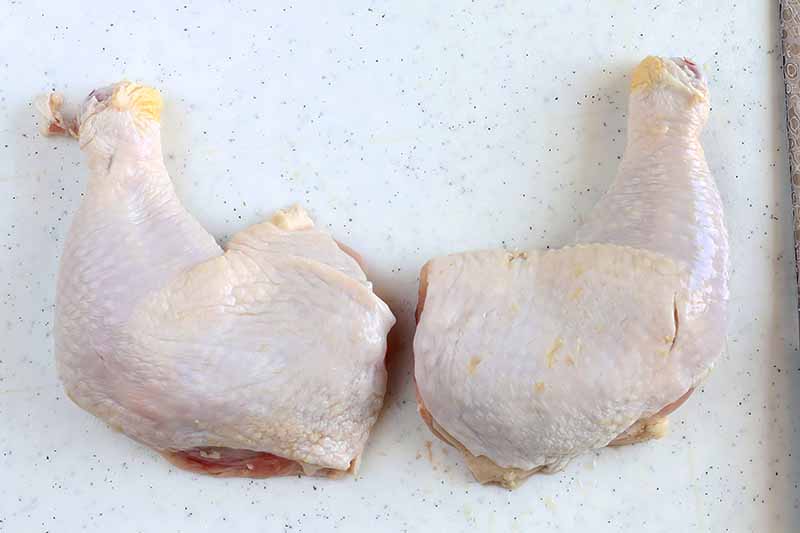
Step 2 – Remove the Legs
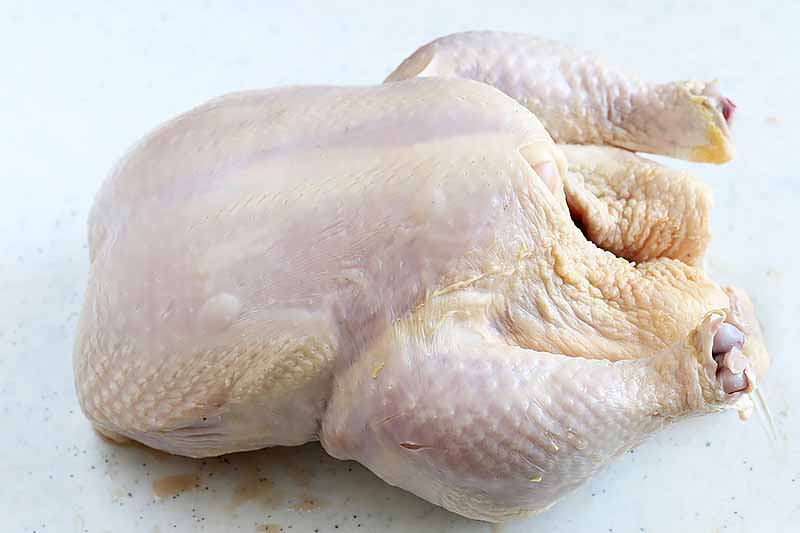
Return the bird to your starting orientation with the breast side up and the drumsticks facing you.
Pull one drumstick away from the body and make small cuts to cut through the tense skin that attaches the leg to the body of the bird.
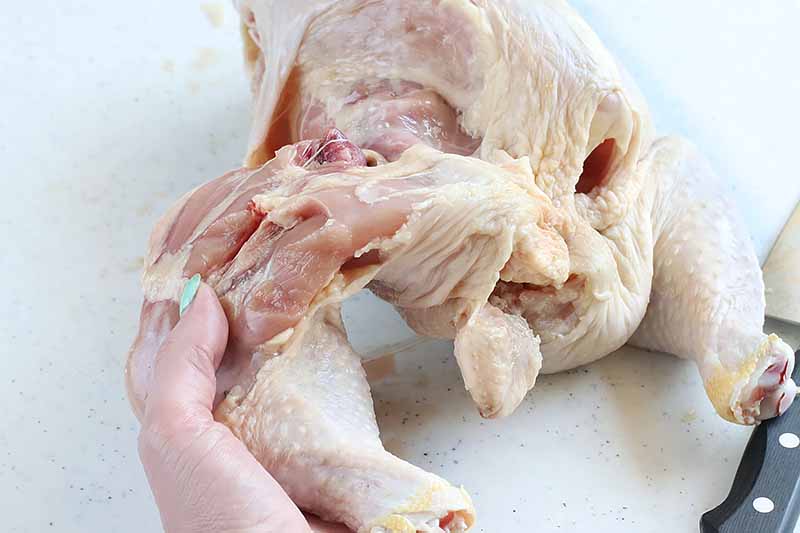
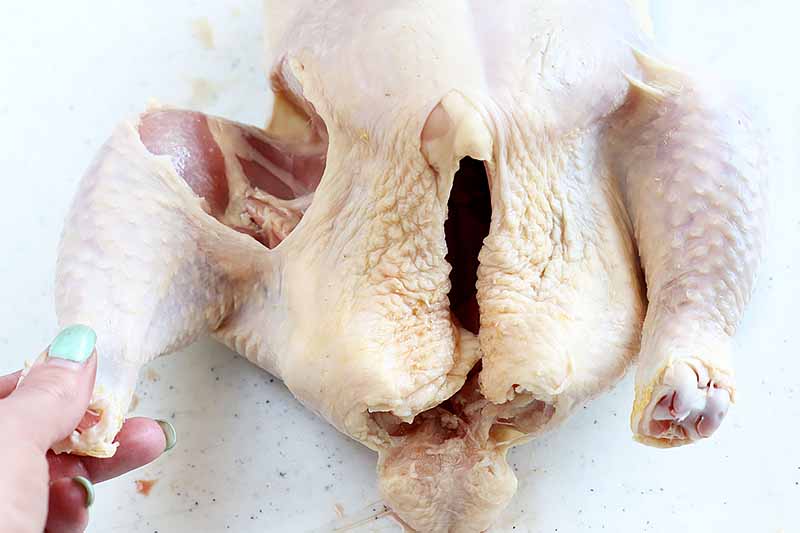
Next, you are going to pop out the joint of the leg that connects it to the breast.
Move your hand underneath the thigh, and press the leg down while pushing the thigh that is connected to the rib cage up. You will hear a pop, and the joint will be exposed.
Carefully move the tip of the knife around the base of the joint to cut the leg free.
Repeat this process on the other side. Set the legs aside.
Step 3 – Remove the Backbone
Once again, return the bird to the starting position with the breast face up. Flip it over, with the cavity facing you.
Use a pair of kitchen shears to cut down both sides of the backbone similar to the way we did with the spatchcocking technique. Remove the backbone and set it aside.
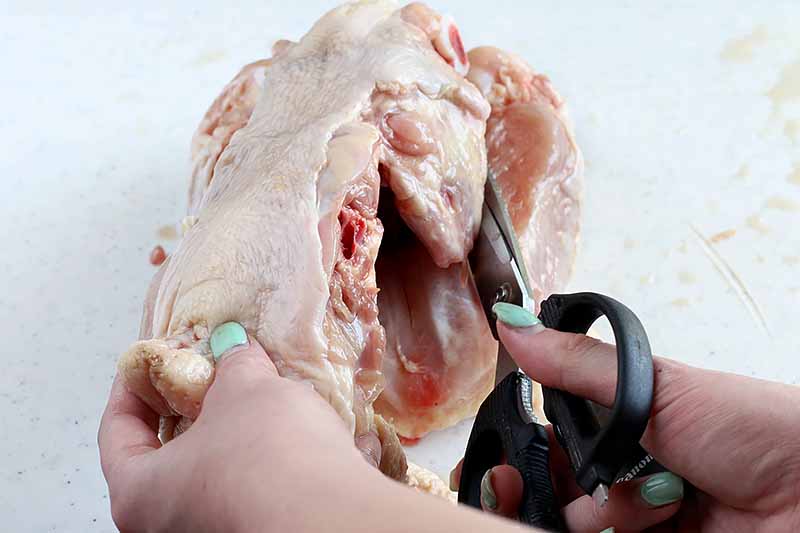
Kitchen shears, similar to larger, thick scissors, will give you more control with short, precise snips when cutting down the backbone.
You can also continue to use your knife to complete this step, using short motions.
Instead of throwing away the backbone, keep it for another use. It’s fantastic for making homemade slow cooker stock, which can be used as an ingredient in classic chicken noodle soup.
Step 4 – Split the Breast
Place the chicken breast-side up once more. Carefully cut through the skin and into the flesh to the right side of the bone.
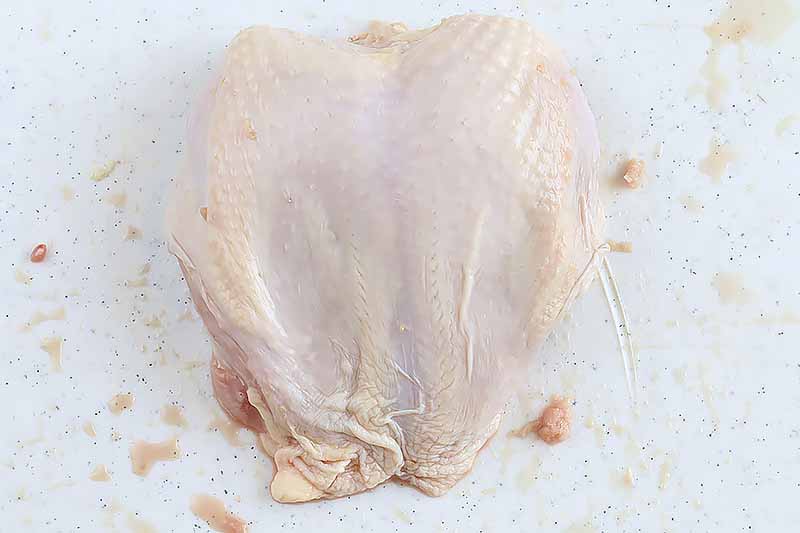
Use your knife to follow down the breast along the bone, cutting away the meat and leaving as little of the breast behind on the bone as possible.
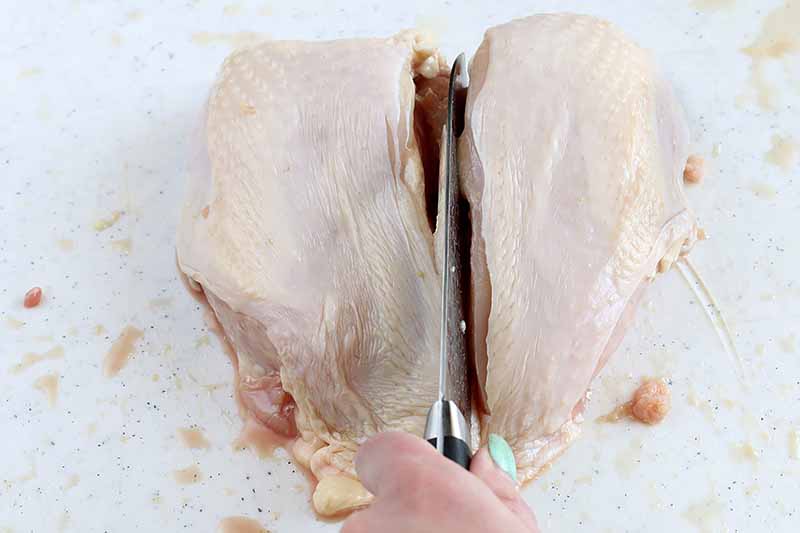
Repeat this process with the other breast. Set aside the breasts and save the remaining carcass piece for another use, as described above.
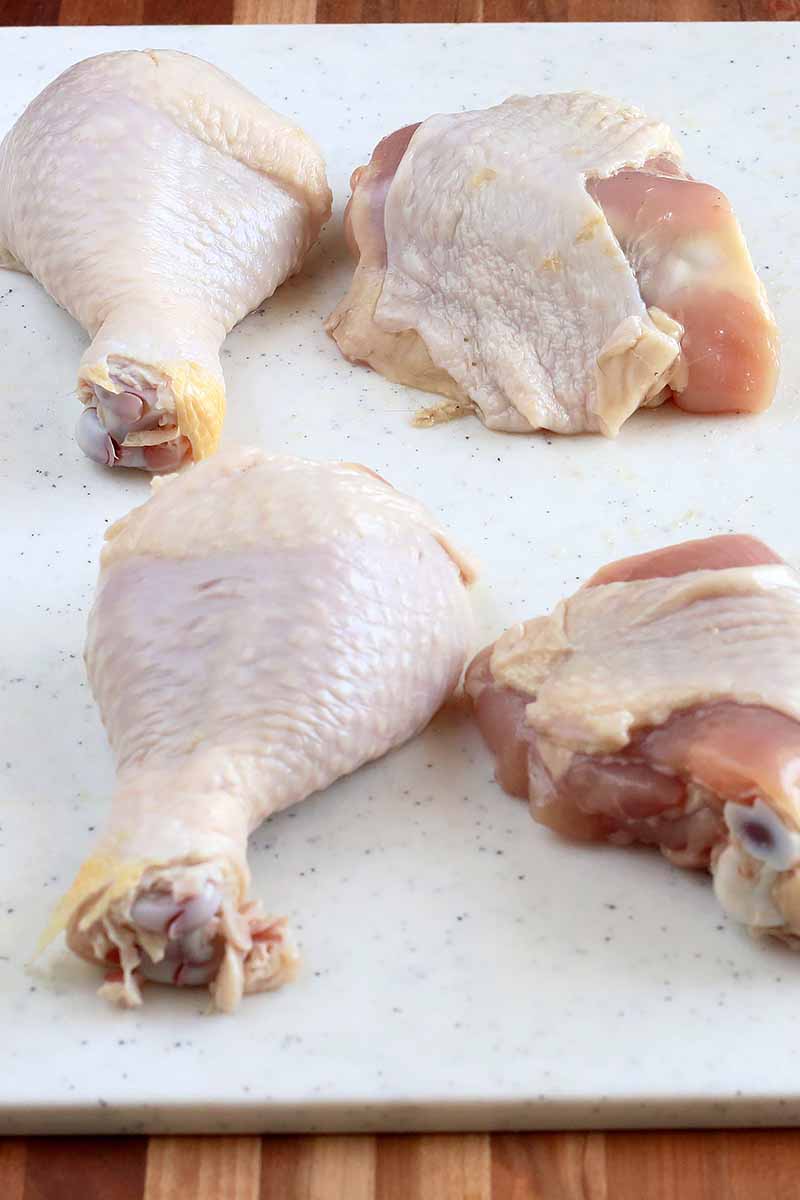
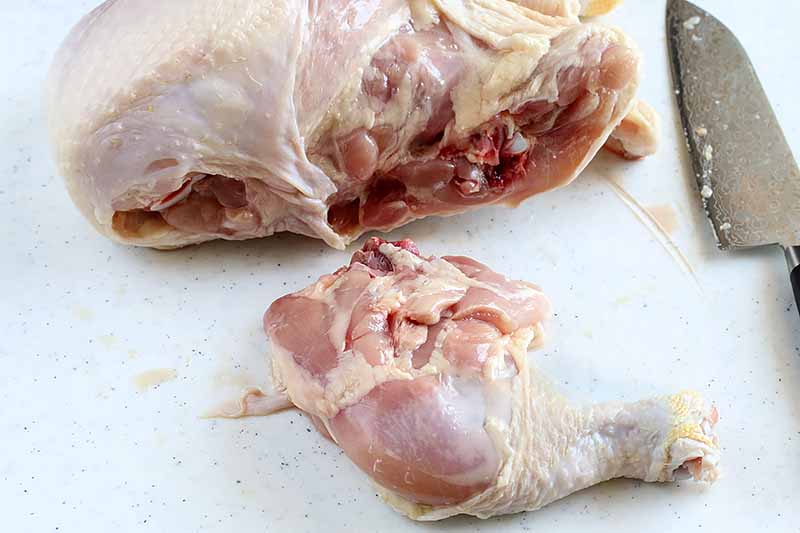
Step 5 – Separate the Drumsticks and Thighs
Return the two legs to your cutting board. Take one and place it so the leg is sticking up in the air towards the ceiling.
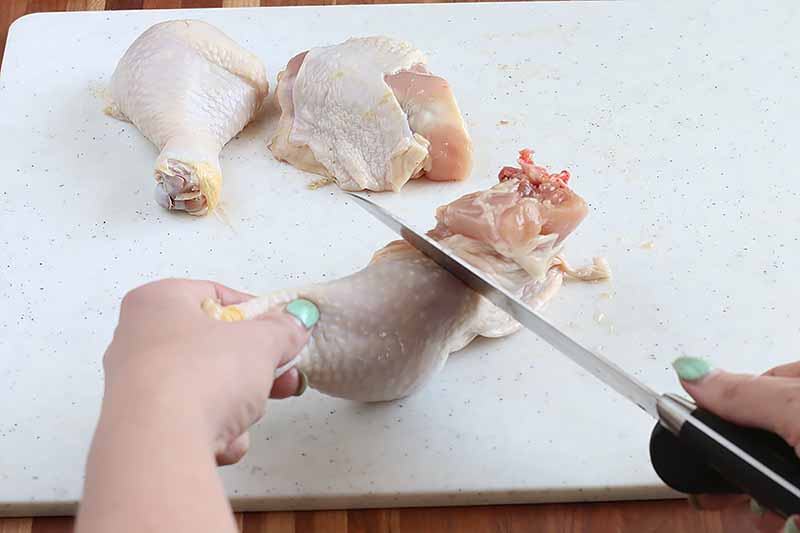
Use a knife to cut at the joint that separates the drumstick from the thigh.
You will cut through the skin, and then through the meat and cartilage. This will feel similar to separating the wings from the breast like you did in Step 1.
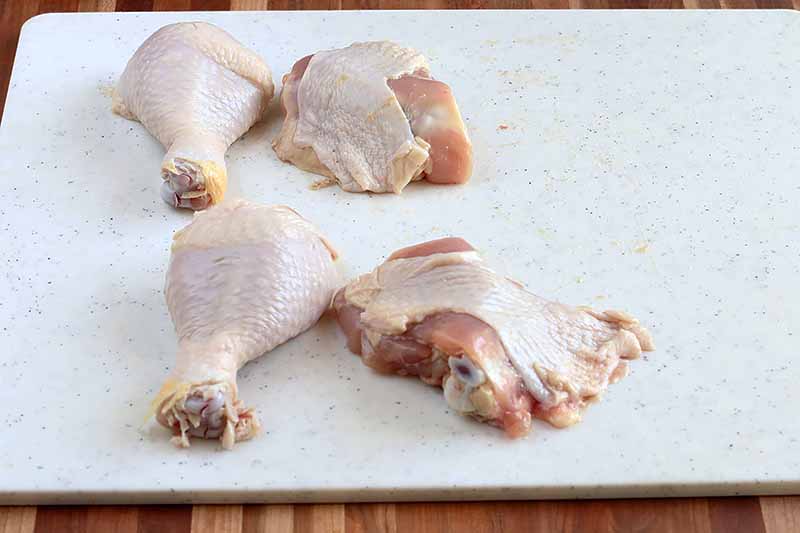
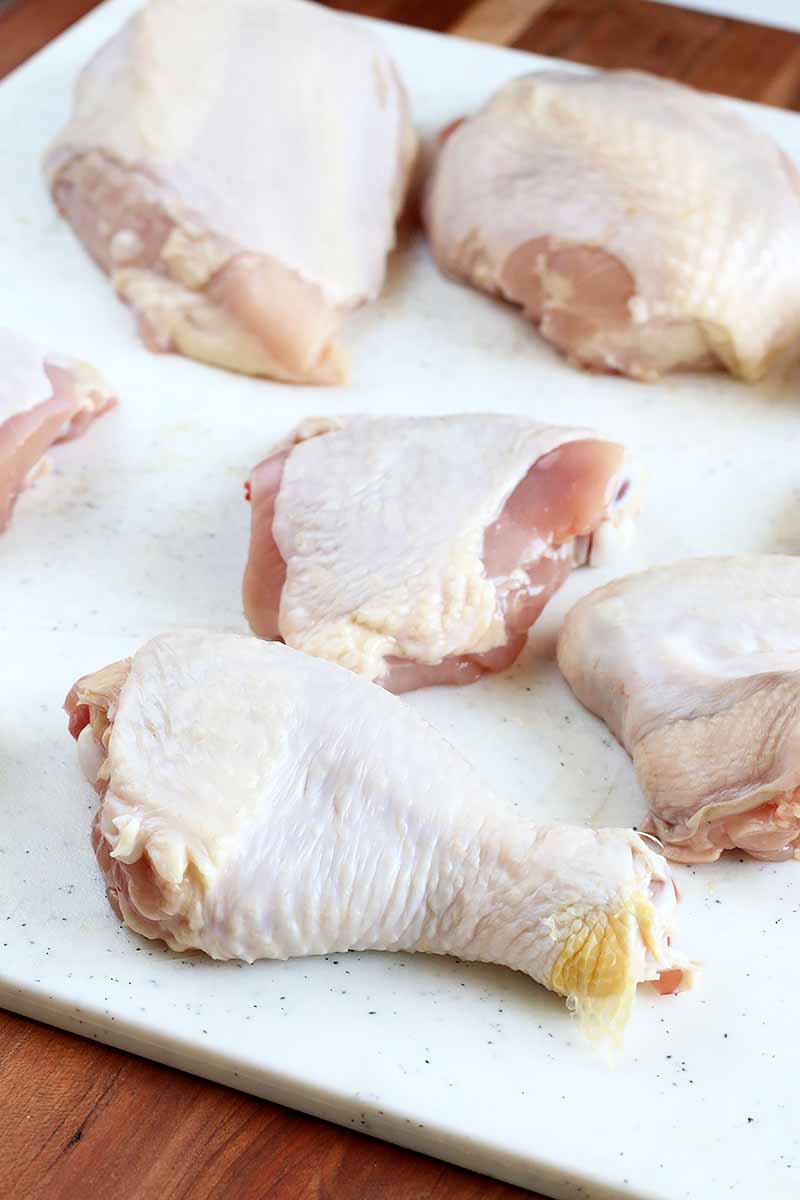
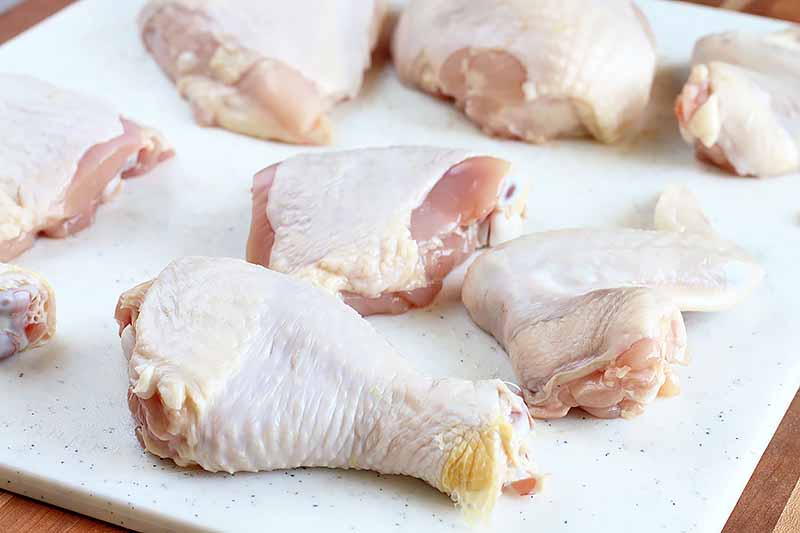
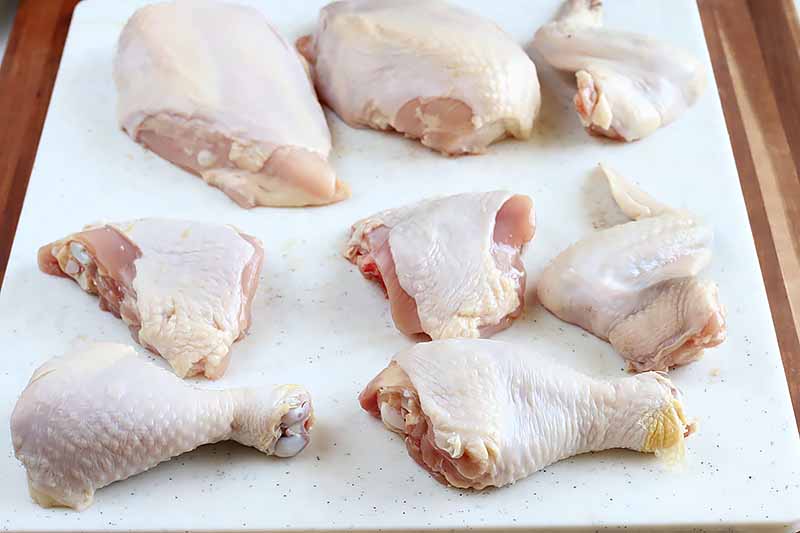
Now you should have eight gorgeous pieces and the carcass.
Not as scary as you thought it would be, right?
Other Notes to Consider
From my own experience, I have just a few extra notes as you are going through the process of butchering a whole birdie.
If you find that you are excessively tearing and damaging the skin, your knife may be too dull. A well-sharpened knife will be able to make quick, clean cuts through the skin and meat without tearing and pulling the skin.
I do not recommend starting with a frozen chicken when you are cutting. If you are using poultry you bought frozen, be sure to let it thaw completely in the refrigerator to soften the skin and meat. This will make the process of removing meat from bone much faster, since you’ll be able pull, stretch, and cut the meat with more ease and precision for each step.
You can remove the skin from the pieces of meat to get perfectly skinless breasts and other portions that we love so much for many of our chicken dishes, like our chicken Marsala dinner. Gently pull the skin off the meat, using your knife to cut through any skin that might be sticking to the meat.
Favorite Dinner Recipe Suggestions
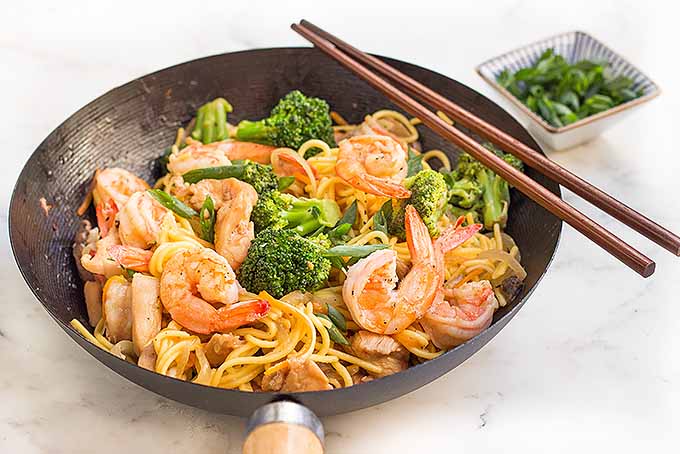
Below are some of our favorite recipes to use up those perfectly butchered, broken down pieces:
- If you want to use all 8 pieces in one easy recipe, check out our Instant Pot white wine coq au vin. The recipe builds flavors in the pressure cooker in such a beautiful way, without being overly complicated. Your family will think you spent hours cooking.
- Roasted spiced chicken with vegetables is a great way to take advantage of seasonal produce. Flavorful home-mixed poultry seasoning gives the chicken a savory, slightly spicy flavor and you can make more to save for using on any remaining chicken pieces left over.
- Get a burst of herbaceous citrus with this lemon sage garlic chicken. It is a simple recipe that makes an ideal partner to roasted potatoes, pasta, rice, and so much more.
- If you want to learn even more basics, we have tutorials for cooking different pieces of the chicken in the Instant Pot. Read about how to cook chicken tenders, drumsticks, and breasts now.
Have you ever tried to break down a whole chicken before? Tell us about your experiences in the comments below.
Photos by Meghan Yager, © Ask the Experts, LLC. ALL RIGHTS RESERVED. See our TOS for more details.
About Meghan Yager
Meghan Yager is a food addict turned food and travel writer with a love for creating uncomplicated, gourmet recipes and devouring anything the world serves up. As the author of the food and travel blog Cake 'n Knife, Meghan focuses on unique foodie experiences from around the world to right at home in your own kitchen.


A nice way to save cost and get the most out of a chicken. Good hack I must say!