We occasionally link to goods offered by vendors to help the reader find relevant products. Some of these may be affiliate based, meaning we earn small commissions (at no additional cost to you) if items are purchased. Here is more about what we do.
Dear former college roomies: I am sorry for eating all of the peanut butter in our apartment.
Please consider this smoothie recipe, using powdered peanut butter instead, as my formal and public apology for my past actions!

My roommates dubbed me the Peanut Butter Thief in college.
Though they claimed they called me that playfully, with no ill will, the underlying sense that I was being seriously and bitterly accused was as thick as the sweet spread itself.
And there’s no way I can deny this obvious tongue-in-cheek charge – I would eat so much of the stuff every time we’d buy it!
I’d mix it into yogurt, make sandwiches, whiz it into shakes and smoothies, use it in cookies and other little snackable treats, or simply eat it by the quick spoonful.
If only I knew powdered peanut butter existed, I might have eaten a little less from the communal jar.
But back in the first decade of the 21st century, it wasn’t exactly a well-known product – at least not yet!
One of the first powdered peanut butter businesses, PB2, was not founded until 2007 by J. C. Bell, who is credited with creating the first powdered format from peanut flour.
And while you can buy the brand’s products on Amazon now with a click of the button or tap of the smartphone, my roommates and I weren’t aware of its growing popularity until after we graduated.
But ever since access to a communal jar was taken away from me upon moving out, my love of the stuff lived on, and I eventually discovered the powdered product. Now, I adore its many applications, especially when making beverages.
We talk about the wonders of this nifty and healthy pantry ingredient in our recipe for peanut butter chocolate milk – this dry product is made by pressing out the majority of the natural oils from the roasted nuts, and then finely grinding what’s left into a powdered, shelf-stable format.
Unlike the spread, the powder dissolves readily in liquid, and there is no sticky mess involved when you want to add a spoonful to a smoothie during your morning rush.
And I know we’ve all dealt with that same smear of goop running up your hand when the jar is almost empty!
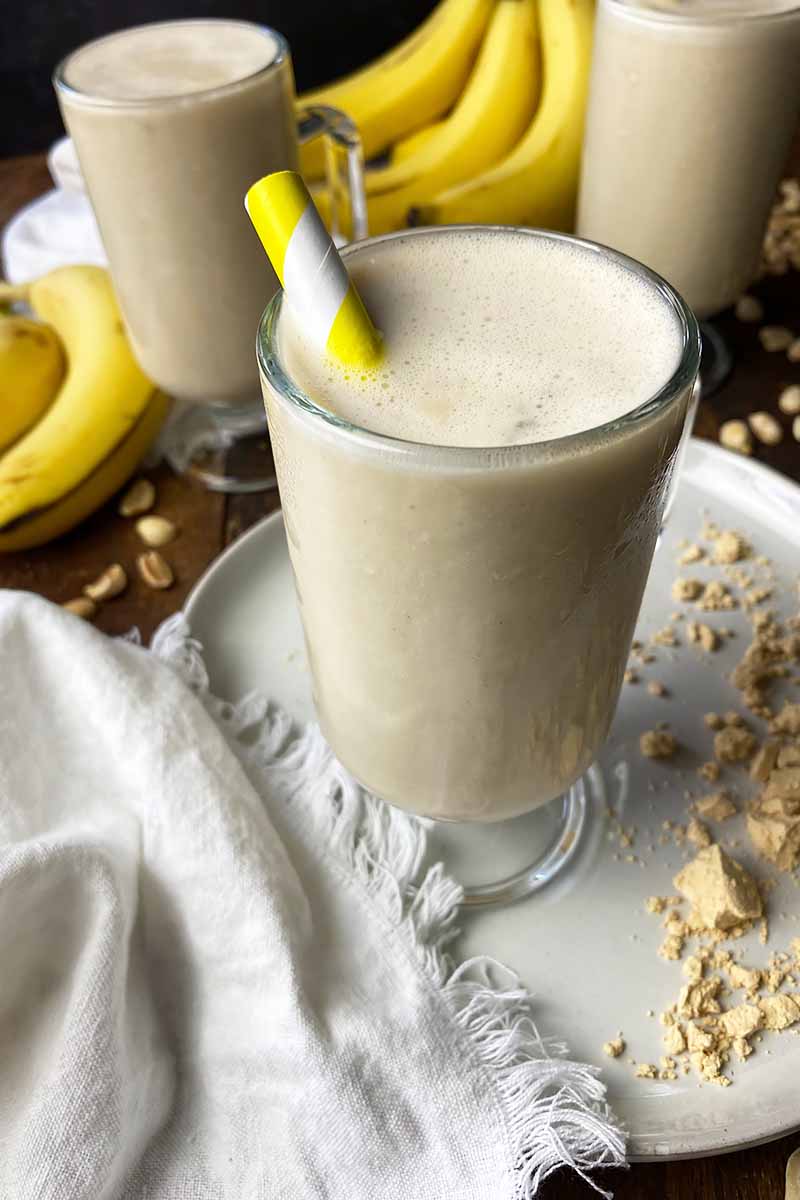
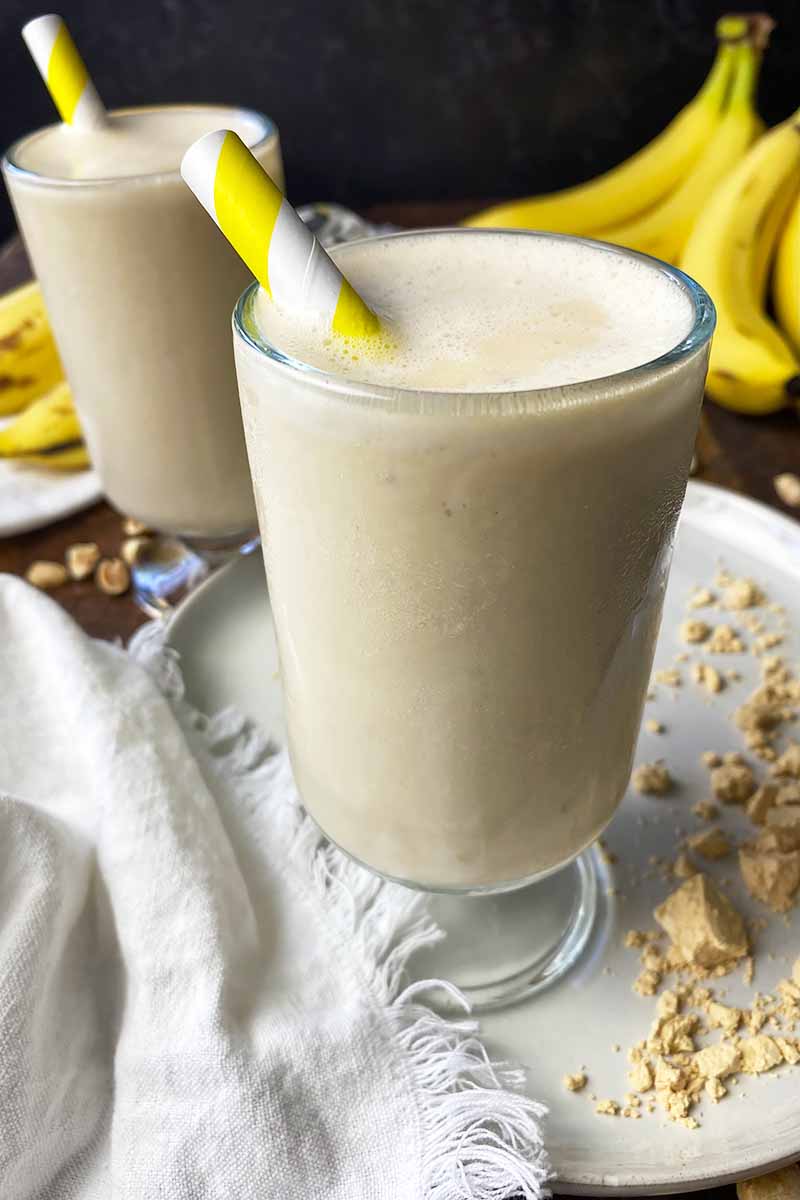
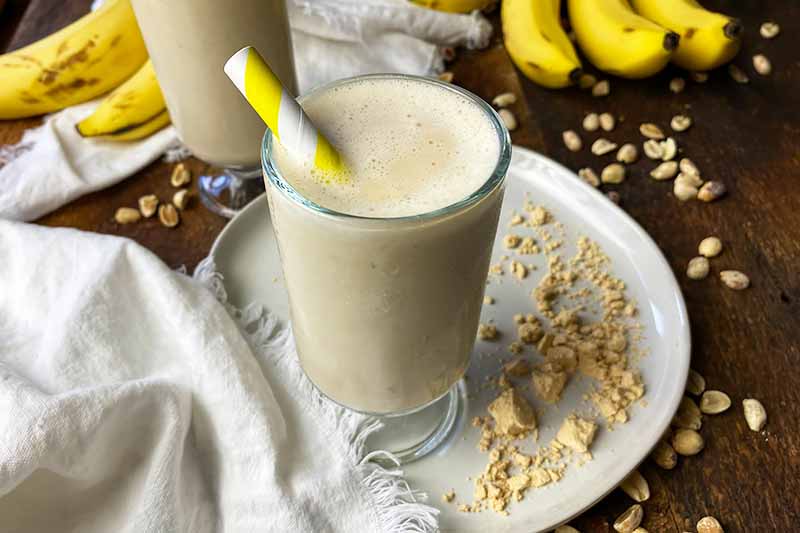
Channeling the spirit of my college years, there’s nothing I love more for breakfast or a sweet, light meal than peanut butter and banana combined in a speedy smoothie.
Whizzed together with your choice of milk, vanilla yogurt, and a little ice, this is a thick and creamy beverage that will keep you feeling full, focused, and satisfied, whether you’re off to yet another college class, heading to work, or going to the gym.
And you don’t have to dip into the communal jar!
Let bygones be bygones, roomies. Apology accepted, right?
Print
Peanut Butter Banana Smoothie
- Total Time: 5 minutes
- Yield: 1 smoothie 1x
Description
Our sweet and creamy peanut butter banana smoothie is a speedy drink to make in the blender, with frozen fruit and powdered nut butter.
Ingredients
- 1 cup low-fat milk or non-dairy milk beverage, plus more as needed
- 1/2 cup low-fat vanilla yogurt or non-dairy substitute
- 1 tablespoon honey or agave nectar
- 2 tablespoons powdered peanut butter
- 1 frozen banana
- 4 ice cubes, plus more as needed
Instructions
- Pour the milk into the blender. In the following order, add the yogurt, honey or agave, peanut butter powder, frozen banana, and ice cubes, so the frozen ingredients are furthest from the blade.
- Blend on high speed until smooth, adding more milk and/or ice cubes as needed to adjust to your desired consistency.
- Pour into a glass and serve immediately.
- Prep Time: 5 minutes
- Category: Smoothie
- Method: Blender
- Cuisine: Beverage
Cooking by the Numbers…
Step 1 – Prep
Plug in your high-speed blender and set out a tall glass.
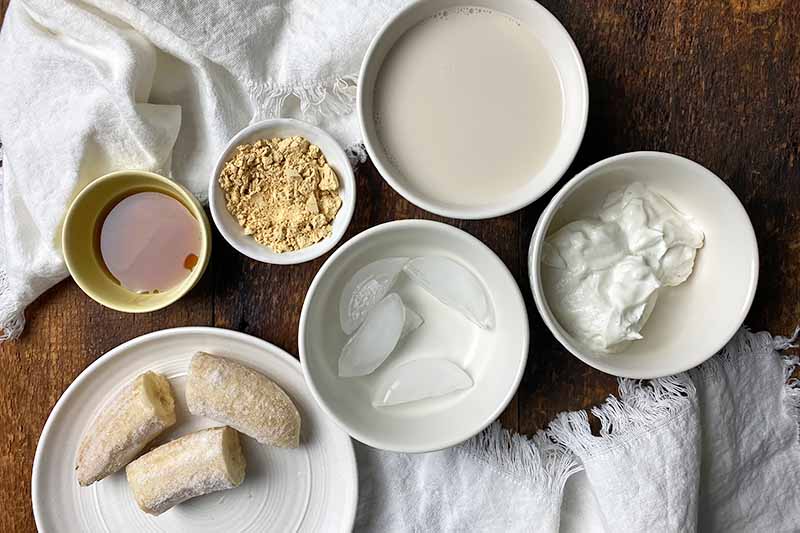
Measure out the milk, vanilla yogurt, sweetener, and powdered peanut butter. Set out the frozen banana and ice cubes.
Make sure you have a little extra milk and ice cubes available, in case you need to make any adjustments to the thickness before serving.
Step 2 – Add Ingredients to Blender
Want to make the best smoothie possible? Pay attention to the order in which you add the ingredients!
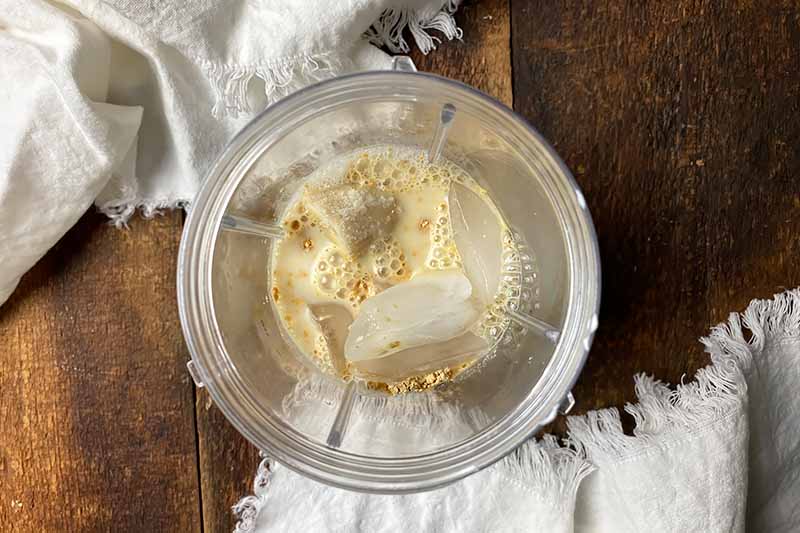
Place the milk, vanilla yogurt, honey or agave nectar, and powdered peanut butter in your blender in this order, so they are closer to the blade at the bottom of your blender canister. Place the frozen banana and ice cubes in last, so they are furthest from the blade.
Adding any liquids and lighter ingredients closest to the blade, and then layering the frozen ingredients on top of that, helps to push the lighter items towards the blade for a smooth mix – gee, thanks, gravity!
If you are using an inverted blender, it’s as easy as reversing the order that you add these. The frozen ingredients should be furthest from the blade when you start to blend.
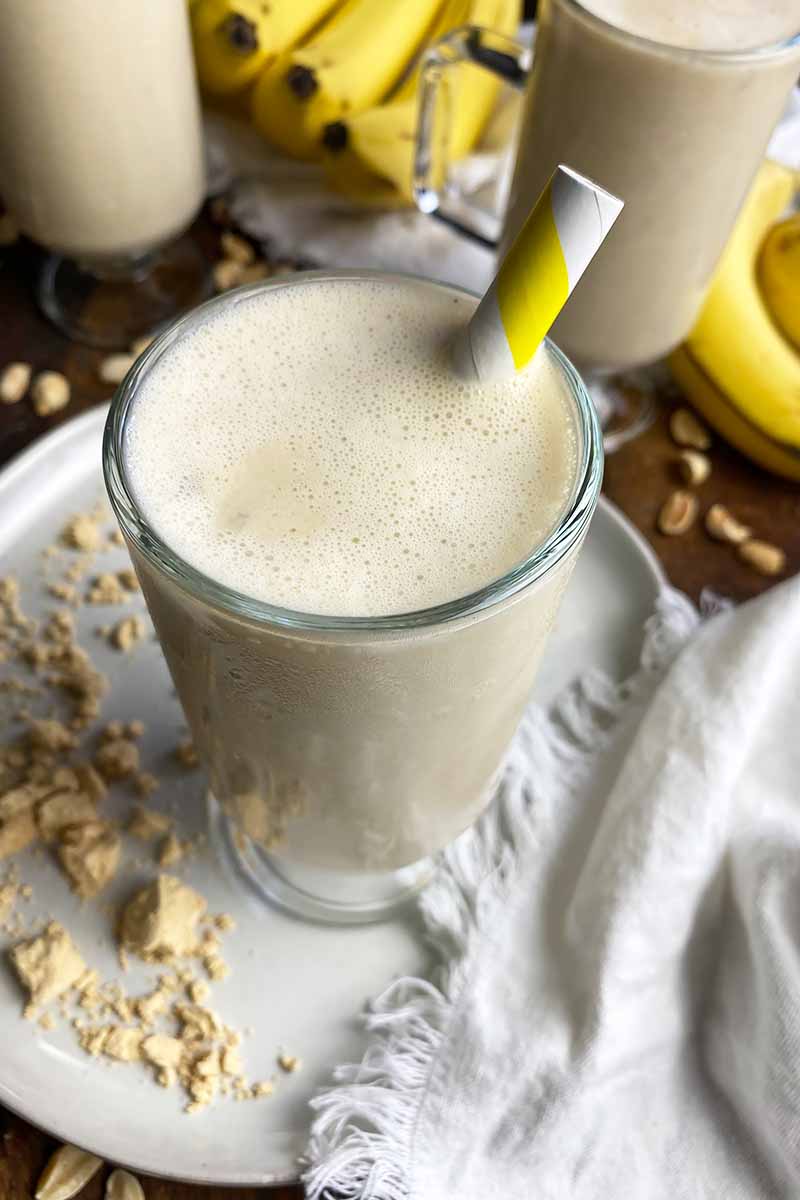
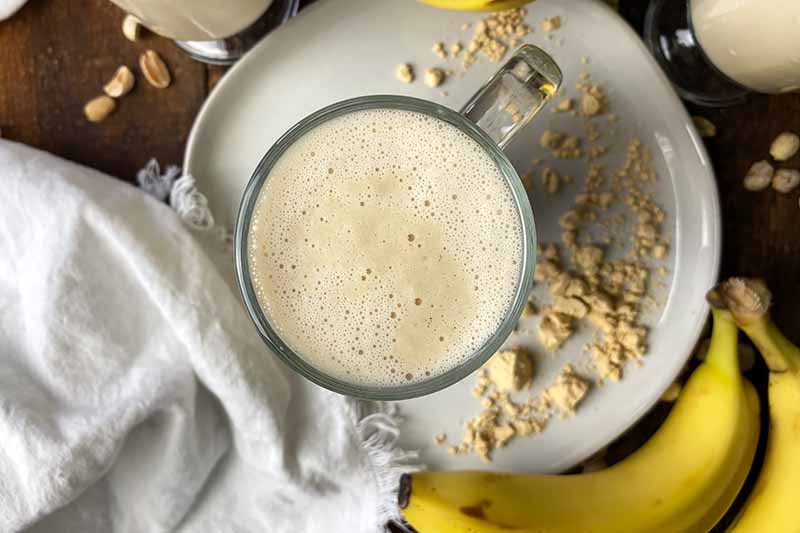
Step 3 – Blend and Serve
Blend at high speed until a thick and smooth mixture forms, for about 30 seconds.
Oh no… is it too thick? If you prefer a thinner drink, add more milk about 1/8 cup at a time, or a couple more ice cubes, until you reach your desired consistency.
Pour the smoothie into your glass and serve immediately. Enjoy!
Keep a Well-Stocked Kitchen
While we all may wish otherwise, smoothies don’t appear out of thin air at home whenever you have a hankering for one.
A simple and healthy beverage that can be made in seconds is reliant upon both a well-stocked kitchen and blender-ready ingredients.
But a little meal prep is all you need to get what you want, when you want it!
For this particular smoothie recipe, be sure to keep a lot of peeled bananas in your freezer. I like to slice them in half or into thirds as I’m prepping them, depending on their overall size, so they will break down more easily in the blender and they’re easier to portion out.
If you tend to make a lot of smoothies each week, consider buying bulk containers of sweetener, peanut butter powder, yogurt, and milk – you can also store a few shelf-stable non-dairy milk cartons in your pantry as backups! Milk and yogurt can also be frozen in cubes, to extend their shelf life.
What steps go into your meal prep plans for making your favorite smoothie recipes? How do you like to use this tasty powdery ingredient? Comments are more than welcome below!
Buy a whole hand, because we have so many more banana recipes to share with you, even when you think they’re too overripe! Try these favorites when you’re ready to pull a finger – and save the dad jokes until after you’re done eating:
- Chocolate Chip Banana Breakfast Cookies
- Banana Bread with Cinnamon Streusel Topping
- Sourdough Banana Bread French Toast
Photos by Nikki Cervone, © Ask the Experts, LLC. ALL RIGHTS RESERVED. See our TOS for more details. Originally published by Jennifer Swartvagher on June 11, 2015. Last updated on January 23, 2023.
Nutritional information derived from a database of known generic and branded foods and ingredients and was not compiled by a registered dietitian or submitted for lab testing. It should be viewed as an approximation.
About Nikki Cervone
Nikki Cervone is an ACS Certified Cheese Professional and cheesemonger living in Pittsburgh. Nikki holds an AAS in baking/pastry from Westmoreland County Community College, a BA in Communications from Duquesne University, and an MLA in Gastronomy from Boston University. When she's not nibbling on her favorite cheeses or testing a batch of cupcakes, Nikki enjoys a healthy dose of yoga, wine, hiking, singing in the shower, and chocolate. Lots of chocolate.