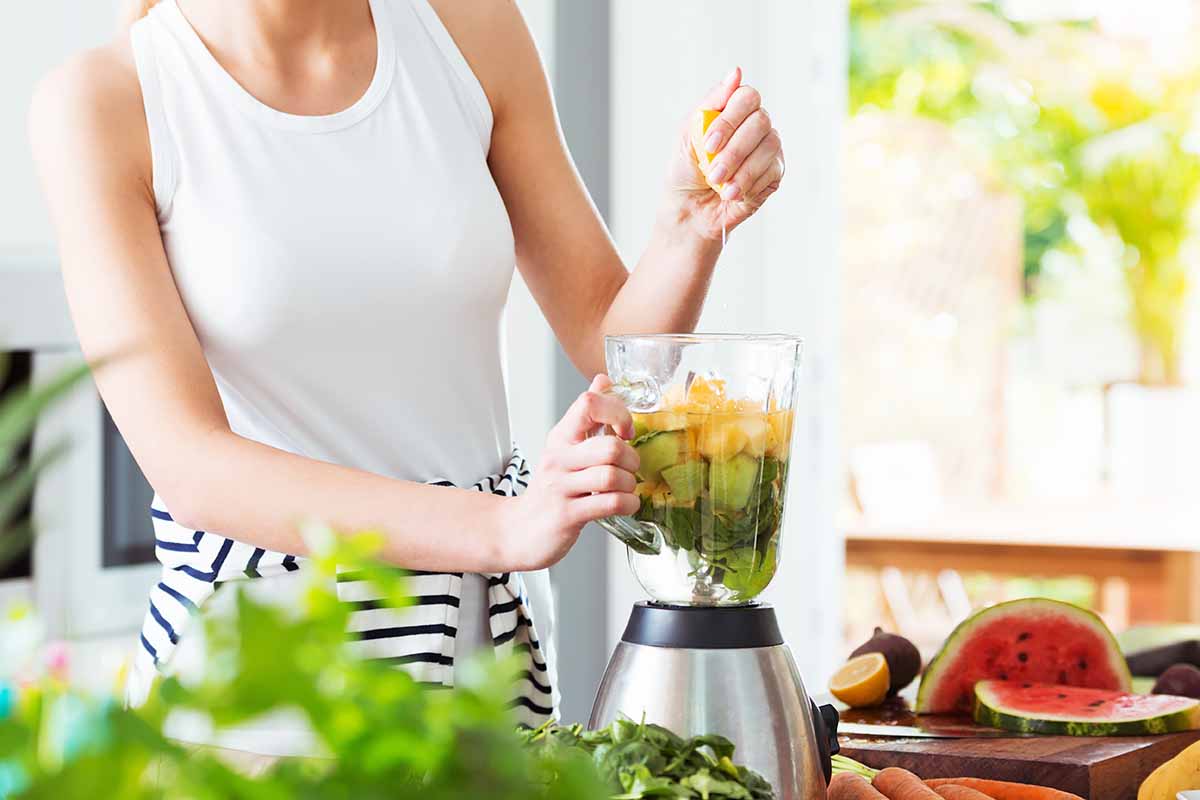
As someone who makes a smoothie for herself every morning before going to work, I thrive on the convenience of having frozen bananas on hand.
No smoothie of mine would be complete without one!
Since time is a precious yet fleeting commodity, especially in the rushed moments of getting ready in the morning – how many times max can you hit that snooze button? – I make sure all the steps to making my smoothie are going to be as quick and effortless as possible.
Frozen bananas are an essential part of that process!
Dreamy smoothies aside, fresh bananas are ideal to stockpile in your freezer for countless other recipes.
You’ll be glad to have them available for making a batch or two of your famous quick bread, cookies, pancakes, and more.
With our detailed advice, you’ll know exactly what to do from start to finish – from when you’re shopping at the grocery store for a fresh hand (or bunch) to when you’re triumphantly closing your freezer at home, full of organized stacks of airtight containers filled with properly prepped fruit.
Don’t you already feel just a little more motivated? Read on for all the tasty info!
How to Freeze Bananas
The Spectrum of Ripeness
An important factor to consider when freezing them is their state of ripeness upon buying them.
Even though freezing extends the lifetime of fresh bananas, they will still verrrrrry slowly continue to ripen in the freezer.
If you are planning to use them for raw applications like smoothies or garnishes (like enjoying them on top of toast, pancakes, or in trifles), consider buying ones that are underripe when you freeze them.
I’m not the biggest fan of when they are super ripe for my smoothies – I save the bolder, more condensed flavor of the ripe options for my baked goods! – so I prefer to freeze them for raw use when they are slightly underripe.
This decision will be based on your own personal taste preferences, though – if you prefer sweeter fruit for your frozen treats, ripen away!
If you are planning to bake, extremely ripe is best for optimal sugary banana flavor in your baked goodies. Consider buying ones that are on the riper side.
You can also choose to allow them to ripen on the counter at home after you buy them in a brown paper bag, to control the level of ripeness however you prefer.
You may need to do this if all of the fruit on the day of purchase are very underripe and green.
To maximize their ripeness, I often buy the ripest options I can find at the store, and continue ripening them on my countertop for a few extra days before I freeze them. You can get even more tips for storing them in this article.
Now, let’s get to the prep.
Peel Them First
Rule #1 of freezing bananas: peel them first!
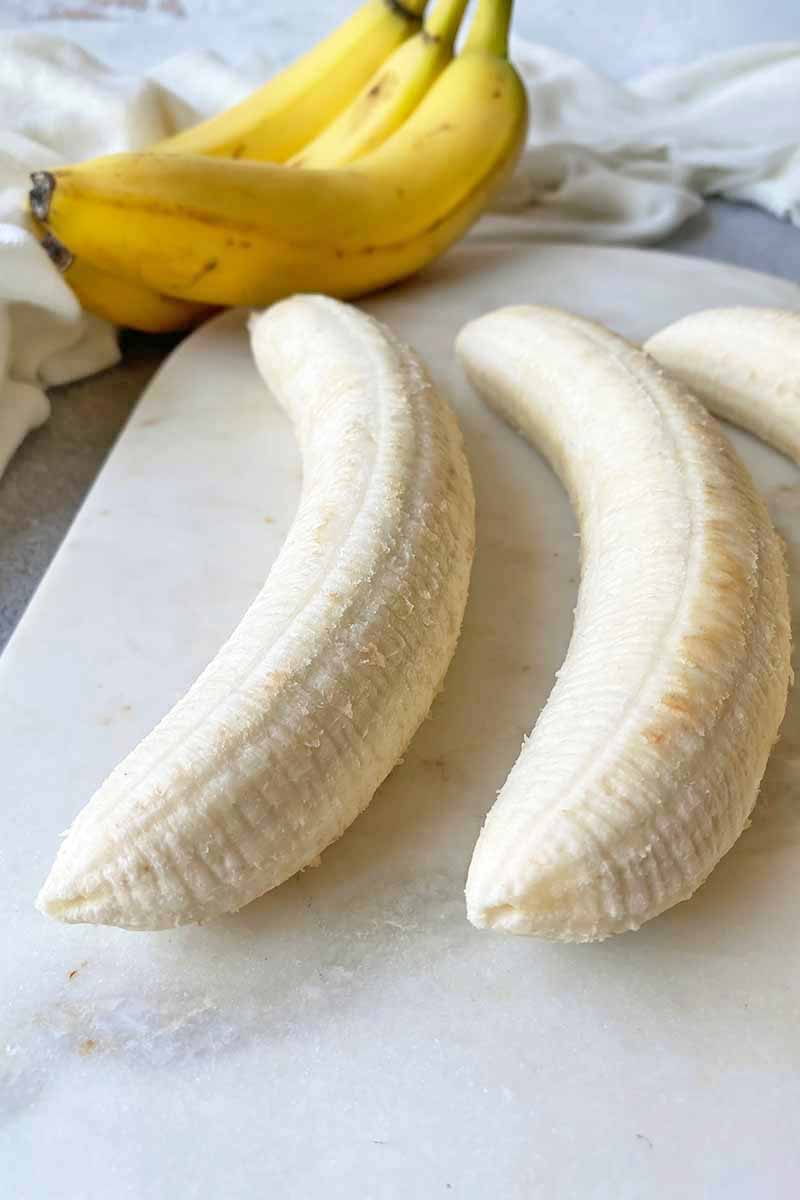
You won’t regret this easy initial prep step.
By peeling them first, you eliminate an extra step when you’re ready to use the frozen fruit in a recipe. Peeling them will save you so much time.
You’d be cursing my name if I told you to leave the peel on before freezing!
The peel is incredibly difficult to remove when they are totally frozen, as it is very hard to cut through with a knife, increasing the risk of injury.
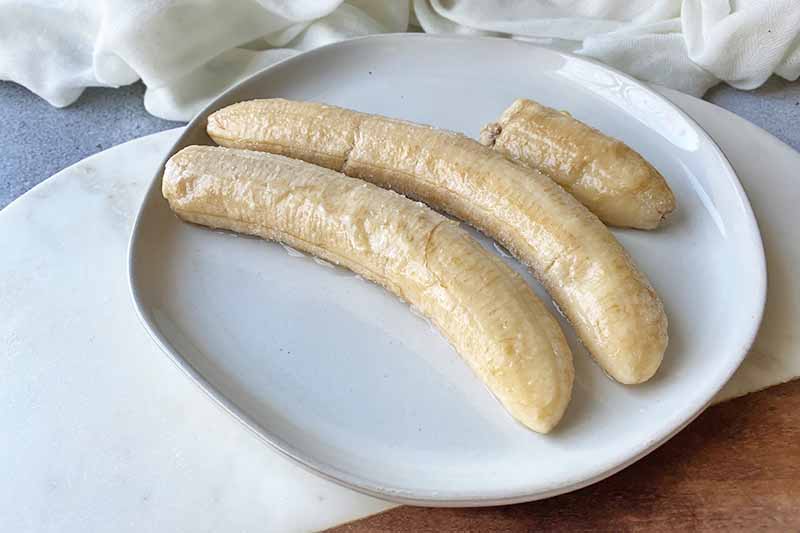
And it is just as difficult to remove from a whole frozen piece that has been thawed. A frozen whole banana contained within the peel becomes very soft once it has thawed, and the peel also becomes more rubbery and tough to cut through.
It’s a lose-lose situation. Let’s avoid that.
Whole, Sliced, or Mashed?
You will need to decide how you want to prep your fruit prior to freezing.
Sliced pieces are a great option for throwing a few handfuls in the blender to make smoothies. They are also a convenient option for using as a garnish, like on a bowl of oatmeal or a plate of pancakes.
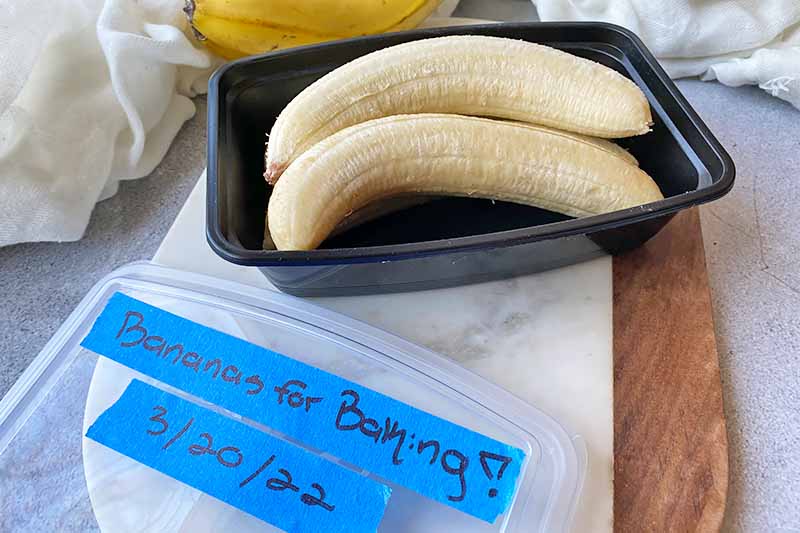
For baking purposes with recipes that call for a certain number of bananas, it will be best to store them whole (or halved) rather than slicing them into individual rounds. This makes it easier to identify exactly how many you will need.
For an even faster baking shortcut, you can mash them prior to freezing. As long as you label the bag with the amount of mashed bananas, this will be an easy way to incorporate the prepped fruit into a recipe once it thaws.
Airtight Is Alright
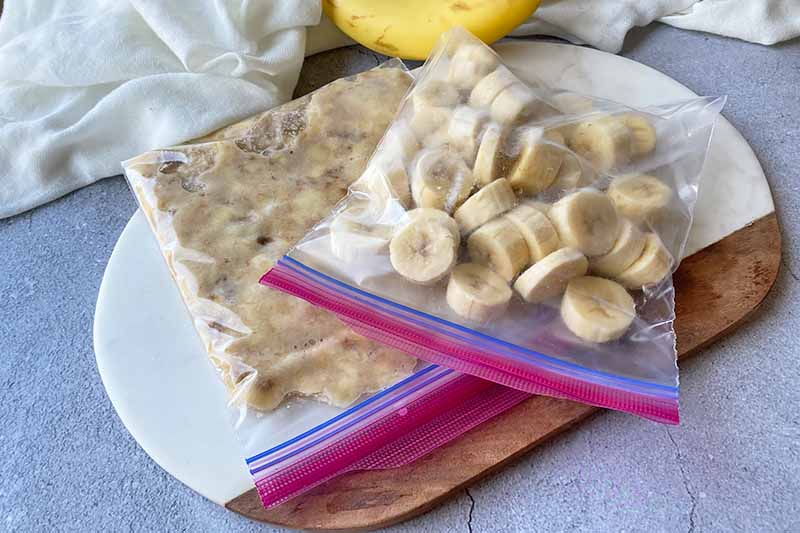
The best vessels to store bananas long-term in your freezer are airtight containers and airtight bags. The goal is to eliminate any airflow and slow down the process of ripening and browning, as well as to prevent excess freezer burn.
Using airtight containers or bags will provide safe storage, preventing contact between the fruit and anything else you are storing.
Because bananas are more sensitive than many other types of fruits and vegetables, and they do continue to brown and ripen if stored in less-than-ideal situations, it is best to keep them away from the door. Store them in the back of the freezer.
You will also want to note the date of freezing on the container you are using, and any specifications on how they will be used for future recipes.
Because you may have your pieces stored at different ripeness levels for different applications, clearly write “For Smoothies” or “For Baking” on the bag, a label, or a piece of tape.
Freezing
Ready to start prepping? Let’s go bananas!
Keep reading for our step-by-step breakdown of the process required to properly freeze your fruit. We will teach you how to prep whole, sliced, and mashed options.
Step 1 – Prep
First, set out your fruit.

Set out a cutting board, sharp chef’s knife, and a large bowl to collect the scraps.
Line a rimmed baking sheet with parchment paper. Make sure you have space cleared out in your freezer to fit the baking sheet.
Set out the airtight bags or containers that you will be using, as well as tape/labels and a permanent marker. It is easier to label the container before you put the prepped fruit inside, so consider writing the labels now before moving on. And don’t forget to write down the date you first frozen them!
Step 2 – Peel
Peel each individual whole fruit. Place each piece in a single row on the cutting board, and dispose of the peel in the bowl.
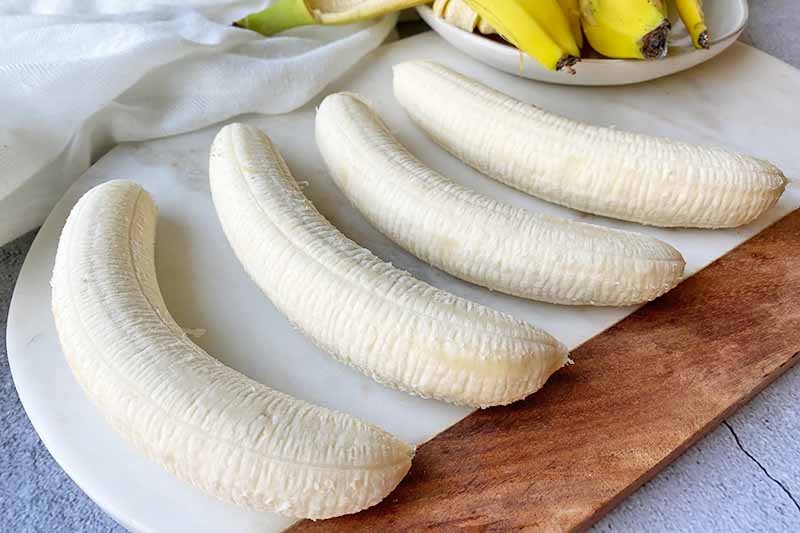
You can save the peels for composting, a smart strategy to reduce food waste and repurpose your scraps in a useful way!
Step 3 – Remove Blemishes and Slice or Mash
Using the knife and cutting board, cut off any bruises or blemishes. Remove any strings.
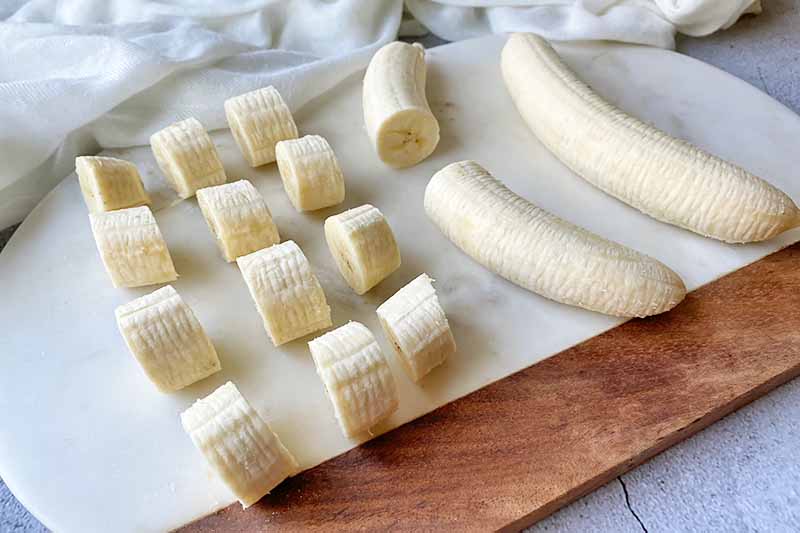
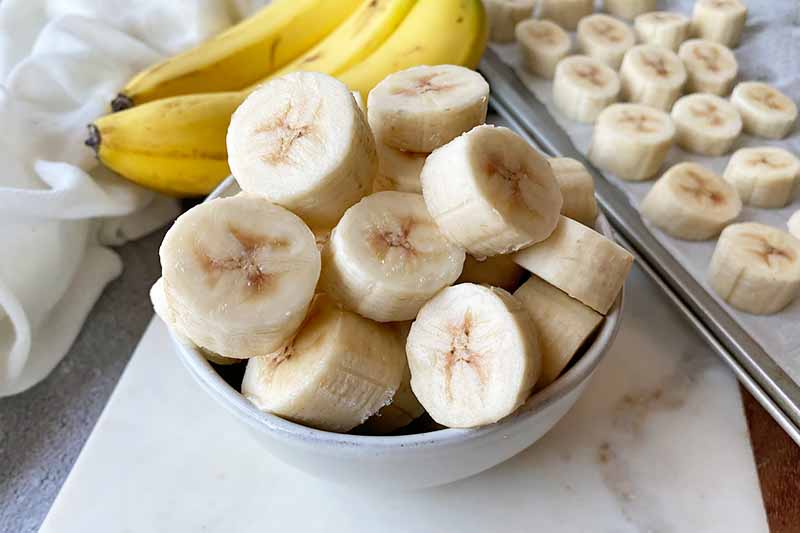
If slicing, slice them in half or in rounds to your preferred thickness.
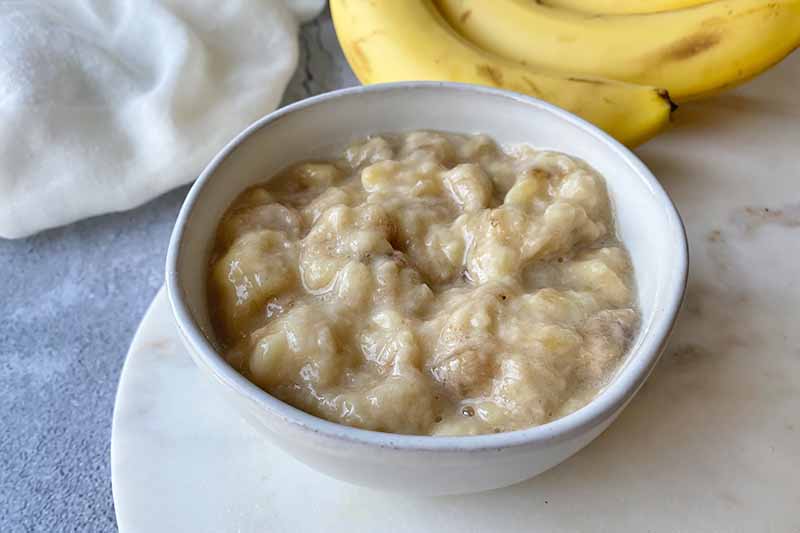
If mashing, place them in a bowl and mash with a fork or potato masher to the desired consistency.
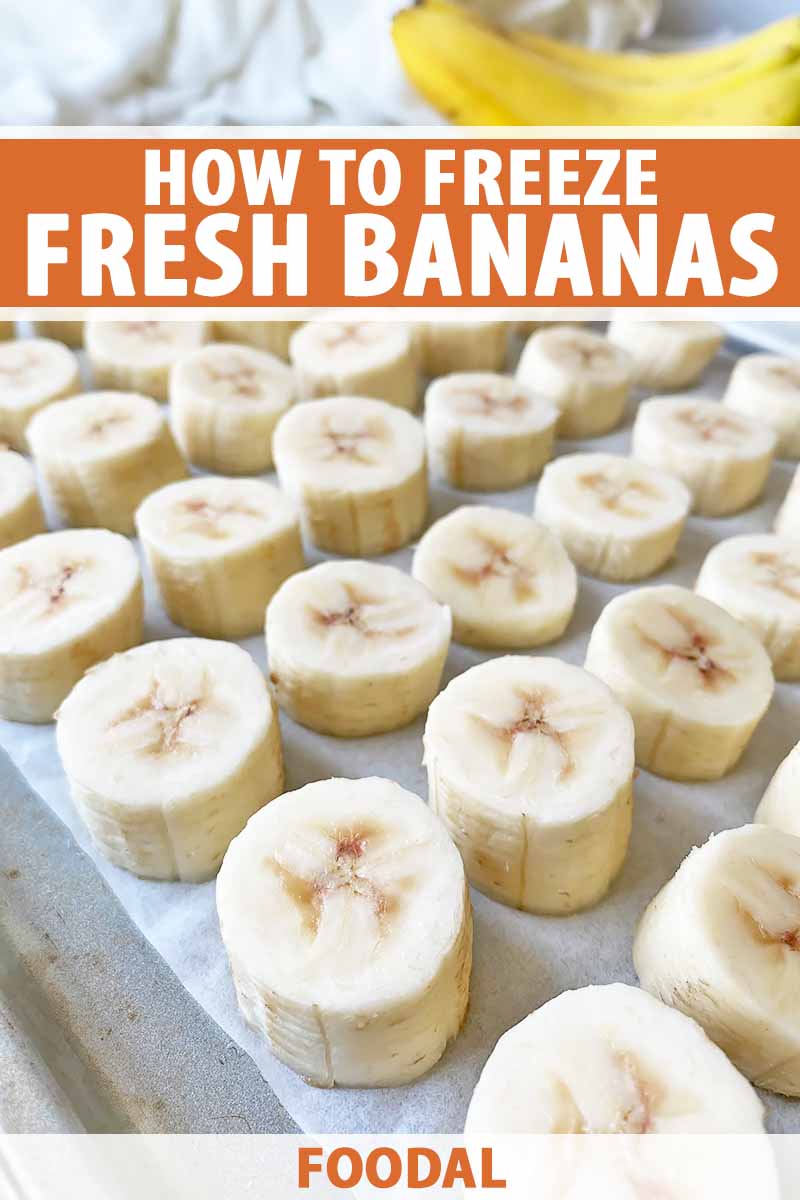
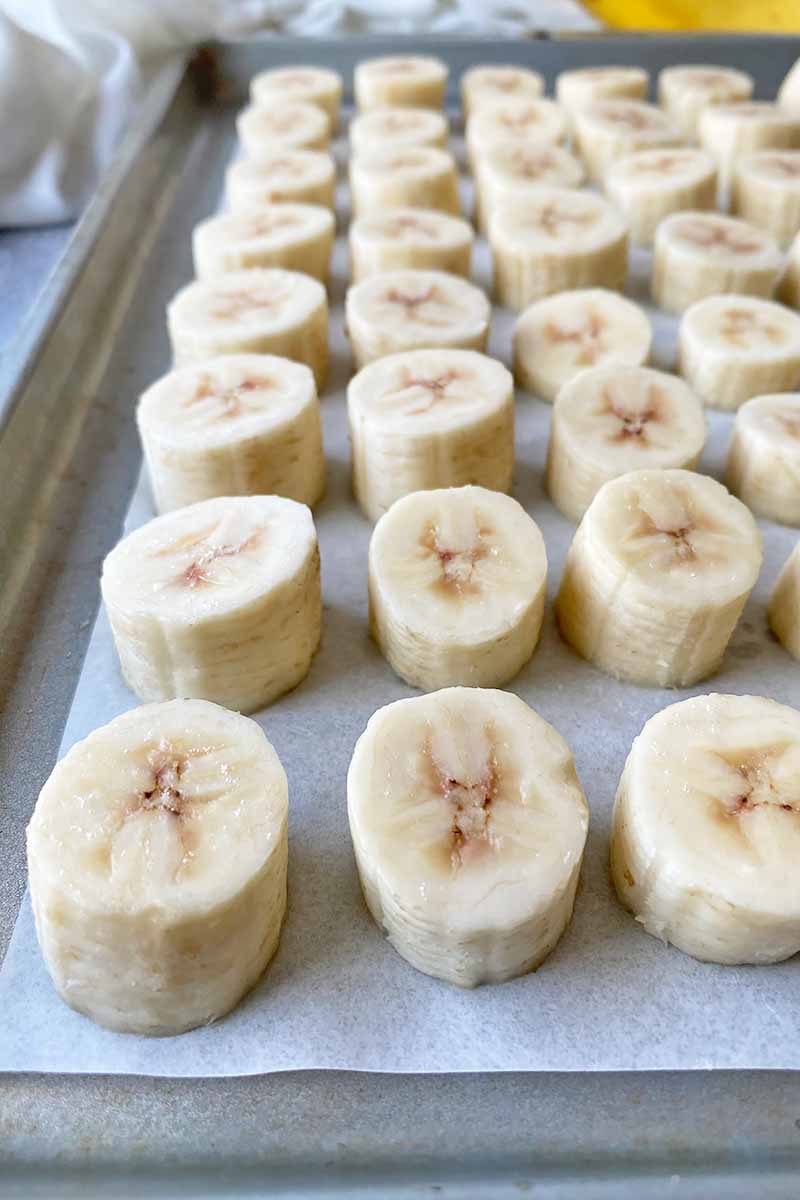
Step 4 – Place on Lined Baking Sheet
Place each whole or slice piece on the lined baking sheet, leaving enough space in between each piece so they do not touch.
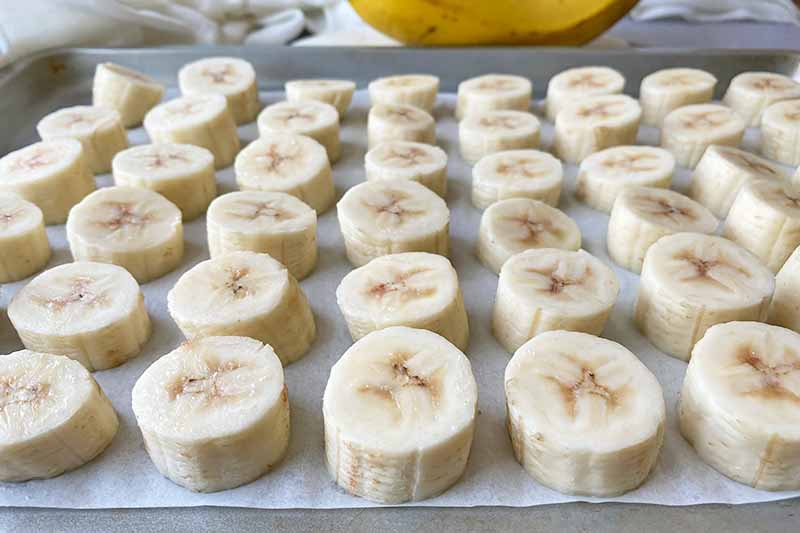
Transfer the baking sheet to the freezer uncovered. Freeze on the baking sheet until each piece is completely frozen, for about 2 to 3 hours.
This step is essential to prevent them from sticking when they are stored together in the container or bag.
If mashing, skip this step and go directly to Step 5.
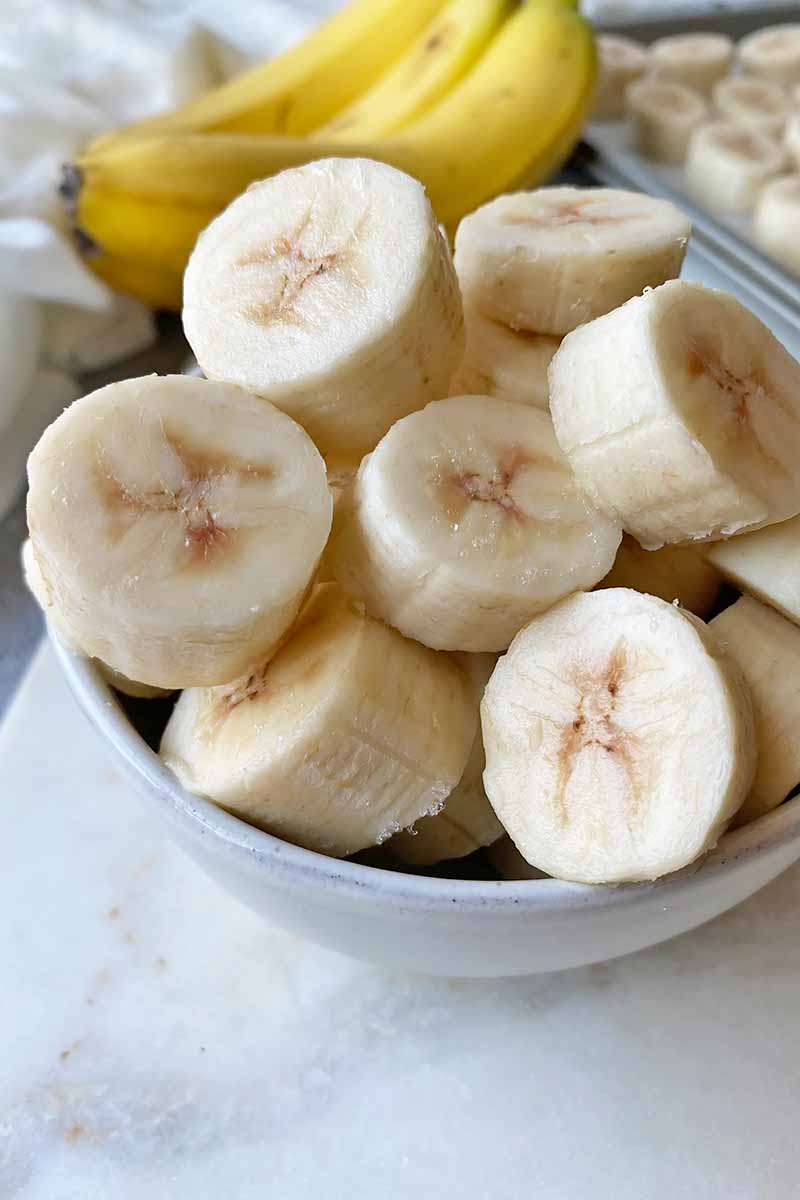
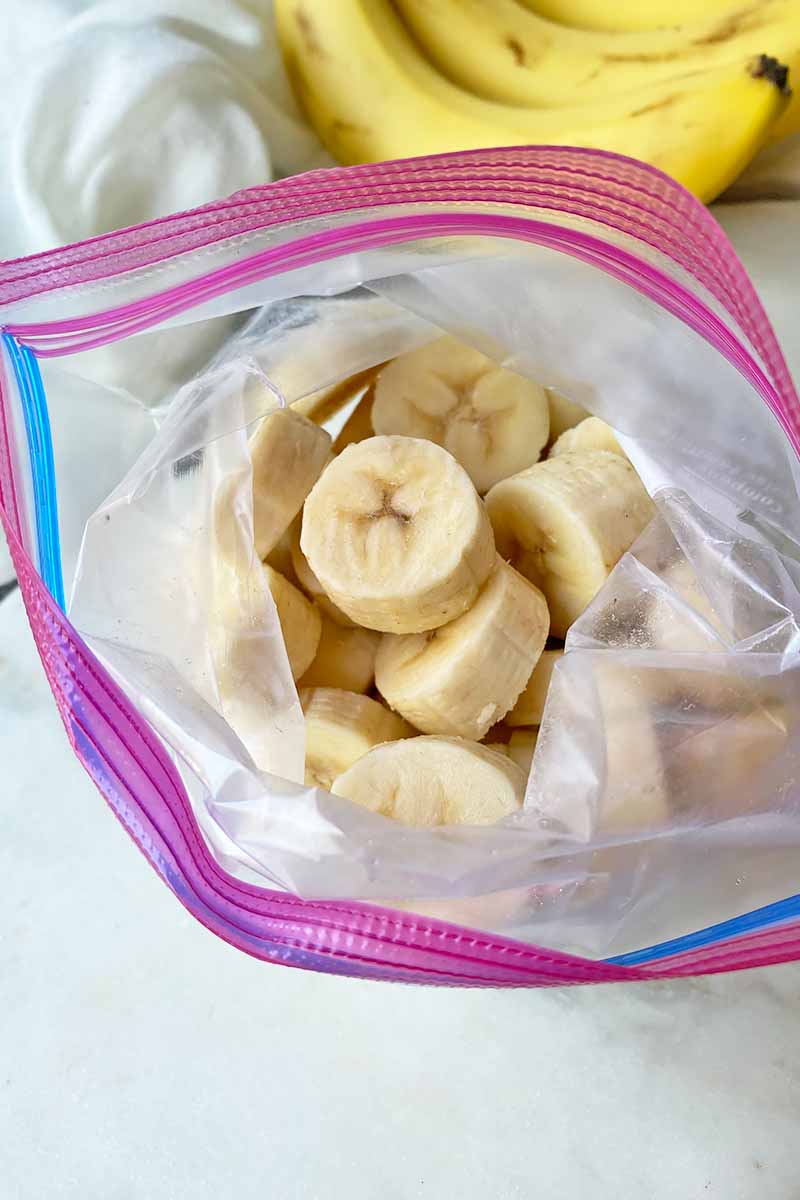
Step 5 – Store
Once they are completely frozen, transfer the pieces to your labeled airtight container or bag.
Because you froze the pieces individually in the previous step, you do not have to store them in single layers with parchment paper between each layer.
However, keeping the pieces in a single layer, or flattening the mashed bananas into a thin layer, will save the most space and keep your products neat and organized.
Place in the freezer, and you’re done!
Store in the freezer for up to 6 months.
Thawing
While you can blend frozen pieces within seconds for all pureed recipes like smoothies, you’ll need to safely thaw them for other purposes in recipes.
Please keep in mind that a thawed frozen banana, especially when very ripe, will release some liquids and will become browner when thawed. They’re certainly not that pretty, but they are still perfect to use in your recipes!
Don’t throw away any juices! This is liquid gold for recipes. The flavorful juices are like a pure, concentrated banana extract!
To Thaw in the Refrigerator:
Take out the exact number of pieces you will need for the recipe you are using. Place them in a bowl and tightly cover with plastic wrap.
Place the bowl in the refrigerator. Thaw for about 6 hours, or until they are completely soft.
To Thaw at Room Temperature:
Take out the exact number of pieces you will need for the recipe you are using. Place them in a bowl and tightly cover with plastic wrap.
Place the bowl on a table or countertop away from direct heat or sunlight. Thaw for about 30 minutes to 1 hour, or until they are soft.
To Thaw in the Microwave:
Can’t wait for hours?
If you are in a hurry, use your microwave for thawing. Use the defrost setting, microwaving in 30-second intervals, and stirring them or rotating them after each interval. Continue this process until they are soft.
How to Use Frozen Bananas
Oh my bananas, we have so many recipes! From smoothies to waffles, here is a hand-ful of top picks for you to try:
Smoothies
- Chocolate Kefir Smoothie
- Peanut Butter Banana Smoothie
- Orange Ginger Sunshine Smoothie
- Chocolate Breakfast Smoothie
Pancakes and Waffles
Muffins
- Sprouted Wheat Coconut Cocoa Muffins
- Whole Wheat Vegan Blueberry Muffins
- Easy Chocolate Chip Muffins
Quick Bread
Cakes and Cookies
These recipes are only the beginning of an endless banana buffet of cakes, cookies, breads, muffins, pancakes, waffles, smoothies, and parfaits that all showcase this sweet fruit.
Leave No Banana Unpeeled
Now that we’ve lent you a helping hand with how to prep, freeze, and thaw bananas, you won’t have any future issues with any of them going bad before you want to use it.
And you will be crushing your weekly meal prep with a prepped stash in the freezer! Check that off the list!
Every banana you buy will have a purpose in any recipe you are planning to make, from healthy smoothies and crisp waffles in the morning to sweet cookies and fluffy cakes in the evening.
Do you have big plans to become a prep master? Read some of our other how-to tutorials for prepping basic fruits and vegetables next, starting with these:
Photos by Nikki Cervone, © Ask the Experts, LLC. ALL RIGHTS RESERVED. See our TOS for more details.
About Nikki Cervone
Nikki Cervone is an ACS Certified Cheese Professional and cheesemonger living in Pittsburgh. Nikki holds an AAS in baking/pastry from Westmoreland County Community College, a BA in Communications from Duquesne University, and an MLA in Gastronomy from Boston University. When she's not nibbling on her favorite cheeses or testing a batch of cupcakes, Nikki enjoys a healthy dose of yoga, wine, hiking, singing in the shower, and chocolate. Lots of chocolate.