Do you ever find yourself wishing you had the perfect homemade gift to give friends and family for the holidays?

So often, when I want to give homemade delights as gifts, it all comes down to time.
With all the parties and gatherings that start in November and last through the end of the year, there’s barely a free moment to get the dishes done before going to bed and doing it all again the next day, let alone time to put towards making gifts that come from the heart.
To me, spending a ton of money on presents has never meant as much as the gift of something homemade. There’s so much more care put into it, and you really feel special when you open up something that couldn’t simply be bought in a store.
But what can you do, when you’re tight on time?
I personally like to give as many gifts as I can, and that usually includes hostess gifts for the parties and dinners that I am attending at this time of year. This calls for something simple and unique, while still being thoughtful and homemade.
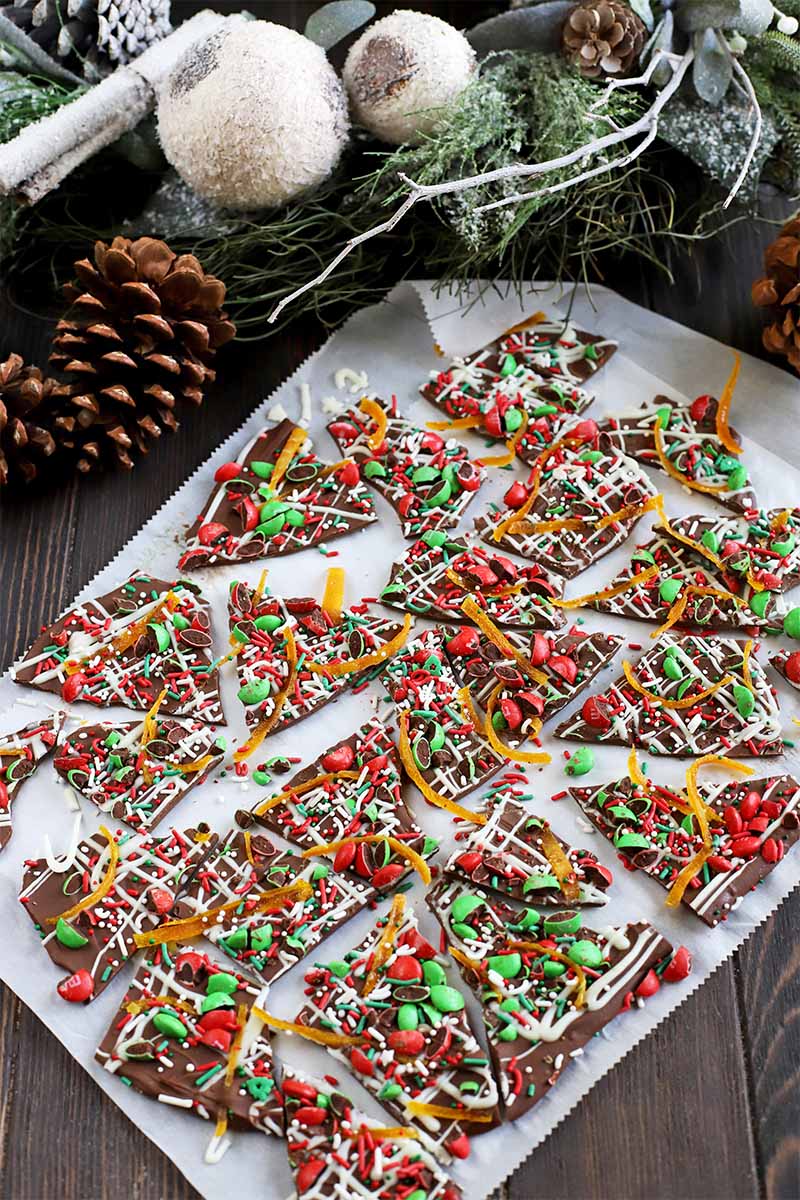
And that’s exactly where this easy chocolate candy bark comes into play.
I know it might seem like a dated idea to bring gifts to the host or hostess, but I personally love the tradition. I don’t know about you, but I put a lot of effort into the dinners and parties that I throw. There are hours of preparation, cooking, and so much more that go into it.
When I receive a little token of gratitude from a guest, it makes all that effort feel even more rewarding. It’s that little thing that makes anyone’s day.

Who doesn’t like a surprise gift, after all? Especially a surprise gift of homemade candy.
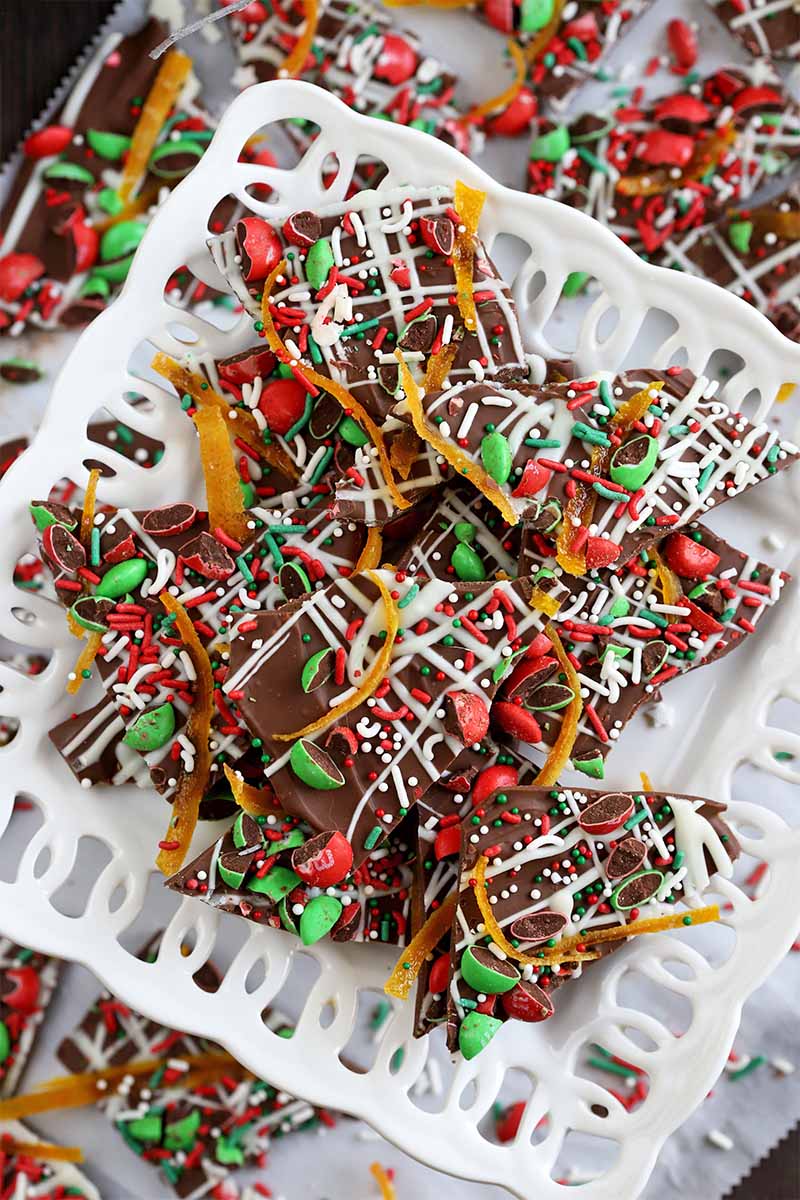
All the colors and textures sprinkled on top of this festive treat are a party in your mouth. The tang of the candied citrus peel, the crunch of the M&M’s, and the slight sweetness from the festive sprinkles are a combination that’s simply delightful.
The best part is, it’s easy to make, doesn’t cost too much, and serves as an excellent small gift. Stumped for what to give to that certain special someone? This is it!
All you have to do is melt a couple of types of chocolate, then sprinkle it with toppings.
I like to break up the chunks, save a little bit for myself, and then place the rest in decorative baggies. Tied with a festive holiday bow, they’re ready to delivery to your friends and loved ones.
You can keep them in a cool, dark place, or even in your pantry, so it’s easy to grab and go when you’re on your way to a party or a last-minute gathering.
If you want to go the extra mile, you can throw a bag of bark pieces in a stocking with a bottle of wine and a kitchen towel or wood utensil for a more cohesive gift for your favorite hostess.
No matter how you decide to enjoy this little treat, it’s a recipe that you can keep making again and again, all season long. You can even make it with other colors and types of festive sprinkles for different holidays if you want to share it with friends and loved ones throughout the year!
Print
Easy Chocolate Candy Bark
- Total Time: 1 hour, 25 minutes
- Yield: 15 servings 1x
Description
The holidays are just around the corner. This year, give a gift from the heart- like our easy homemade chocolate candy bark.
Ingredients
- 16 oz chocolate chips (semi-sweet or milk chocolate)
- 1/2 cup white chocolate chips
- 1/2 cup chopped red and green M&M’s candy
- 1/2 cup candied citrus peel
- 1/4 cup Christmas-themed sprinkles
Instructions
- Cover a baking sheet with parchment paper or a silicone baking mat. Set aside.
- Bring about 2 inches of water to a boil in the bottom of two double boilers over medium heat. If you don’t have two of them, you can use a heat-proof bowl set over a saucepan of boiling water – just don’t let the bowl touch the water.
- Place the chocolate chips in the upper portion of one double boiler, and stir frequently until melted.
- Melt the white chocolate in the other double boiler or heat-proof bowl at the same time. Add white chocolate to the top bowl and stir frequently until it is melted.
- Remove chocolate from heat as soon as it is melted, or shortly before. Slowly pour melted semi-sweet or milk chocolate onto the parchment-covered baking sheet. Using a rubber spatula, spread the chocolate evenly to about a 1/4-inch thickness.
- Drizzle melted white chocolate over the semi-sweet or milk chocolate.
- Sprinkle the chopped candy pieces, citrus peel, and sprinkles over the melted chocolate, pressing lightly if necessary to make sure it adheres. Place baking sheet in the refrigerator until cooled completely, approximately 1 hour. Remove from the refrigerator and break into pieces.
- Prep Time: 10 minutes
- Cook Time: 15 minutes
- Category: Candy
- Method: Stovetop
- Cuisine: Dessert
Keywords: holiday candy, candy, Christmas, dessert, chocolate
Cooking By the Numbers…
Step 1 – Chop M&M’s and Measure All Remaining Ingredients
Roughly chop red and green M&M’s until you have 1/2 cup.
Chop the citrus peel if desired, depending on the size of the pieces.
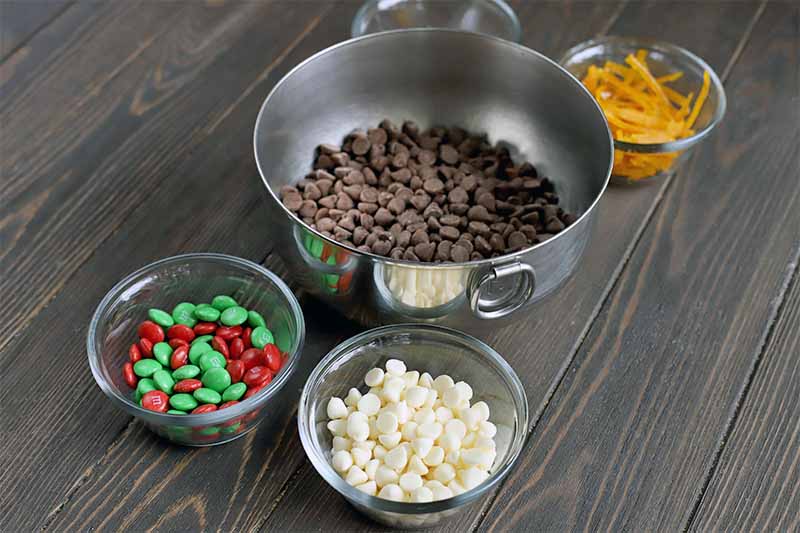
Measure all remaining ingredients as listed.
Cover a large baking sheet with parchment paper or a silicone baking mat. Set aside.
Step 2 – Melt Chocolate
Using two double boilers, bring about 2 inches of water to a boil in the bottom pans. If you don’t have double boilers, you can use saucepans with heat-proof bowls set over the top. Simply make sure the bowls don’t touch the boiling water below.
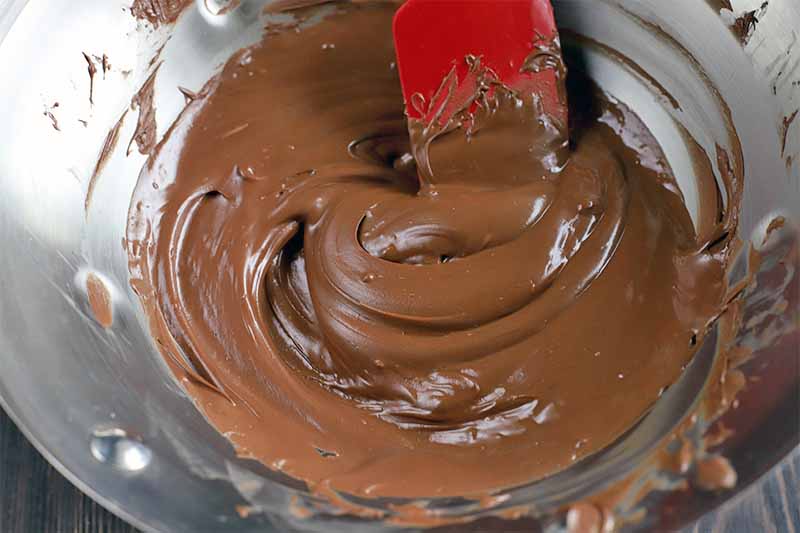
Add chocolate chips to the top bowl of one double boiler. Stir the chocolate frequently until it is melted.
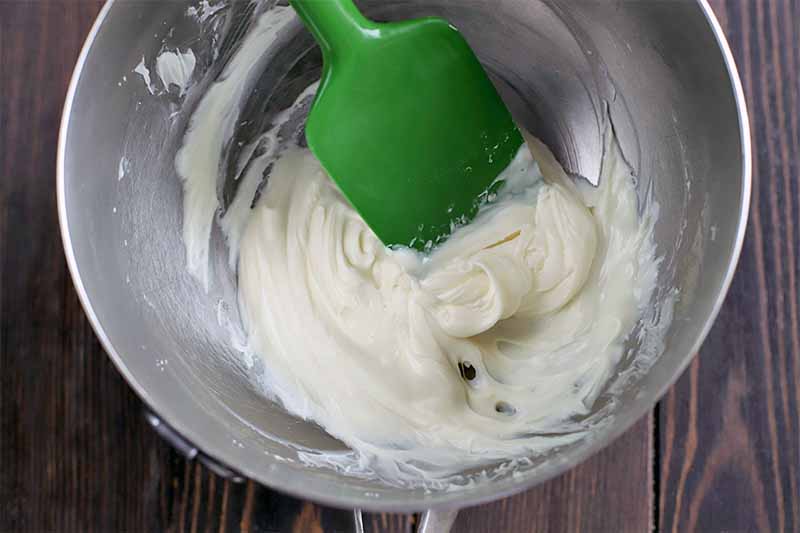
Just after you start melting the chocolate chips, melt the white chocolate in the other double boiler or heat-proof bowl. Add white chocolate to the top bowl and stir frequently until it is melted.
Step 3 – Pour
Once the semi-sweet or milk chocolate is melted, remove from heat and pour it immediately onto the prepared baking sheet.
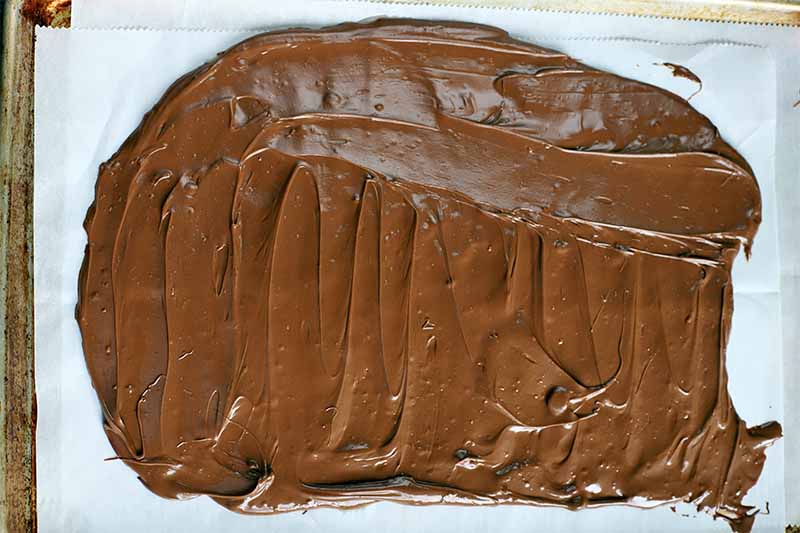
Working quickly, use a rubber spatula to spread the chocolate out evenly. It should be about 1/4 inch thick.
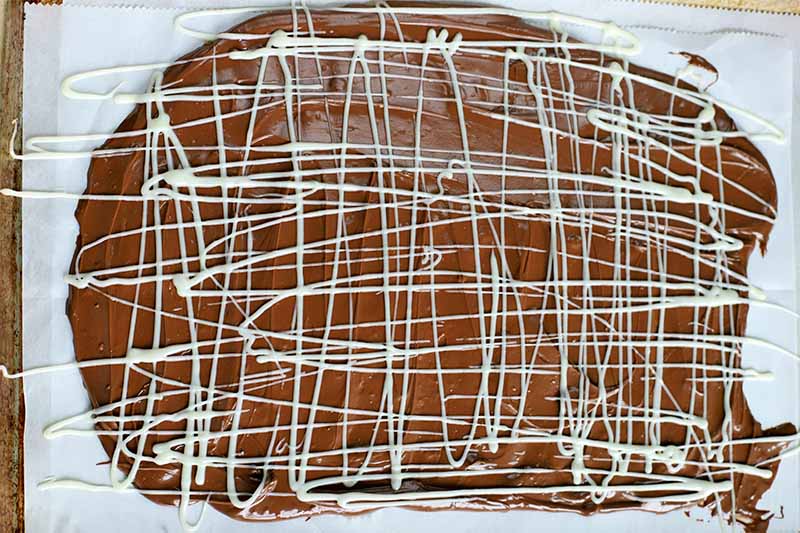
Immediately drizzle the melted white chocolate over the top.
Step 4 – Add Toppings
Sprinkle the chopped candy, citrus peel, and festive sprinkles over the melted chocolate, pressing lightly if required so that it sticks well.
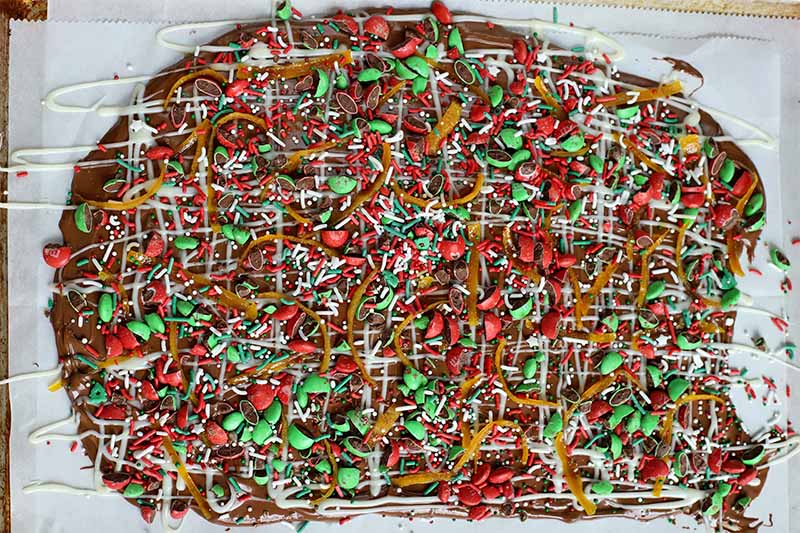
Make sure that you continue to work quickly when adding the candy and other toppings, so that everything sticks.
Place the baking sheet in the refrigerator until cooled completely, about 1 hour. Remove from the refrigerator and break into pieces. I did this right on the lined pan, for easy cleanup.
What If I Don’t Have All of the Toppings On Hand?
Even if you don’t have all of the toppings on hand for this particular recipe, as long as you have two different types of chocolate and some possible topping options, you can make this recipe.
Whether all you have are nuts, regular M&M’s or Reese’s pieces, mini chocolate chips, caramel candies, or rainbow sprinkles, you can make this bark.
Regardless, you should definitely make sure you whip up a batch of the candied citrus peel to put on top for tang and chew. It’s what really sets this bark apart. In a pinch, you could replace this with chopped dried papaya, mango, or cranberries – but the candied citrus peel is our favorite fruity addition!
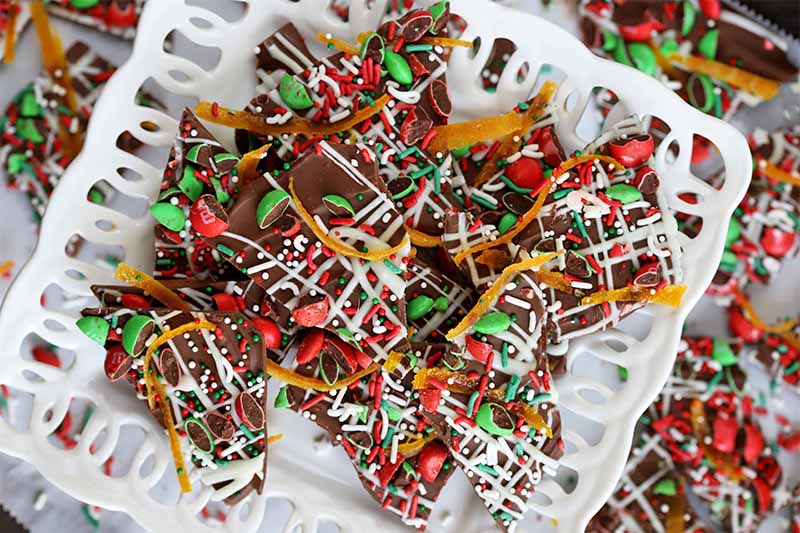
Then, you simply use the same measurements as listed in the recipe for the sprinkles and chopped M&M’s for the two ingredients you have on hand. The main idea here is to have fun with it.
If you’re looking for a minty take on this recipe, check out our Chocolate Peppermint Bark, made with crunchy pieces of red and white peppermint candy. For a spicier version, try our Chili Chocolate Bark.
Or for more Christmas candy ideas, take a look at some of these yummy recipes:
- Dark Chocolate Hazelnut Truffles
- Classic Homemade Toffee
- Homemade Marzipan-Hazelnut Chocolates
- Holiday Whiskey Truffles
- Almond Chocolate Matzo Toffee
- The Lazy Cook’s Homemade Mochi
Who would you give a bag of this simple chocolate bark to? Tell us in the comments below, and be sure to come back and rate the recipe once you’ve tried it for yourself.
Photos by Meghan Yager, © Ask the Experts, LLC. ALL RIGHTS RESERVED. See our TOS for more details. Originally published on February 9, 2011. Last updated: December 27, 2022 at 11:30 am.
Nutritional information derived from a database of known generic and branded foods and ingredients and was not compiled by a registered dietitian or submitted for lab testing. It should be viewed as an approximation.
About Meghan Yager
Meghan Yager is a food addict turned food and travel writer with a love for creating uncomplicated, gourmet recipes and devouring anything the world serves up. As the author of the food and travel blog Cake 'n Knife, Meghan focuses on unique foodie experiences from around the world to right at home in your own kitchen.


