
We occasionally link to goods offered by vendors to help the reader find relevant products. Some of these may be affiliate based, meaning we earn small commissions (at no additional cost to you) if items are purchased. Here is more about what we do.
I know many of you parents out there are constantly on the lookout for fun cooking and baking activities to do with the kids, but you can only make (and eat!) so many cookies.
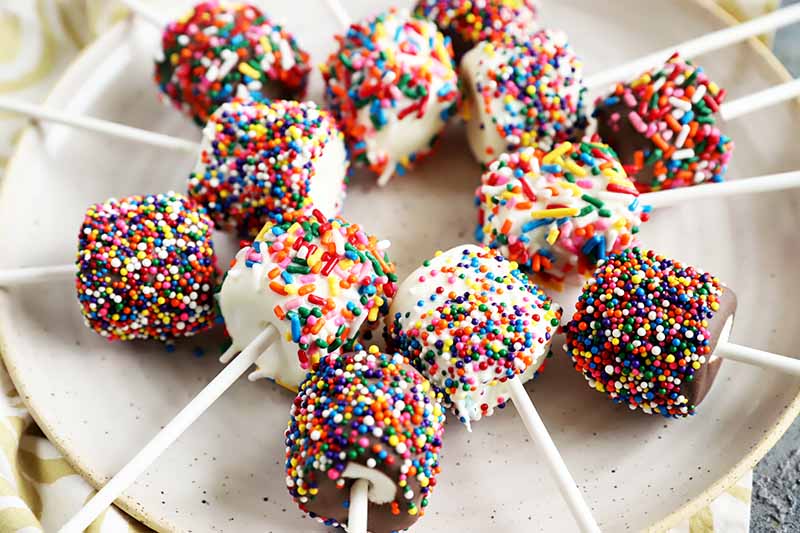
As a new mama myself, I have friends and family members who are already giving me so many different ideas. But these marshmallow pops are the kid-friendly recipe that I will definitely be keeping in my back pocket to pull out whenever I need it.
These are perfect for any time of year, and a fantastic activity for those rainy days when outside is off limits (unless you want muddy messes running all through your home… Okay – LOL – we already have two dogs that do that!)
My husband also happens to be obsessed with marshmallows, so he loves these too. In fact, they might be his new favorite recipe.
The best part is that you don’t have to worry about tempering chocolate, because we are using candy melts to make these sweets. They’re so much easier to melt in the microwave with smooth and perfect results, rather than producing seized chocolate that needs to be fixed.
It’s so much fun to gather around the kitchen table, dipping marshmallows in chocolate and decorating them however you like. This is an excellent excuse to purchase those fun sprinkles you’ve been eyeing for so long… And it’s even okay to get a little messy!
If you want to go the extra mile, try making your own tasty homemade marshmallows instead of buying them at the store. It’s fun to get the whole family involved with the process from start to finish, and make these a little more homemade.
Plus, you’ll love the way our homemade version tastes. In fact, you just might end up never buying marshmallows from the store again.
Make Things Festive
These marshmallow pops are ideal sweet treats to make at any time of year, and you can easily make them festive to go with whatever holiday you are celebrating.
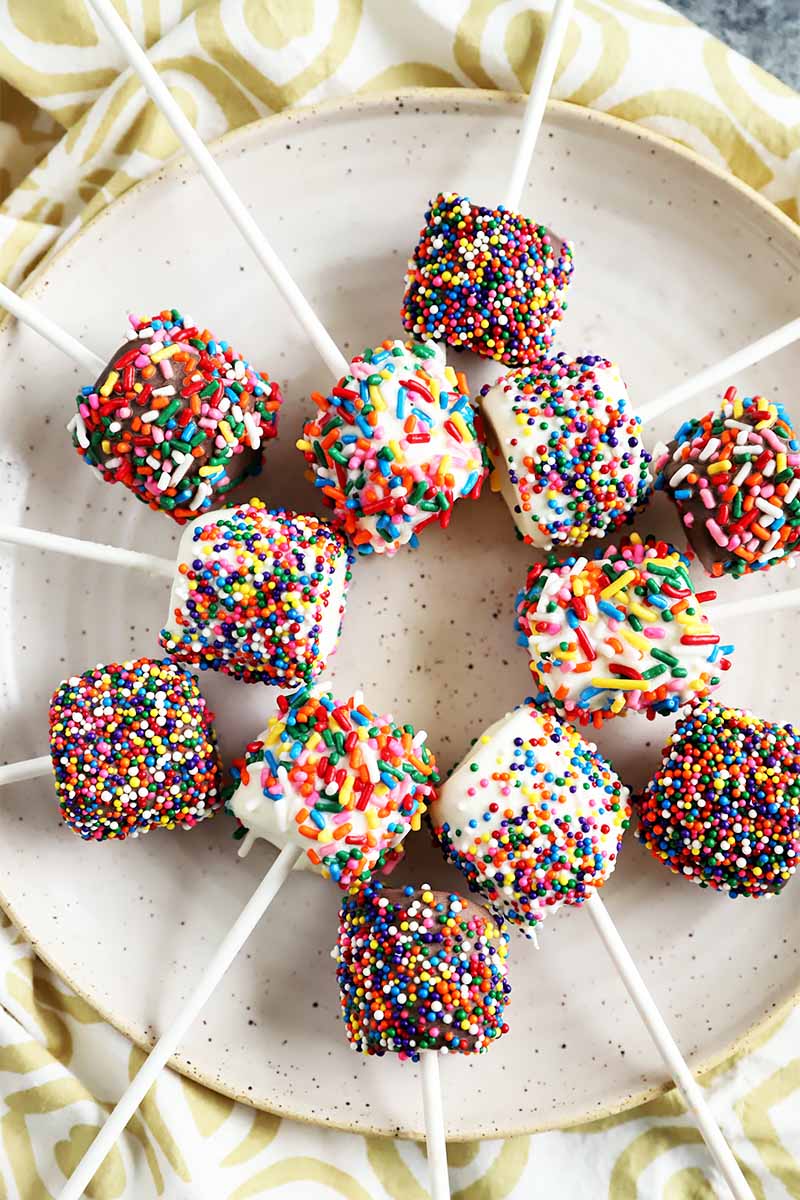
You can decorate them however you like! Here are some fun color combos to try:
- Gold and silver sanding sugar for New Year’s Eve. Easy to hold with a glass of champagne in the other hand.
- Red, pink, and white make for a lovely addition to your Valentine’s Day present (so much better than roses, I think!).
- Green and yellow pairs nicely for a fun way to celebrate St. Patrick’s Day.
- Try pastel sprinkles for Easter and add them to the kiddos’ Easter baskets.
- Red, white, and blue candy melts and sprinkles for the 4th of July.
- Dark chocolate dipped marshmallows with orange sprinkles for Halloween.
- White and blue is ideal for Hanukkah treats.
- Red and green sprinkles for Christmas. They make fantastic stocking stuffers too.
Get Creative
What about toppings other than sprinkles? There are many more options available for you to try out, and this is where you can get even more creative. Start with some of my favorites, as follows:
- Crushed Oreos
- Chopped candy corn
- Graham cracker crumbs
- Mini milk chocolate chips (because who doesn’t love a double dose of chocolate?)
- Crushed vanilla wafers
This activity makes it easy to include your family, even the little ones, to make something fun that’s perfect for any occasion – even if it’s just because you are staying in on a rainy day, you can enjoy this delicious marshmallow and chocolate combo together.
Print
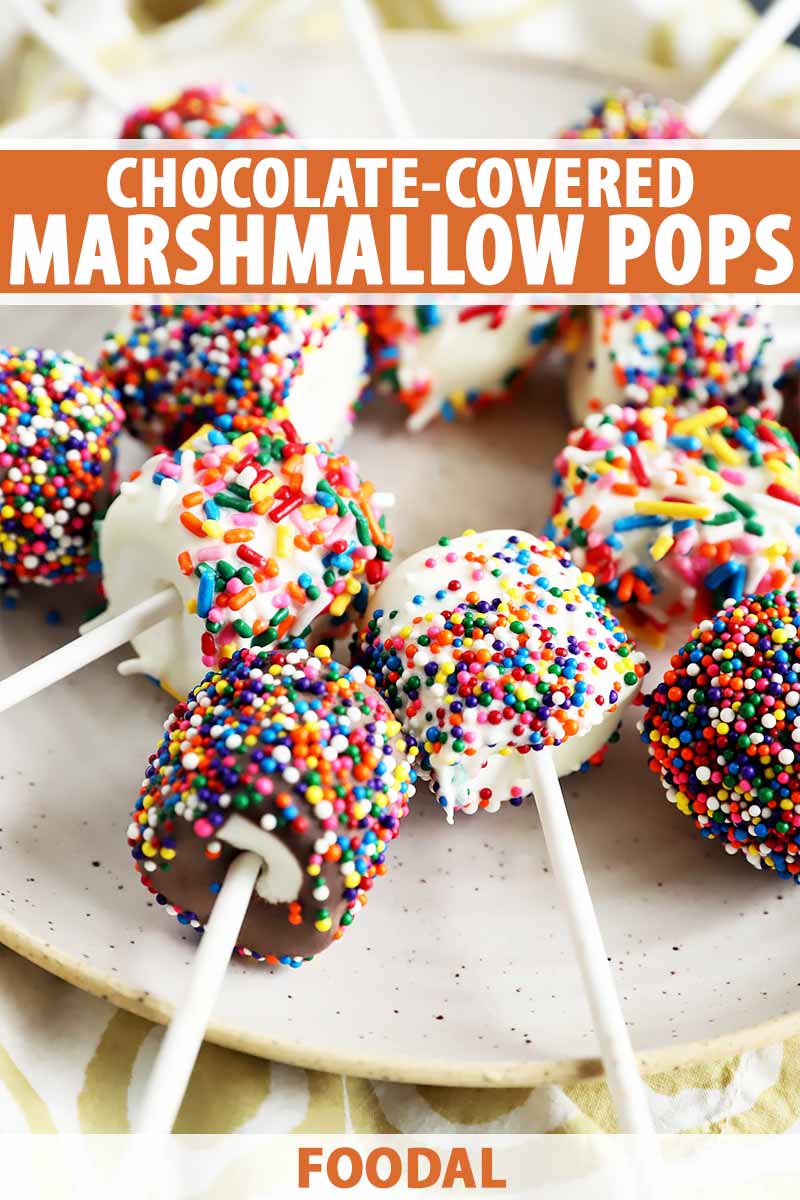
Chocolate-Covered Marshmallow Pops
- Total Time: 40 minutes
- Yield: 20 pops 1x
Description
If you’re seeking a fun kitchen activity that results in a sweet treat the whole family will love, look no further than these marshmallow pops.
Ingredients
- 20 large marshmallows, store bought or homemade
- 1 10-ounce bag chocolate candy melts (milk, white, or dark chocolate)
- Lollipop sticks
- Sprinkles or other decorative toppings of choice
Instructions
- Place chocolate melts in a microwave-safe bowl, and heat in the microwave on 50% power for 1 minute. Stir well. Continue heating on 50% power in 30-second intervals, stirring in between each, until completely melted. Do not overheat or the chocolate will become unworkable.
- While the candy melts are in the microwave, push sticks into the center of each marshmallow on one of the flat sides so they sit firmly without piercing through the other side.
- Place sprinkles and other decorative toppings into small bowls. Line a sheet pan with a piece of waxed paper and set aside, or prepare a block of styrofoam or florist’s foam for allowing the chocolate to set.
- Dip the tops of marshmallows into melted chocolate and let any excess drip back into the bowl. Wait about 10 seconds, then sprinkle toppings onto the marshmallows with your hands or a spoon.
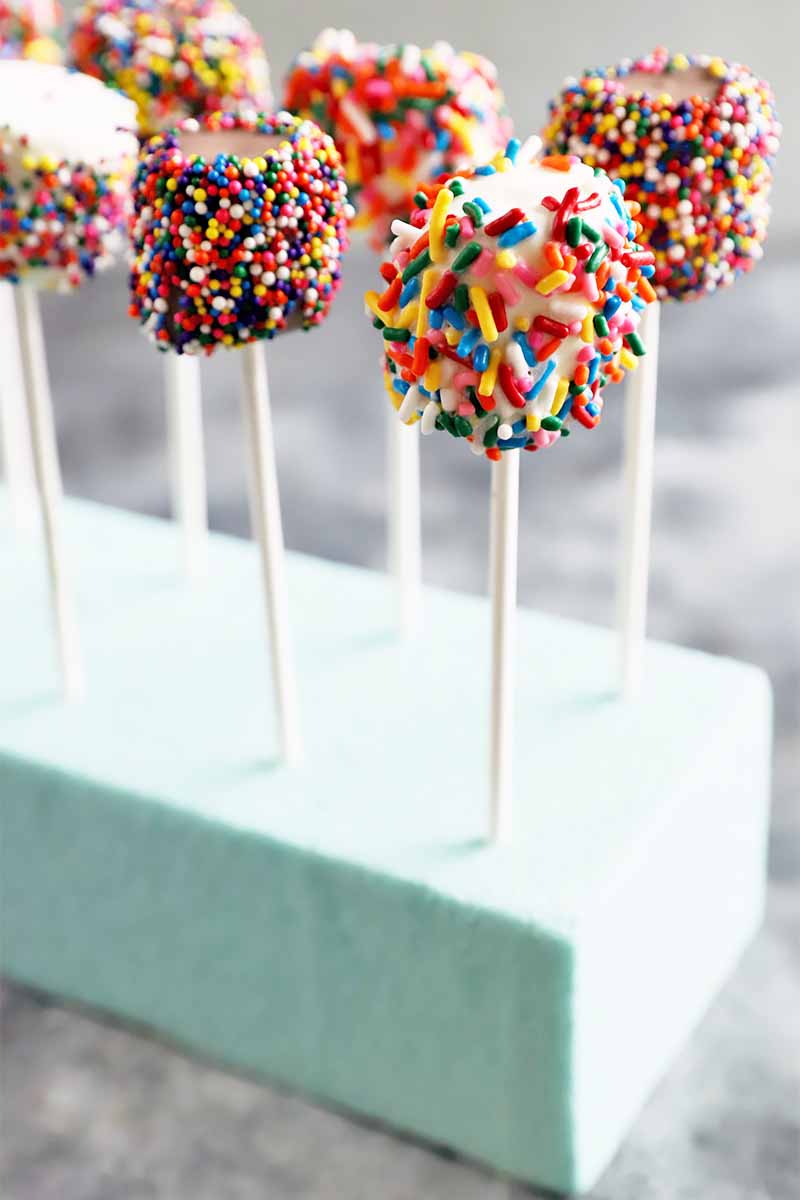
- Stick the pops into styrofoam blocks so the chocolate can set. If you don’t have styrofoam, you can set them on a sheet pan lined with wax paper, stick side up. Let sit until chocolate is set, about 30 minutes.
- Prep Time: 5 minutes
- Cook Time: 5 minutes
- Category: Marshmallow
- Method: Microwave
- Cuisine: Candy
Cooking By the Numbers…
Step 1 – Measure Ingredients
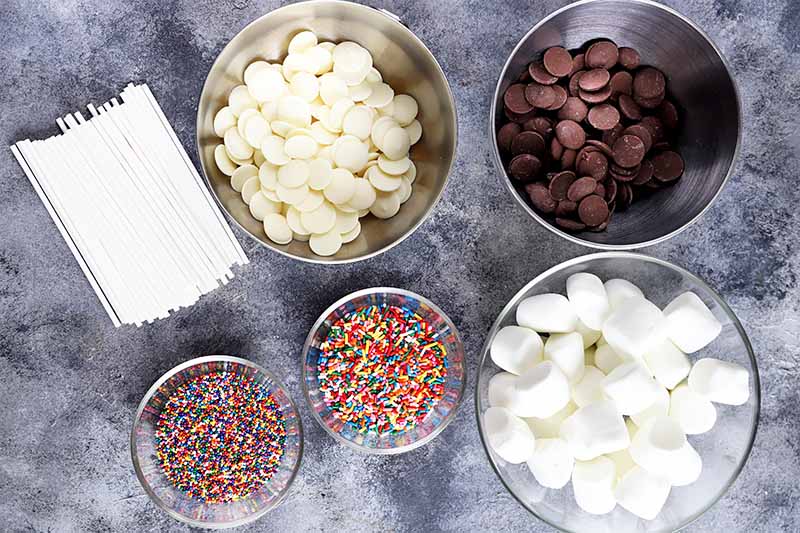
Measure out all of the ingredients as listed in the ingredients list, including your choice of decorations and toppings.
I like to use these six-inch lollipop sticks from Wilton, which are available on Amazon.
If you don’t have styrofoam or florists’ foam to stick the pops into to harden, line a sheet pan with waxed paper and set it aside.
Step 2 – Melt Chocolate
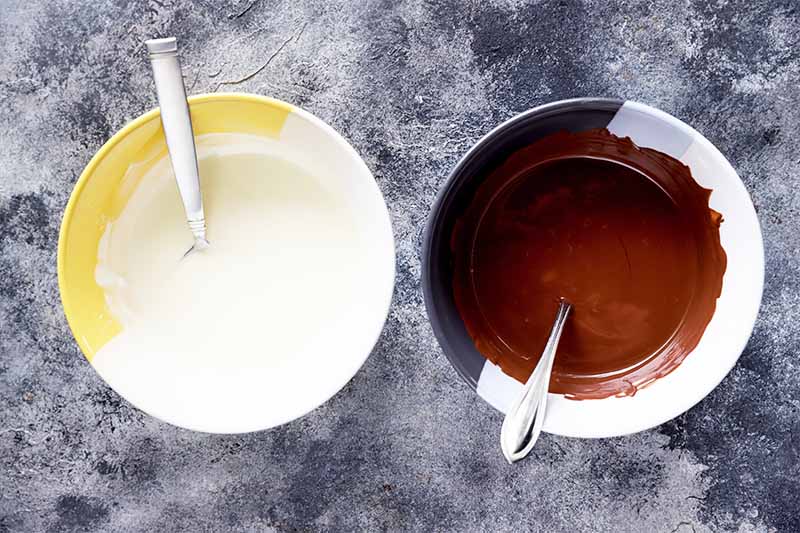
Add the candy melts to a microwaveable bowl (and if using different colors, place in separate bowls).
Place in the microwave on 50% power and cook for 1 minute. Stir well, and return to the microwave. Keep heating on 50% power in 30-second intervals, making sure to stir in between each until the candy melts are all melted. Make sure you don’t overheat it.
Pro Tip: If you accidentally overheat the chocolate, it can easily be saved. Simply add 1/2 teaspoon of vegetable shortening at a time until it returns to the right consistency. You can read more about this recommendation in this recipe.
Step 3 – Dip
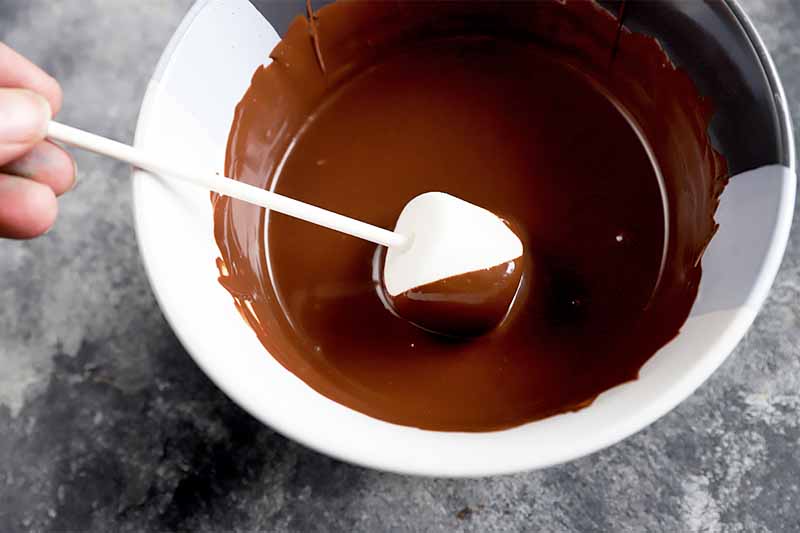
While the chocolate is melting, place each marshmallow on a stick, pushing the sticks in until they are firmly in place without piercing through the other side, as pictured.
Place sprinkles and decorative toppings in small bowls.
Dip the marshmallows into the melted chocolate one by one. Let each pop hang over the bowl for a minute, allowing any excess chocolate to drip back off.
Step 4 – Decorate and Cool
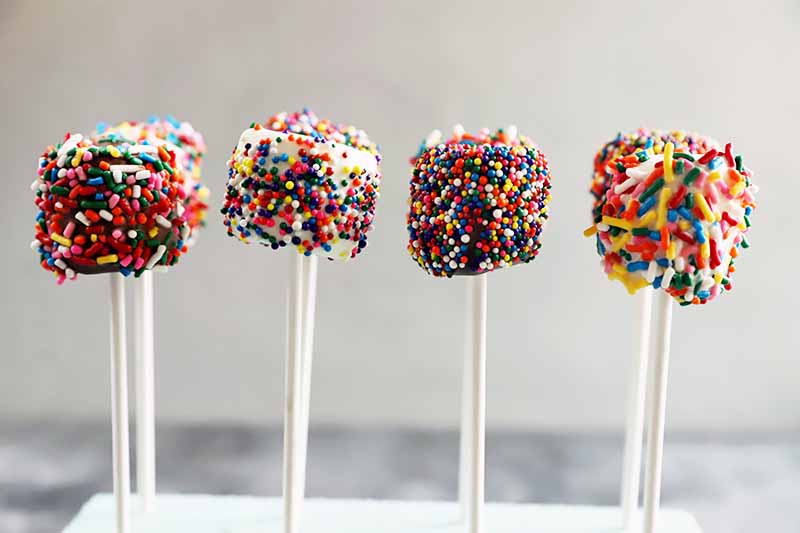
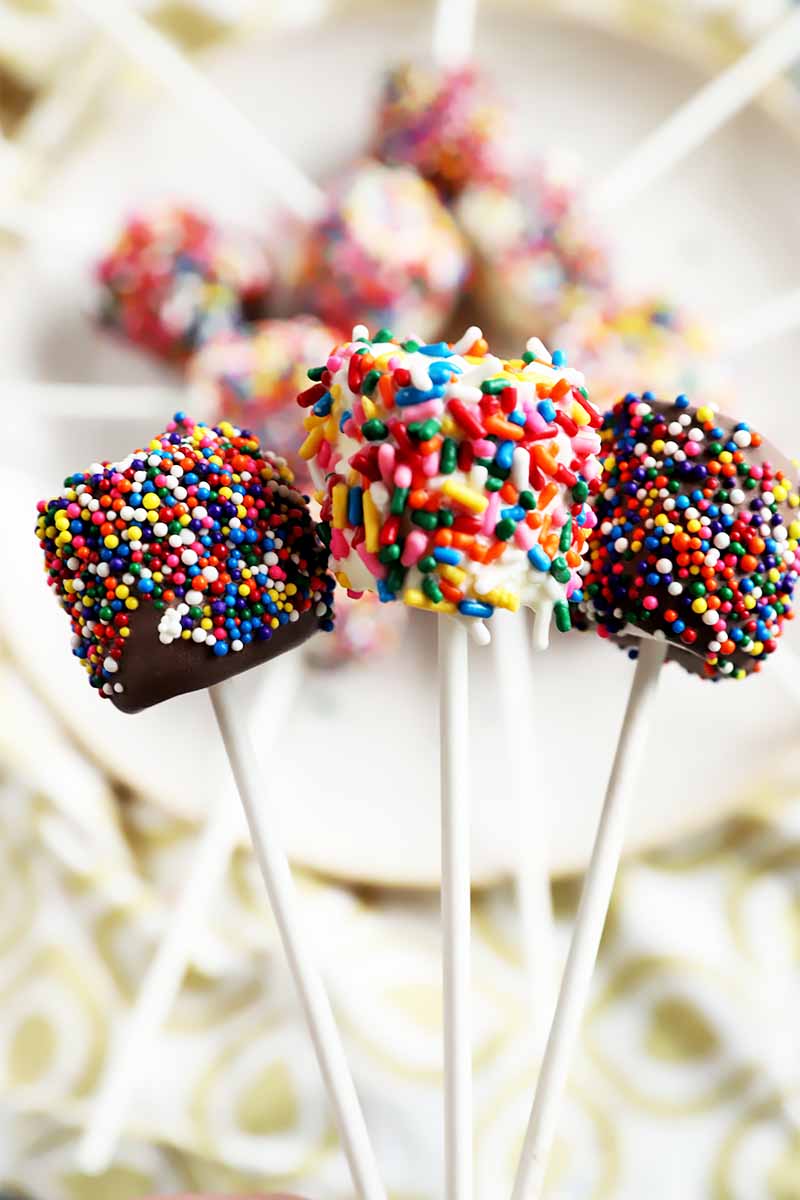
Sprinkle with toppings to coat (I used sprinkles, as you can tell).
It’s best to lightly sprinkle these on with a spoon or with your fingers instead of dipping, so be sure to give the kids some guidance with this. If you dip, toppings will easily sink or be pressed into the chocolate, and you won’t be able to see them as well.
Place the stick ends into your styrofoam block, or set them stick side up onto your lined sheet pan. Let them set for 30 minutes until the coating is firm.
How Do I Store These?
Storing these pops is super simple. Make sure the chocolate layer has set, then line an airtight container with wax paper. Layer the pops in the container in even layers, with wax paper in between each layer. Then you can cover tightly, and store for about 4 days.
I like to make sure I store the pops in a cooler area of my house –or in other words, not on top of the stove or refrigerator, or somewhere else that the chocolate could heat up and melt.
You wouldn’t want to have them that high up, anyway, right? No need to strain yourself when your sugar craving strikes! Keep ‘em on the counter!
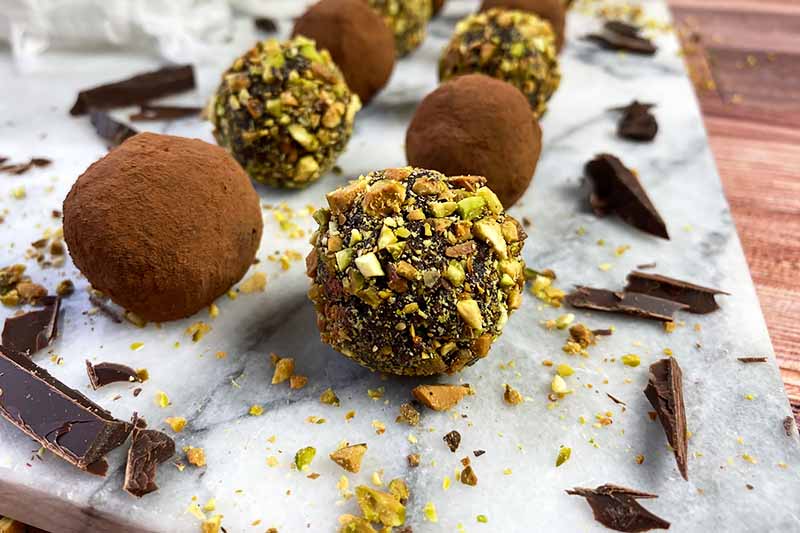
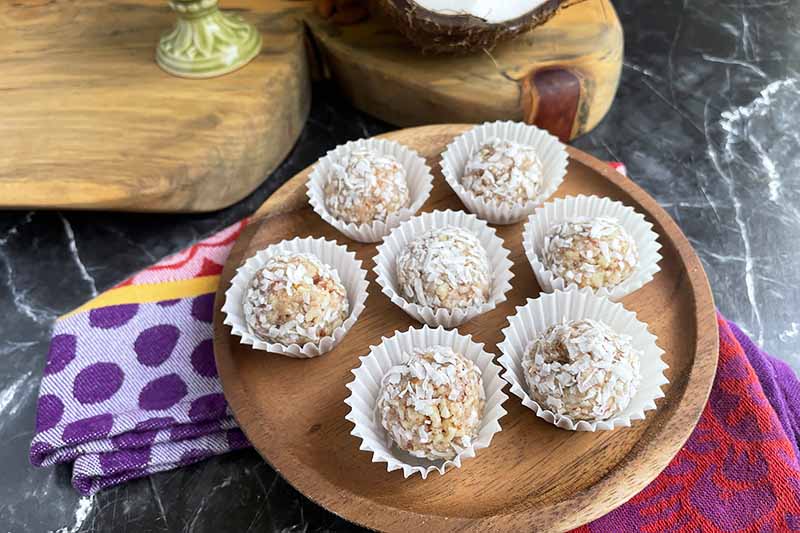
If you love this recipe, we have so many more chocolate recipes to share. Take a look at some of my favorite sweet treats that all kids, and kids at heart, will enjoy:
How will you decorate your pops the first time you make this recipe? Do you have any events coming up that would be the perfect opportunity to create a fun and colorful dessert? I’m so excited to read about all of your ideas, so be sure to leave a comment below!
Photos by Meghan Yager, © Ask the Experts, LLC. ALL RIGHTS RESERVED. See our TOS for more details. Originally published on August 26, 2010. Last updated on March 11, 2021. With additional writing and editing by Nikki Cervone.
Nutritional information derived from a database of known generic and branded foods and ingredients and was not compiled by a registered dietitian or submitted for lab testing. It should be viewed as an approximation.
About Meghan Yager
Meghan Yager is a food addict turned food and travel writer with a love for creating uncomplicated, gourmet recipes and devouring anything the world serves up. As the author of the food and travel blog Cake 'n Knife, Meghan focuses on unique foodie experiences from around the world to right at home in your own kitchen.
i am love it 10/10
I wonder why the heck I didn’t think of this! How fun and easy with my little ones – they feel like they made a five star dessert and daddy agrees. Thank you.