I am one of those souls who loves to bake cookies. Would you agree?
I don’t know if this passion comes from baking often as a child, or the fact that baking cookies just comes naturally to me.

Perhaps it’s because cookies feel like they are a little more forgiving to make compared to other desserts. For me, they are the easiest thing to bake.
Personally, I struggle with making pretty cakes. I struggle with making the perfect pie that comes out without a soggy bottom. It’s something I can do, but it usually takes a few tries to perfect.
Who has time for all of that fussing? Not me, that’s for sure.
As someone who is just a wee bit impatient, I like to opt for the baked good that I can usually nail on the first attempt.
Does that make me lazy? Or does that make me a genius? You decide.
Thus, an obsession with baking cookies was born.
Ever since I realized that this particular baked good was my main jam, I’ve been all about baking, just about every single weekend.
I like to bake cookies when I’m sad or stressed. It’s the treat I like to gift to friends and family, and the type of recipe that I like to tinker with, to explore all the endless possibilities of flavor that can be contained within a tasty batch.
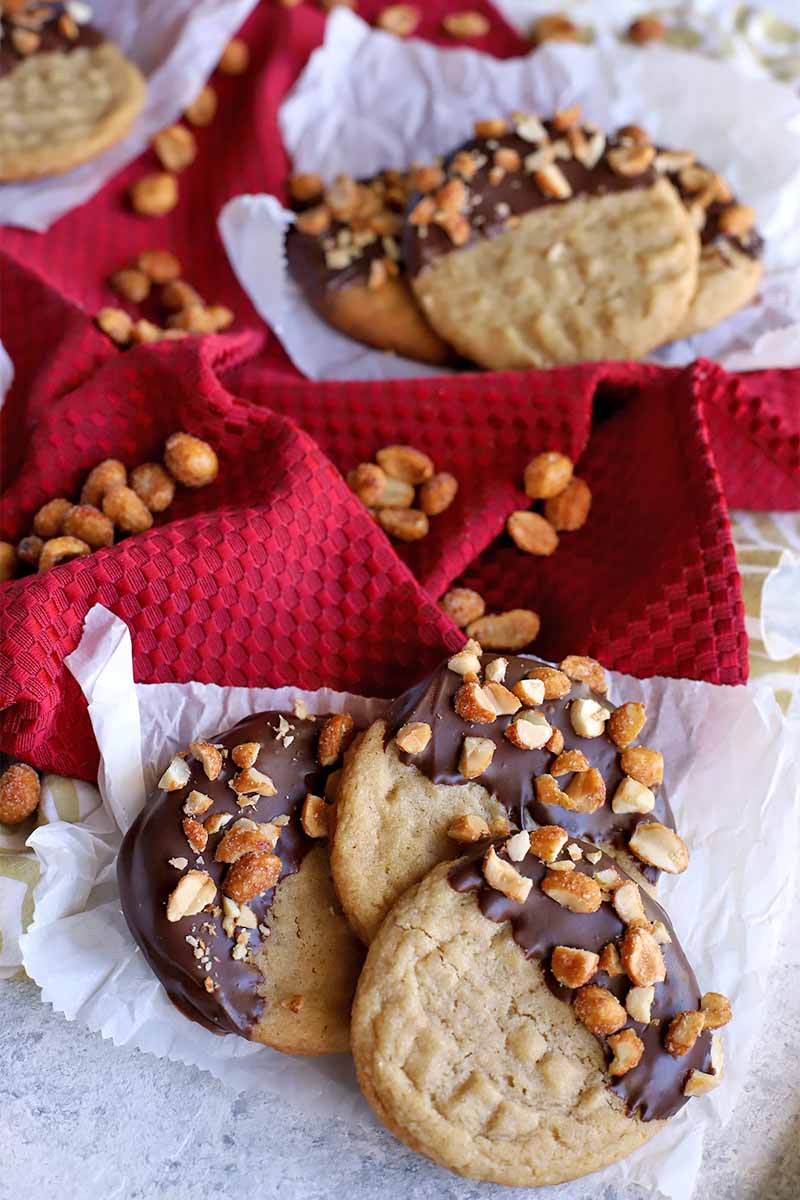
There’s so many different things you can do with these, but if you haven’t tried dipping them in chocolate yet, you are seriously missing out.
Simply put, that hard chocolate coating wrapped around a dense and chewy cookie is positively the best.
I used to think that making homemade chocolate-dipped cookies was a bit too intimidating for my taste. Those particular treats were ones that I felt I needed to buy at a bakery, to make sure they looked and tasted epic.
As it turns out, it’s much easier than you would think to make them at home.
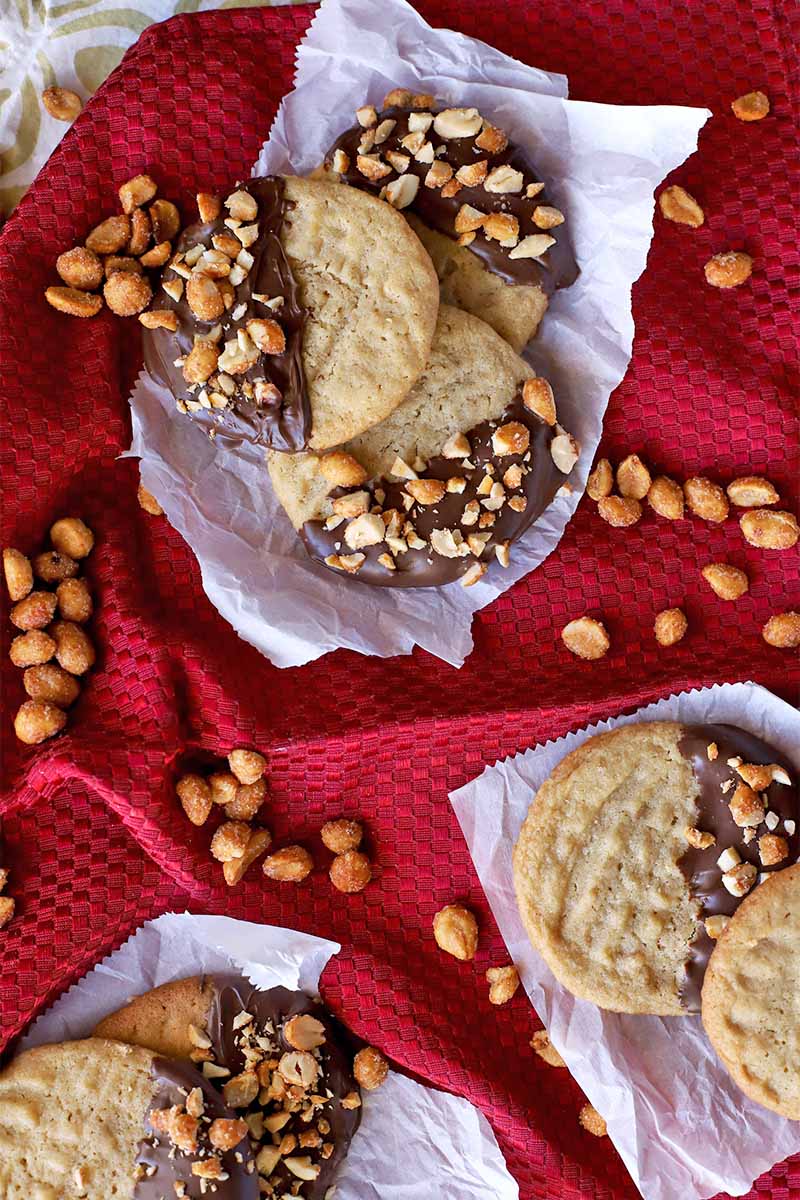
Not to mention, they will totally wow anyone you serve them to. I mean, just take a look at these gorgeous sweet morsels. And I swear I didn’t have to slave over them all day to make them so pretty!
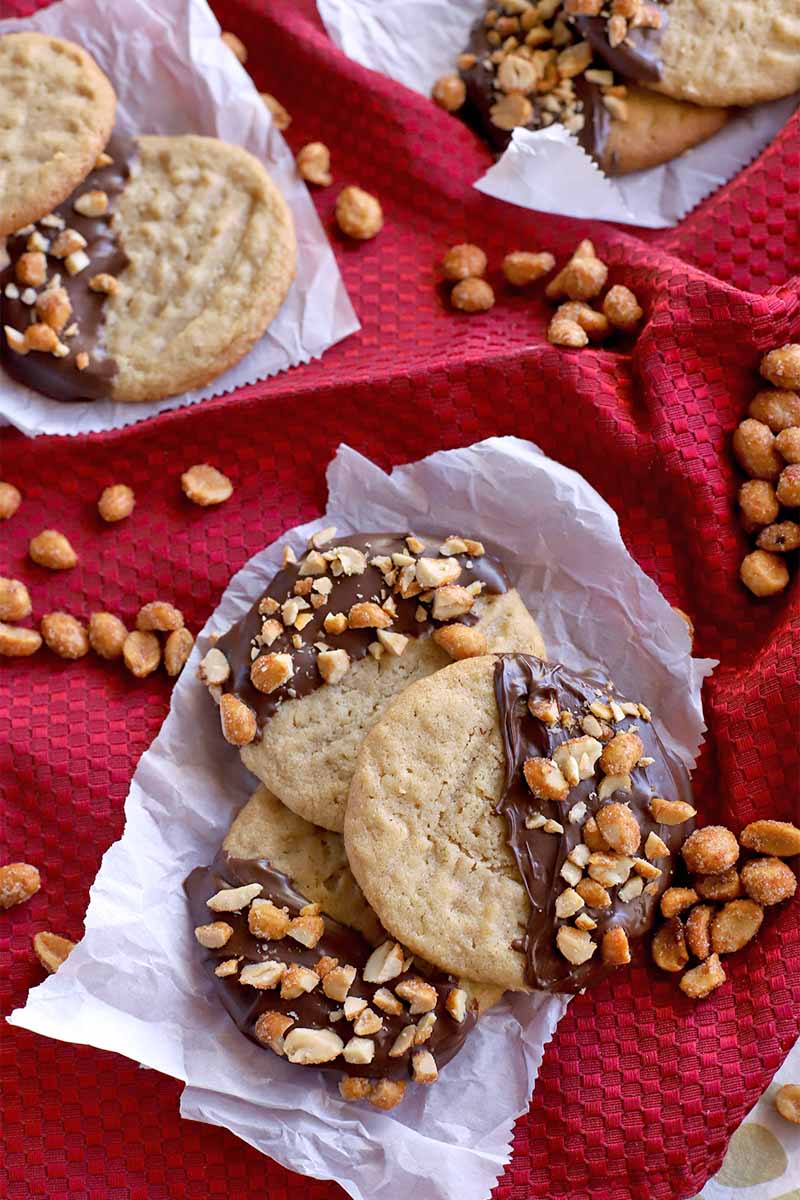
Aside from that gorgeous chocolate coating on half the cookie, you have a nice crunch of honey roasted peanuts on top. If you are a chunky peanut butter lover, you are going to totally freak out over this recipe.
When you think about it, this particular recipe has everything:
- A soft and chewy cookie that’s loaded with pure peanut butter deliciousness.
- A dip in some deliciousness chocolate, for richness and added depth, with a touch of bitterness.
- A fun little crunch and burst of added honey sweetness from the nuts.
It’s like the most fancy peanut butter cup that money could buy, but in cookie form, bursting with all of the textures and elevated flavors that a mashup of two dessert classics can provide.
You will find yourself making these year round, but they do make for an especially delicious treat at cookie exchanges during the holidays. And you can even pack them up and mail them around the country, to friends and family that won’t be with you during the holiday season.
Print
Peanut Butter Cookies Dipped in Chocolate
- Total Time: 2 hours, 5 minutes
- Yield: 30 cookies 1x
Description
Ditch the candy cups and bring the same epic flavor combination to your kitchen with our chocolate-dipped peanut butter cookies.
Ingredients
For the Cookies:
- 1/2 cup unsalted butter, at room temperature
- 3/4 cup smooth peanut butter
- 1/2 cup granulated sugar
- 1/2 cup firmly packed light brown sugar
- 1 large egg
- 1 1/2 cups flour
- 1/2 teaspoon baking powder
- 3/4 teaspoon baking soda
- 1/4 teaspoon kosher salt
For the Coating:
- 8 ounces bittersweet chocolate chips (or a bar, coarsely chopped)
- 3/4 cup coarsely chopped honey roasted peanuts
Instructions
- Using a stand mixer fit with the paddle attachment, beat the butter and peanut butter on medium speed until well combined. Add sugars and beat until light and fluffy, about 2 minutes.
- Add the egg and beat on medium speed for 1 minute.
- In a separate medium bowl, whisk together the flour, baking powder, baking soda, and salt. Add this flour mixture to the peanut butter mixture and beat on low until just combined. Refrigerate the dough for at least 30 minutes.
- Meanwhile, preheat oven to 375˚F and line two baking sheets with parchment paper or silicone mats.
- Drop by the tablespoonful onto the baking sheets, spaced about two inches apart. Use the tines of a fork to press them flat with a crisscross design.
- Bake for 8-10 minutes, until deep golden brown along the edges. Remove to wire racks to cool completely.
- Melt the chocolate in the microwave, or over a double boiler. Dip cooled cookies into chocolate and sprinkle with chopped nuts, then set them on a wire rack arranged on top of a sheet of waxed paper.
- Let stand for 1 hour to harden, or refrigerate for a few minutes.
- These cookies will last up to 3 days in an airtight container, or 2 weeks in a container in the fridge.
- Prep Time: 15 minutes
- Cook Time: 20 minutes
- Category: Cookies
- Method: Baking
- Cuisine: Desserts
Keywords: peanut butter, peanut butter cookies, cookie, holiday baking, Christmas
Cooking By the Numbers…
Step 1 – Soften, Chop, and Measure Ingredients
Set the butter out at room temperature for 30-60 minutes, until softened.
If you don’t have time to soften butter this way, you can place it in a microwave-safe bowl and heat it for 15 seconds on 30% power.
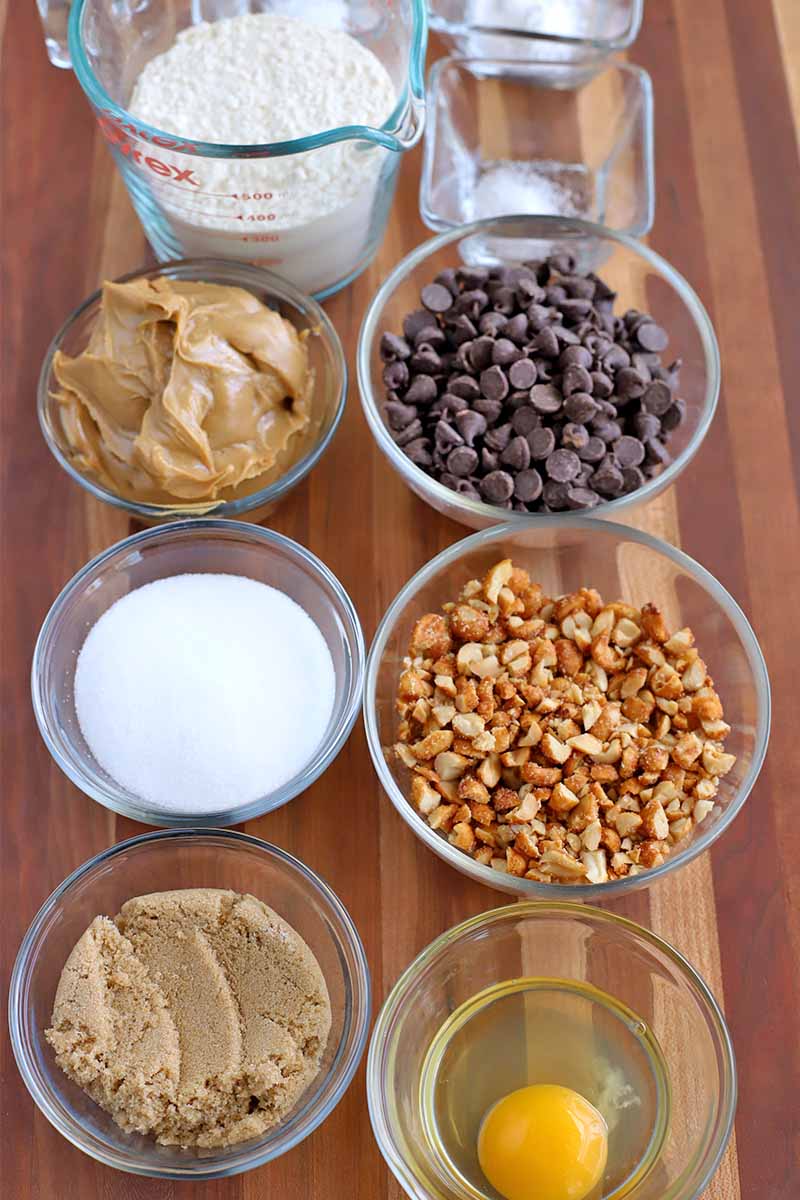
Roughly chop the chocolate bar if you are not using chips, and the peanuts.
Measure out all remaining ingredients, and place them out in the order listed in the ingredients list.
Step 2 – Make Batter
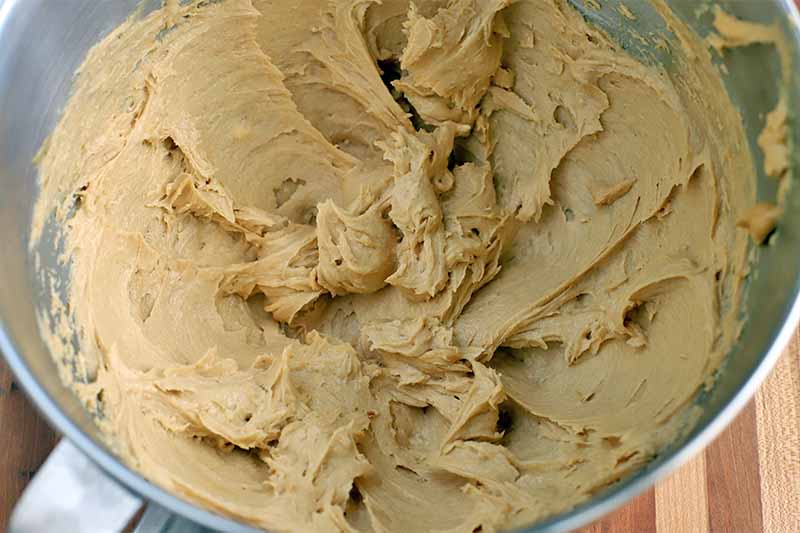
Fit a stand mixer with the paddle attachment. Add butter and peanut butter, and beat on medium speed until well combined. Beat in sugars until light and fluffy, for about 2 minutes.
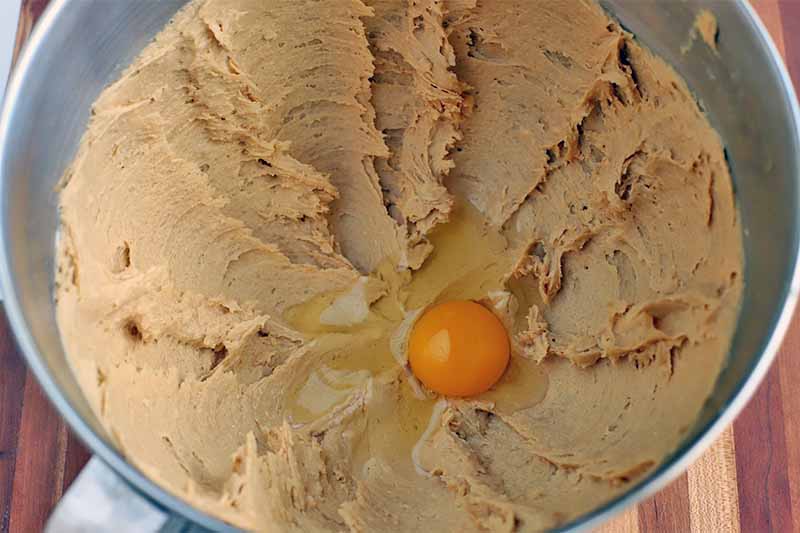
Beat in egg until combined on medium speed, for about 1 minute.
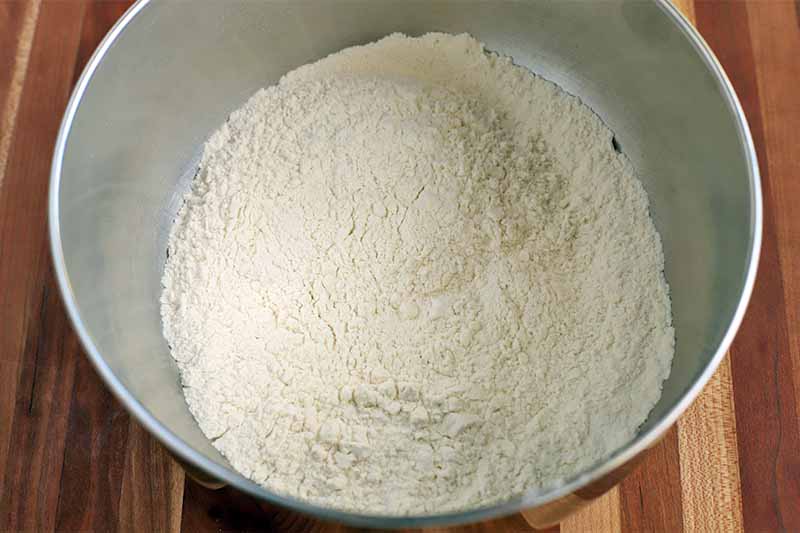
In a separate bowl, whisk together flour, baking powder, baking soda, and salt until combined.
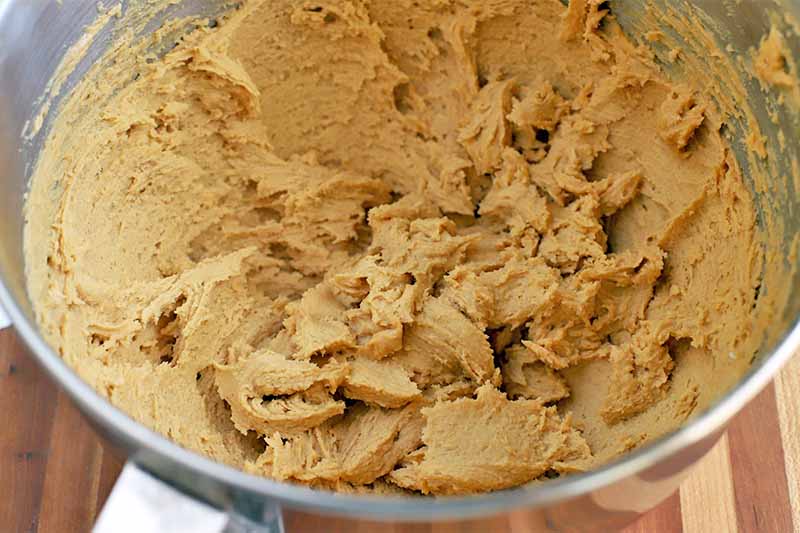
Add the dry ingredients to the wet ingredients, and beat on low until just combined.
Step 3 – Chill and Bake
Cover the bowl with plastic wrap and chill dough for 30 minutes in the refrigerator.
When ready to bake, preheat oven to 375˚F. Line two baking sheets with parchment paper or silicone mats.
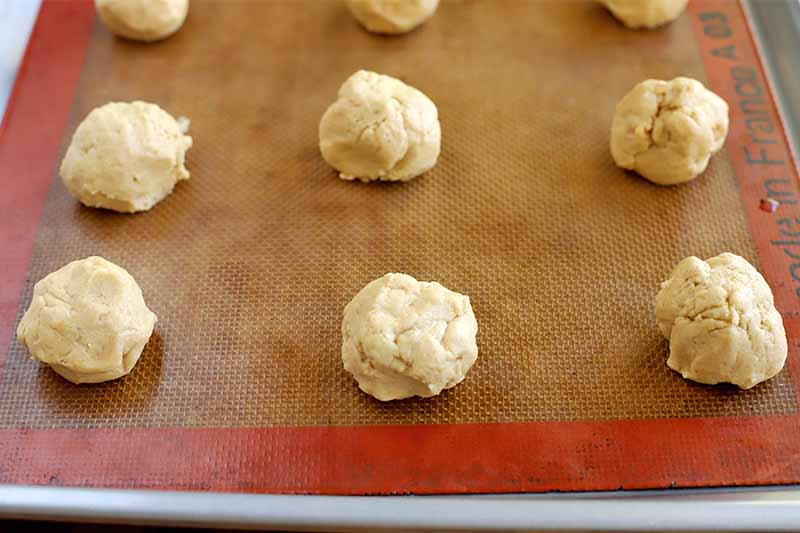
Portion the dough by the tablespoonful onto the baking sheets, spacing them about 2 inches apart. Use the prongs of a fork to press the dough balls flat with a crisscross design.
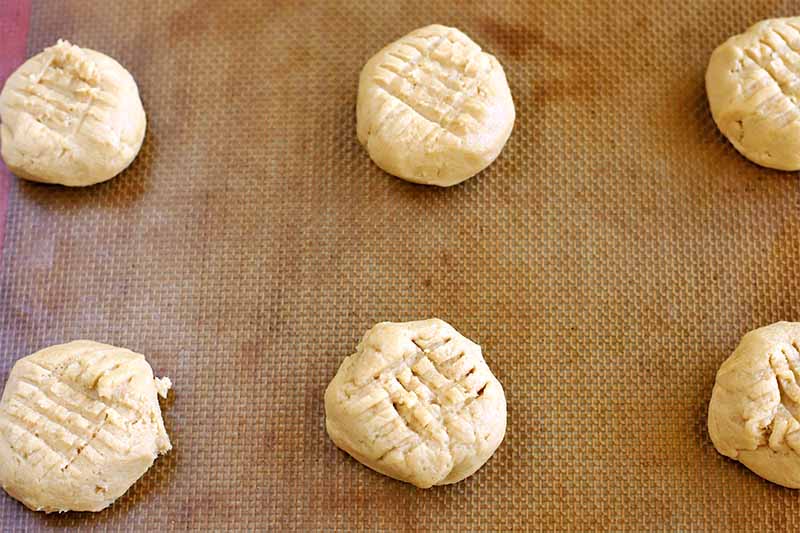
Bake for 8-10 minutes. The cookies should be a deep golden brown around the edges. Remove to wire racks to cool completely.
Step 4 – Melt and Dip
Melt the chocolate in the microwave or in a double boiler, stirring occasionally, until smooth and melted completely. This should take about 5 minutes or so.

Position a wire rack over a sheet of waxed paper.
Dip the cooled cookies into the chocolate so they are halfway covered. Sprinkle the chocolate side with chopped nuts.
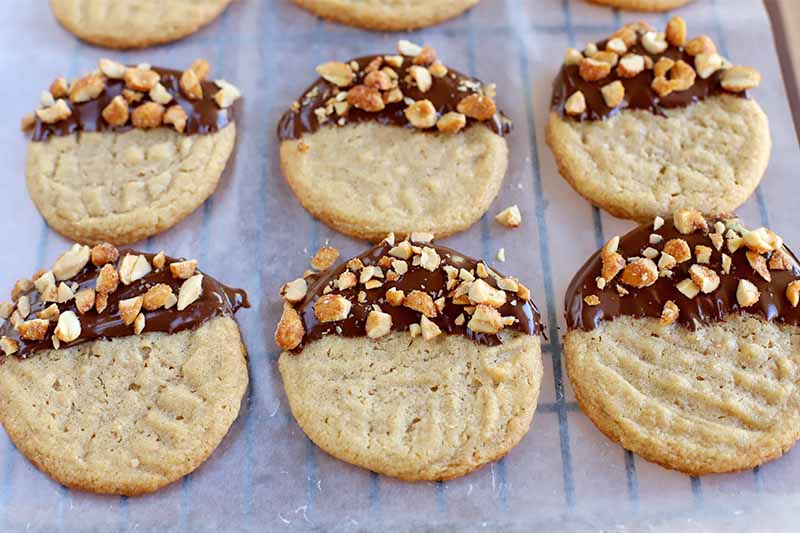
Place on the wire rack place to harden.
Step 5 – Harden
Let them harden for about 1 hour. You can also pop them in the refrigerator for a few minutes to speed up the process, but be careful not to smudge them or cause the nuts to fall off while they are still wet.
Store in an airtight container. They will last this way for about 3 days at room temperature, or 2 weeks in the refrigerator.
Can I Use a Different Type of Chocolate?
There are some of you out there who don’t love bittersweet chocolate, and I won’t judge you for that. If this is the case, I recommend switching things up.
The best part is, you won’t ruin the recipe by doing so. You can substitute dark, milk, or even white chocolate for the dipping ingredient, with delicious results.
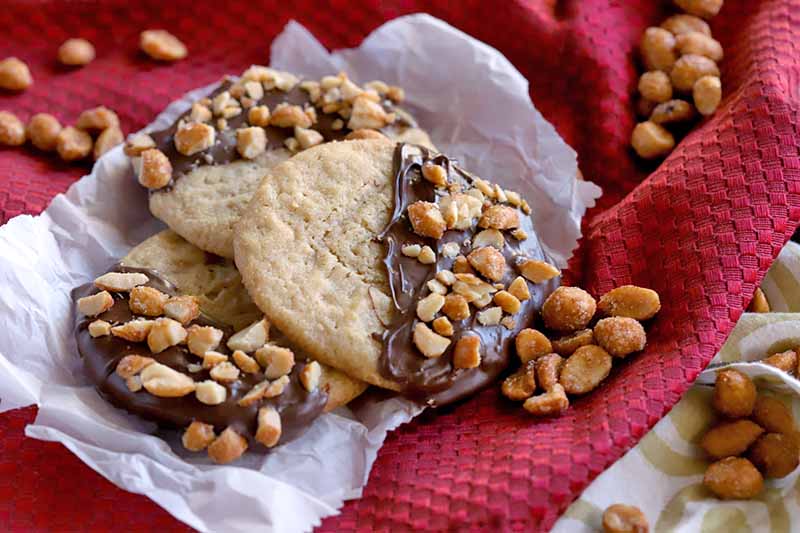
You can totally tailor these to accommodate your taste buds, or preferences of whomever you are gifting them to. Or melt up a few different varieties, and make a mixed batch to suit everyone!
Would you give up peanut butter cups for these? Tell us in the comments below. And be sure to rate the recipe as soon as you try it!
Looking for more delicious chocolate cookie recipes? Try some of these:
- Sinfully Delicious Chocolate Truffle Cookies
- Absolutely Perfect Dark Chocolate Cookies
- Double Chocolate Biscotti
- Spicy Mexican Hot Chocolate Cookies
Photos by Meghan Yager, © Ask the Experts, LLC. ALL RIGHTS RESERVED. See our TOS for more details. Originally published by Shanna Mallon on November 3, 2009. Last updated: June 8, 2021 at 17:00 pm.
Nutritional information derived from a database of known generic and branded foods and ingredients and was not compiled by a registered dietitian or submitted for lab testing. It should be viewed as an approximation.
About Meghan Yager
Meghan Yager is a food addict turned food and travel writer with a love for creating uncomplicated, gourmet recipes and devouring anything the world serves up. As the author of the food and travel blog Cake 'n Knife, Meghan focuses on unique foodie experiences from around the world to right at home in your own kitchen.



these look wonderful! i have been going through a “blah” phase in the kitchen as well; these are just the encouragement i need to get back into the kitchen and baking. thanks for sharing and reminding me that mistakes are a part of the process of becoming a better cook.
Yeah, it’s one of those weeks alright! I had to throw up a squash and pasta dish that was absolutely inedible. Ugh. I can see these cookies as being a great remedy.
Oh my gosh peanut butter sandwich cookies look amazing. Seriously. Holy cow.
I bought some grind-it-yourself PB from the grocery last week that I ended up not liking very much. This was the perfect recipe to make that PB fantastic! I used WW flour and tossed in 1/2 c. or so of semi-sweet chocolate chips (I wasn’t patient enough for the dipping step). AMAZING! And if the cookies weren’t enough my kitchen smells delicious too! Thanks so much!