Who put potatoes in charge of permanent chip duty?

It’s time to give the other root vegetables a chance. No offense, regular potatoes, but I need a little color in my life and you’re just not cutting it.
Wait! Don’t leave me.
Now I feel bad. I love you, you silly drab spuds. I love you fluffy and flowing with sour cream and chives. I love you shaved, smeared with pecorino and thyme, and bubbled into tian bliss. I love you even in your most unrefined state: the smothered tater tot.
But if I’m going to transform a root veggie from its raw form into an elegant, crave-worthy crisp, it’s your more colorful counterparts that I’ll be reaching for. From blazingly bright golden (or crimson) beets to sunlit sweet potatoes, there are multiple options for turning up the tint on your munching hour.
(I’m not sure if that was poetic, or if I want to go watch television now…)
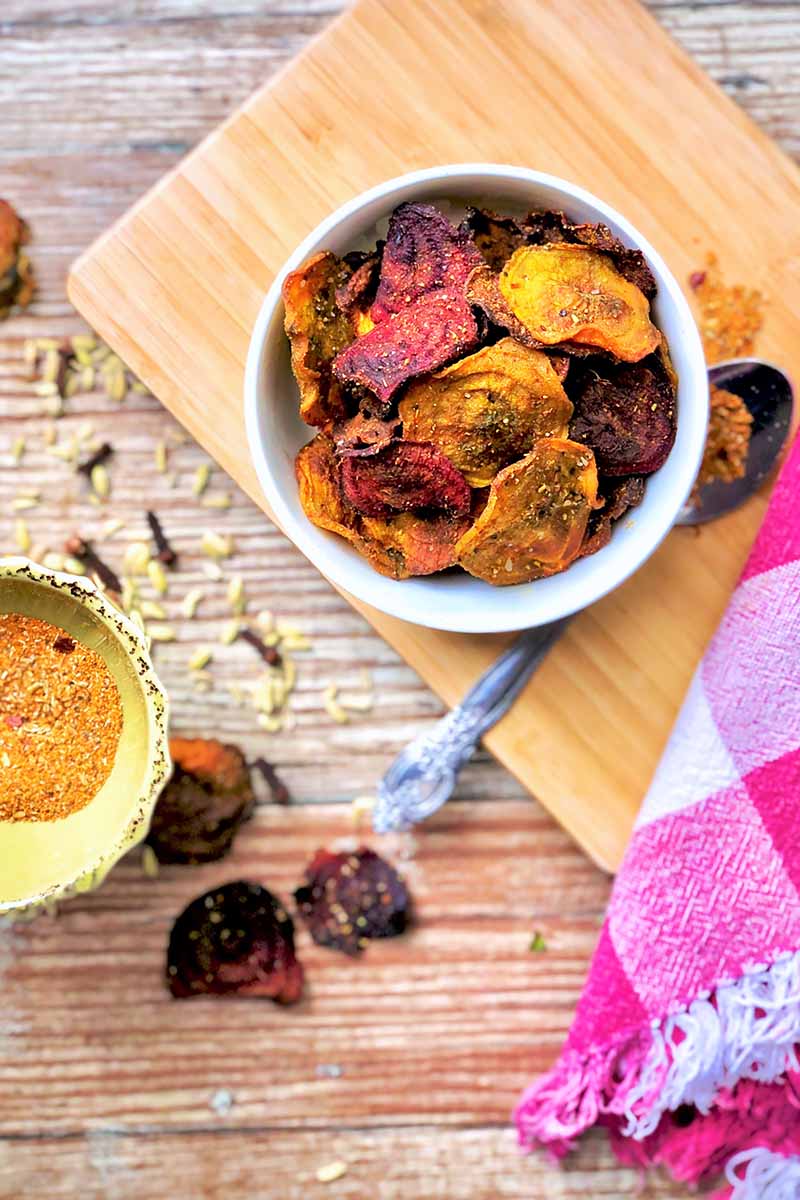
If you’ve ever lost time perusing the snack aisle at your local grocery store – one of my favorite hobbies! – then the concept of root vegetable chips probably doesn’t seem that odd to you. Dozens of companies have hopped on this modern bandwagon and turned to alternative veggies as the star of their brand.
For those who are new here, don’t worry. No one’s pushing the potatoes out altogether. I mean, will salt and vinegar kettle chips ever get old? I didn’t think so. But there’s just something about mindlessly reaching into a bowl filled with brightly colored food that makes you feel less bad about eating a hundred chips.
Not to mention, the chips in this recipe are baked. Not fried.
I’ll be honest. I was a bit skeptical about the idea of baked chips for a while. And everyone has their own opinion and method for making them. To soak or not to soak? High heat or low? Is it even worth the effort?
After multiple experiments and many sleepless nights (just kidding, I sleep great when I binge-eat chips), I’m happy to say that doing the research and taking the time to achieve an expertly crispy root vegetable round was totally worth it.
Here are my secrets.
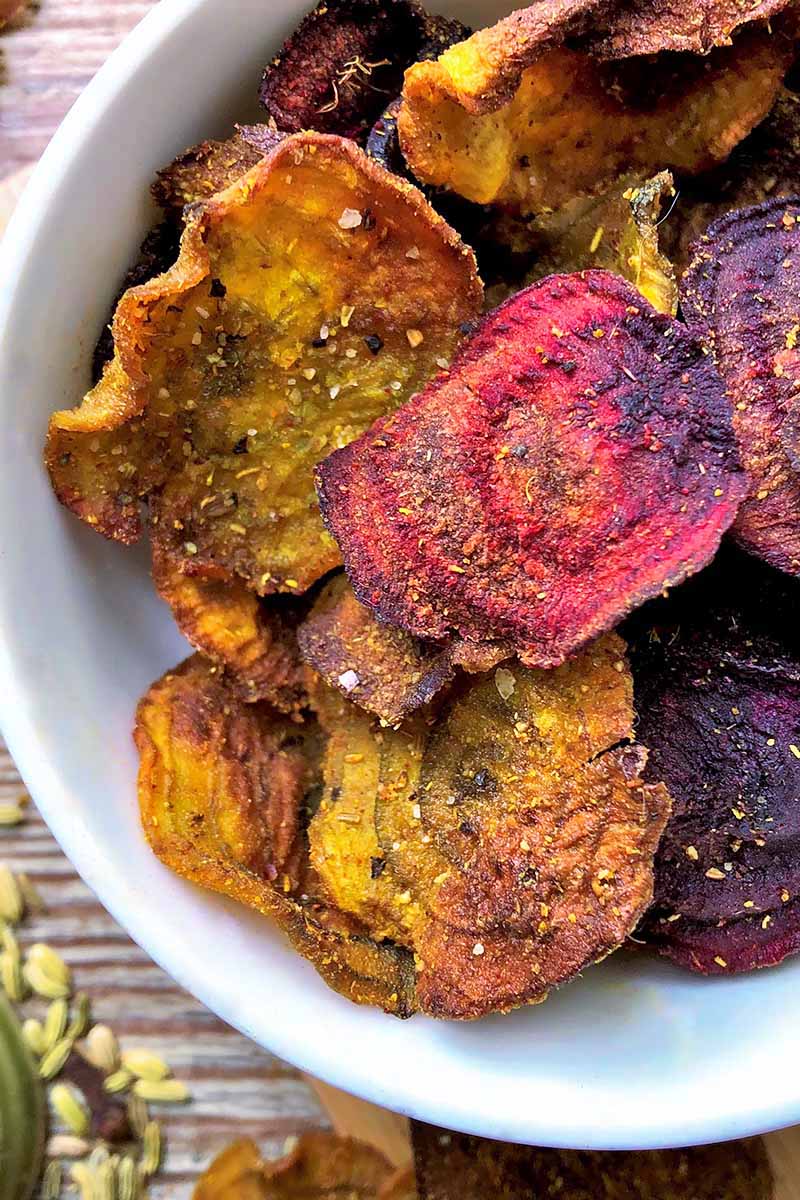
There are a few additional steps you’ll see along the way in this recipe that I urge you not to bypass. Many veggies are loaded with starch and moisture, and by removing some of those, you’re paving the path towards a crunchier result.
To accomplish getting a root vegetable to its full, crisp potential, soaking in cold water to eliminate excess starch is always recommended. Additionally, salt pulls out moisture, so letting the chips rest and sweat it out after you’ve hit them with the spice blend will also promote a better end product.
Speaking of spice, if you’ve never freshly toasted and ground fennel seeds in your kitchen, you’re welcome in advance for the natural air freshener. Offering far more than a one-note sensory overload of spice or salt, this zesty mixture of smoky cumin, citrusy coriander, and fiery cayenne and red pepper flakes brings a whole world of flavor to each bite.
Also, give them some space while they bake. I mean, do you like being crowded when it’s hot? Neither do they!
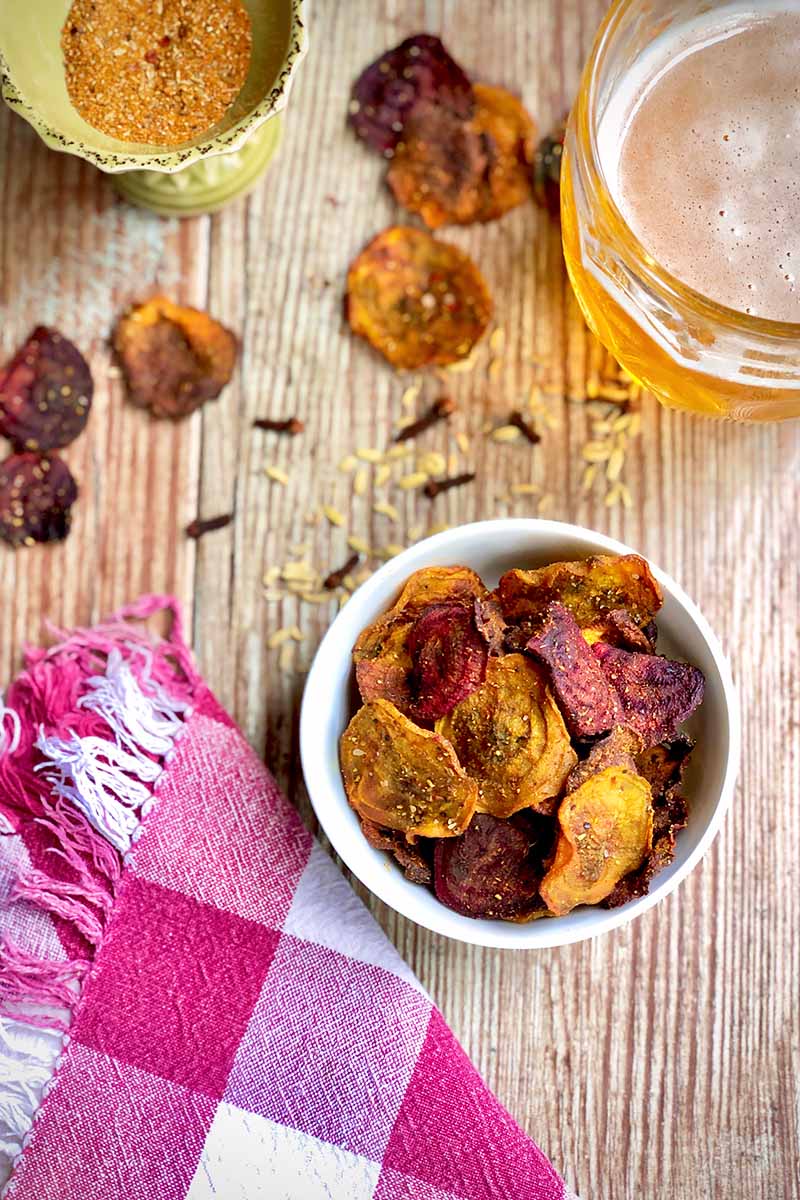
As for the oven temperature, I’m usually an advocate of cranking that sucker up. Lower temperatures steam vegetables, whereas higher ones caramelize, roast, and brown. This is a practice I’m very passionate about.
Baked root vegetable chips, however, are the exception to that rule.
Thanks to their ultra-slim shape (and the fact that you already did all of that work to draw out their water), oven-baked chips do better at a lower heat level. There, I said it. Oven, vegetables, and low heat, all in the same sentence.
The chip came off my shoulder (and went into my mouth). Now it’s your turn to try it for yourself.
Print
Spicy Root Vegetable Chips
- Total Time: 1 hour, 50 mintues
- Yield: Approximately 4 servings (as a side or snack) 1x
Description
Step up your snack game with these vibrant root vegetable chips. Each golden-brown baked round is crisp, salty, and has a hint of heat.
Ingredients
- 1 pound root vegetables, washed and sliced no thicker than 1/8 inch
- 1/2 teaspoon fennel seeds, toasted and ground
- 1/4 teaspoon ground cumin
- 1/4 teaspoon paprika
- 1/8 teaspoon ground black pepper
- 1/8 teaspoon ground cayenne
- 1/4 teaspoon ground coriander
- 1/4 teaspoon crushed red pepper flakes
- 1/8 teaspoon ground cloves
- 1/8 teaspoon ground turmeric
- 1/2 teaspoon coarse salt, plus more to taste
- 3 tablespoons coconut oil, melted
Instructions
- Fill a large bowl with ice water (and a separate small one if you’re using beets) and add the sliced vegetables. Allow them to sit for 30 minutes and then rinse under cold running water.
- In a small bowl, add the fennel, cumin, paprika, black pepper, cayenne, coriander, red pepper flakes, cloves, turmeric, and salt and mix until thoroughly combined.
- Preheat the oven to 250°F and line two large baking sheets with parchment paper.
- Drain the vegetables and pat them as dry as possible. Place them in a large mixing bowl, and add the coconut oil and half of the seasoning blend. Toss to make sure everything is evenly coated, and then allow the veggies to sweat for about 15 minutes. Drain any excess liquid from the bowl, and then arrange the chips in a single layer on the baking sheets.
- Bake for 30 minutes and then rotate the pans to make sure everything is getting evenly crisped. Flip over any especially thin rounds that are cooking faster. Check the chips again in 15 minutes, remove any from the oven that are golden brown, and transfer them to a wire cooling rack. The remainder won’t take longer than 5 to 10 more minutes to finish baking.
- Immediately transfer the finished chips to the cooling rack and sprinkle with the remaining seasoning blend. Season to taste with additional salt as desired. The chips will continue to crisp as they cool on the rack. Store in an airtight container or a sealed bag at room temperature for up to a week.
- Prep Time: 20 minutes
- Cook Time: 45 minutes
- Category: Snacks
- Method: Baking
- Cuisine: Vegetarian
Keywords: root vegetable, beet, parsnip, chips, veggie chips, baked chips
Cooking By the Numbers…
Step 1 – Prep and Slice the Veggies
Wash all of the vegetable well, with a scrub brush.
Peel any of the veggies with thick, fibrous skins like beets, parsnips, turnips, or rutabagas. You can leave the skin on any potatoes you might be using. I recommend looking for colorful varieties, like pink or blue!
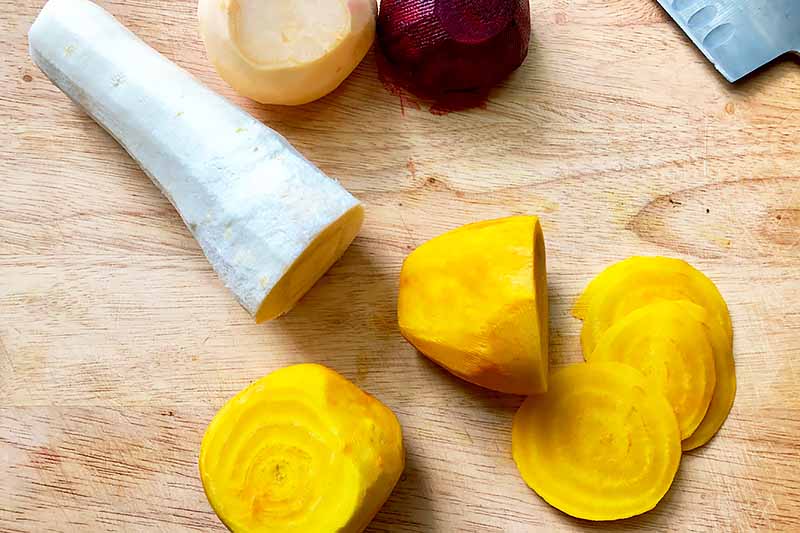
Slice the veggies either using a sharp knife, mandoline, or the slicing attachment on your food processor. Make sure the rounds are consistently the same size, about ⅛ of an inch thick.
Step 2 – Soak the Veggies
Fill a large bowl with ice water, and grab a separate small one if you’re using purple beets because they’ll bleed and discolor the other veggies. Add the sliced vegetables.
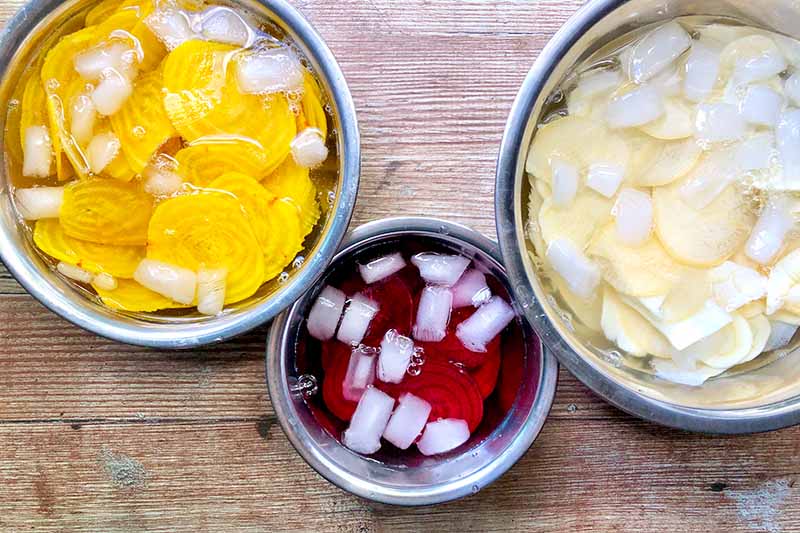
Allow them to sit for 30 minutes, and then rinse in a colander under cold running water. Soaking and rinsing them will pull out some of their starch and make them even crispier.
Step 3 – Make the Spice Blend
Toast the fennel seeds in a dry pan over low heat until they are very fragrant, for about 5 minutes. Crush with a mortar and pestle or a spice grinder.
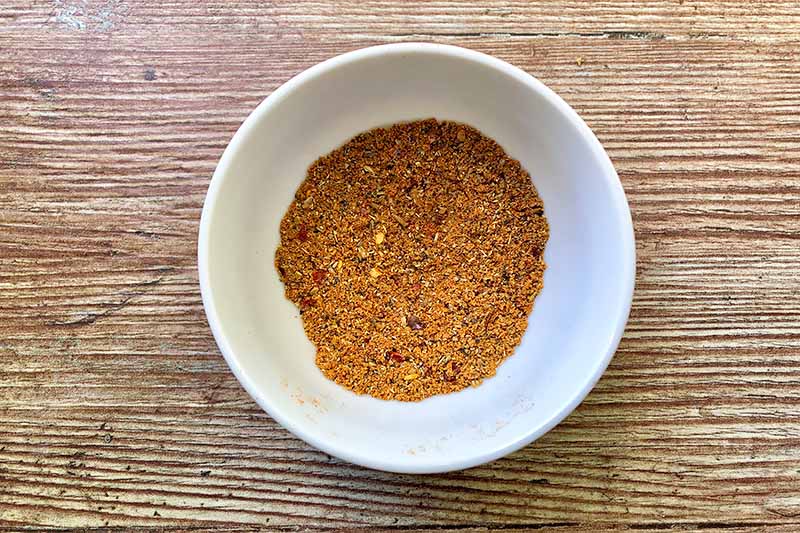
In a small bowl, combine the fennel, cumin, paprika, black pepper, cayenne, coriander, red pepper flakes, cloves, turmeric, and salt. Give them a good stir.
Step 4 – Toss the Veggies with the Oil and Spice Blend
Preheat the oven to 250°F and line two large baking sheets with parchment paper.
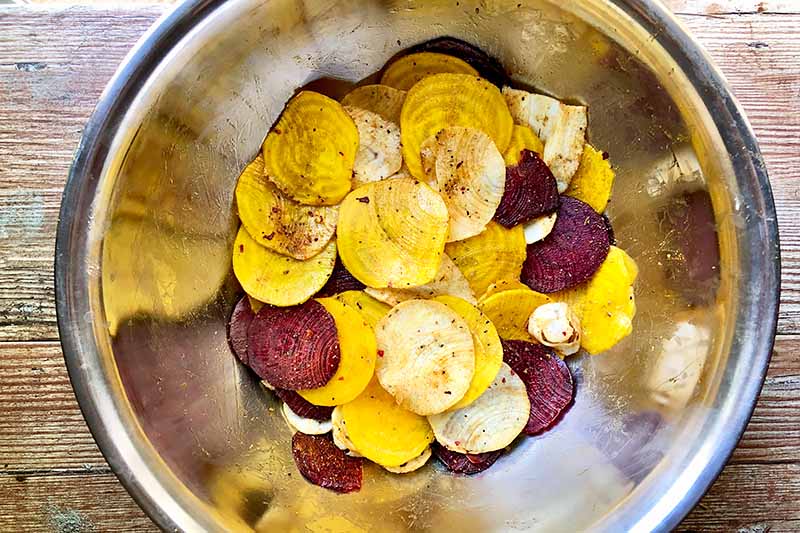
Drain the vegetables and pat them as dry as possible. Place them in a large mixing bowl and add the melted coconut oil and half of the seasoning blend.
Toss well to make sure everything is evenly coated, and then set the sliced veggies aside to sweat for about 15 minutes. The salt is pulling out additional moisture from the veggies, and this is another step to promote crispiness.
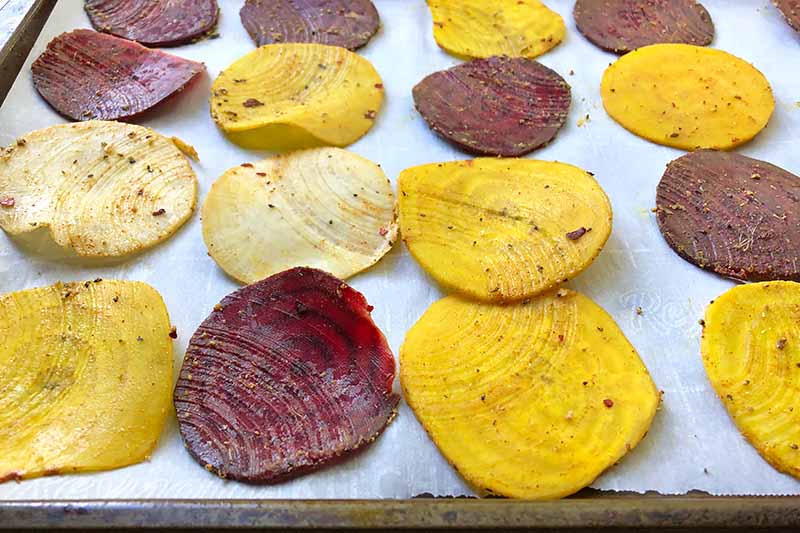
Drain any excess liquid from the bowl, and then arrange the vegetables in a single layer on the baking sheets.
Step 5 – Bake and Cool
Bake for 30 minutes, and then rotate the pans to make sure everything is getting evenly crisped.
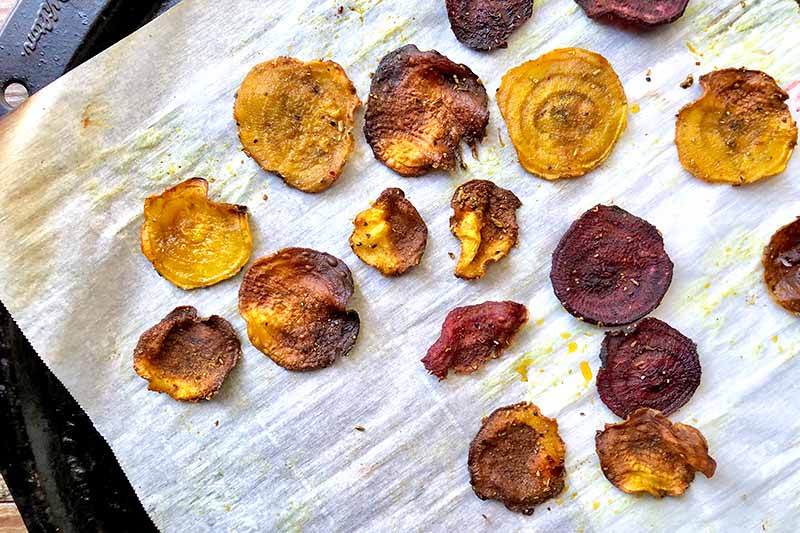
Flip over any especially thin rounds that seem to be cooking faster (like the beets, which cook quicker than other types of root veggies). Chips that are around on the exterior of the pans, as opposed to the ones in the middle, also tend to crisp up faster.
Check the chips again in 15 minutes. Remove any that are golden brown and transfer them to a wire cooling rack. The remainder won’t take longer than 5 to 10 minutes to turn golden, so keep an eye on them.
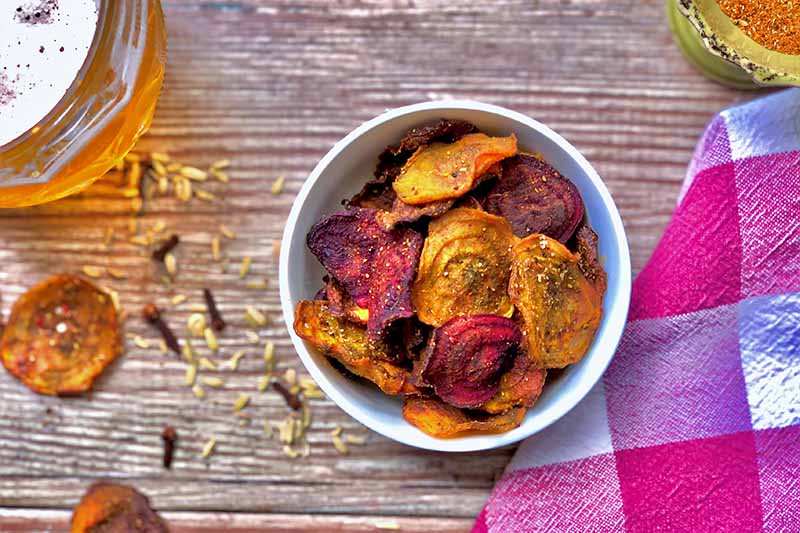
Immediately transfer all of the finished chips to a cooling rack and sprinkle with the remaining seasoning blend. Season to taste with additional salt if desired.
The chips will continue to crisp as they cool. After cooling completely, they may be stored in an airtight container or a sealed bag at room temperature for up to a week.
Snack Time Success
If you’ve attempted to make homemade chips in the past and your conclusion was, dare I say it, a soggy disaster, this recipe will convince you to rethink things.
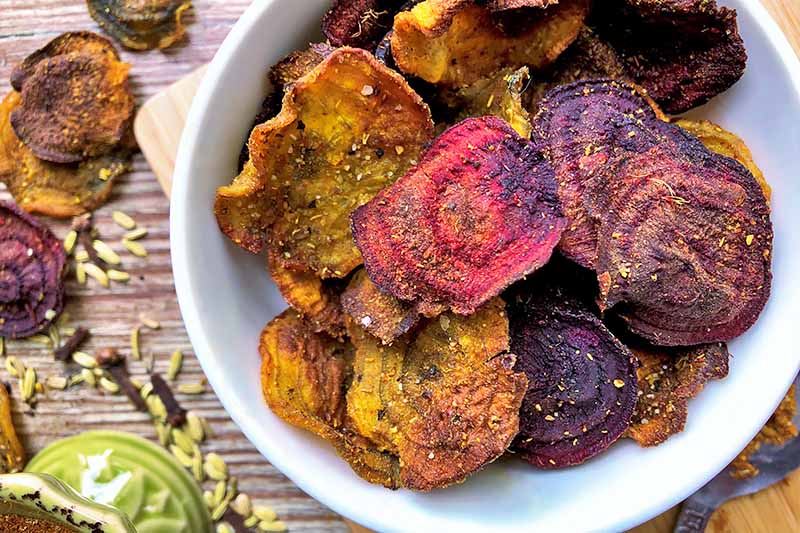
Using a hodgepodge of root veggies on your first try might seem daunting, so start small. Instead of grabbing every vegetable in sight, simply begin with a few beets by themselves, or a handful of sweet potatoes.
Feel free to fiddle around with your oven temperature as each cooking chamber is a little different. What worked at 250°F for me might turn out better results in an oven set to 220°F for you. Just keep an eye on things. Nobody likes burned beets.
For more superb snacking options to crunch your way through the day, give these other homemade chip recipes a whirl next:
I tame the spice on this snack by dunking it into Greek yogurt spiked with citrus. What quick dip will you whip up? Share your favorite flavor boosters in the comments below! And don’t forget to give this recipe a five-star rating if you loved it.
Photos by Fanny Slater, © Ask the Experts, LLC. ALL RIGHTS RESERVED. See our TOS for more details. Originally published by Shanna Mallon on February 5, 2012. Last updated on June 11, 2021.
Nutritional information derived from a database of known generic and branded foods and ingredients and was not compiled by a registered dietitian or submitted for lab testing. It should be viewed as an approximation.
About Fanny Slater
Fanny Slater is a home-taught food enthusiast based in Wilmington, North Carolina who won the “Rachael Ray Show” Great American Cookbook Competition in 2014, and published her cookbook “Orange, Lavender & Figs” in 2016. Fanny is a food and beverage writer, recipe developer, and social media influencer. She was a co-host on the Food Network series “Kitchen Sink,” was featured on Cooking Channel’s longtime popular series “The Best Thing I Ever Ate,” and continues to appear regularly on the “Rachael Ray Show.”




Love all the roots you choose for this post, and I absolutely can’t get enough of your beautiful wood table : )
I agree – any veggie roasted becomes such a wonderful treat!