I have nothing against pie. I really don’t.
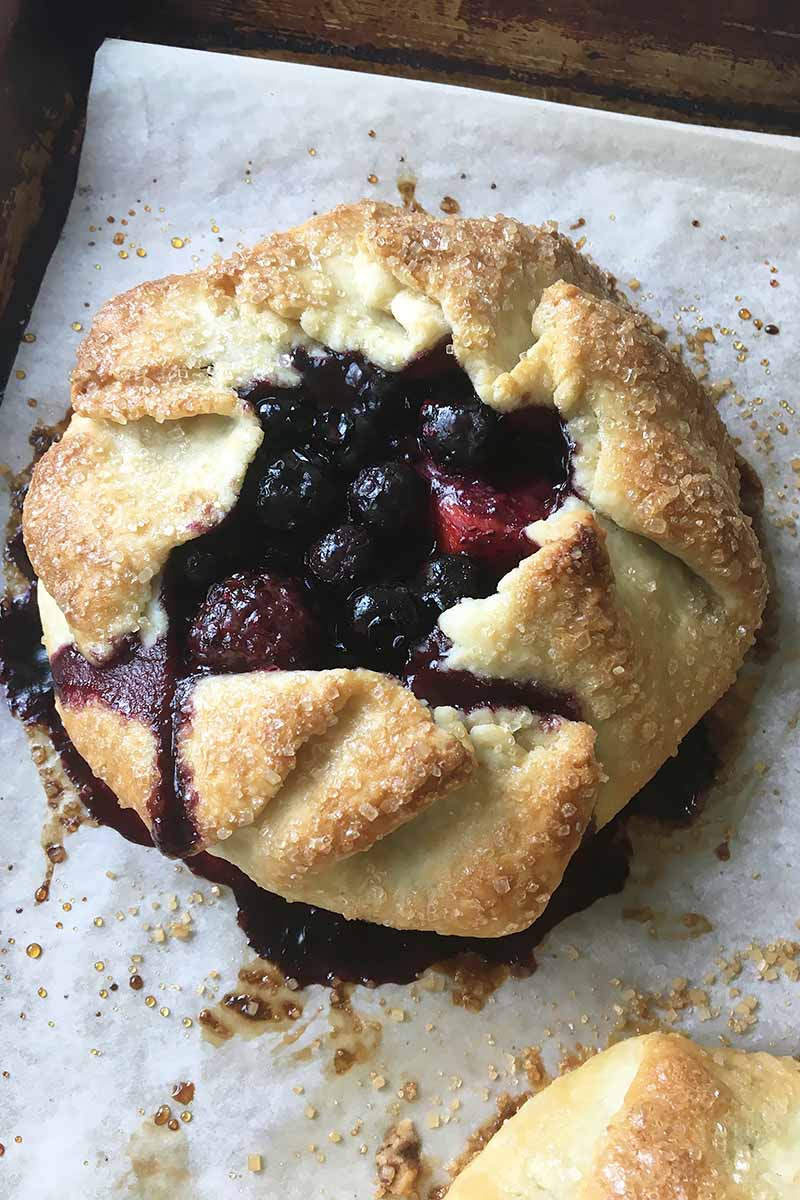
It’s delicious. It’s sweet. It’s beautiful. Just take one look at Foodal’s out-of-this-world blueberry pie!
However…
The time and effort needed to make it look impeccable and pretty can be exhausting. Sure, perfectly crimped edges are gorgeous, and an artful lattice crust can make anyone smile.
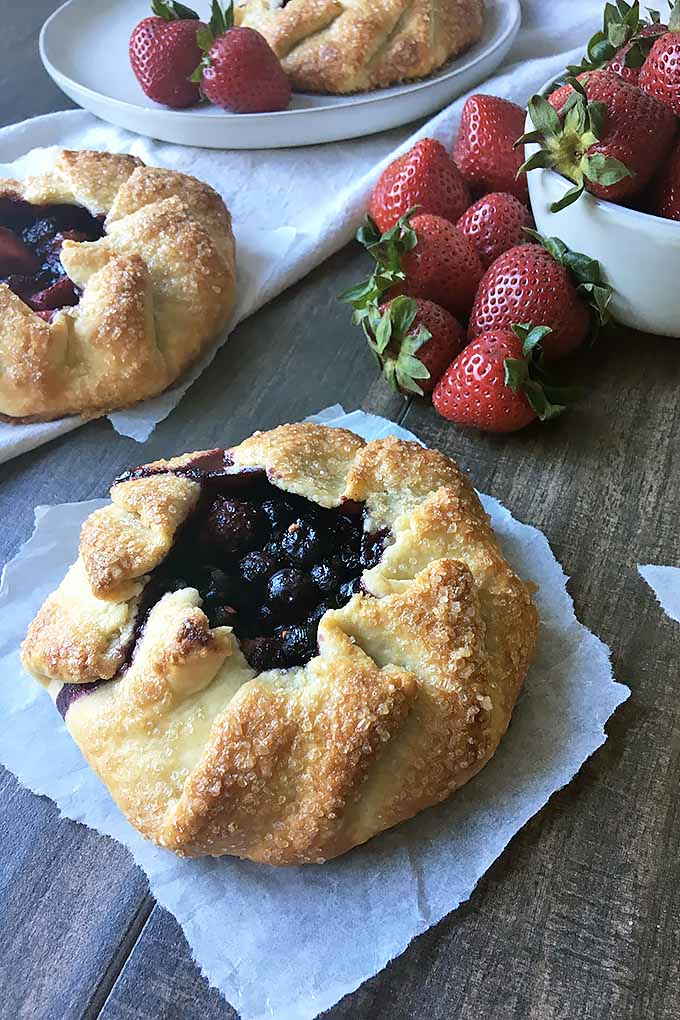
But who really wants to do that every time you make dessert? Sometimes, we can get a little lazy.
And by we, I most definitely mean me.
When I’m craving a homemade pie, but don’t feel like spending too much time decorating, I bake a galette instead.
This freeform pastry really is a lazy cook’s best bud for the final course. While it’s similar to a fruit pie, you don’t have to fuss over beautifying the dough.
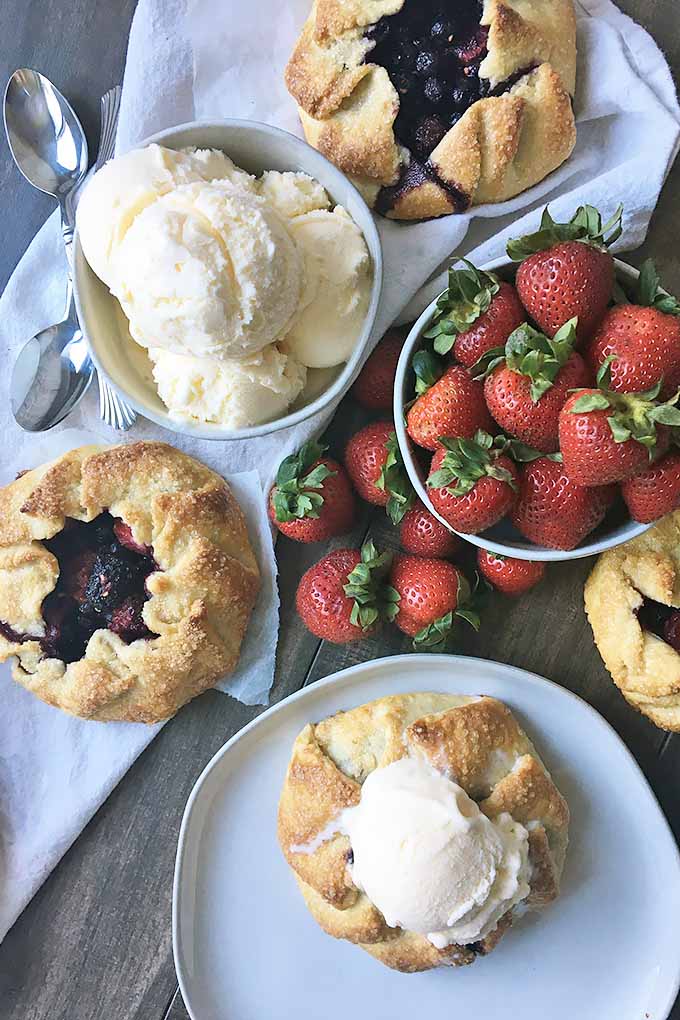
After you roll the dough into a circle, you just place a small heap of juicy berries in the center, fold the edges over the fruit to make the crust, and bake on a sheet pan.
The juicy fruit filling, hot and bubbling, will ooze out in some spots over the golden brown crust, with its tender flakiness and unforgettable crunch from a generous sprinkling of turbinado sugar.
Why call it laziness, when you can call it rustic?
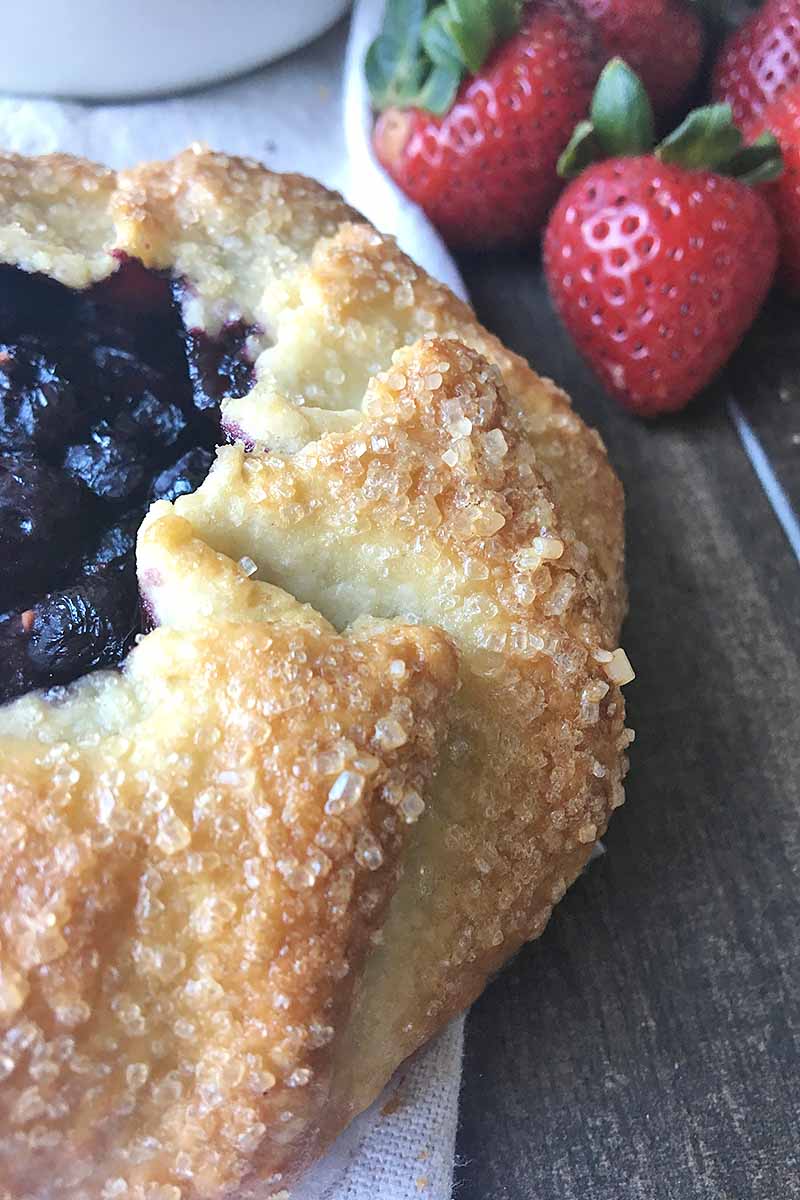
Ready for dessert? Make our easier-than-pie recipe now!
Print
Mixed Berry Galette
- Total Time: 52 minute
- Yield: 8 servings 1x
Description
Love pie, but don’t want to spend the time decorating the crust? A freeform mixed berry galette is the lazy cook’s easier version.
Ingredients
For the Crust:
- 3 cups all-purpose flour
- 1 teaspoon salt
- 3 sticks (12 ounces) unsalted butter, chilled and cut into small cubes
- 3/4 cup cold water
- 1/4 cup heavy cream
- 1/2 cup turbinado sugar
For the Filling:
- 5 cups assorted fresh berries, cut as needed
- 1/4 cup granulated sugar
- 2 tablespoons all-purpose flour
- 1 tablespoon fresh lemon juice
Instructions
For the Crust:
- Combine flour and salt in a large mixing bowl.
- Add the butter, and cut together with a pastry cutter, two knives, or your hands, until the mixture looks crumbly.
- Stir in the water, a couple tablespoons at a time, until a dough forms. You may not need to use all of the water. Do not overmix.
- Gently knead into a flat disc. Wrap and refrigerate for at least 30 minutes.
For the Filling:
- In a bowl, lightly stir together the berries, sugar, flour, and lemon juice. Store in the fridge as you roll the pie dough.
To Assemble and Bake:
- Preheat oven to 425°F.
- Divide dough into 8 equal pieces. Roll out each dough piece on a lightly floured surface to 1/4-inch thick small rounds, roughly 6 inches in diameter. Transfer dough rounds to baking sheets covered with parchment paper or a silicone mat.
- Add a heaping 1/2 cup of the berry mixture to each round, leaving a 1 1/2-inch border around the edge. Fold up sides of dough over the filling, forming loose pleats.
- Brush the outside edges of each galette with cream. Sprinkle the edges generously with turbinado sugar.
- Bake 25-30 minutes until edges are golden brown. Let cool 5 minutes before transferring to plates.
- Prep Time: 40 minutes
- Cook Time: 25-30 minutes
- Category: Pie
- Method: Baking
- Cuisine: Dessert
Keywords: galette, berry, summer
Cooking by the Numbers…
Step 1 – Make the Dough
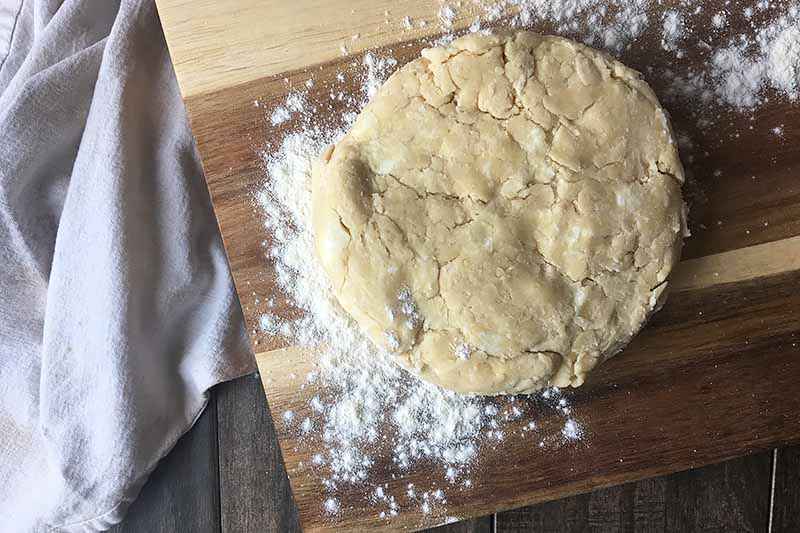
Combine the all-purpose flour and salt in a large mixing bowl. Add the unsalted butter, and cut together with a pastry cutter, or your hands, until the mixture looks crumbly.
Stir in the water, a couple tablespoons at a time, until a dough forms. You may not need to use all of the water. Do not overmix.
Gently knead into a flat disc. Wrap and refrigerate for at least 30 minutes.
Do you enjoy baking with whole grain flour? Use our recipe for an all-butter whole grain spelt flour crust.
Step 2 – Make the Filling
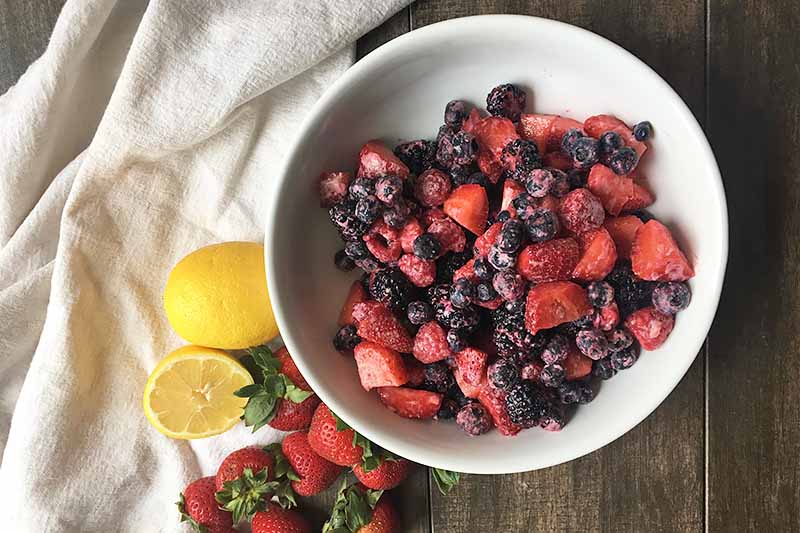
If using larger fruit like strawberries, cut them with a sharp knife so they are a similar size to the smaller fruit.
In a large bowl, lightly stir together the berries, granulated sugar, flour, and freshly squeezed lemon juice. Store in the fridge as you roll the dough.
Step 3 – Divide and Roll
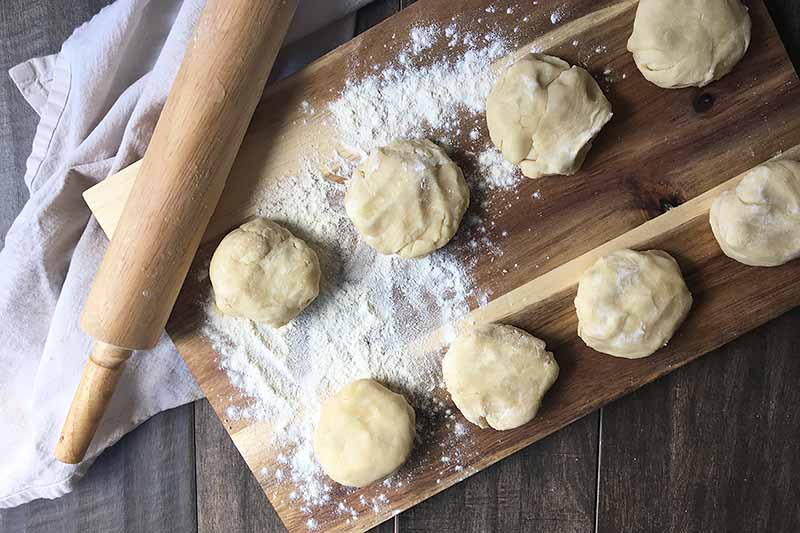
Preheat the oven to 425°F.
Divide dough into 8 equal pieces. Roll out each dough piece on a lightly floured surface to 1/4-inch thick small rounds, roughly 6 inches in diameter.
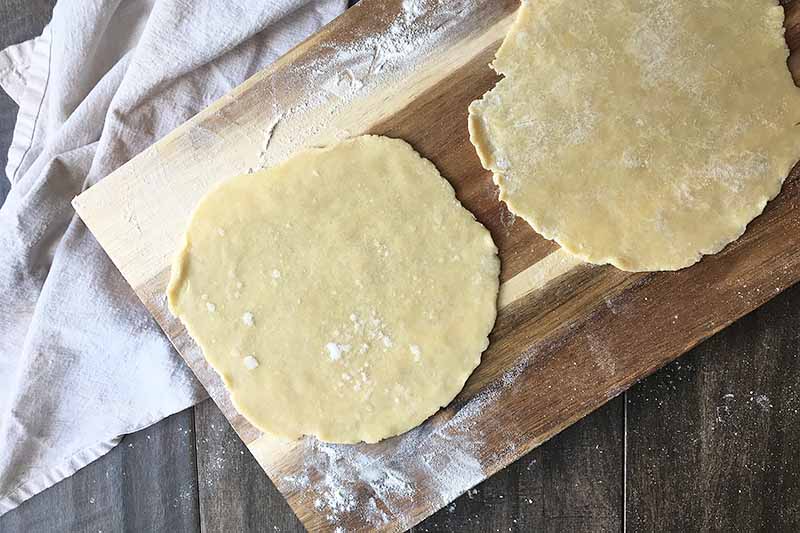
Transfer dough rounds to two baking sheets covered with parchment paper or a silicone mat.
Step 4 – Fill
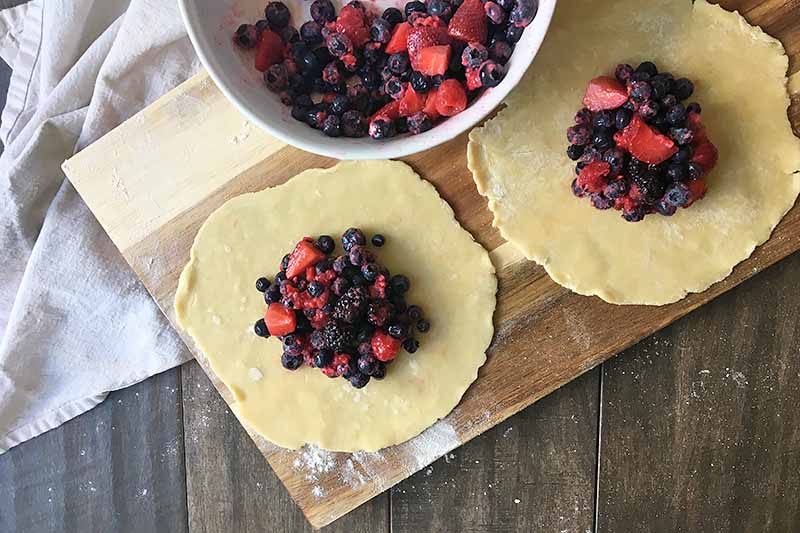
Add a heaping 1/2 cup of the berry mixture to each round, leaving a 1 1/2-inch border around the edge.
Step 5 – Fold
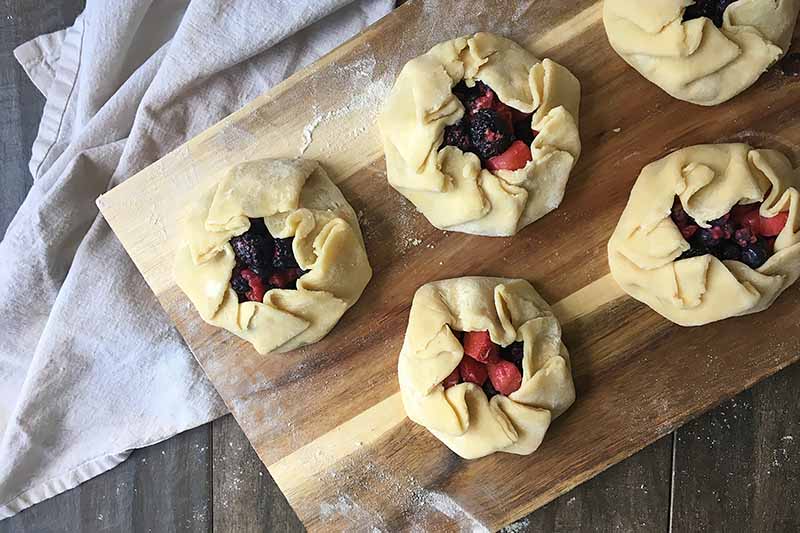
Carefully fold up the sides of dough over the filling, layering each fold to form loose pleats. Press down gently on each pleat to help maintain its shape as it bakes.
Step 6 – Coat with Cream and Sugar
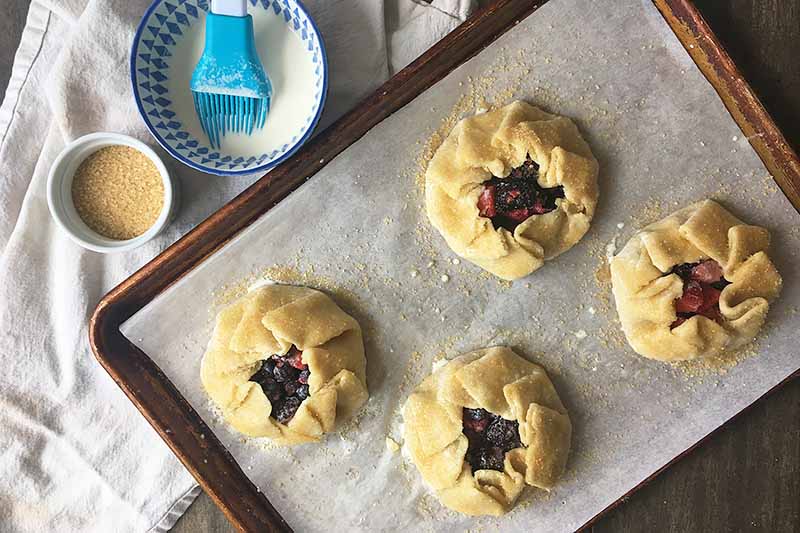
Brush the outside edges of each pastry with cream using a pastry brush. Sprinkle the edges generously with turbinado sugar. This will help to brown the crust and give it a crunchy texture on the surface.
Step 7 – Bake and Serve
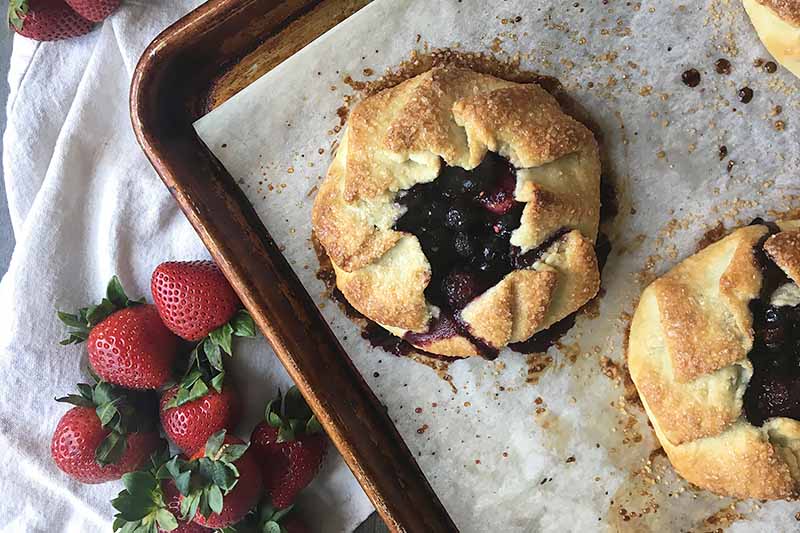
Bake 25-30 minutes in the preheated oven until edges are golden brown, turning the baking pans once halfway through baking. Let cool 5 minutes on the pan before transferring to serving plates. Serve warm, with an individual galette for each person.
Feeling Lazy? Leave Behind the Lattice
If you’re too lazy to make a perfect pie, or if you consider yourself to be a novice pastry cook in the home kitchen, these easy individual galettes are your simple solution.
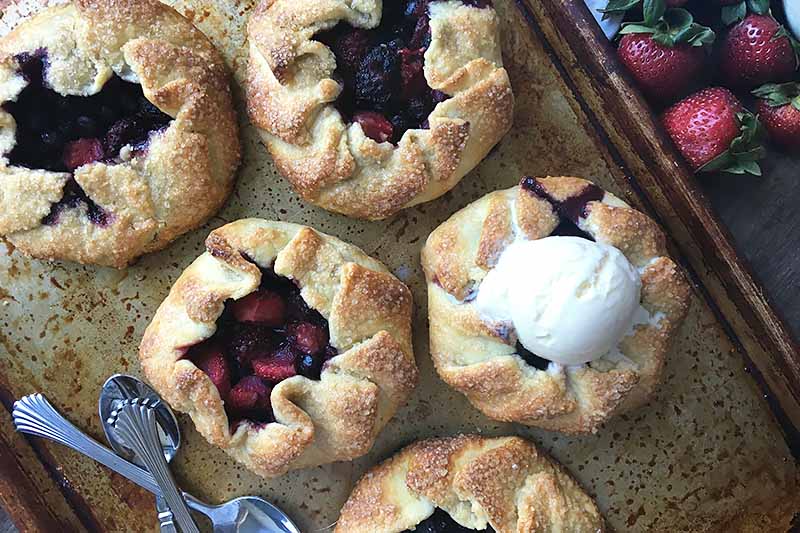
Without needing a pan, or any fussy frills, you can still get a tasty dessert with a flaky, buttery crust and juicy fruit filling featuring the best berries of the summer.
While enjoyable on their own, I highly recommend serving them with freshly whipped cream, or homemade vanilla ice cream. Plop a large scoopful right on top of the pastry while still warm, letting the ice cream melt just a little, before plunging in with a spoon!
This recipe yields 8 individual tarts, but you can always choose to make two larger versions cut into wedges for a family-style option.
For more easy summer desserts to try, make our peach cobblers, or our berry almond crisps.
Or for more pie recipes with a freeform shape, check out these beauties:
What are your favorite simple recipes featuring your favorite summer fruit? Let us know below, and be sure to rate the recipe!
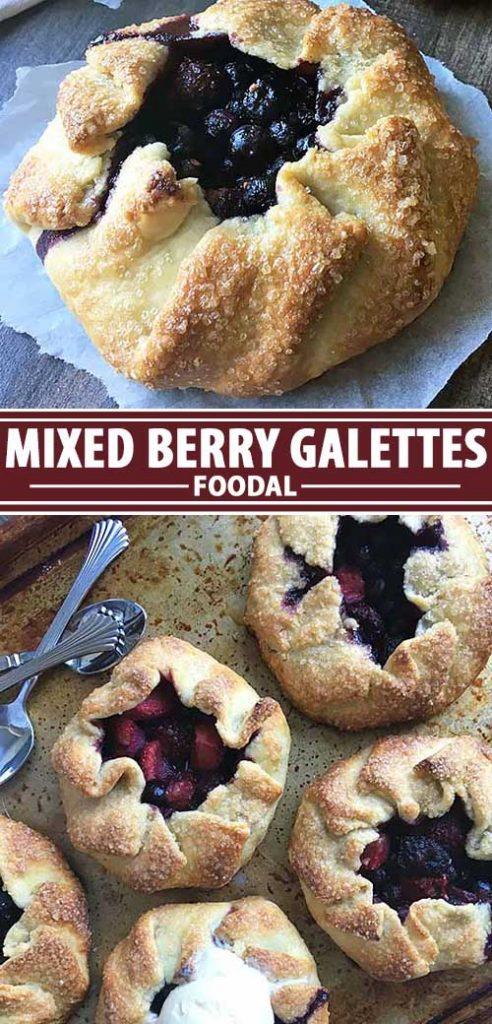
Don’t forget to Pin It!
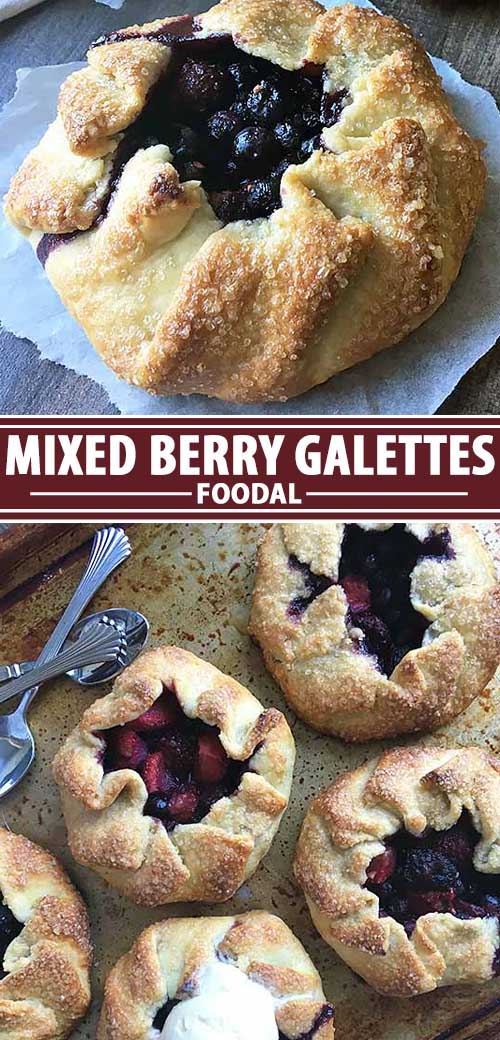
Photos by Nikki Cervone, © Ask the Experts, LLC. ALL RIGHTS RESERVED. See our TOS for more details. Originally published on August 19, 2010. Last updated: August 2, 2020 at 12:12 pm.
Nutritional information derived from a database of known generic and branded foods and ingredients and was not compiled by a registered dietitian or submitted for lab testing. It should be viewed as an approximation.
About Nikki Cervone
Nikki Cervone is an ACS Certified Cheese Professional and cheesemonger living in Pittsburgh. Nikki holds an AAS in baking/pastry from Westmoreland County Community College, a BA in Communications from Duquesne University, and an MLA in Gastronomy from Boston University. When she's not nibbling on her favorite cheeses or testing a batch of cupcakes, Nikki enjoys a healthy dose of yoga, wine, hiking, singing in the shower, and chocolate. Lots of chocolate.


These look wonderful. I’m going to a bbq. Would it be alright to make these even if they won’t be served for 4-5 hours? Or will it cause soggy bottoms?
★★★★★
Hi, Kay! These are still delicious if you are planning on serving them later on in the day after baking. While the recipe specifies how to immediately serve them while still warm from the oven, you’ll need to do a few extra steps after baking to prevent the soggy bottoms from forming: after removing them from the oven, let them cool on the baking sheets for about 5 minutes before transferring them to cooling racks to cool completely. The cooling rack is VERY important for pastries to prevent the bottoms from steaming and softening.
Are you planning on serving them at room temperature or warm? If planning on serving them warm – I suggest warming them in the oven at 350 degrees for 10 to 15 minutes. The microwave will cause the dough to soften excessively.