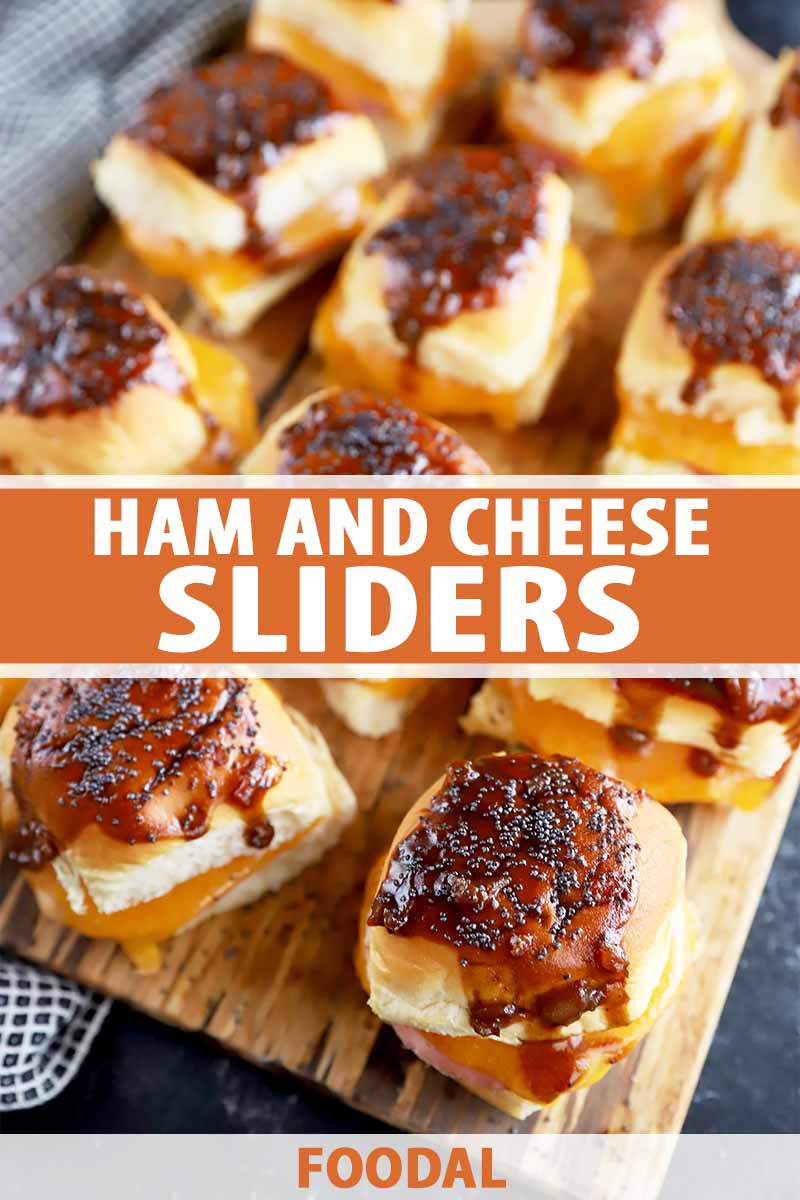
For the ultimate snack on game day, lunch to feed a group, or a new easy dinner recipe, you need to make these ham and cheddar sliders.
Sliders are one of my go-to options for easy entertaining. There are so many different options to choose from, and they all taste so fantastic. I mean, have you tried my barbecue pork sliders!?
Flavor. Bomb.
Sliders are a classic appetizer that never goes out of style, and ham and cheese is one of those famous combinations that we all know and love.
Though I didn’t grow up eating the meat and cheese sandwiches as a kid (I was more of a turkey kind of gal), I became a BIG fan of this combination when I tried it for the first time on a warmed up croissant.
Holy wow, you haven’t lived until you’ve tried that out.
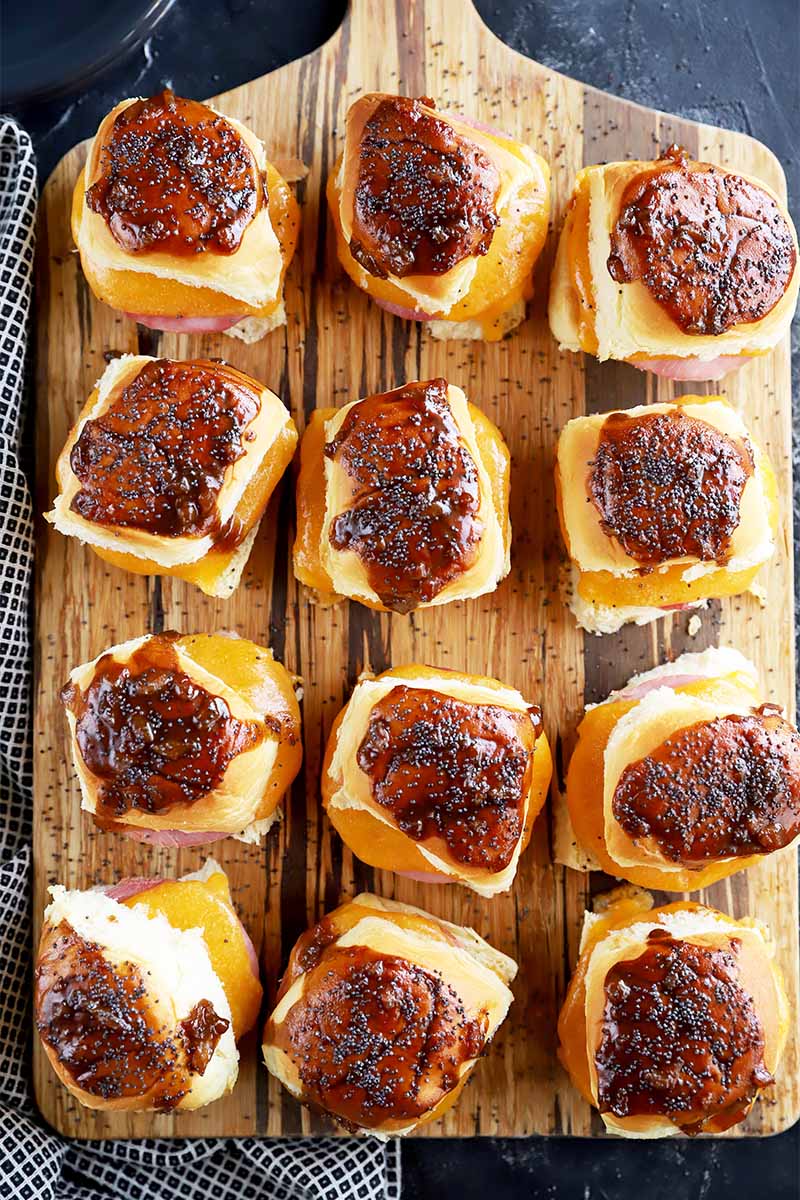
But this recipe has totally beaten out that croissant. The gooey, melty cheddar inside is pure perfection, with just the right amount of mayonnaise to keep everything nice and moist.
Then, you have the sweet Hawaiian roll – a personal favorite of mine – that brings a touch of sweetness to balance the flavor of the savory ingredients inside.
Finally, what really sets these little sandwiches apart from the rest is the sauce.
Made with onion, Worcestershire sauce, butter, Dijon mustard, and honey, the sauce is sweet, tart, and savory all at once. It is just the right pop of flavor to pair with the meat, cheese, and rolls.

Looking for something a little different? Try these tips to customize the recipe according to your flavor preferences:
- You can use any variety of ham, from honey-glazed to smoked. The key is to make sure it is sliced thick, so be sure to specify this to the person behind the deli counter when you pick up your groceries.
- This recipe calls for cheddar, but you can also use many other tasty cheeses like Swiss, mozzarella, Monterey jack, or provolone.
- If you don’t like the sweetness of Hawaiian rolls, you can use regular slider rolls instead, onion, or poppyseed.
- Do you like things spicy? Add some pickled jalapeno slices or dilly green beans in between the ham and cheese, or a few splashes of your favorite hot sauce.
These taste the best when they are enjoyed straight out of the oven, when they are nice and hot. But if you want to make them ahead of time, you certainly can.
Simply assemble the sandwiches and place them in the refrigerator for up to 4 hours. When you are ready to serve, make the sauce, top the sandwiches, and bake.

This is a fantastic way to serve a crowd, without having to work all day in the kitchen. Bring this recipe out for your next game day gathering, or serve these as an easy dinner when you’re in a hurry.
My favorite suggestion? Serve these tasty bites alongside some chicken wings and watch the crowd go wild.
These also work great for Easter and other holiday celebrations. And this is actually a great way to use up those holiday ham leftovers as well.
Though the combination may seem simple, the flavors are anything but boring.
Print
Ham and Cheese Sliders
- Total Time: 20 minutes
- Yield: 6 servings (12 sliders total) 1x
Description
Baked ham and cheese sliders are the perfect appetizer for game day, and they’re a great way to use up holiday leftovers as well. You’re going to love this super simple and flavorful recipe.
Ingredients
- 12 Hawaiian slider rolls, or other small rolls
- 3 tablespoons mayonnaise
- 1 pound thick-sliced ham
- 12 slices sharp cheddar cheese
- 1 tablespoon unsalted butter
- 2 tablespoons chopped onion
- 1 tablespoon Dijon mustard
- 3 tablespoons Worcestershire sauce
- 1 teaspoon honey
- 2 teaspoons poppy seeds (optional)
Instructions
- Preheat oven to 350˚F.
- Slice each roll in half horizontally and place bottom halves on a baking sheet. Spread mayonnaise on the bottom half of each roll. Divide ham evenly between the rolls, cutting the pieces as needed to fit. Top with cheese, cutting the slices as needed to fit.
- Meanwhile, melt butter in a small saucepan over medium heat. Add onion and cook 2-3 minutes, until onions are soft, stirring occasionally. Add Dijon mustard, Worcestershire sauce, and honey. Stir well and cook another 4 -5 minutes or until thickened, stirring occasionally. Remove from heat.
- Place tops on each slider. Spoon sauce evenly over top halves and sprinkle with poppy seeds.
- Bake for about 5 minutes, until tops are lightly toasted.
- Remove from oven and serve immediately.
Notes
Adapted from Everyday Annie.
- Prep Time: 10 minutes
- Cook Time: 10 minutes
- Category: Sliders
- Method: Baking
- Cuisine: Appetizer
Cooking By the Numbers…
Step 1 – Chop Onion and Measure Remaining Ingredients
Chop enough onion until you have 2 tablespoons total. And do it without any tears!
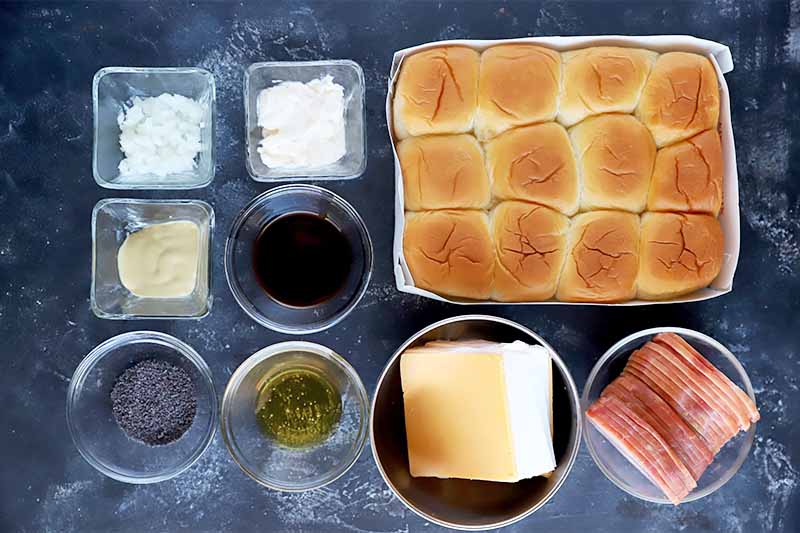
Measure out all of the remaining ingredients as listed on the ingredients list.
Preheat your oven to 350˚F.
Step 2 – Assemble
Using a sharp bread knife, slice each roll in half horizontally if they didn’t come pre-sliced. Place the bottom halves on a baking sheet, spaced evenly on the pan.
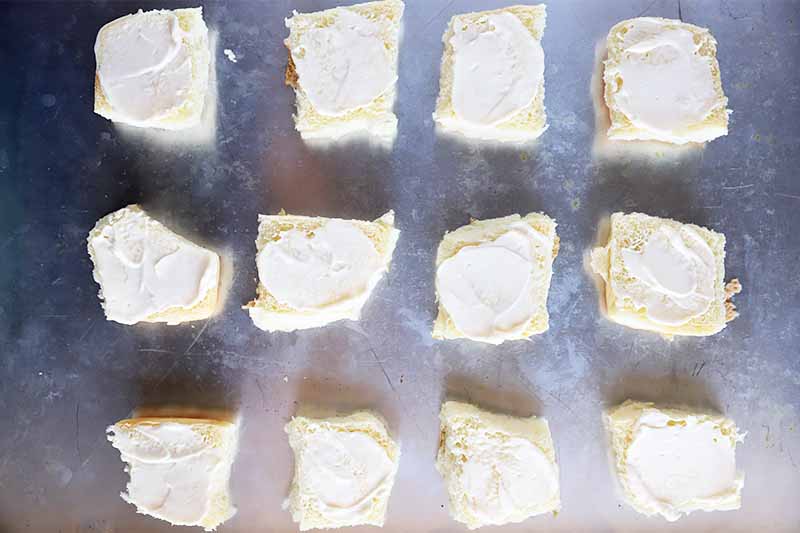
Spread mayonnaise on the bottom halves of the rolls, dividing evenly between all of them.

Divide ham evenly between the rolls, cutting the pieces to fit on the rolls if you need to.
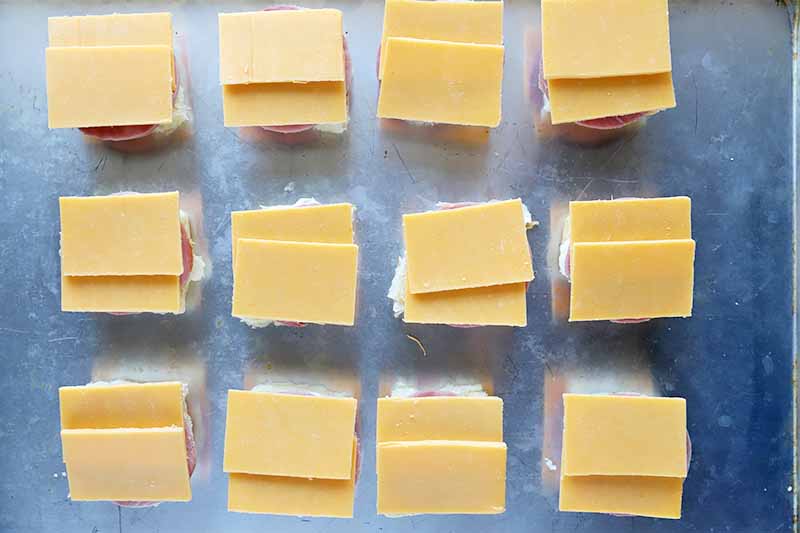
Top with cheddar, cutting again as needed to fit. You don’t want too much overlap hanging over the sides, or it will just melt onto the pan.
Step 3 – Make Sauce
Add butter to a small saucepan and place it over medium heat. Once the butter has melted, add the onion and cook for 2 to 3 minutes until it has softened, stirring occasionally.
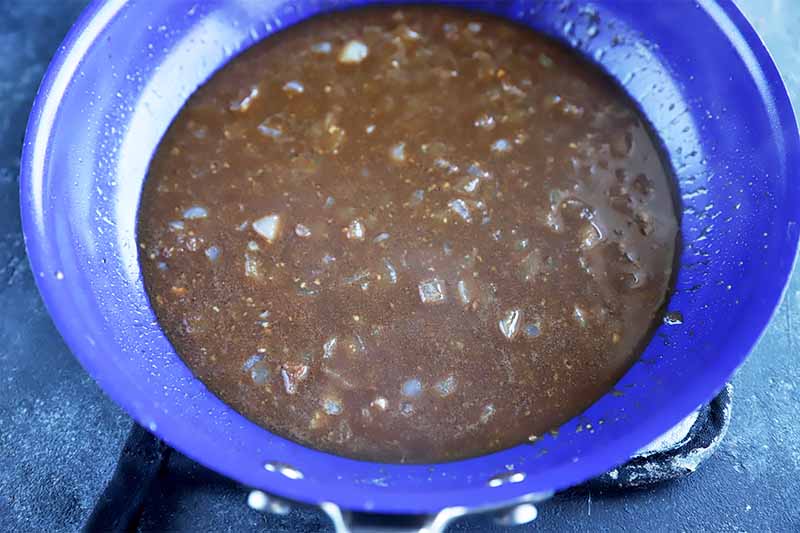
Stir in the mustard, Worcestershire sauce, and honey until combined. Continue to cook for another 4 to 5 minutes, stirring occasionally.
The sauce is ready when it has thickened enough to coat the back of a spoon. Remove from heat.
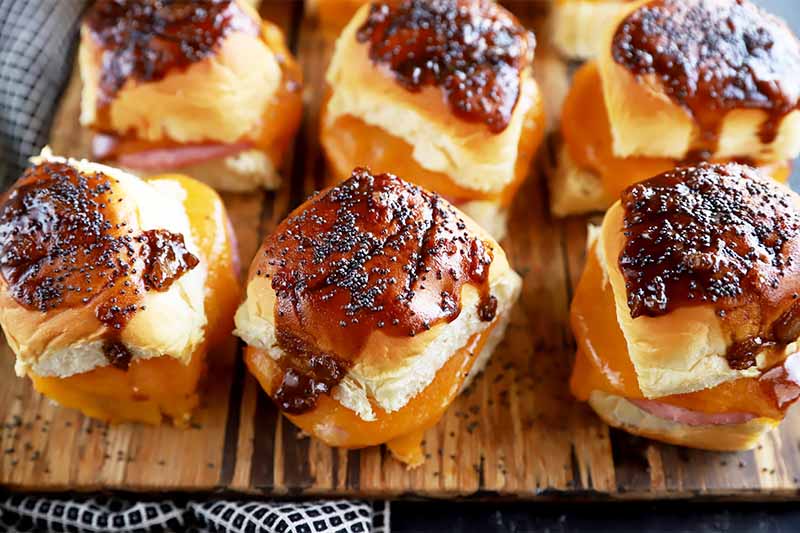
Step 4 – Bake
Place the tops of the rolls on each one. Spoon the sauce evenly over the tops. Sprinkle with poppy seeds, if you like.

Bake for 5 minutes, until the tops are lightly toasted and the cheese has melted. Serve immediately.
Can I Double This Recipe?
Need even more sliders? Doubling this recipe is a breeze.
All you need (besides twice the quantity of each of the ingredients!) is a large baking sheet, or two sheet pans to accommodate all of the sandwiches.
Be sure to space the sliders about an inch apart, or else the cheese won’t melt in the 5 minutes as the recipe indicates.
Want even more tasty snacks to munch on while you watch the big game? Check out these Foodal favorites next:
What will you serve alongside these delicious mini sandwiches? Tell us in the comments below. And once you try the recipe, be sure to rate it here!
Photos by Meghan Yager, © Ask the Experts, LLC. ALL RIGHTS RESERVED. See our TOS for more details. Originally published on December 2, 2010. Last updated on November 15, 2020.
Nutritional information derived from a database of known generic and branded foods and ingredients and was not compiled by a registered dietitian or submitted for lab testing. It should be viewed as an approximation.
About Meghan Yager
Meghan Yager is a food addict turned food and travel writer with a love for creating uncomplicated, gourmet recipes and devouring anything the world serves up. As the author of the food and travel blog Cake 'n Knife, Meghan focuses on unique foodie experiences from around the world to right at home in your own kitchen.