I never thought that anything could bring me closer to pizza – but this dough did.
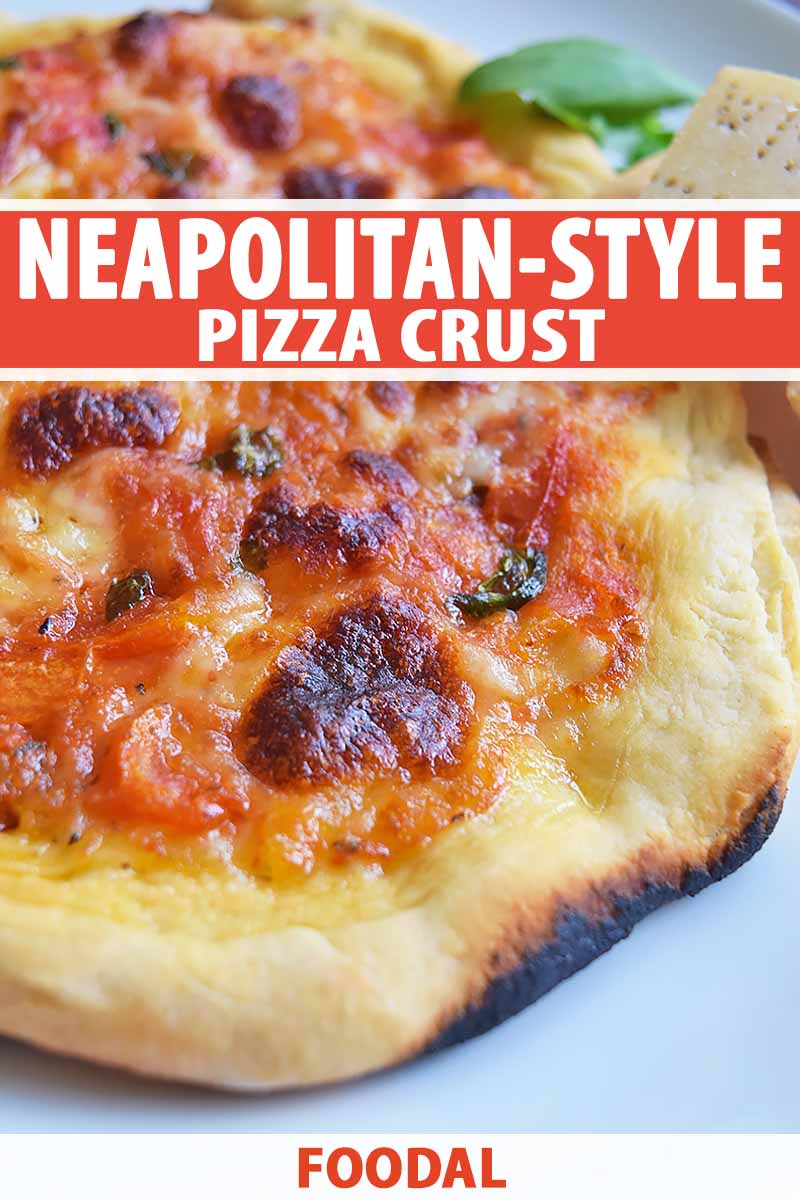
Not for the reason that you think, though. I didn’t magically whip up this delicately crisp, ethereally light pizza crust with ease on the first try and suddenly felt like my life was changed.
That’s actually not what happened at all.
The process of preparing this Neapolitan-style dough once (and then twice, and then three times…) nearly sent me into a complete marinara breakdown.
Full disclosure: I really, genuinely, with all my heart, do not enjoy baking.
I adore cooking because it’s all about seasoning and eyeing to taste. Do I need additional vinegar in this dressing? Spoon, please. Did I put enough shallots in this stir-fry? Eh, let’s throw in a few more.
The people who prefer to follow a recipe line-by-line are the same type of folks who make excellent bakers.
On the other hand, I despise having to measure every single ingredient, and constantly live in fear of the fact that if I wing any part of the process, I’m not going to get the right result.
All of this being said, I have no idea why I took it upon myself to master making a dough…
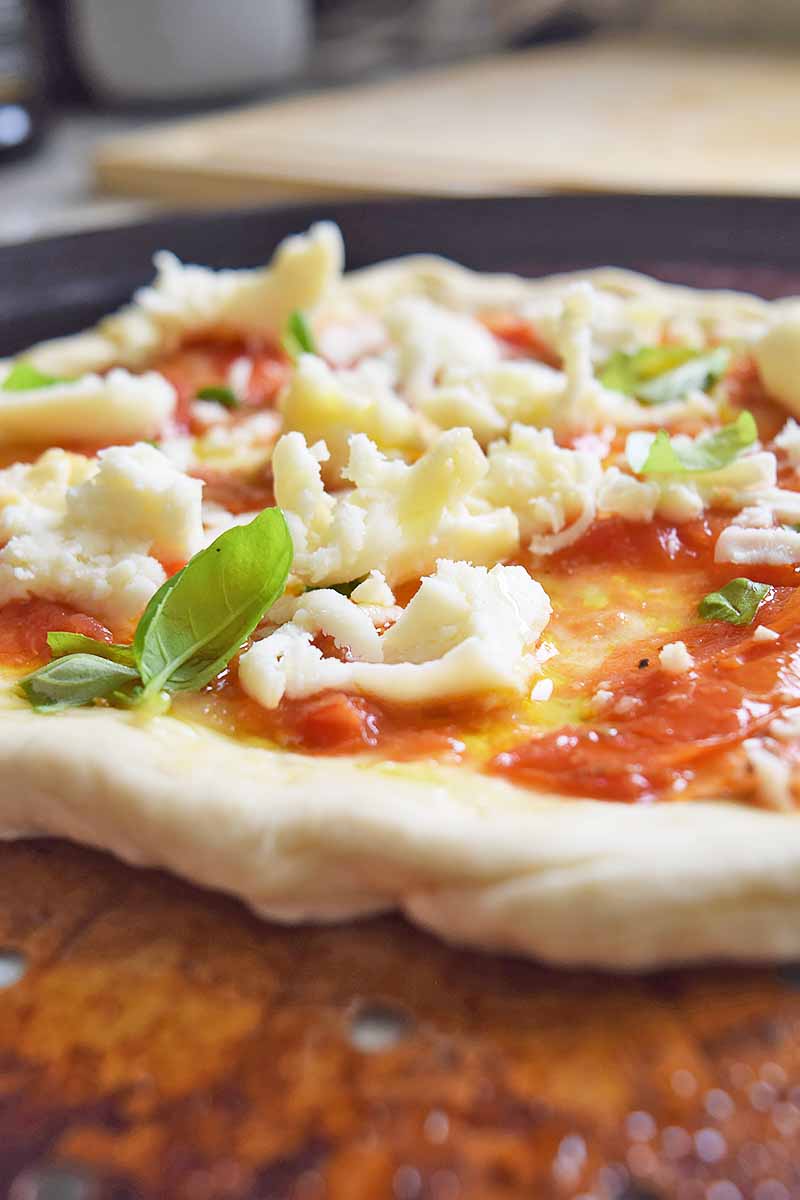
The truth is, my brain may have blocked out the word when I agreed to this assignment. It’s more likely that I spotted the word “pizza” and instinctively raised my hand.
Some people like to paint pizza in a negative light. It’s branded as being one of those obviously unhealthy foods you shouldn’t indulge in.
I strongly disagree.
I’m not saying I devour sixteen pepperoni slices a day. I believe in moderation when it comes to food, and I believe in treating yourself to a cheesy pie when the craving strikes.
I probably eat it in some form (whole wheat crust, on naan flatbread, and so on) at least once a week, but I balance that with other nourishing foods and exercise.
Pizza game: strong. Pizza relationship: even stronger.
When I’m throwing jabs in my weekly kickboxing class, you better believe I’m not there to attain perfect form or earn rock-hard biceps. I’m pretty much just there to neutralize my comfort food equilibrium.
And at the top of that list there will always be pizza.
Although I realized I had technically volunteered myself to bake, I couldn’t wait to tackle Neapolitan dough. In the end, it was a long and arduous journey worth every bite.
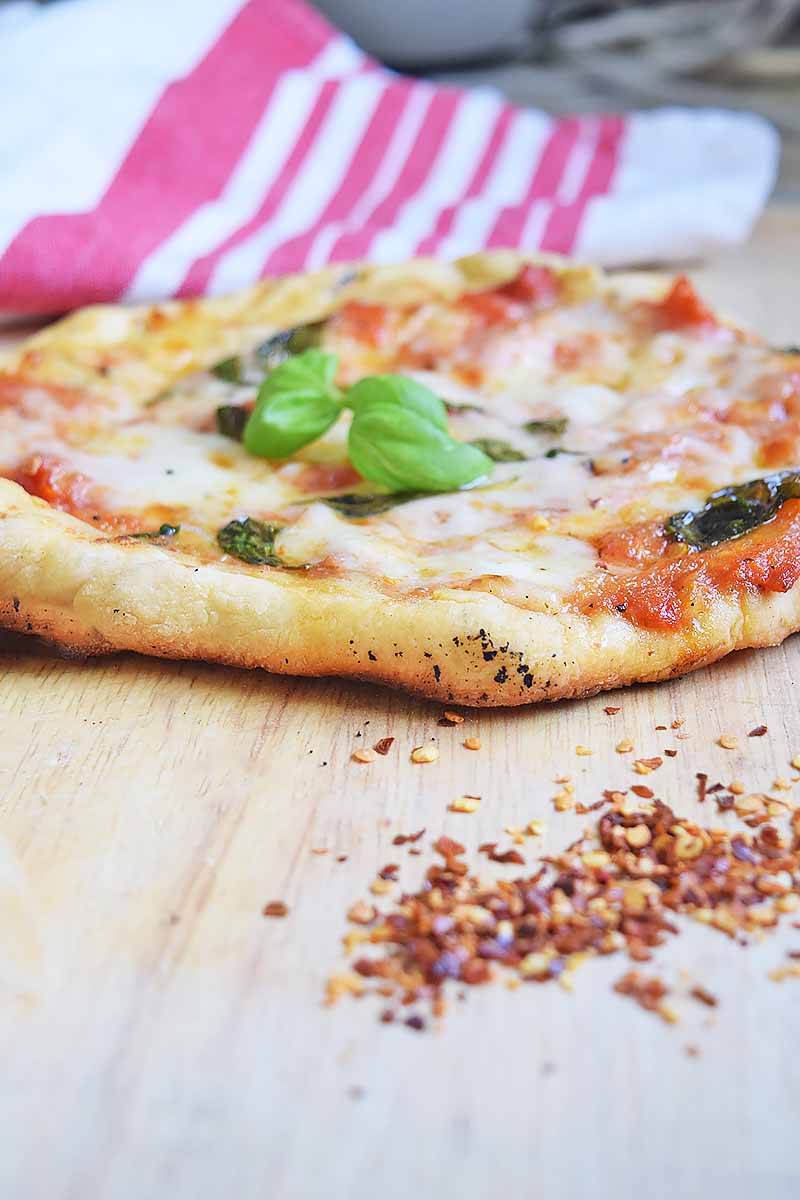
It’s not that this is a difficult recipe by any means, but repeated attempts took an enormous amount of serenity and a deep dive into what it actually means to produce Neapolitan dough.
First and most importantly, unless you’re in Naples – you’re not really eating the real deal.
At least that’s how I understand it, in terms of authenticity. As it turns out, there are a handful of rules to follow if the finish line of your pizza path is creating an authentic Neapolitan-style pie.
These regulations may make it seem like achieving your goal is nearly impossible in a home kitchen. But you can certainly get close, you’ll learn a lot along the way, and that’s the fun of cooking.
Rule #1
You can’t sub in any old flour and assume you’re going to get the right result.
It’s Italian “00” flour or bust.
In my countless hours of research, I stumbled upon a handful of recipes (from reliable sources) that actually incorporated regular all-purpose flour into the dough. If they could do it, so could I (or so I thought). My first attempt used half of each variety and that – along with a few other hiccups – was my first roadblock.
Rule #2
If you’re not cooking in a wood-fired oven, you’re not technically making Neapolitan pizza.
I don’t happen to have a home kitchen equipped with an open-hearth fiery shell. And I bet you don’t either.
It was at this point when I realized that since I, one, don’t reside in Italy and two, don’t live in a pizza parlor, I was going to have to start thinking of Neapolitan dough as more of a style rather than something I had to perfectly mirror.
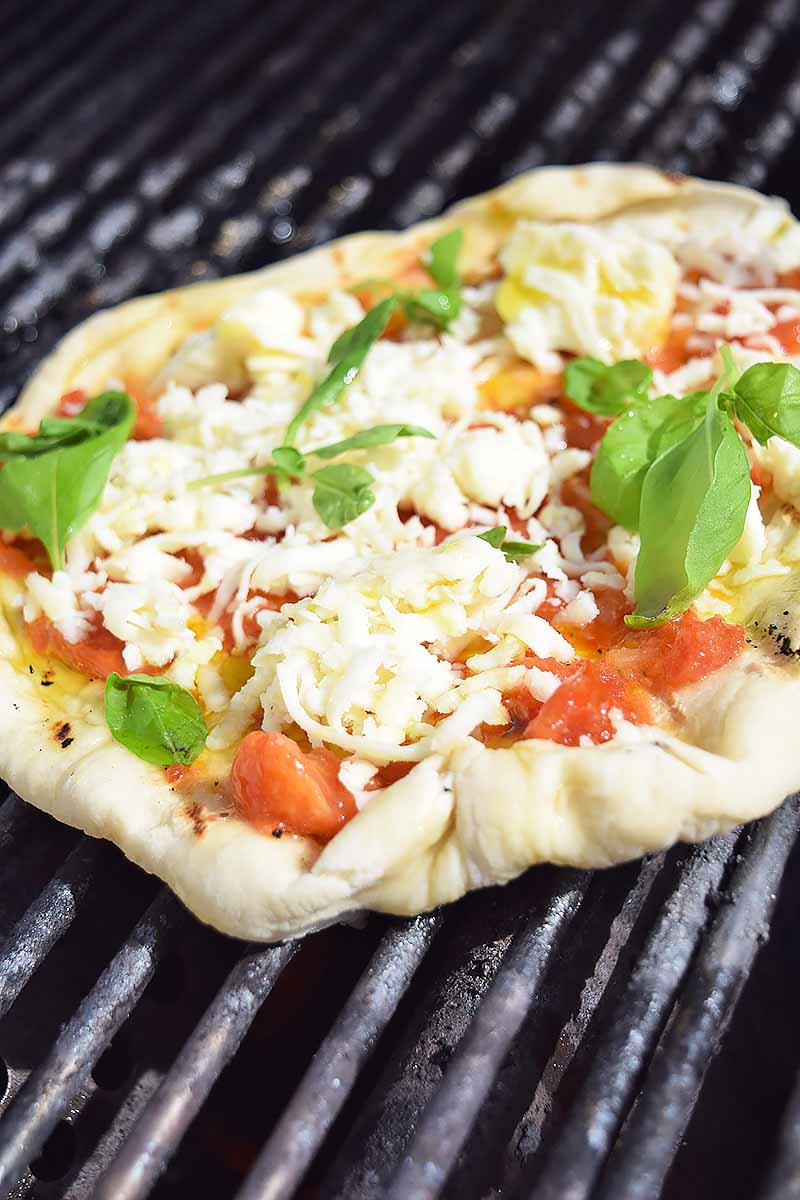
You can crank your oven as high as it goes (typically around 500°F). But without real flames, you’re only going to get so close to crispy-charred bubbles.
To change things up, I even took my gas grill for a spin. The temperature did go a few hundred degrees higher than my oven, but the biggest difference between this pie and my first (cooked inside) was the addition of some smoky notes and a sturdier bottom.
Rule #3
The toppings on a true Neapolitan pizza are those of a classic Margherita: crushed San Marzano tomatoes, fresh mozzarella (buffalo mozz, not the cheap stuff), whole basil leaves, and extra virgin olive oil.
The simpler the better, and the oil gave a juicy, fruity sheen to my finished product.
I sprinkled a leftover crust attempt with bechamel, wild mushrooms, and spicy salami. While it was undoubtedly divine, it was not (I repeat, not) Neapolitan.
Rule #4
A long, slow rise is another important factor. Another one of my rookie mistakes was thinking that several hours was enough time for the yeast to do its thing. Wrong again.
As it turns out, one of the most important ingredients that leads to the airy execution of Neapolitan dough is patience.
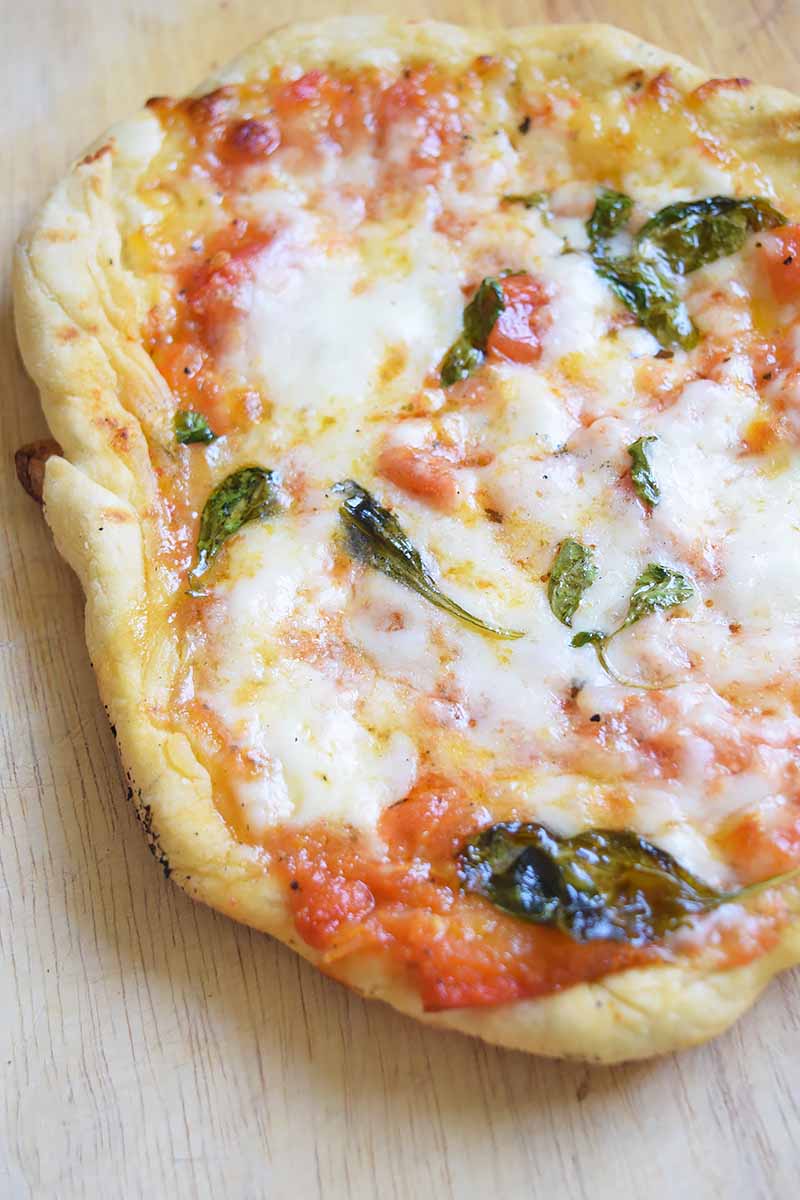
Though my first attempt (using half all-purpose flour and half “00” flour with a short rise time) still made a pretty tasty pie, it had its issues. The crust didn’t puff, and increasing the cook time because of that only produced an overly firm crust.
There was no gentle, yeasty chew. There was just a too-tough dough, tomatoes on my sweatpants, and heartbreak.
Well, it wasn’t that bad. Again, it is pizza and all pizza is a gift from the heavens.
Rule #5
Speaking of cooking times, last but not least, a true Neapolitan pizza is cooked for no more than 90 seconds.
Sounds like a miracle when your cooking vehicle takes at least five minutes to melt the cheese. But with a blazing hot wood-fired oven, any longer and you’re on your way to burnt-ville.
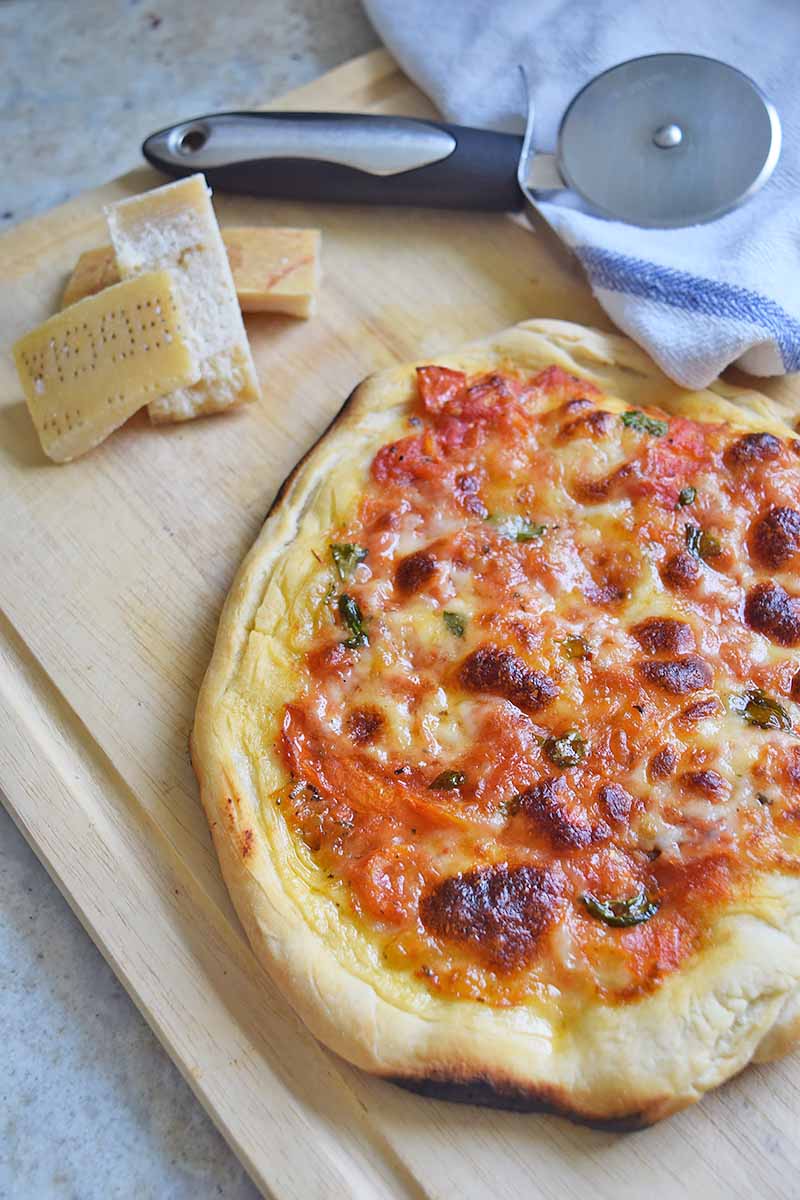
So why am I telling you all of this? It’s certainly not to scare you away from playing with dough. If anything, I’m here to encourage you and share with you that, while this process may seem daunting, it’s really as simple as following a few easy rules.
When I went back to square one and absorbed every bit of knowledge that I could about Neapolitan-style dough, I realized that my mistakes all came from not giving the recipe the care that it deserved.
I couldn’t skimp on the pricier flour, I couldn’t speed up the rise time, and (while I couldn’t make a wood-fired oven appear out of thin air) I couldn’t peek while my pizza did its thing. Even the quickest opening-and-shutting of the oven door lost me some precious heat.
But here’s the great news! I’ve done all the research, all the trial and error, and all of the work to deliver to you what I’m certain is the closest thing to Neapolitan-style recipe that you can make at home.

Follow the recipe with care and you’ll be on your way to an elastic, yeasty ball of love that you can shape and top to your heart’s delight. You’d think this experience would have turned me off from pizza, but as it turns out, I love it even more.
Also, I took on the extremely tedious job of eating pizza six times in one week. You’re welcome, but then again – thank you.
Print
Neapolitan-Style Pizza Crust
- Total Time: 11 hours
- Yield: 2 10-inch pizzas 1x
Description
Are you slightly obsessed with pizza that comes with a charred, chewy, bubbly crust? You need this Neapolitan-style dough in your life.
Ingredients
- 2 cups Italian Tipo “00” flour, plus more for dusting
- 1 teaspoon coarse salt
- 1/2 teaspoon active dry yeast
- 3/4 cups warm water, no hotter than 110°F
- Nonstick cooking oil spray
Instructions
If Using a Stand Mixer:
- In the bowl of a stand mixer fitted with the dough hook attachment, add the flour, salt, and yeast and mix to combine.
- With the mixer on low speed, slowly pour in the water and allow the dough to knead until it comes together in a ball that doesn’t stick to the bowl, about 8-10 minutes.
If Kneading by Hand:
- In a large mixing bowl, combine the flour and salt.
- In a small bowl, mix together the warm water and yeast and stir to combine.
- Either on a large, clean work surface or cutting board, pour out the flour mixture and make a well in the center. Slowly pour the water and yeast mixture into the middle of the well and, using a fork, gradually pull the flour into the center.
- Knead the dough by hand, stretching it out and folding it back on itself for about 10 minutes. Add additional flour if necessary, to keep it from sticking. Place the dough in a large mixing bowl.
To Proof and Finish:
- Cover the bowl tightly with plastic wrap and refrigerate for at least 8 hours (or up to 72 hours max).
- Take the dough out of the fridge about two and a half hours before you’re ready to use it, and let it rest on the counter at room temperature for 15 minutes. Transfer it to a clean work surface or cutting board dusted with flour. Divide the dough into two halves and, using floured hands, form into rounds.
- Coat two bowls with nonstick spray and place one dough ball in each one. Spray the top of each ball with additional nonstick spray and then cover tightly with plastic wrap. Allow the dough to rise at room temperature for 2 hours. It should double in volume.
- Place the dough balls onto a clean work surface or cutting board generously dusted with flour. Using your fingers, press and stretch the dough into 10-inch rounds. Work from the center, and avoid putting too much pressure on the edge.
- Preheat oven to at least 450°F (or 500°F if it goes that high), and set either a pizza stone or a baking sheet on the rack in the top third of the oven.
- Top the dough with simple ingredients and leave a 1-inch border around the edge.
- Bake until the crust is lightly charred and puffs up around the edges, and the cheese is bubbly, 6-8 minutes.
- Prep Time: 35 minutes
- Cook Time: 10 minutes
- Category: Pizza
- Method: Baking
- Cuisine: Italian
Keywords: pizza crust
Cooking By the Numbers…
Step 1 – Measure the Dry Ingredients
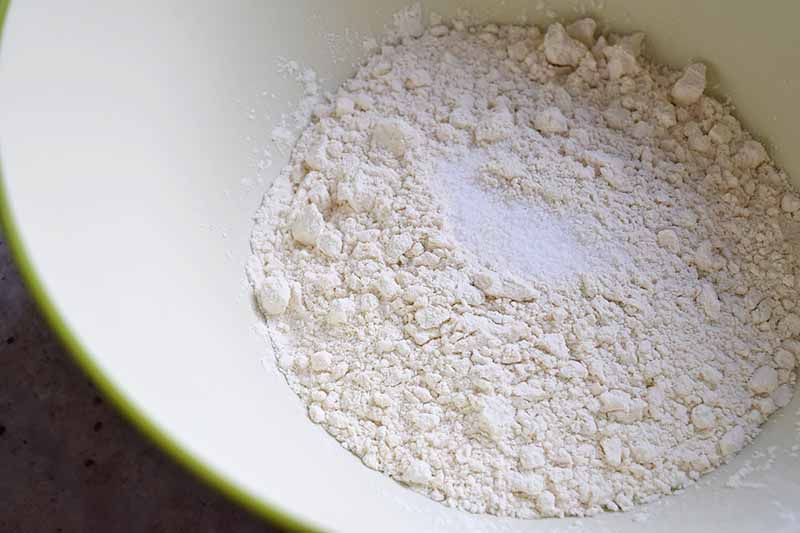
In the bowl of a stand mixer fitted with the hook attachment, add the flour, salt, and yeast and mix to combine.
If you are kneading by hand instead, combine the flour and salt in a large mixing bowl.
Step 2 – Mix in the Water and Yeast
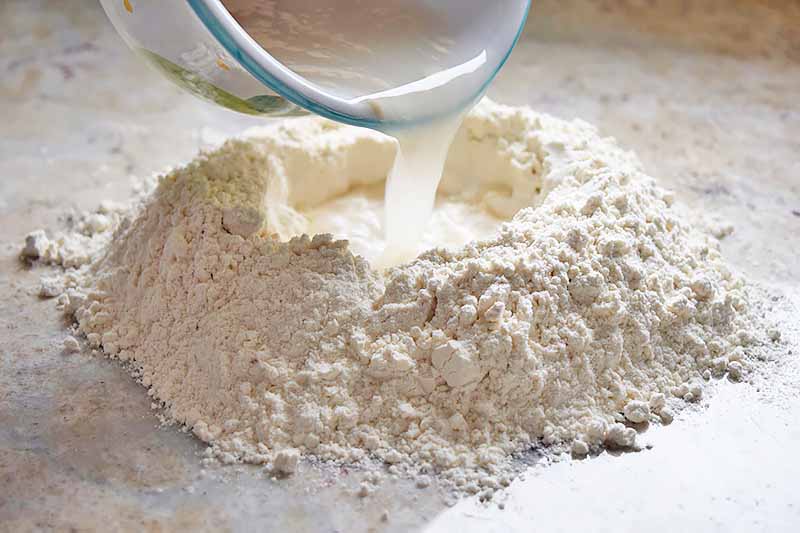
With the mixer on low speed, slowly pour in the water and allow the dough to knead until it comes together in a ball that doesn’t stick to the bowl, about 8-10 minutes.
If kneading by hand, mix together the warm water and yeast in a small bowl and gently stir to combine.
Either on a large, clean work surface or cutting board, pour out the flour mixture and make a well in the center.
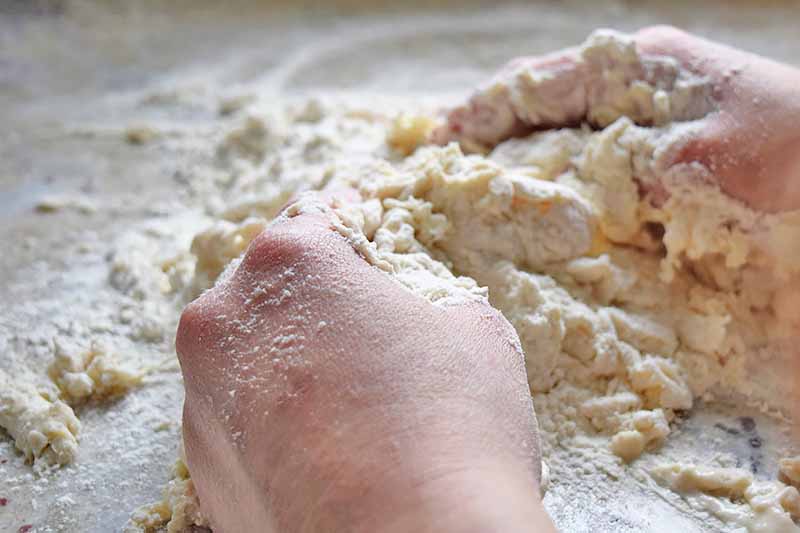
Slowly pour the water and yeast mixture, a few tablespoons at a time, into the middle of the well. Using a fork, gradually pull the flour into the center.
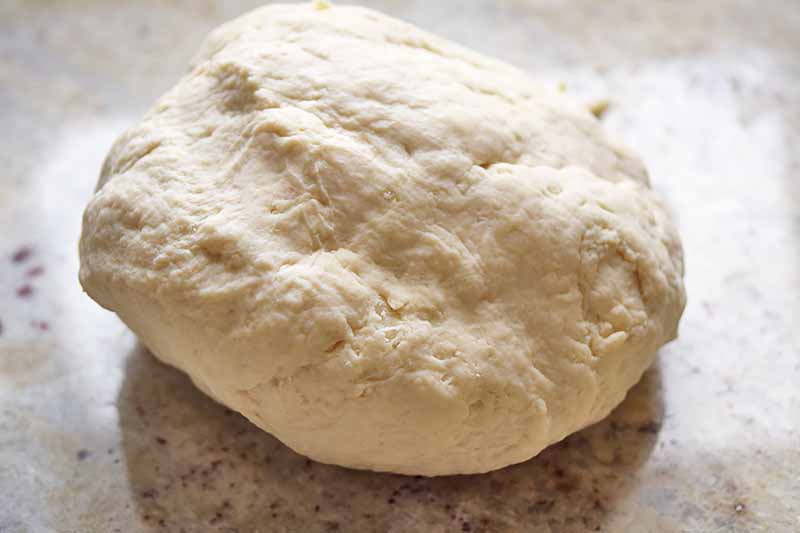
Knead by hand, stretching it out and folding it back on itself for about 10 minutes. Remember to add additional flour if necessary, to keep it from sticking. Place in a large bowl.
Step 3 – Rest
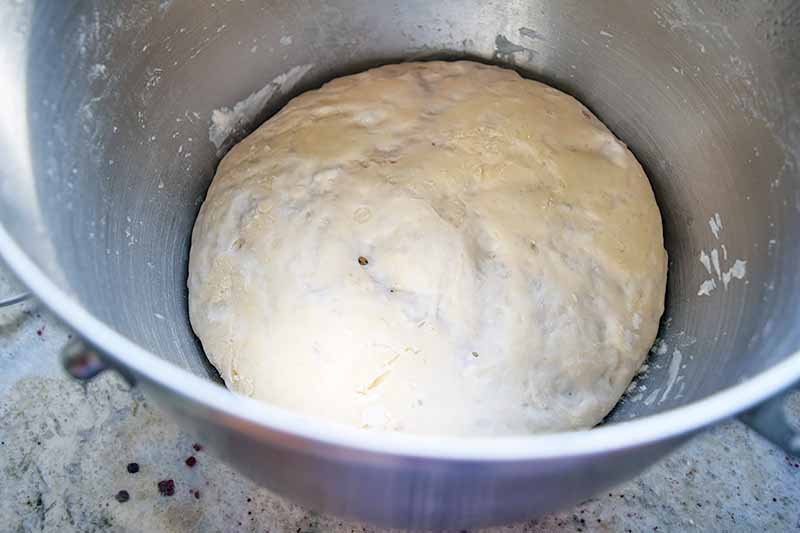
Cover the bowl tightly with plastic wrap and refrigerate for at least 8 hours, or up to 72 hours if you won’t be ready to use it right away.
Step 4 – Divide and Form into Rounds
Take out of the fridge about two and a half hours before you’re ready to use it. Set it aside to rest on the counter at room temperature for 15 minutes. This will help to bring it back to a workable temperature.
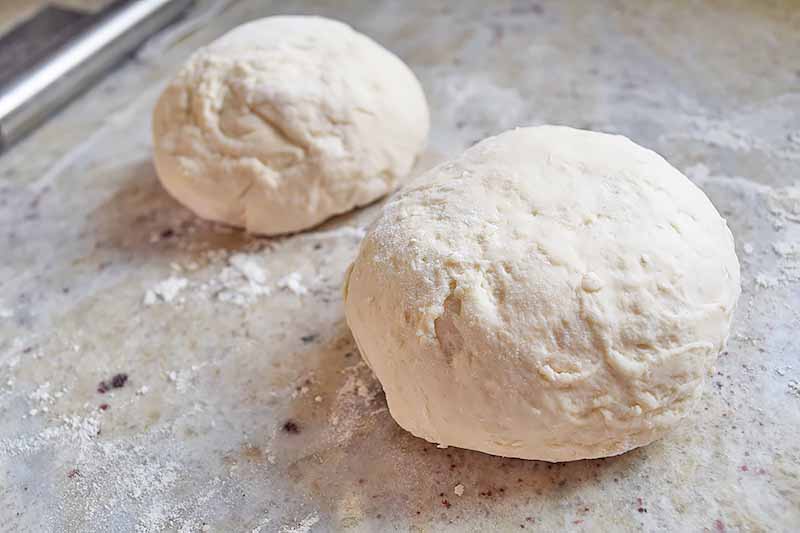
Transfer it to a clean work surface or cutting board dusted with flour. Divide the dough into two halves and, using floured hands, form into rounds.
Coat two bowls with nonstick spray and place the dough balls into each one. Spray the top of each ball with additional nonstick spray and then cover tightly with plastic wrap.
Step 5 – Rise
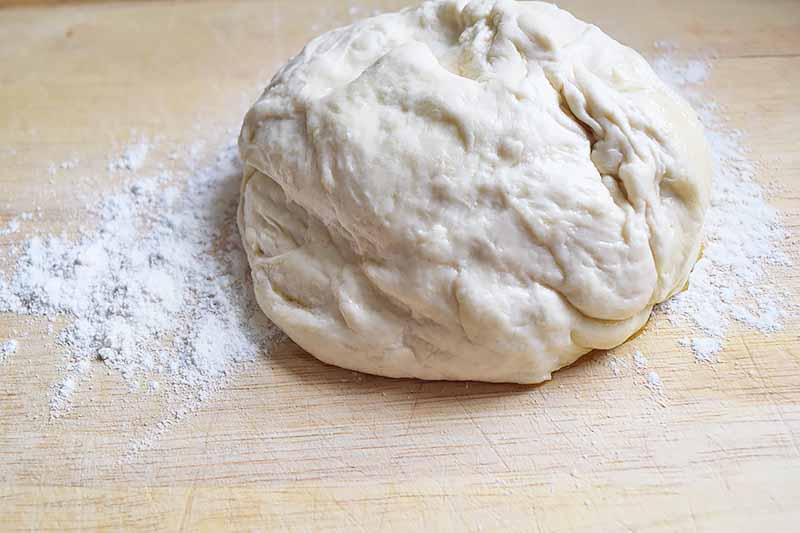
Allow the dough to rise at room temperature for 2 hours. It should double in volume.
Step 6 – Stretch
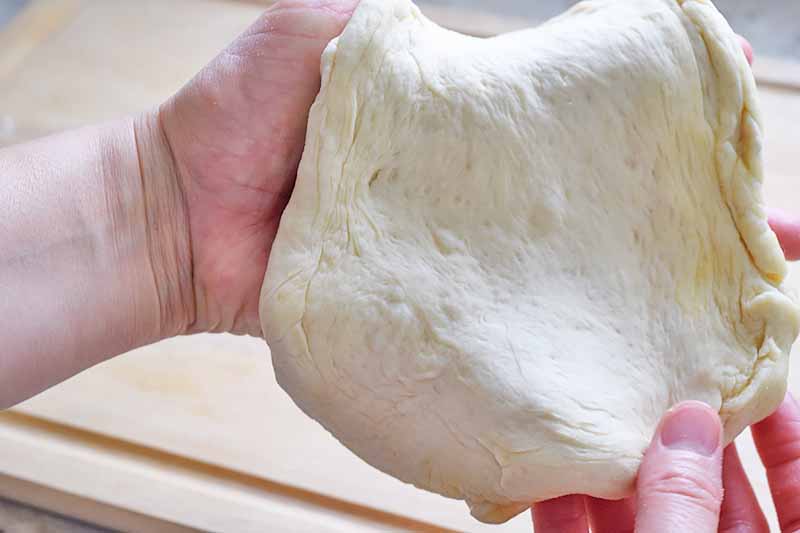
Place the dough balls onto a clean work surface or cutting board generously dusted with flour.
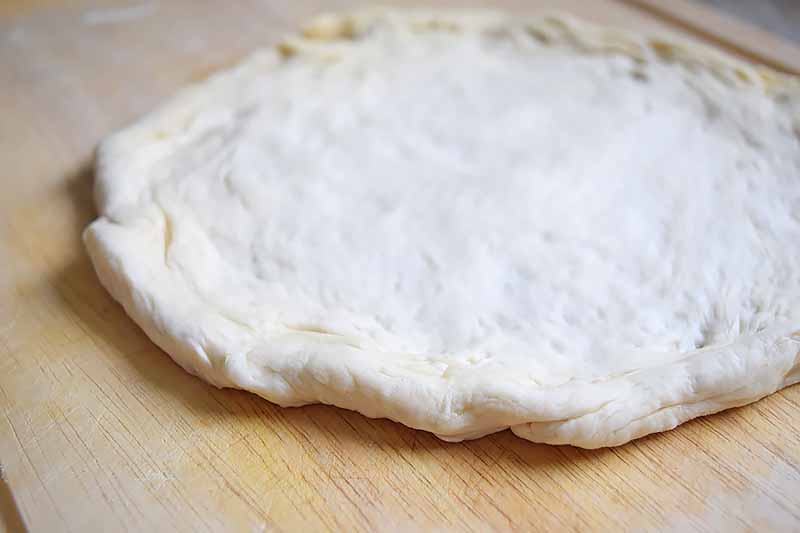
Using your fingers, press and stretch the dough into 10-inch rounds. Work from the center, and avoid putting too much pressure on the edge.
Step 7 – Top and Bake
Preheat your oven to at least 450°F (or 500°F if it goes that high), and set either a pizza stone or a baking sheet on the rack in the top third of the oven.
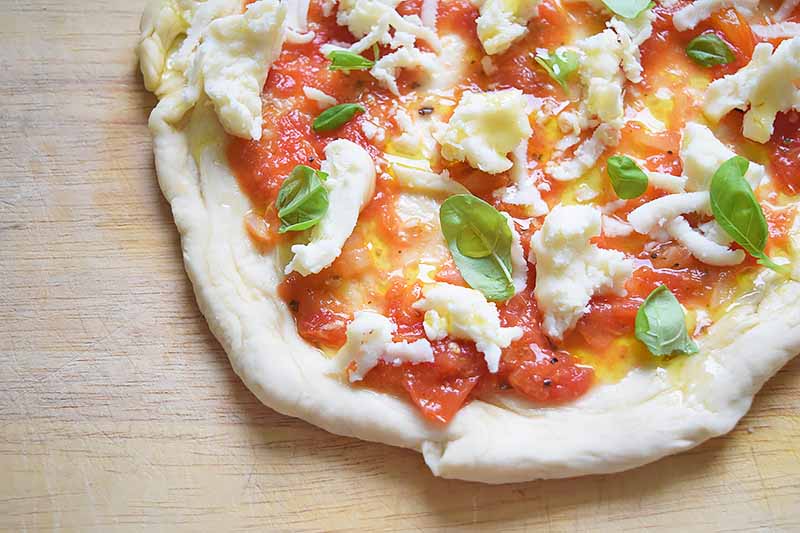
Top the dough with your choice of simple ingredients – like a fresh tomato sauce, good quality-mozzarella, fresh basil leaves, and extra virgin olive oil – and leave a 1-inch border around the edge.
Bake until the crust is lightly charred and puffs up around the edges and the cheese is bubbly, for 6-8 minutes.
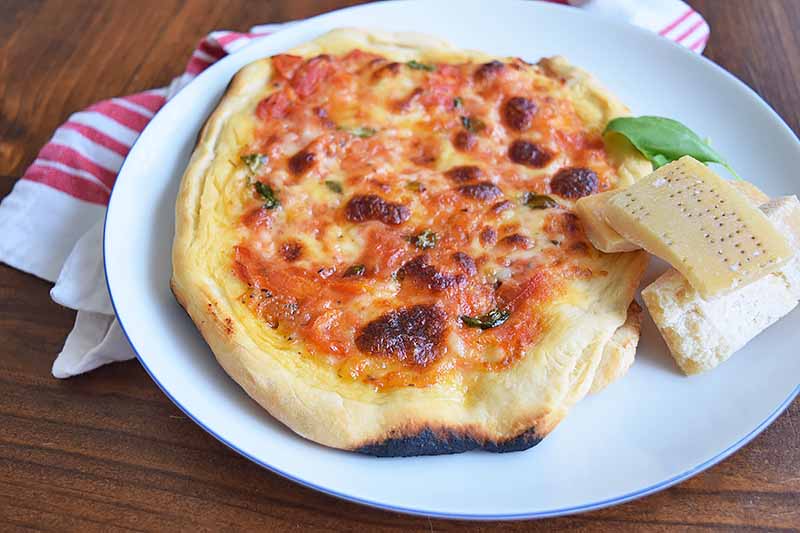
Keep an eye on your time without opening the oven door, and remove immediately from the oven. Slice and serve right away.
A Slice of Heaven
Don’t get too caught up in the relentless rules for authenticity when it comes to perfecting a true Neapolitan dough. No wood oven? No problem. Can’t catch a quick plane to Italy? Don’t worry about it.
Making dough from scratch is a learning process, and perfecting your skills is as simple as following a recipe, and remembering to have fun along the way.
Want to experiment with other doughs? Have fun with recipes like einkorn or spelt pizza dough with kefir, or our honey whole wheat!
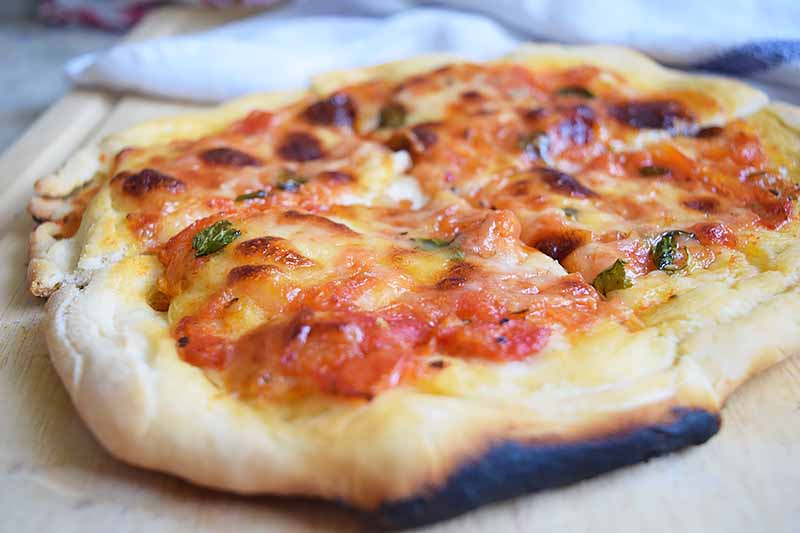
For more funky ways to finish off a homemade pizza, check out these luscious dresses for your dough:
- Pesto Pizza with Goat Cheese, Kale, and Mushrooms
- Caramelized Onion, Mushroom, Pesto Pizza
- Grilled Zucchini Pizza
- Herbed Chewy Crunchy Pizza Dough
- Peach, Basil, and Ricotta Flatbreads
- Pizza Pockets
What tricks do you use when you’re tossing around homemade dough? Cornmeal on the pizza peel? Stone on the grill? Share your all-star pizza crust moves in the comments below! And don’t forget to give this recipe a five-star rating if you loved it.
Photos by Fanny Slater, © Ask the Experts, LLC. ALL RIGHTS RESERVED. See our TOS for more details. Originally published by Shanna Mallon on September 27, 2010. Last updated: June 30, 2020 at 10:05 am.
*Nutritional information derived from a database of known generic and branded foods and ingredients and was not compiled by a registered dietitian or submitted for lab testing. It should be viewed as an approximation.
About Fanny Slater
Fanny Slater is a home-taught food enthusiast based in Wilmington, North Carolina who won the “Rachael Ray Show” Great American Cookbook Competition in 2014, and published her cookbook “Orange, Lavender & Figs” in 2016. Fanny is a food and beverage writer, recipe developer, and social media influencer. She was a co-host on the Food Network series “Kitchen Sink,” was featured on Cooking Channel’s longtime popular series “The Best Thing I Ever Ate,” and continues to appear regularly on the “Rachael Ray Show.”


I am deathly afraid of turning my oven up that high, but if it could get me the kind of results that you got here, I’m all for it. Plus, roasted tomato sauce is the bomb.com, but until now, I’d never thought to use it on pizza! Love it.
Here’s to many more weekends like the one you just had!
i think i got a little freaked out the first time i turned an oven on that high too, but it’s totally worth it :). i’ll have to try white spelt flour – i’ve used the regular (?) kind for foccacia before with good results. you can’t get enough of pizza, that’s for sure!
yum. homemade pizza is fun and easy to make with children! great idea!! i might do that for dinner tomorrow…they each make their own…
A. I want pizza. Not just now, but all the time.
B. Judy just called me, bragging about how you mentioned her here and how you called her your friend.
I’m on a quest to find a good pizza crust recipe, maybe this one will be it? It looks just about right, and sounds like I wish it would be (thin and chewy). I’ll have to give it a try.
Your pizza looks great!
My husband could eat the “right” kind of pizza every day of the week too. We found a great pizza dough from Marcella Hazan’s book, but I’ll have to try this one too. We do use the hot pizza stone. There is nothing like making your own and this looks so good.
omg, I really want pizza now. And there is only beggars near here! eep!
I will forever love this deep dish pizza form Nick’s Pizza in Chicago Ridge. IT’s not the deep dish that has the sauce on top, it’s thick and doughy w/ a thick layer of cheese on top and all the yummy ingredients underneath… oh man, I can go for some pizza like NOW!
I am identical. With pizza being my favourite, that is. If ever there was a food to crave, pizza is it. I told my husband recently that if I ever am in the situation where a last meal is necessary…pizza it is. Complete agreement on crust too. Phew, I’m getting hungry just thinking about it! Thanks for the links – I need to finally make my own!
Maddie, Do it! It freaked me out a little too, but nothing blew up or set on fire, and I didn’t even burn my hands (which, let’s be honest, I could do on an oven set to 200 degrees).
Heather, If you liked the whole grain spelt, you’ll love the white kind. Whole grain spelt is even better for you than the white kind, but it tastes a little heartier.
Rachel, Individual pizzas! I loved those when I was a kid!
Becky, I love Judy! And if mentioning her in a post means you comment, tell her she’ll be in all of them from now on, ahahaha.
Dana, And it’s so simple! Try it!
Angela, Oh, I want a pizza stone so much. I bet that would make this even better!
Niki, Listen, ME TOO.
Angharad, Yep, I’d like it for my last meal, too! : ) I hope you try this!
YUM! I am craving pizza now. I am saving this recipe so good. I have to try that pizza crust recipe. THANK YOU!
Indeed! This is exactly how we do ours, hot and heavy, on a baking stone, preheated for an hour as high as our oven will go. Oh, and parchment, yes, is the secret to clean and easy. Gets six people fed on pizza night, here. I’ve got a lovely, local bag of spelt flour. I’ll have to try it out on Friday night, thanks!
Delishhh, Hope you enjoy it!
Molly, Oh, I want a baking stone! And your pizza parties sound lovely. Three cheers for a lovely, local bag of spelt flour, too!
Shanna, I made this for dinner tonight and loved it!! I’ve attempted homemade pizza several times but this was, by far, the best yet. I had whole grain spelt, so I used that. I’m going to keep my eye out for white spelt though. I think it will help make the crust more chewy. Thanks for all the tips, especially the one about cranking up the temp on the oven.
Katy, That’s awesome! And the fact that you used whole grain spelt is even better for you, health-wise. I’d love to hear what you think by comparison if you’re able to find white spelt – check the bulk bins at Whole Foods or health stores – I almost always see it there.
Good posts keep on giving! Thanks – been working on pizza recently & love the changes from Reinhardt’s Bread Bakers Apprentice pizza dough to the one you linked. Will write up on my blog & link back. Happy pizza making everyone!
terrible to admit? pizza is undeniably the world’s greatest meal and to think otherwise is simply to be wrong.
Thin, chewy pizza is where it’s at! 😀 I need to try your technique and recipe.
This crust is fantastic! I love thin and crispy and this recipe is exactly that. Thank you!
★★★★★
This has a hydration of less than 50%! Neapolitan pizza should always have a hydration of at least 60% (up to 80%). Never measure in cups/tablespoons/etc. always weigh your ingredients, & use baker percentages. If using a conventional oven, preheat to the highest temperature for about 45 minutes with either a pizza stone or pizza steel. The only thing this article got right was the use of tippo 00 flour. This is not Neapolitan pizza.
★