Is yours a pizza family? Because mine sure is.
My hubby is all about it, morning, noon, and night. And I’m pretty sure that anytime he eats the stuff, he is in heaven.
If he had his way, he would eat some version of pizza for every single meal, every single day. Frozen pizza, homemade pizza, pizza bagels, pizza lasagna… anything.
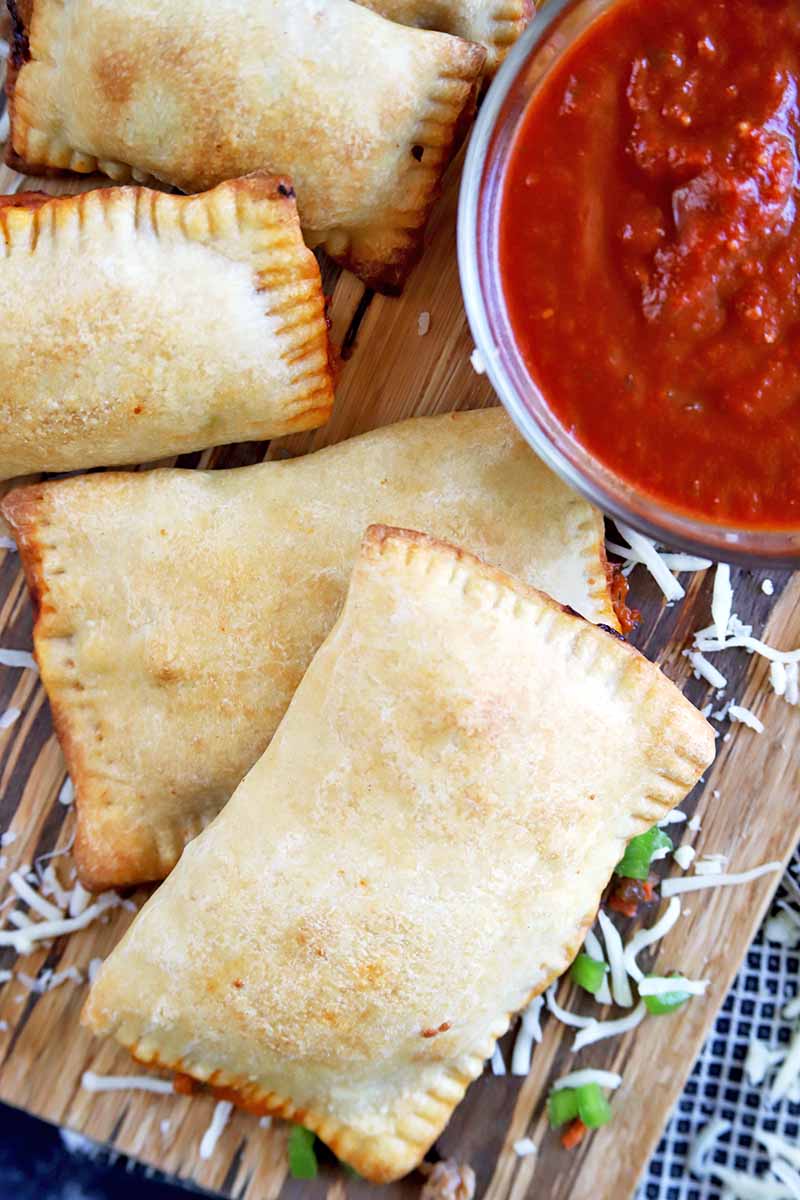
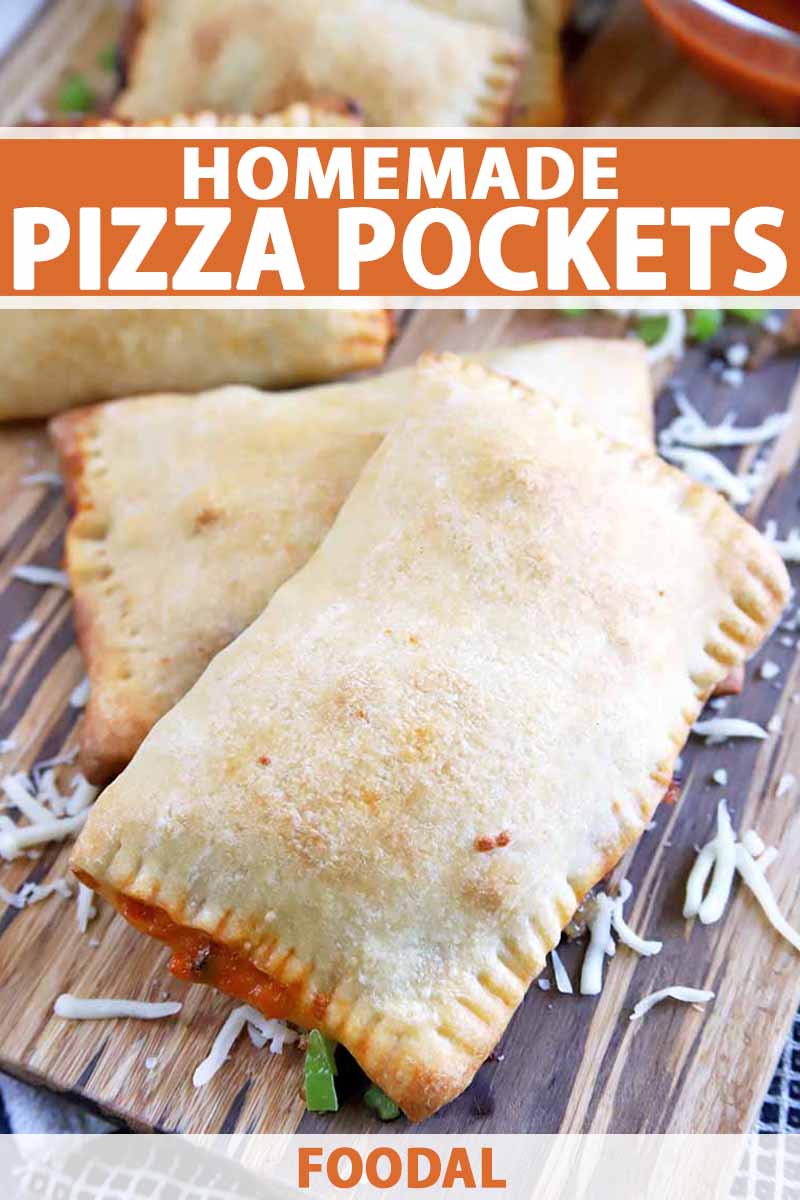
That’s why these pizza pockets are such a big win for us. And they are also going to be a big win for you, when it comes time to get into the back-to-school routine.
This is one of those recipes that can give you a leg up on the after-school snack and lunch routine when school is back in full swing.
In order to master your new autumn schedule, filled with appointments and practices and recitals, you will need to be prepared. What’s the best way to do that?
It’s easy: Make a ton of these pockets ahead of time, so you can be ready for the hungry tummies at the end of the school day, without even having to think about it.
Honestly, these are pretty darn tasty for kids, but they are also pretty darn tasty for the adults to enjoy, too. I have enjoyed them for lunch the past few days, and holy wow, they satisfy any cheesy, saucy craving you may have.
I mean, did someone say Game Day? Put out a platter of these, and your guests will be thrilled!
The best part is that this recipe is incredibly simple to prepare. You just pick your favorite dough, and start by cutting it up into some rectangles.
Add your favorite sauce, shredded cheese, and whatever toppings you usually like to put on your pizza. My kids have been recently obsessed with barbecue chicken pizza toppings, a very fun variation that the whole family is enjoying!
My recommendation is to make a bunch of these bad boys all at one time. If you’re into the meal prep life, I’m sure this is nothing new to you. If you have no idea what I’m talking about, stick with me here.
I mean, if you are going to make a mess, you might as well stock up for the next couple of months, right? And even if you’re super neat in the kitchen, this kind of assembly-line style recipe is perfect for mass-production.
I suggest knocking this out on a day when you can spend a little bit of time putting it all together. Get the kids to help with the cheese grating and toppings prep, and have some fun. That way, you can make a bunch of different types to freeze up.
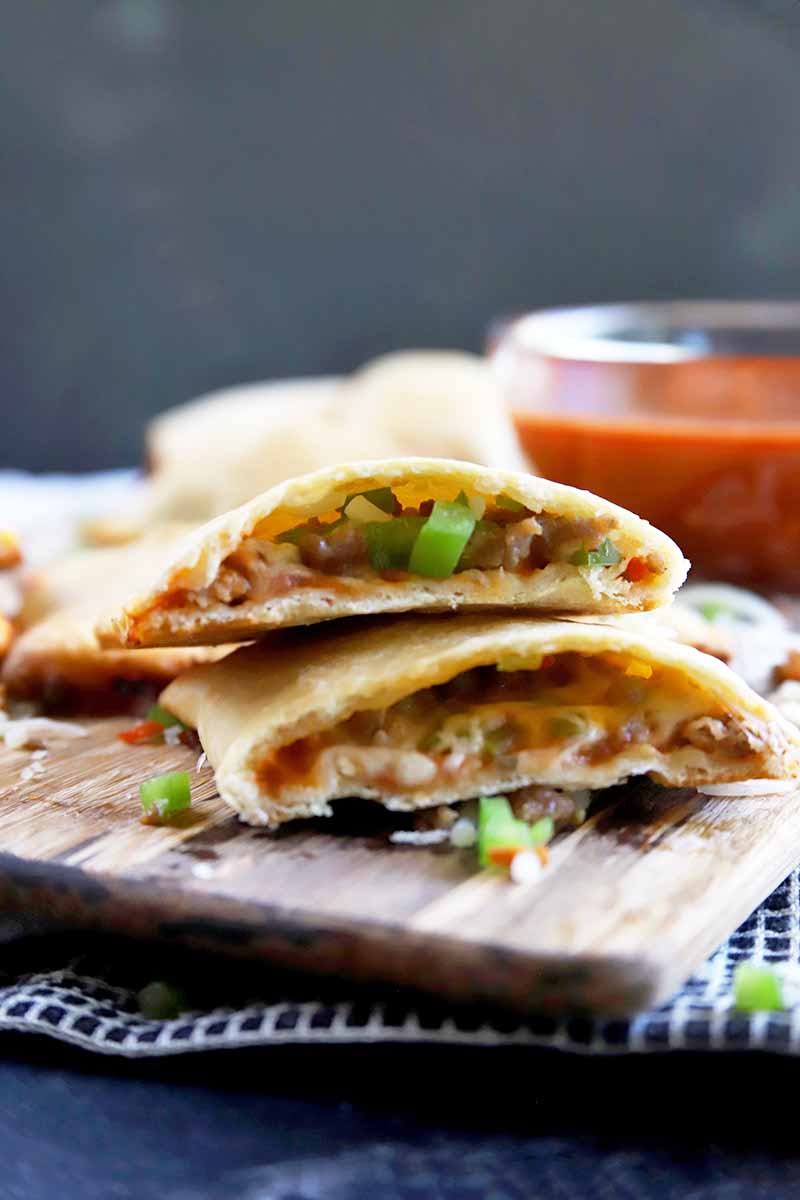
Here are some of my favorite combinations that I recommend:
- Pepperoni and sausage
- Onion and green bell pepper
- Pineapple and ham
- Sun-dried tomato and pepperoni
- Olives, peppers, and mushrooms
- Jalapenos and pepperoni
Once you get them all made, all you have to do is wrap them up and store them in your freezer.
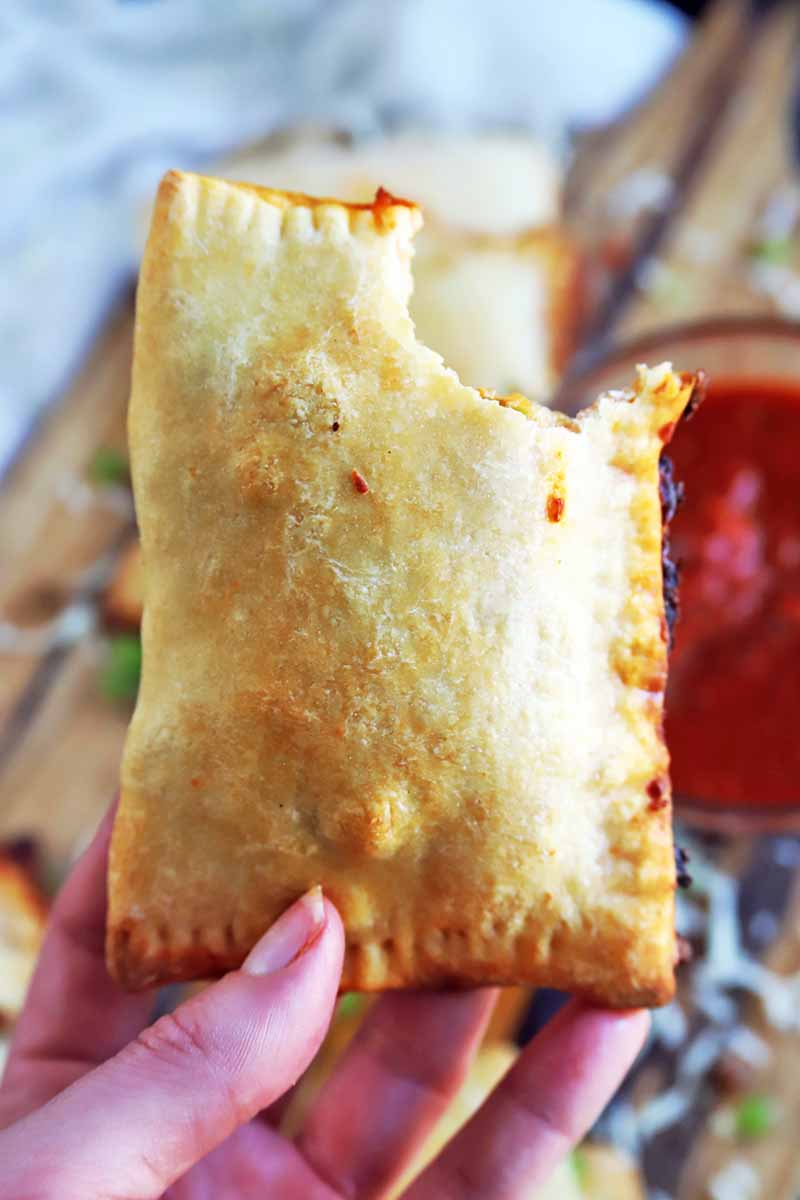
They don’t take long to reheat, and make for a killer after school snack. Plus, you can snag your own for your lunches during a busy week when you don’t have time to plan or do any additional prep.
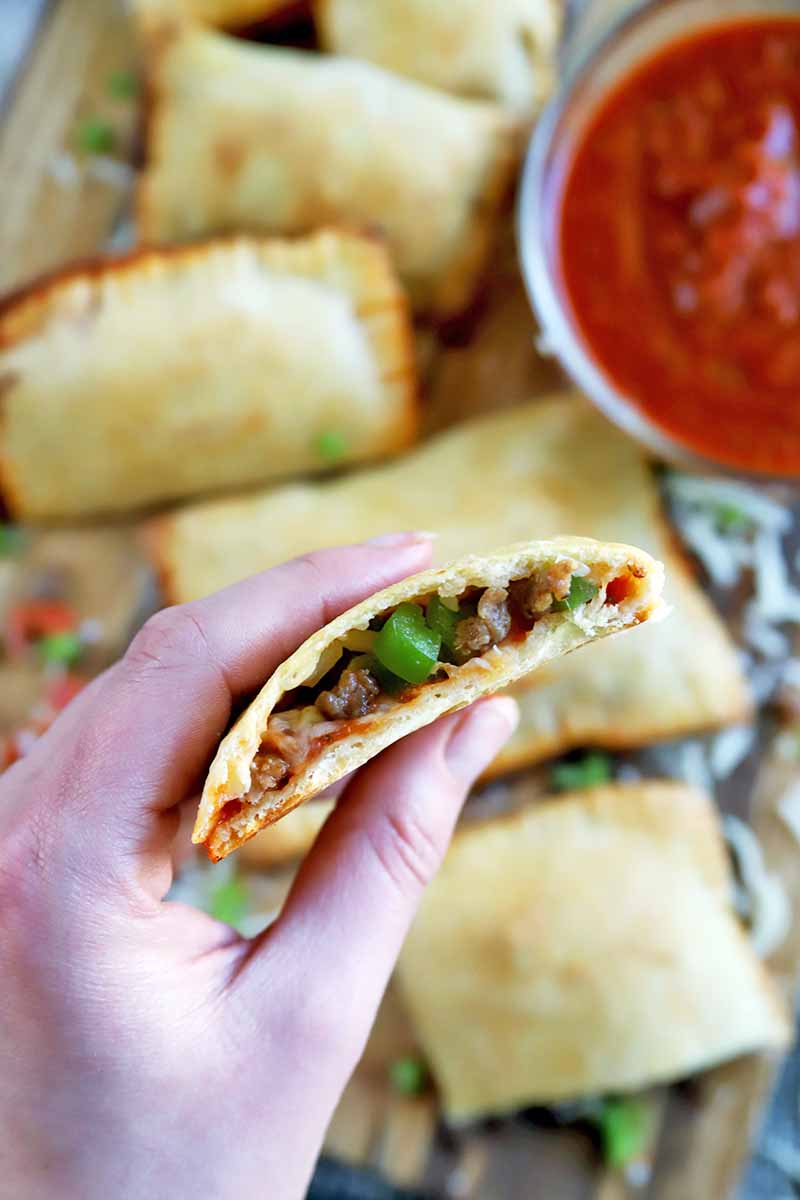
You can also serve these up as snacks for tailgating this fall, or other get-togethers when there are bound to be extra kiddos and kids-at-heart wandering around, looking for something to snack on.
After all, nothing beats homemade when it comes to recipes like this one, right?
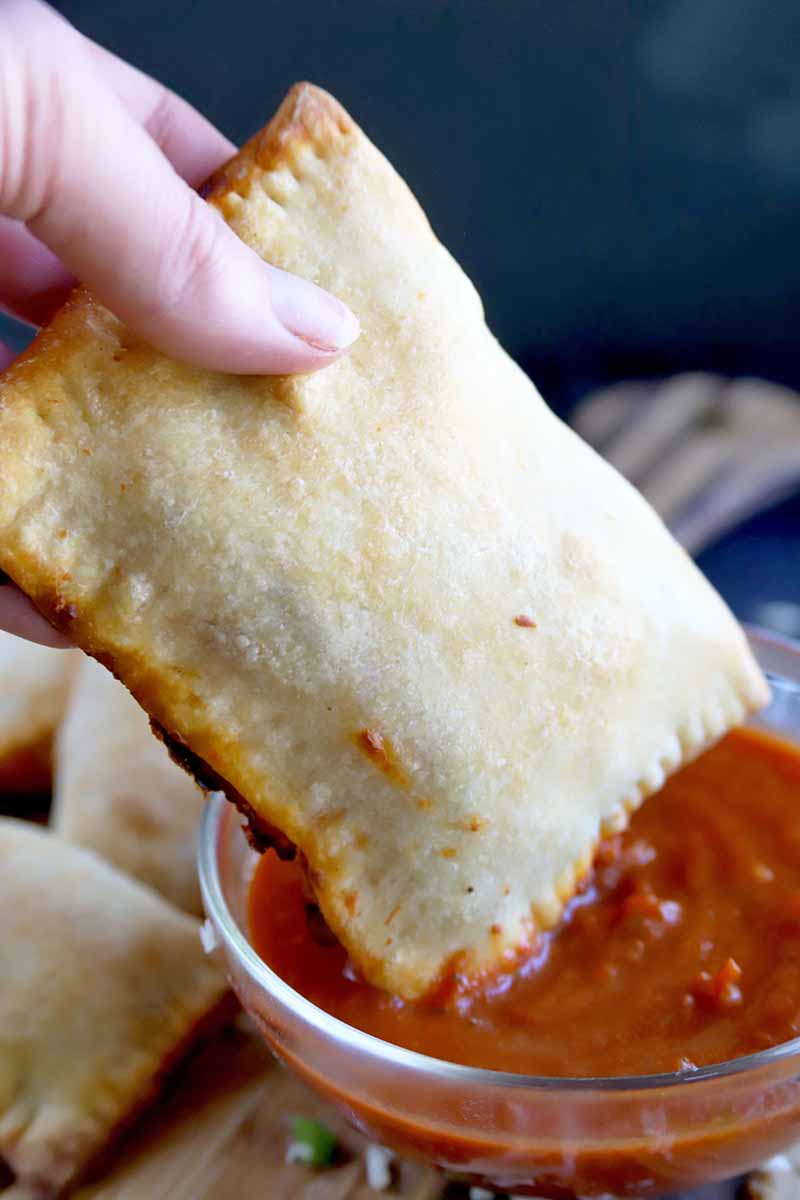
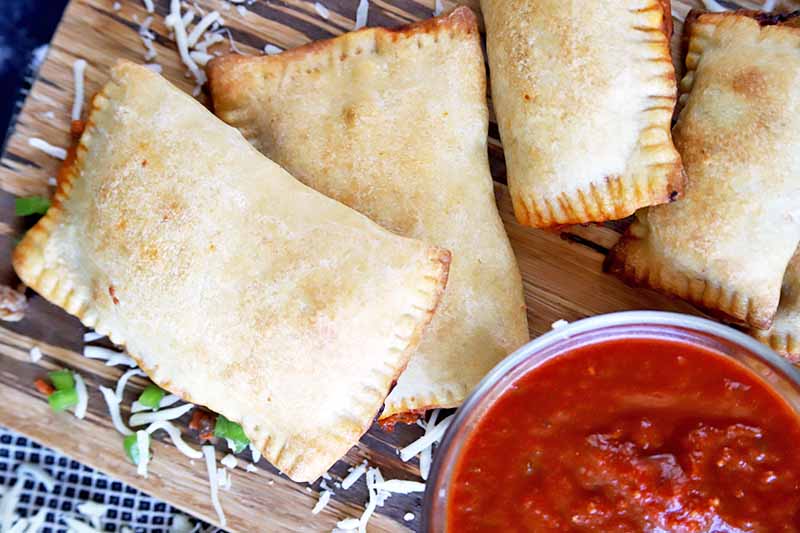
If you like things saucy, I like to serve up these snacks with a bowl of my favorite warmed-up pizza sauce. I am one of those people who loves to dip, so it’s nice to get that extra tomato flavor in there. You can even use pesto if you want, depending on your choice of fillings.
Print
Homemade Pizza Pockets
- Total Time: 30 minutes
- Yield: 16 pockets 1x
Description
Homemade pizza pockets have never been more mouthwateringly tasty, and you can customize these in any way you want.
Ingredients
- 2 lbs pizza dough, store bought or homemade
- 1 cup of your favorite spaghetti sauce or homemade marinara sauce
- 2 cups shredded mozzarella cheese
- 4 tsp olive oil
- Your favorite pizza toppings (suggested measurements below):
- 1 cup crumbled or finely chopped cooked meat
- 1 cup finely chopped vegetables
Instructions
- Preheat oven to 400˚F. Line a large rimmed baking sheet with parchment paper or a silicone mat.
- Roll out one pound of pizza dough into a rectangle on a lightly floured surface, approximately 12 by 16 inches. Repeat with the remaining dough.
- Let rest 3 minutes, then stretch the dough out again. It should be between 1/4 and 1/2 inch thick. Using a sharp knife, cut each rectangle of dough into 8 2-by-4-inch rectangles.
- Add 1 tablespoon sauce, 2 tablespoons cheese, and 2 tablespoons total desired toppings to each rectangle.
- Fold the dough over the filling to form a rectangular pocket, and press the edges together. Use the prongs of a fork to seal.
- Brush each crust with olive oil.
- Place on a baking sheet, with about 1/2 inch between each. Bake for 12-15 minutes, or until crust is golden brown. Let cool 5 minutes on the pan before serving.
- Prep Time: 15 minutes
- Cook Time: 15 minutes
- Category: Savory Pastry
- Method: Baking
- Cuisine: Snacks
Keywords: pizza, cheese, snacks, game day
Cooking By the Numbers…
Step 1 – Chop and Measure Ingredients
Chop up enough meat and vegetables until you have two cups of each. If you are just using vegetables or meat by themselves, make sure you have four cups total.
Meat must be precooked, and you may choose to parboil, grill, or roast veggies or use them raw, depending on your preference.
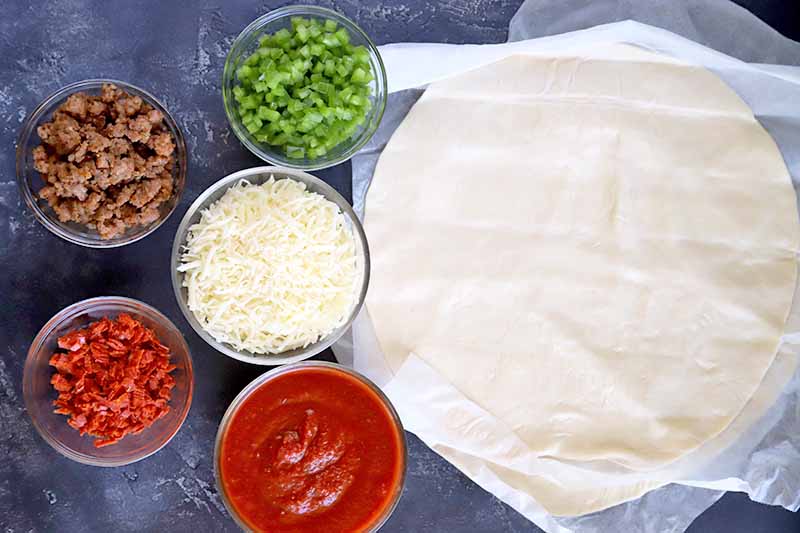
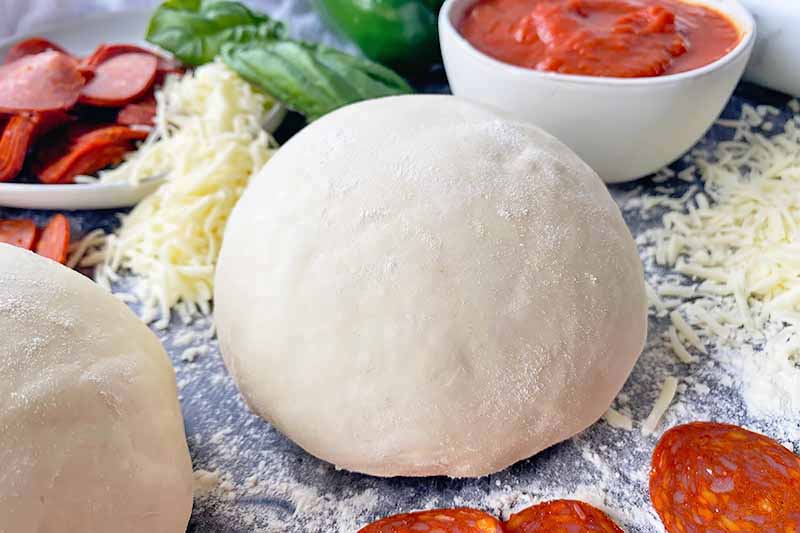
You can make your own dough at home, or use a premade pizza dough. You have so many options with what kind of dough you can use, anywhere from honey whole wheat to herbed to einkorn kefir.
Measure out all remaining ingredients as listed on the ingredients list.
Preheat your oven to 400˚F. Line a rimmed baking sheet with parchment paper or a silicone mat.
Step 2 – Roll Out Dough
Roll out each pound of pizza dough with a lightly floured rolling pin on a lightly floured surface. You want to create two rectangles that are about 12 inches by 16 inches in length and width.
Let the dough rest for 3 minutes, then stretch it out again. The dough should be between ¼ and ½ inch thick.
Use a sharp knife to cut each rolled out piece of dough into 8 2-by-4-inch rectangles.
If you only get 6 from each piece of dough, that’s okay. Re-rolling the dough scraps isn’t recommended, since it will get tougher the more you work with it.
Step 3 – Fill and Seal
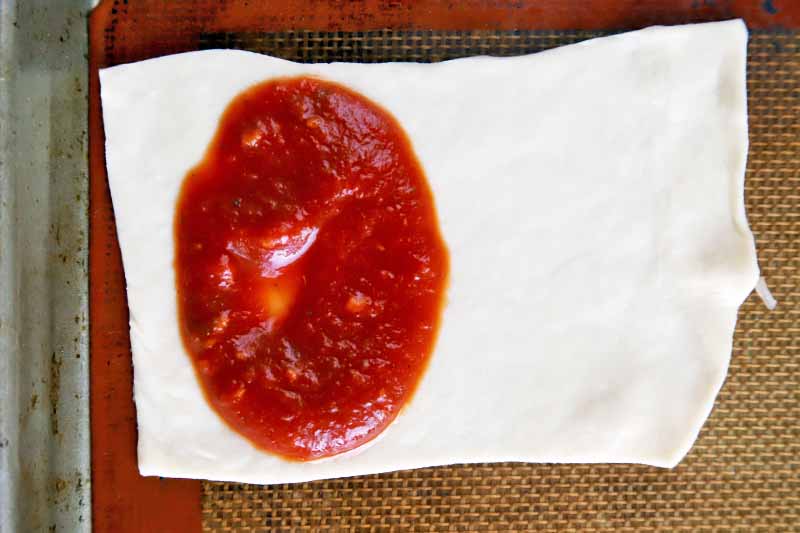
Add 1 tablespoon of sauce, 2 tablespoons of shredded cheese, and 2 tablespoons total of desired toppings to half of each portioned rectangle.
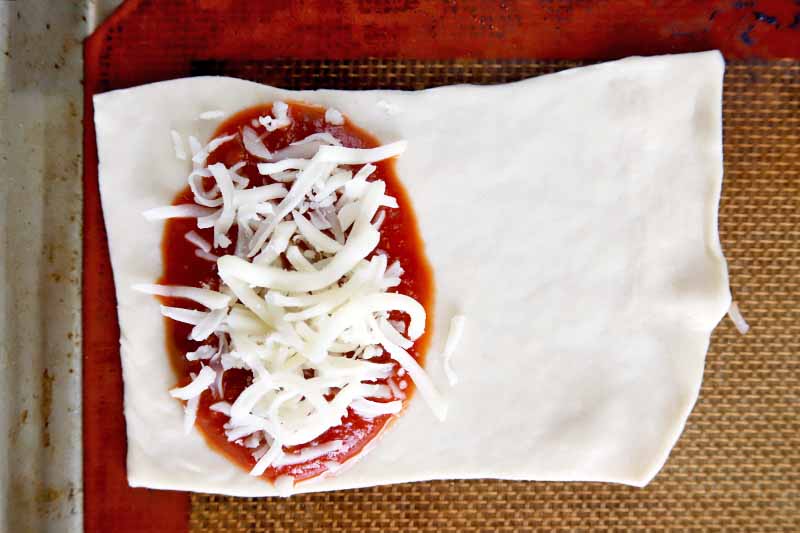
I like to layer mine by adding the sauce, then half of the cheese, then my selected topping ingredients, then the rest of the cheese, for a good mixture of gooey, melted mozzarella throughout.
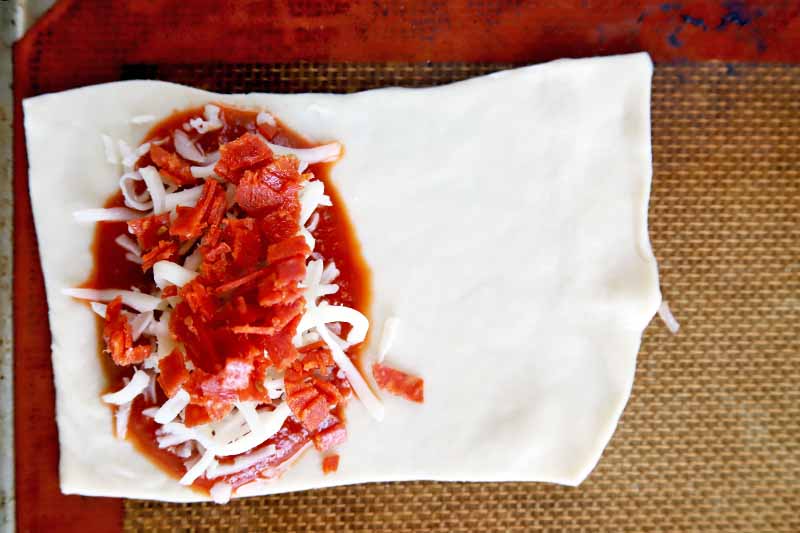
Fold the dough over the filling to form a rectangular pocket.
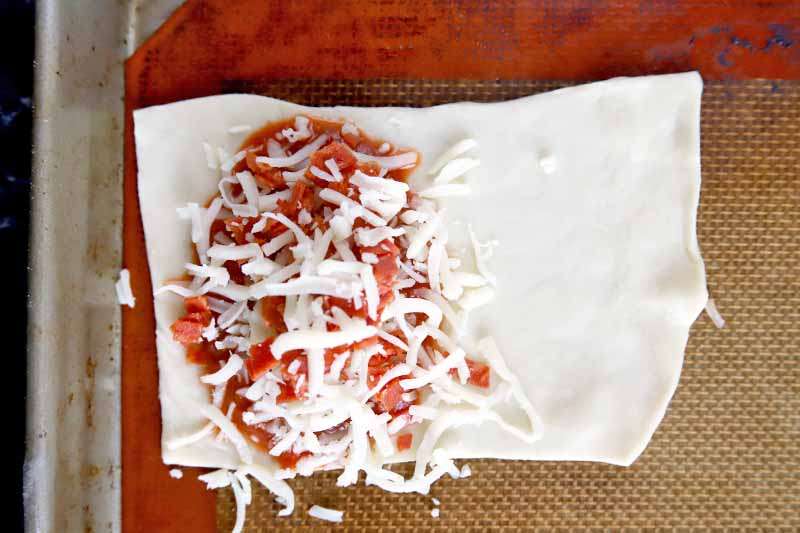
Press the edges together, and use the prongs of a fork to crimp and seal the edges.
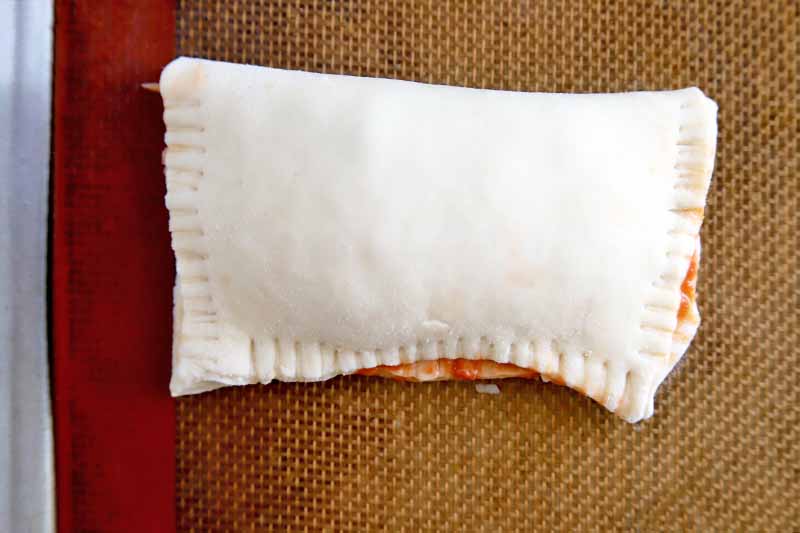
Brush the tops of the pockets with oil.
Step 4 – Bake
Place the pockets on the baking sheet. Leave about ½ inch or so between each, so they won’t spread and start to stick to each other as they bake.
Bake for 12-15 minutes, or until the crust is golden brown.
Remove from the oven and let cool for 5 minutes on the pan before serving.
Pockets Are Made! Now, How Do I Freeze Them?
If you are making these ahead of time, it’s a pretty darn simple process to freeze them.
First, let them cool down. After cooling for a few minutes right on the baking sheet, transfer them to a wire rack.
When they reach room temperature, you can wrap each one up individually in plastic wrap or foil.
I like to group them together according to the type of filling that I used, and add the individually wrapped pockets of the same type to a large resealable zip-top bag. Then I label it, so I know which type is in there.
You can freeze these for up to one month. All you have to do to reheat one is to pop it in the microwave for 2-3 minutes, or reheat it until warmed through in the toaster oven.
Once you’ve tried this recipe, we have Ham and Cheese Pockets for you next, another great make-ahead, handheld recipe!
Craving even more pizza? Make these recipes next:
What toppings will you fold up inside these tasty pockets? Tell us in the comments below. And after you try the recipe, be sure to give it a rating!
Photos by Meghan Yager, © Ask the Experts, LLC. ALL RIGHTS RESERVED. See our TOS for more details. Originally published on September 28, 2010. Last updated: December 30, 2021 at 18:30 pm.
Nutritional information derived from a database of known generic and branded foods and ingredients and was not compiled by a registered dietitian or submitted for lab testing. It should be viewed as an approximation.
About Meghan Yager
Meghan Yager is a food addict turned food and travel writer with a love for creating uncomplicated, gourmet recipes and devouring anything the world serves up. As the author of the food and travel blog Cake 'n Knife, Meghan focuses on unique foodie experiences from around the world to right at home in your own kitchen.

Hi! I wanted a nice recipe for pizza pockets, and you have delivered :). The pictures look absolutely delish and I can’t wait to try this out!
★★★★★