I have a running theory on friendship, which I think you might like to hear. And in my mind, it has a lot in common with this pizza crust.

Don’t worry, I’ll bring it back around. Just bear with me.
Essentially, my theory is this: If you find someone who won’t run away when you confess your love of cheesy country music, or endlessly ridicule you when they see your photo in the high school yearbook, that’s someone worth hanging on to.
Because, as we all know, it’s one thing to be liked when you’re on your game, and it’s quite another to be liked when you’re at your worst, wearing your glasses and that junior-high retainer at night, or geeking out to the complete lyrics of “The Broken Road” while the two of you ride together in the car.
When you have been loved that way, unconditionally, like I have, it’s amazing how unnatural it can still feel to extend that love to others, how revelatory of your truest self. My friend Jackie’s much better at it than I am – you’d like her.

When she comes over on a Saturday afternoon with expectations of going out for a tasty lunch, and instead finds me anxiously telling her I have two balls of pizza dough rising that I don’t know what to do with, asking, “Can we just stay here?” and explaining that first we’ll have to go to the store and buy mozzarella, she doesn’t flinch.
Then, after returning home with groceries, we both recognize a near-deathly smell coming from the slimy asparagus in the fridge that’s brown on the bottoms, which I’d had my heart set on preparing them in the pressure cooker, she’s happy to head right back out to the same store before returning to the kitchen to resume our activities.
Jackie’s the kind of friend who likes you even with your quirks; she’s flexible and forgiving. And, if you’ll permit the analogy, this kind of friend is a lot like the right kind of recipe.
It’s one thing to have a recipe that’s fussy, providing good results when you do everything perfectly, measuring exactly, following the proper order, keeping the room the right temperature.
This is like the friends who prefer hanging out with you on a Friday night when your hair’s curled and your lips are glossed and your house is immaculate. And these recipes – much like these particular friends – are not bad to have, maybe even necessary at times.
But it’s another thing entirely to find a recipe that’s flexible, that lets you change things around a little, that forgives mistakes and yields something good just the same.
When you find that kind of recipe, as you would with that kind of companion, you hang on to it, no question about it.
Like this pizza crust.
Let me be frank: I did everything you’re not supposed to do with this homemade pizza crust the first time I tried the recipe. And I was so close to just calling it quits and buying a frozen pizza.
I mixed the ingredients together on a Friday night before realizing I was out of olive oil (are you noticing a trend here?), which meant – you guessed it – I ran over to the store not once, not twice, but three times this weekend.
I let the soft, elastic ball of dough rise overnight instead of for the hour that the recipe called for.
After that, I let the flattened disks of pizza-shaped dough rise all afternoon instead of for 30 minutes, failing to follow the recipe again.
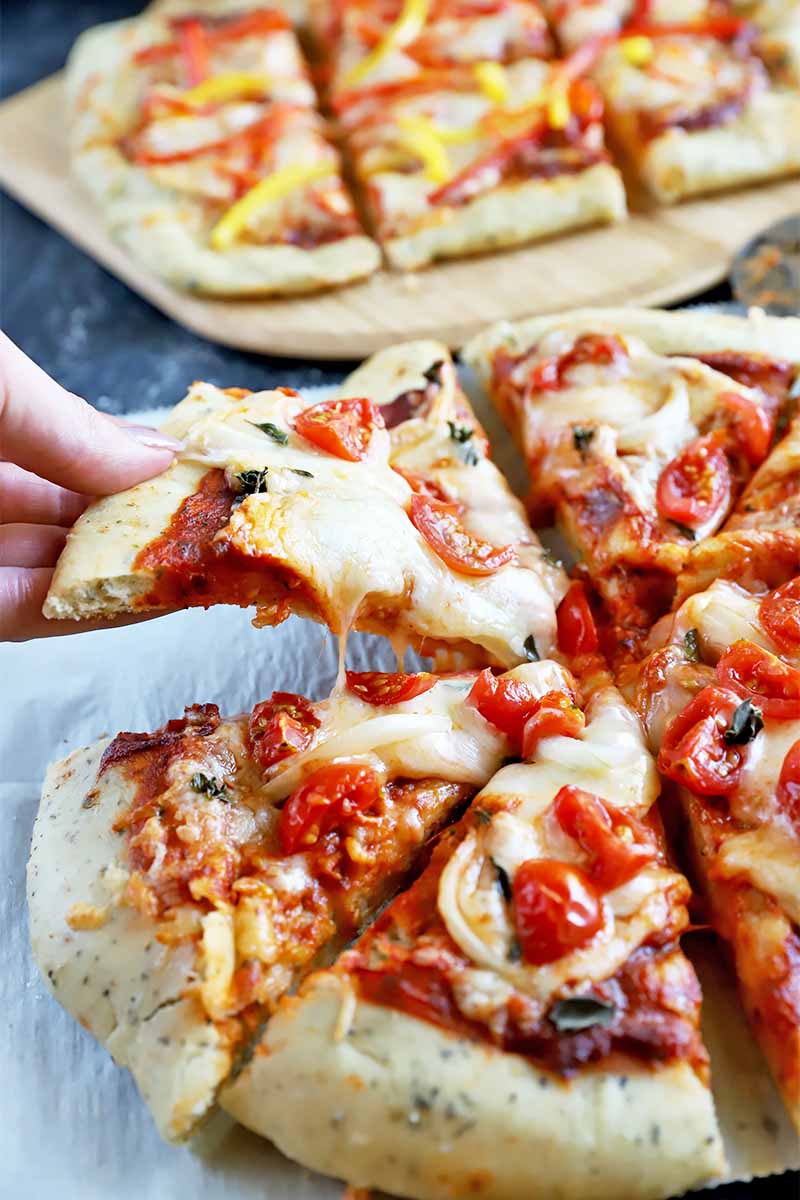
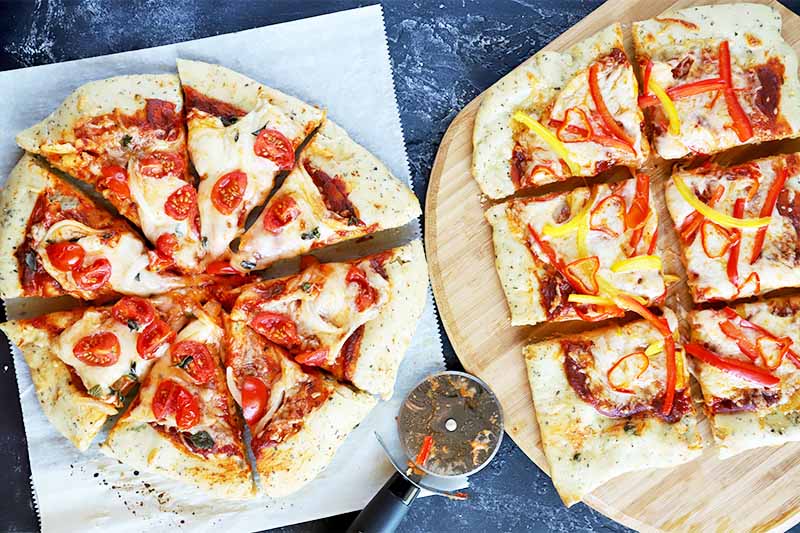
Nonetheless, in spite of my distractions and mistakes, those pizza crusts turned out beautifully – golden, flavorful, slightly chewy but with a good crunch, thick and sturdy.
And I’m confident that yours will too.
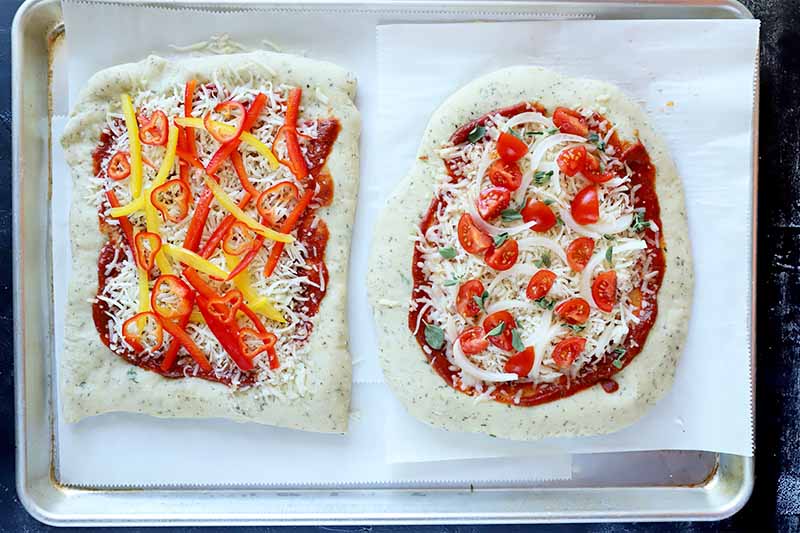
We topped the first pizza with meat sauce (homemade, a la my mother, of course) and cheese; the second with sauce, cheese, and spinach that Jackie chopped while we preheated the oven.
So take my advice and make this recipe around your schedule, whether that means putting together the dough and leaving for work all day, or watching a movie and returning to shape it within an hour or two – it won’t matter. Not too much, at least.
This pizza dough is your friend.
In fact, in a lot of ways, I’ve found that during those moments of distraction, of real life getting in the way and taking up space, with unplanned activities and other demands for my time, that’s when this dough really shines, and when it will show you its best self.
And, trust me, you’ll see it’s worth hanging on to.
This recipe also features another of my favorite elements of cooking and baking: something that is made with a bunch of ingredients that all get combined at once, to be mixed just once.
So simple!
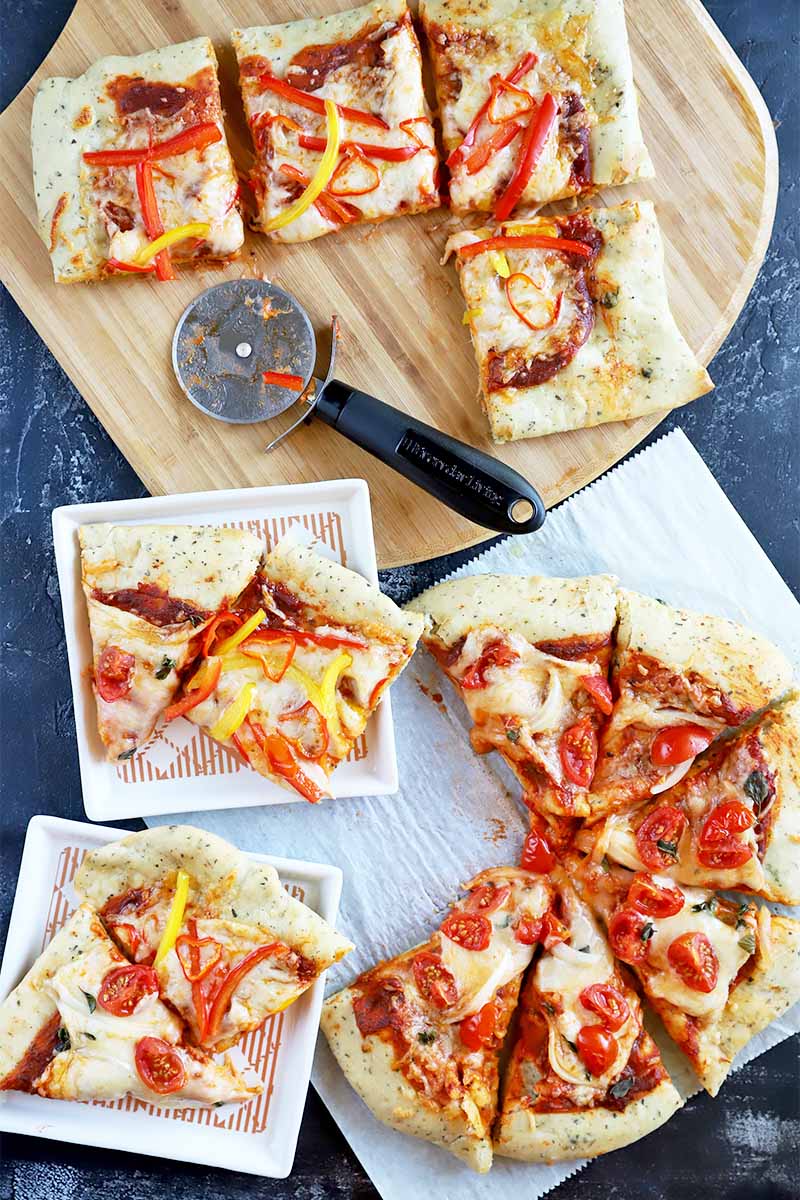
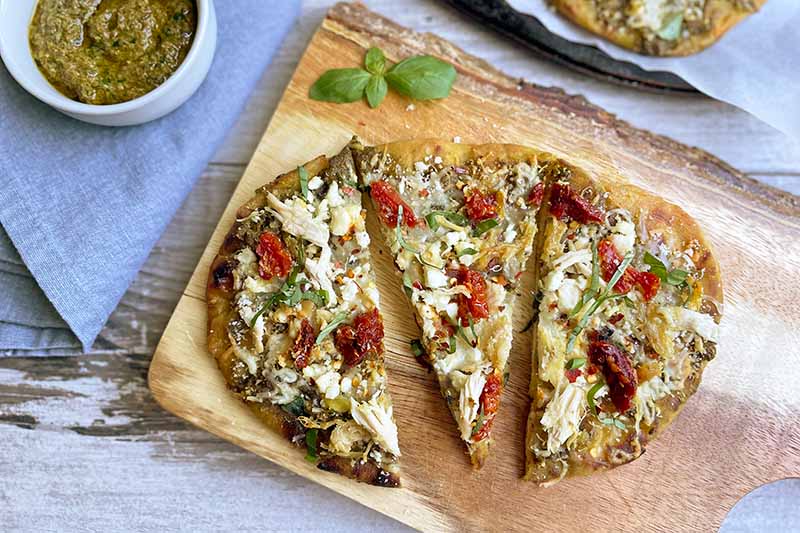
Feel free to top the pizzas that you make at home with whatever you’d like. You can do anything: from classic toppings like marinara sauce and pepperoni slices, to more unique approaches like a mixed greens salad mixed in a bacon dressing or an Alsatian-inspired pizza with potato, bacon, and caramelized onions.
Depending on how long you let the dough rise, you’ll be able to tell how substantial the crust looks, and go from there.
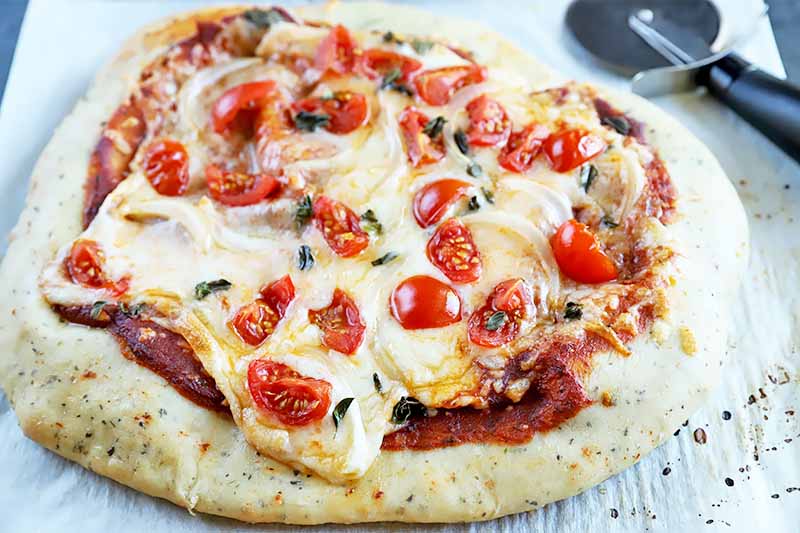
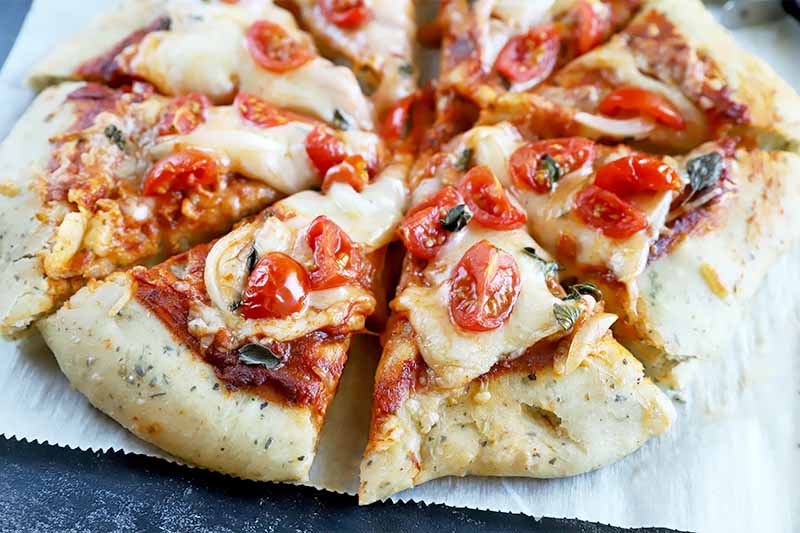
Mine held up nicely to generous layers of meaty sauce, shredded cheese, and fresh spinach.
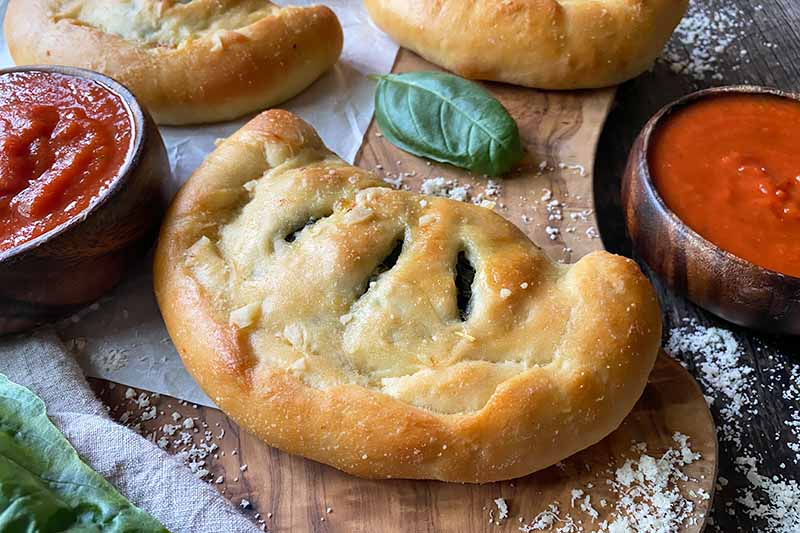
You can also use this dough for many other recipes outside of just pizza. Try it in calzones (either sausage or vegetarian), or for our pepperoni bread. Once you master the recipe, you’ll find so many other ways to use it!
Print
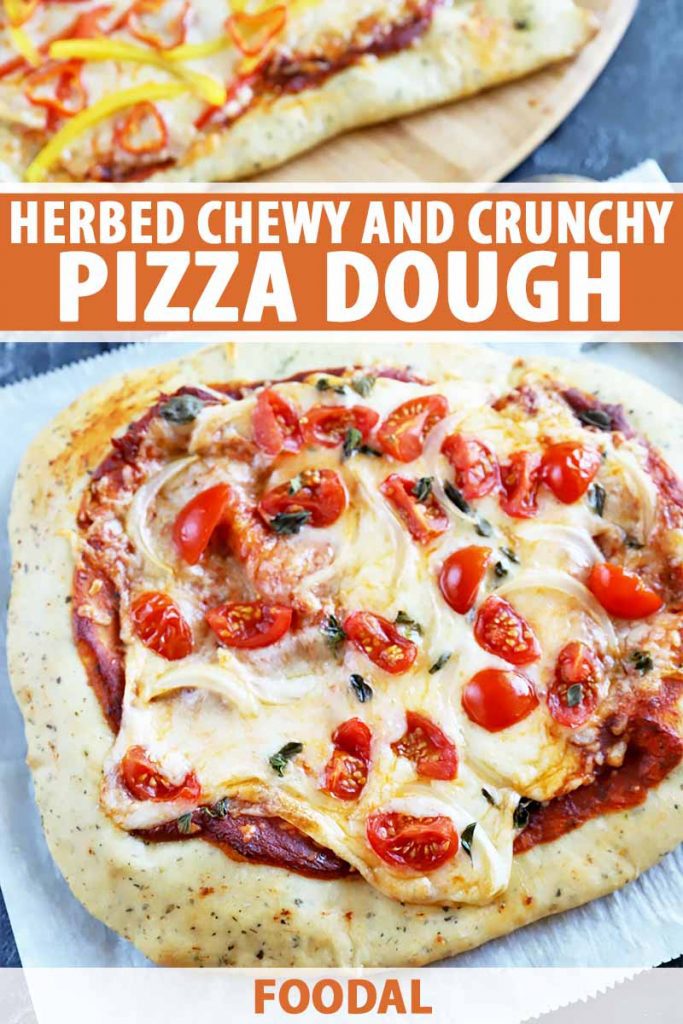
Chewy and Crunchy Pizza Dough
- Total Time: 2 hours
- Yield: 2 10-inch pizza rounds 1x
Description
This simple pizza dough recipe is chewy, crunchy, and full of herbaceous flavor. The mixture of herbs really brings this crust to life.
Ingredients
- 3 3/4 cups bread flour (or other high-gluten flour)
- 1 1/2 teaspoons dried basil (or 2 1/2 teaspoons finely chopped fresh)
- 1 teaspoon dried oregano (or 2 teaspoons finely chopped fresh)
- 1/2 teaspoon dried thyme (or 1 teaspoon finely chopped fresh)
- 1/2 teaspoon dried parsley (or 1 teaspoon finely chopped fresh)
- 1 teaspoon instant yeast
- 1 1/4 teaspoon salt
- 2 tablespoons olive oil, plus extra for brushing
- 1 1/2 cups warm water
Instructions
- Combine and knead together all the ingredients until you have a smooth, soft dough, about 3-4 minutes. You can use your hands or a stand mixer with the dough hook attachment on medium speed.
- Cover dough and allow to rise for 1 hour, until doubled in size.
- Divide the dough into two equal portions. Shape each piece into a 10-inch circle or 8-by-10-inch rectangle, and place each on a piece of parchment paper or on a greased baking sheet. Cover and allow to rise for 30 minutes, until puffy.
- When you are ready to bake, preheat oven to 475˚F.
- Bake for 8 minutes, until set.
- Add desired toppings, leaving a 1/2-inch border. Brush the crust edge with olive oil.
- Bake for an additional 4 to 5 minutes, until golden brown.
Notes
Adapted from Hannah of Honey & Jam.
- Prep Time: 15 minutes
- Cook Time: 13 minutes
- Category: American
- Method: Baking
- Cuisine: Pizza
Cooking By the Numbers…
Step 1 – Measure Out All Ingredients

Measure out all of the ingredients as they are listed on the ingredients list.
For the water, make sure it is between 105 and 110˚F to activate the yeast properly.
You can also set out any of your favorite bread tools you like to use, such as a bench scraper or favorite wooden work bench.
Step 2 – Make Dough and Let Rise
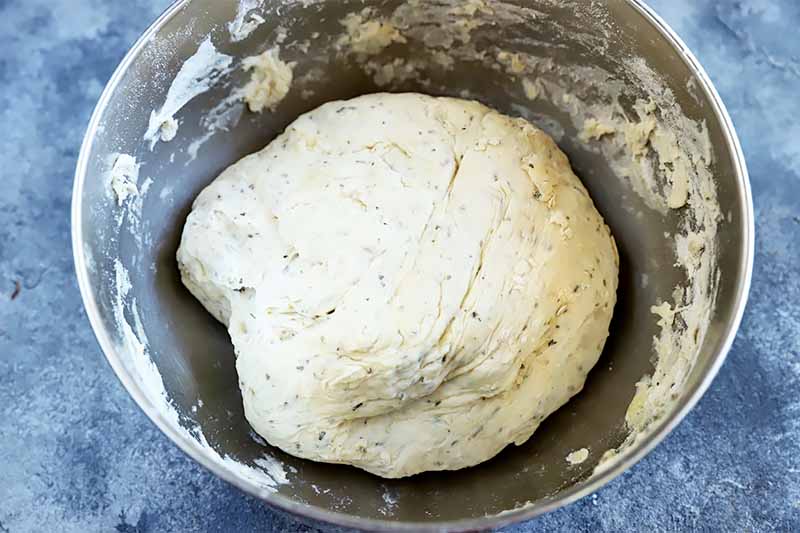
Add all of the ingredients to a bowl. Use your hands to bring the dough together, kneading for 3 to 4 minutes until it has a smooth, soft consistency.
Note that you can also use a stand mixer with the dough hook attachment to do this, kneading on medium speed for 4 minutes.
Cover the dough with plastic wrap. Let it rise for 1 hour, until doubled in size.
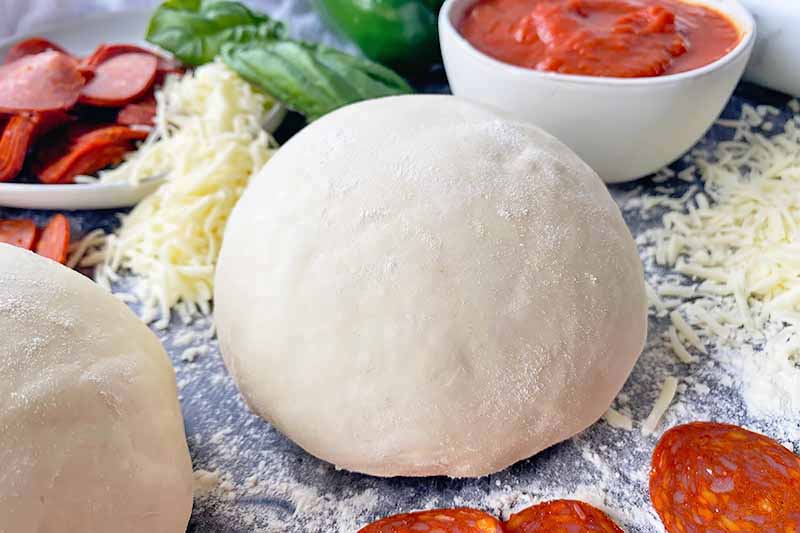
Step 3 – Divide and Shape
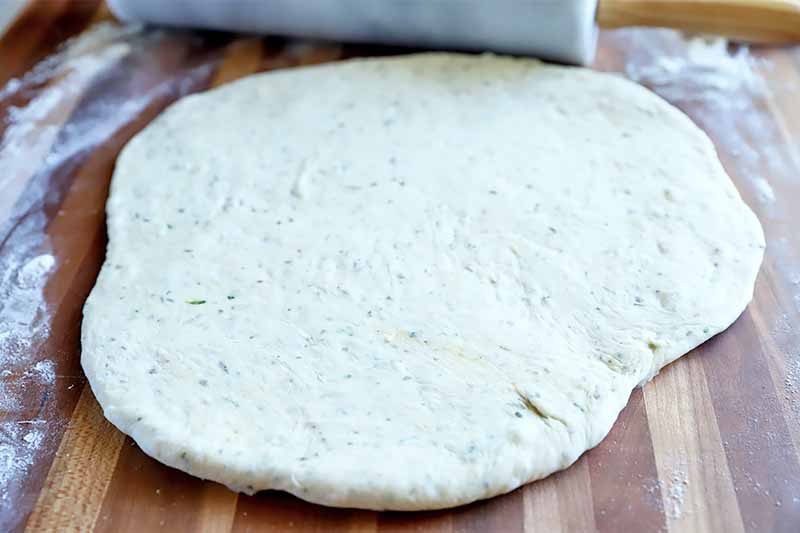
Remove the dough from the bowl and divide it into two equal portions.
On a lightly floured work surface, shape each half into a 10-inch circle. You can also shape it into an 8-by-10-inch rectangle if you prefer.
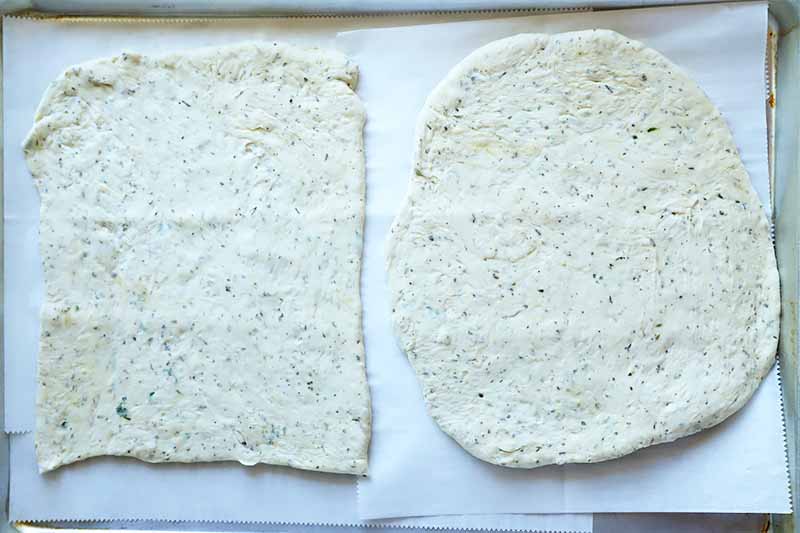
Place each piece of shaped dough on a baking sheet lined with parchment paper, or greased lightly with cooking oil spray.
Cover the dough again and let it rise for another 30 minutes, until it gets puffy.
Step 4 – Bake
When you’re ready to bake, preheat the oven to 475˚F.
Bake for 8 minutes, until set. While it bakes, assemble your toppings. From marinara sauce to homemade pesto, feta and spinach to pepperoni and olives, your options here are practically endless. Choose your favorites, or experiment with something new!
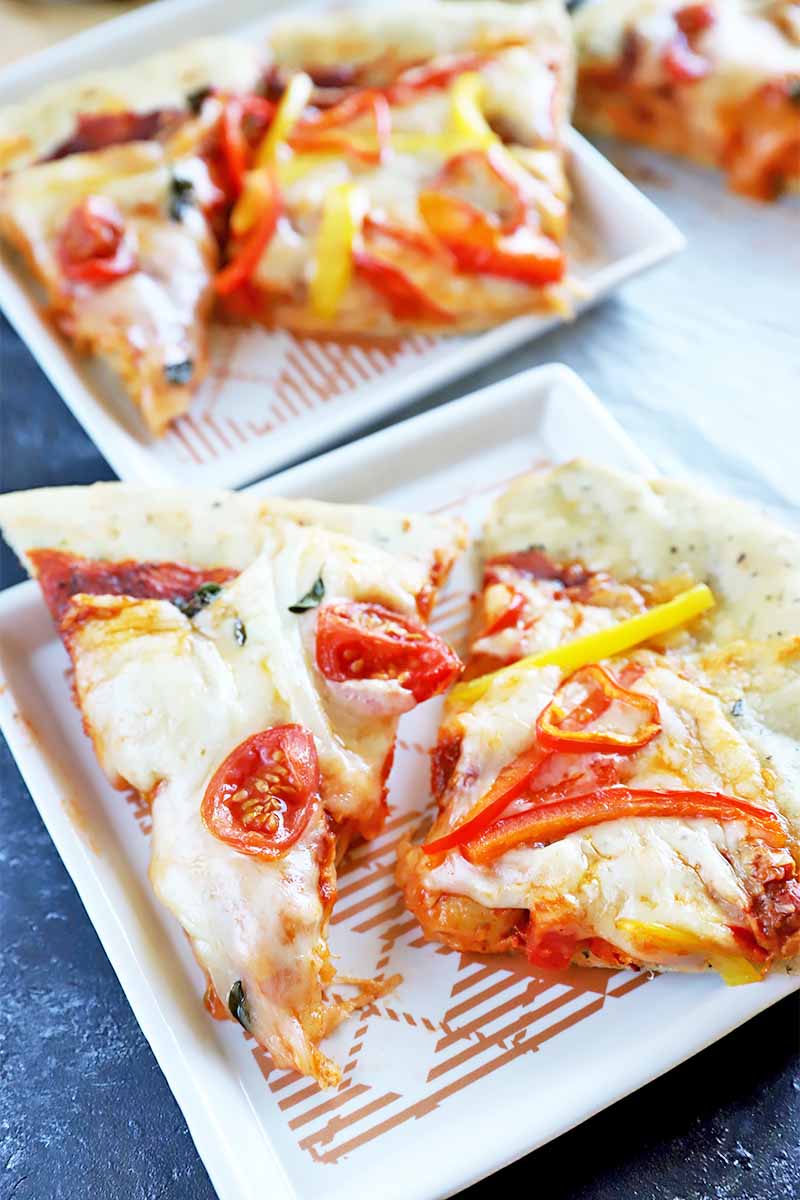
Add your desired toppings, making sure to leave a 1/2-inch border around the edge for the crust. Brush the bare edge with olive oil.
Bake for an additional 4 to 5 minutes, until golden brown and cooked through.
Does It Matter If I Use Fresh or Dried Herbs?
The beauty of this recipe is that you can use either fresh herbs from the garden or dried herbs from your spice rack, and the flavor won’t suffer. I prefer to use fresh, but sometimes you just don’t have time (or the energy) to run out to the store to buy them.
Whichever you choose, depending on what you have available and what’s more convenient for you, measurements are included above to provide all the flavor you need. I haven’t tried this, but you could even use a combination of fresh and dried herbs to make this.
Again, like an understanding friend, this is yet another area where this recipe is flexible.
What are your favorite toppings to enjoy on pizza night? Tell us in the comments below, and be sure to come back to rate the recipe after you’ve tried it to let other readers know how much you enjoyed it.
There are so many pizza recipes out there, so why not try a different type of homemade crust from Foodal each week on pizza night? After you’ve tried this one, give these a whirl next:
- Basic Pizza Dough
- Kefir-Soaked Spelt Pizza Dough
- Honey Whole Wheat Pizza Dough
- Neapolitan-Style Pizza Crust
Photos by Meghan Yager, © Ask the Experts, LLC. ALL RIGHTS RESERVED. See our TOS for more details. Originally published on June 29, 2009. Last updated on June 6, 2020. With additional writing and editing by Allison Sidhu and Meghan Yager.
Nutritional information derived from a database of known generic and branded foods and ingredients and was not compiled by a registered dietitian or submitted for lab testing. It should be viewed as an approximation.
About Shanna Mallon
Shanna Mallon is a freelance writer who holds an MA in writing from DePaul University. Her work has been featured in a variety of media outlets, including The Kitchn, Better Homes & Gardens, Taste of Home, Houzz.com, Foodista, Entrepreneur, and Ragan PR. In 2014, she co-authored The Einkorn Cookbook with her husband, Tim. Today, you can find her digging into food topics and celebrating the everyday grace of eating on her blog, Go Eat Your Bread with Joy. Shanna lives in Nashville, Tennessee, with Tim and their two small kids.
Love the analogy here but I do this:
“endlessly ridicule you when they see your high school yearbook”
to most of my best friends/parents/extended family members. 🙂
I just made the most fussy pizza dough ever over the weekend and it was fan-freaking-tastic – but I can certainly see enjoying the flexibility provided by this process.
You got a beautiful color on the crust(s) there…
To friendship and pizza crust! We celebrated both in my neck of the woods this weekend, so I know what you mean.
i love love love spinach on pizza. and spending friday nights in with good friends and good food. gorgeous photos!
i love love love spinach on pizza. and spending friday nights in with good friends and good food. gorgeous photos!
Oops…forgot to say great post! Looking forward to your next one.
I know what you mean! My favourite pizza crust is the Olive Oil dough in “Artisan Bread in five minutes a day.” Super stuff, it is, and I could have it for breakfast, lunch and tea!
Cheers!
Hey 🙂 I found your blog through 20sb and I’m totally loving it.
Adding to my feed…
I really like your photography – how do you get those shots of the clean white table where it’s so black below? Like it fades into nothing! Lovely.
Nick – HA! Good point and fair enough. As long as the mocking is in fun, I suppose that’s OK, too. And I’ll have to look for your fussier crust. When I’m in the mood to concentrate, I will give it a go!
Jess – Hear, hear!
Thanks, Jacqui, and me, too!
Zo – Olive oil makes everything better!
Kate – Welcome! As far as the photos, I have a table with a white tablecloth set just next to (a little below) a window. When I shoot during the day, the brightness naturally blacks out the surroundings. Happy to have you reading!
Wow. What a fantastic post. I absolutely love the analogy. And I love that pizza, too!
Wow. What a fantastic post. I absolutely love the analogy. And I love that pizza, too!
Thanks, Teanna!
What wonderful anecdotes you bring to your writing and recipes. You make me want to cook and bake all the time.
Thanks, Lenox Ave!
Our family always has pizza on Fridays, and tonight’s the night to try your crust. Thanks for sharing such delicious-looking pictures with the recipes!
I made this for dinner last night. Brilliant! This is my new favorite crust! Thanks for the recipe