I’m not here to convince you that these paleo honey blueberry cookies are better than your ooey-gooey chocolate chip cookies. No way.
In my sugar-coated heart, the classic will always reign supreme, above all else.
And I’ll never turn away – or turn you away – from any opportunity to loudly and proudly scarf down a melt-in-your-mouth, buttery, soft, chewy chocolate chip cookie, fresh from the oven.
The goal here is not to replace the sweet treats you love most if you’re focusing on a healthier diet. Those can stay, in all their indulgent glory.
Rather than totally eliminate the more decadent dessert offerings, I prefer to save those kinds of sugar-laden goodies for special occasions, minimizing their consumption and welcoming healthier recipes to enjoy on a more regular basis.
My mission for this particular recipe is one of inclusivity, not exclusivity! Paleo honey blueberry cookies, join the club.
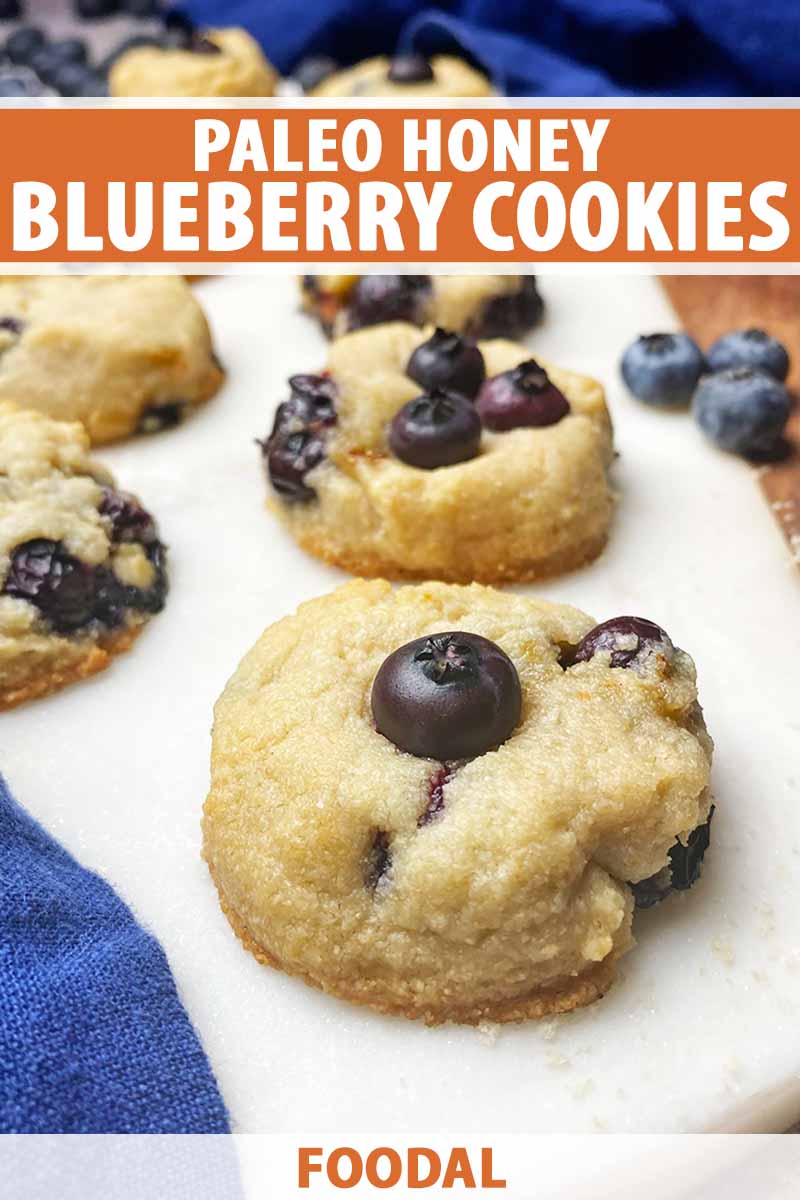
Gluten free, egg free, and dairy free, these cute treats are an uncomplicated mix of simple ingredients.
Almond flour is a gluten-free flour that provides ample moisture and subtle nuttiness, and a little tapioca starch helps bind the base together, improving the structure and texture.
Coconut oil is the ideal dairy-free fat substitution for butter, and its distinct taste remains subdued when combined with all of the other ingredients.
Honey sweetens the base to perfection and also provides some moisture, while a little woodsy vanilla extract brings back nostalgia from classic cookie creations.
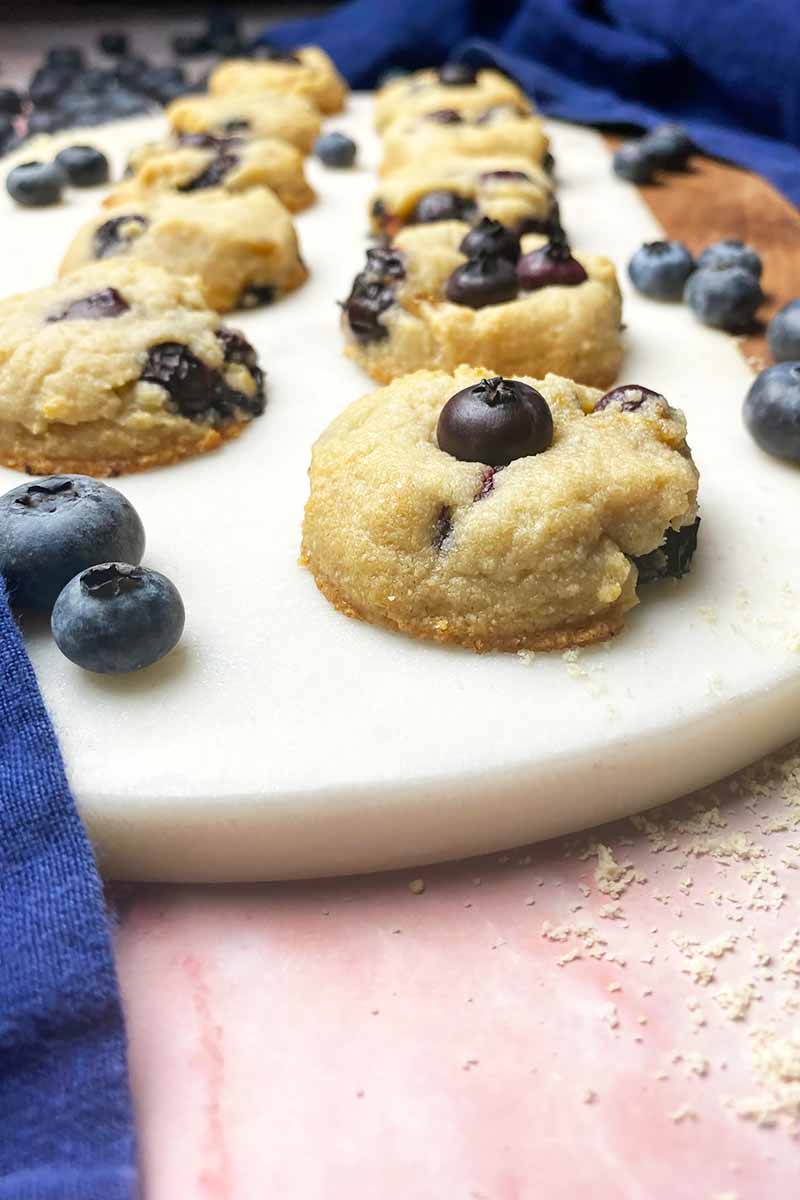
And for the final fruity touch, fresh blueberries mixed throughout each mound burst with every bite you take.
So, no, these aren’t your average chocolate chip cookies. And they’re not supposed to be!

Learn how to make our out-of-the-ordinary recipe now, so you can incorporate these healthier treats into your daily diet.
Print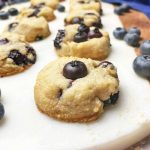
Paleo Honey Blueberry Cookies
- Total Time: 20 minutes
- Yield: 12 cookies 1x
Description
With no eggs, dairy, or gluten, these paleo honey blueberry cookies are a sweet treat you can feel good about eating, down to the last crumb.
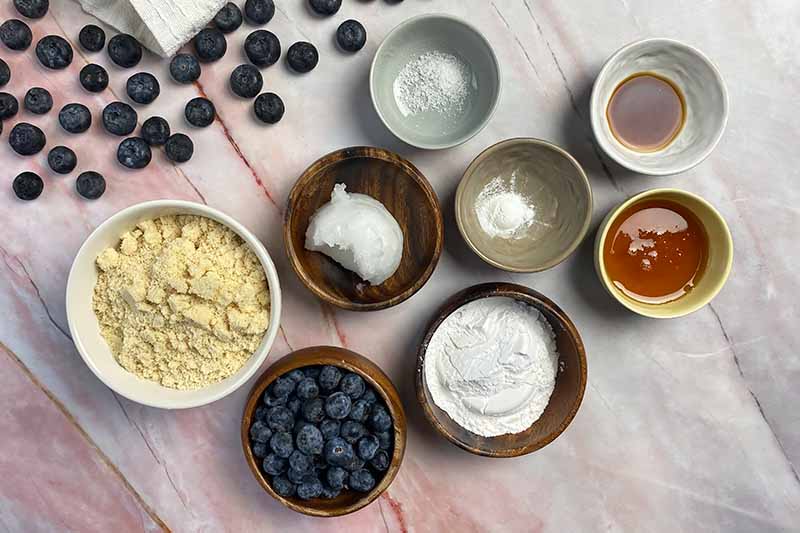
Ingredients
- 1 1/4 cups blanched almond flour
- 1/8 cup tapioca flour
- 1/4 teaspoon baking powder
- 1/4 teaspoon kosher salt
- 1/4 cup coconut oil
- 2 tablespoons honey
- 1/2 teaspoon vanilla extract
- 1/2 cup fresh blueberries
Instructions
- Preheat the oven to 350°F. Line a half-size baking sheet with a silicone mat or parchment paper.
- In the bowl of a stand mixer fitted with a paddle attachment, combine the almond flour, tapioca flour, baking powder, and salt at low speed for about 30 seconds. Add the coconut oil, honey, and vanilla extract and mix at medium speed until a soft, uniform dough forms, about 2-3 minutes.
- Add the blueberries to the dough, and mix at low speed until the blueberries are evenly distributed but not completely crushed, about 10-20 seconds.
- Using a 2-tablespoon cookie scoop, portion out individual mounds of dough and place them on the prepared baking sheet, leaving about 1 inch of space between each mound. Gently flatten the tops with the palm of your hand.
- Transfer the baking sheet to the oven. Bake for 10-12 minutes, or until the bottom edges begin to turn a golden-brown color.
- Remove the baking sheet from the oven. Let the cookies cool on the baking sheet for about 5 minutes before transferring them to cooling racks to cool completely.
- Prep Time: 10 minutes
- Cook Time: 10 minutes
- Category: Cookies
- Method: Baking
- Cuisine: Dessert
Cooking by the Numbers…
Step 1 – Prep
Preheat your oven to 350°F, positioning a rack in the center for the most even baking. Line a half-size baking sheet with a silicone mat or parchment paper.
Assemble your stand mixer with the paddle attachment. Set out a 2-tablespoon cookie scoop – this will help to quickly and evenly portion the dough.
Measure out the appropriate amounts of all the ingredients. The coconut oil can be in a solid or a liquid state.
Is the almond flour looking a little clumpy? Give it a few stirs with a whisk to break up any large clumps.
This recipe will work best with fresh blueberries, as frozen and thawed blueberries will release too much liquid into the dough.
Step 2 – Mix Dough Base
Place all the dry ingredients – the almond flour, tapioca flour, baking powder, and salt – in the bowl of your stand mixer. On low speed, mix the ingredients together until combined, about 30 seconds.
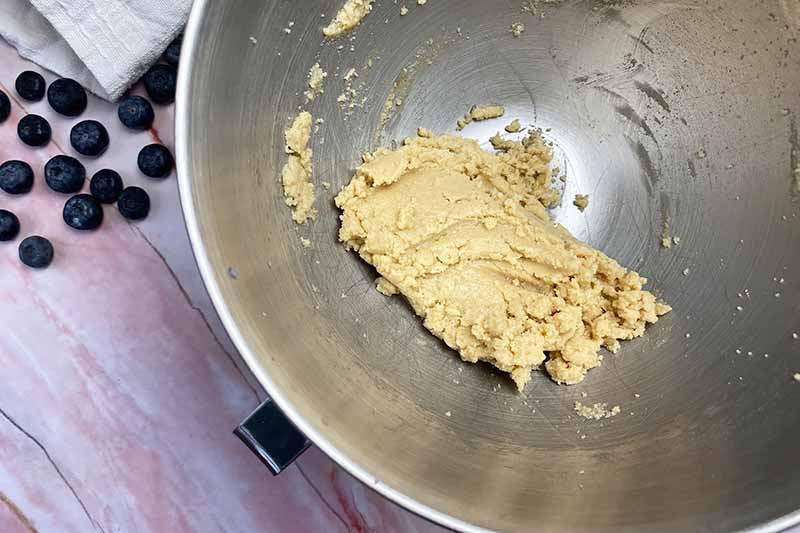
Place the coconut oil, honey, and vanilla into the bowl. Mix at medium speed for about two to three minutes, or until a soft, uniform dough forms.
Step 3 – Add Blueberries
Add the blueberries into the bowl. Mix on low speed until the blueberries are evenly distributed, about 10 to 20 seconds.
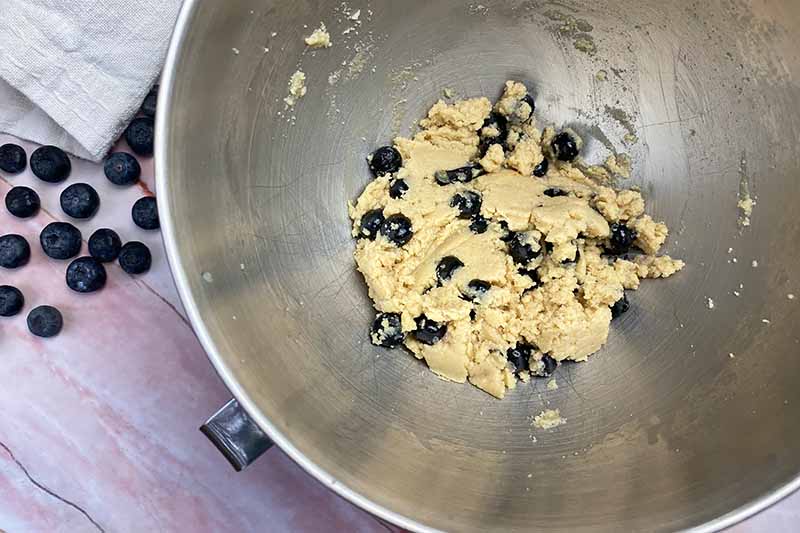
Some of the blueberries may be crushed slightly – it’s fine if some of them release a little liquid into the dough, but you don’t want to mix too excessively to the point that all the berries are crushed.
Step 4 – Portion
Use the scooper to portion out individual mounds of dough, ensuring the amount you are portioning is flush with the top of the scooper.
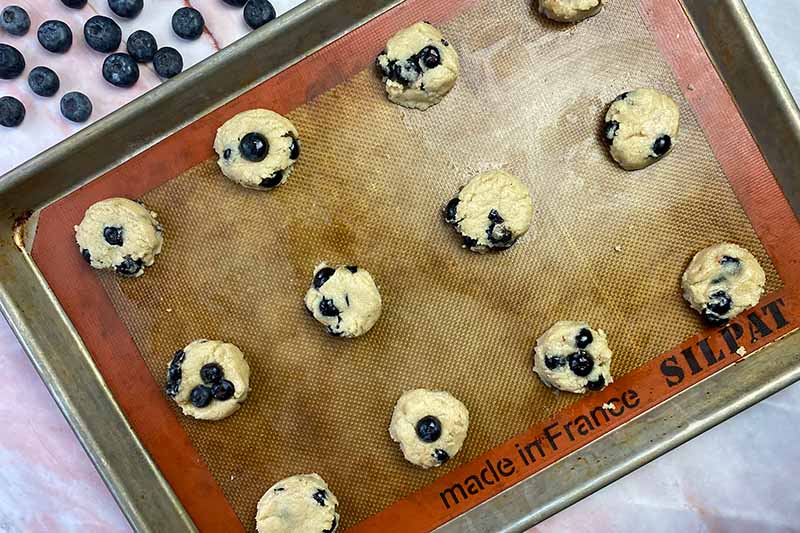
Place each portion on the prepared baking sheet, leaving about 1 inch of space between each mound. The dough won’t thoroughly spread during baking, so the portions can be placed close to each other.
And because there will be no significant spreading, the mounds need a little help getting that “classic” cookie shape – gently flatten the tops of each mound with the palm of your hand to create a flatter shape.
Step 5 – Bake
Transfer the baking sheet to the oven and bake for 10 to 12 minutes, or until the portions look dry on the top and develop slightly golden-brown edges on the bottom.
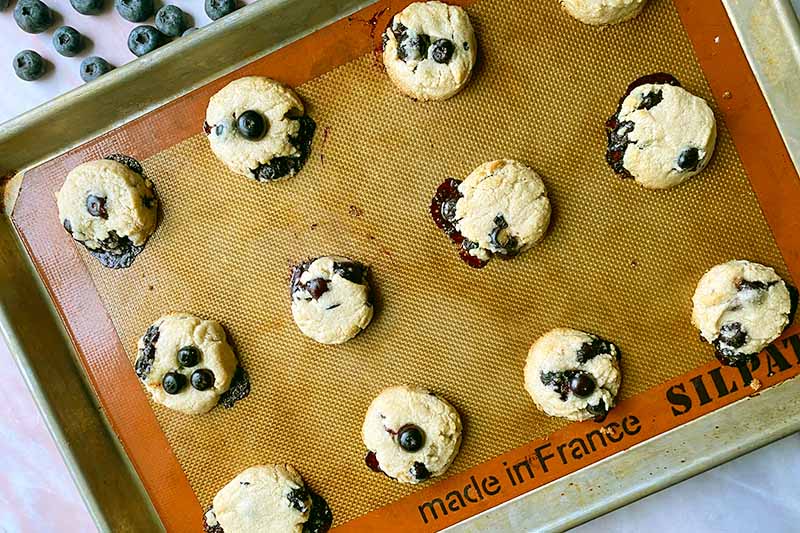
Some of the fruit may release juice during the cooking process.
Step 6 – Cool and Serve
Remove the sheet from the oven and let the mounds cool for about 5 minutes on the baking sheet before transferring to a cooling rack to cool completely.

Enjoy every guilt-free bite!
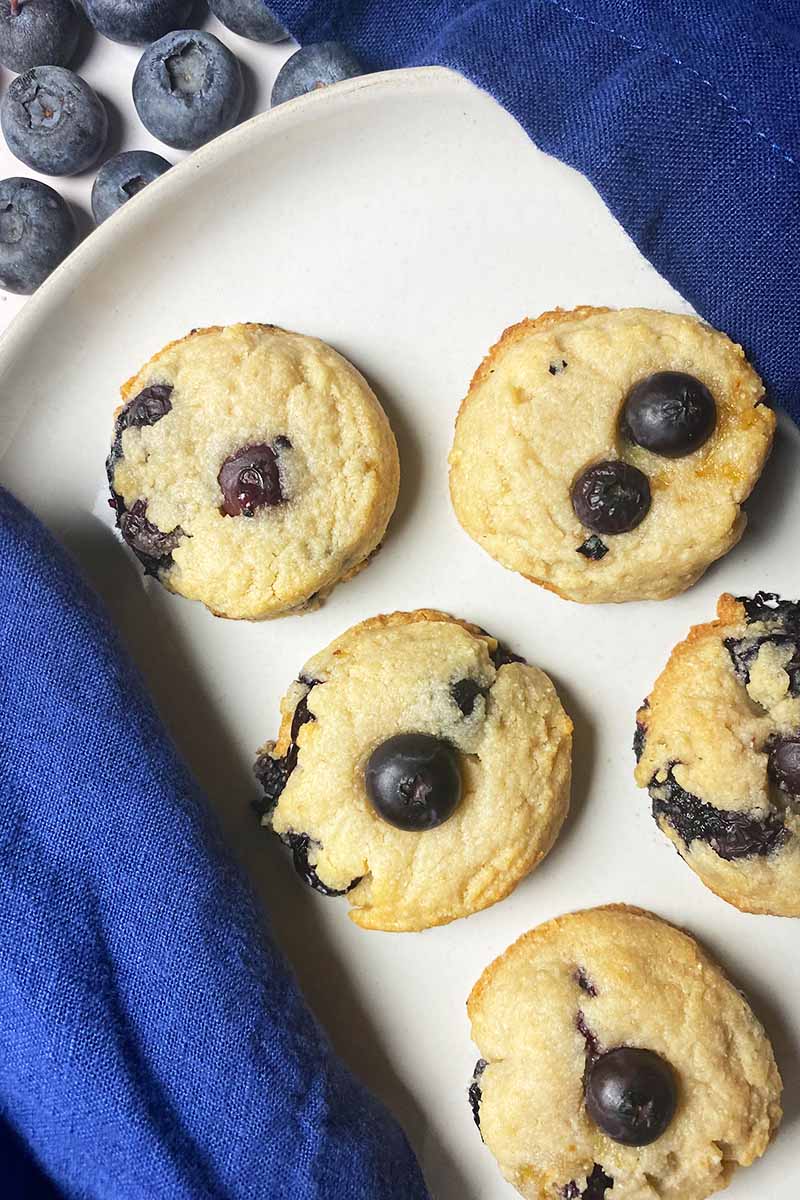
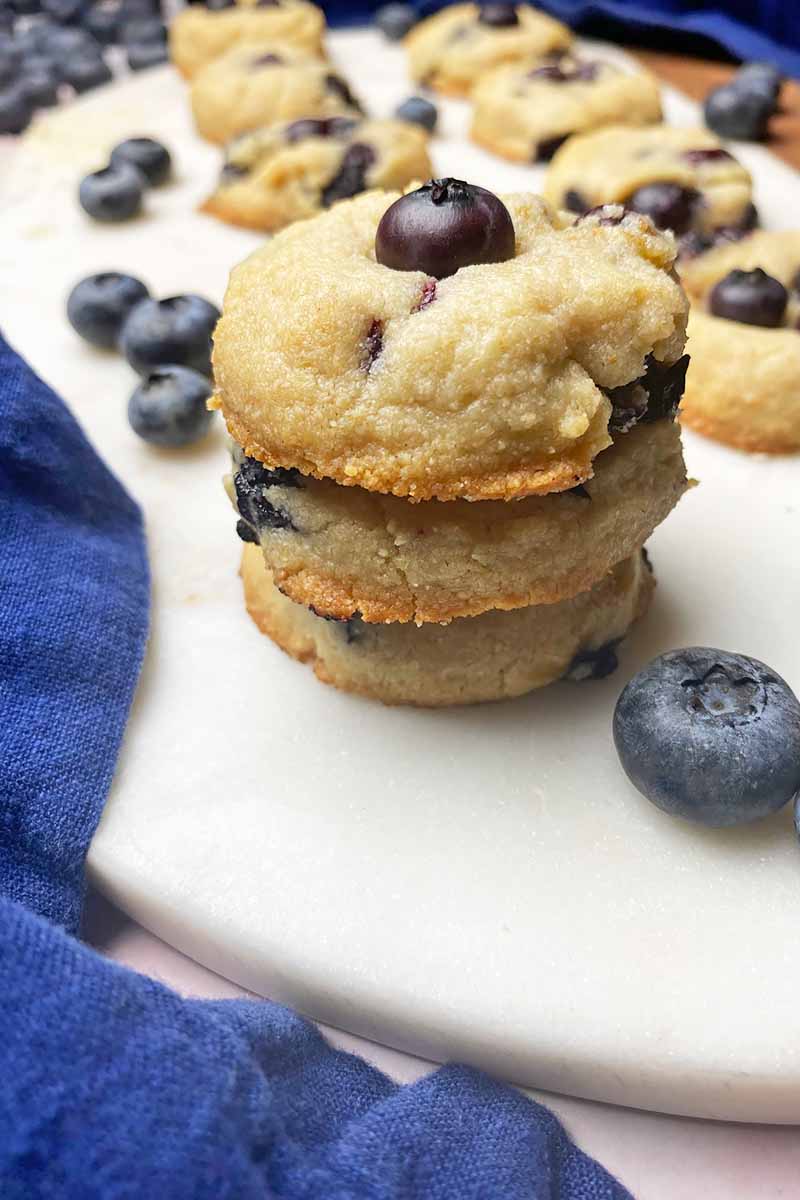
Add a Pop of Pretty
Even though you’ll be able to see some of the blueberries throughout each cookie, I like including even more of these beautiful, bulbous orbs!
Before flattening the portions of dough, you can stick a couple extra whole blueberries on the top of each mound.
So that they don’t roll off when baked, make sure they are placed firmly in the dough.

This is why it’s better to stick the berries on before you flatten the dough with the palm of your hand, because you’ll need to push the dough down anyway to secure the pieces of fruit on top.
These extra berries add perfect pops of vibrant color, and extra bursts of juicy, fruity flavor.
How do you like to healthy-ify your homemade sweet treats? Do you have experience with paleo cooking and baking? Let’s chat – leave a comment below.
We love incorporating almond flour into our gluten-free recipes! Try more sweet treats when you’re ready to get back into the kitchen:
Photos by Nikki Cervone, © Ask the Experts, LLC. ALL RIGHTS RESERVED. See our TOS for more details. Originally published on December 13, 2014 by Marla Tetsuka. Last updated on November 6, 2023.
Nutritional information derived from a database of known generic and branded foods and ingredients and was not compiled by a registered dietitian or submitted for lab testing. It should be viewed as an approximation.
About Nikki Cervone
Nikki Cervone is an ACS Certified Cheese Professional and cheesemonger living in Pittsburgh. Nikki holds an AAS in baking/pastry from Westmoreland County Community College, a BA in Communications from Duquesne University, and an MLA in Gastronomy from Boston University. When she's not nibbling on her favorite cheeses or testing a batch of cupcakes, Nikki enjoys a healthy dose of yoga, wine, hiking, singing in the shower, and chocolate. Lots of chocolate.