When I was in college, one of my go-to meals was a baked potato with whatever toppings I could find in the fridge or pantry.
During finals weeks, back when I was living with a couple of roommates, we would each throw a potato in the oven and then go to our respective rooms to study while we waited for what seemed like forever for them to cook.
Nothing is worse than coming out of a study hole to realize you haven’t made dinner yet, and your meal is still an hour or more away…
That wait felt like an eternity, let me tell you. But we didn’t have a microwave, and that’s what we did.
The potato is a budget-friendly and extremely filling option, so it was a no-brainer for a college gal on a budget to have at least a few on hand at all times for baking. I would top mine with tons of chili and cheese to make it a full meal that tasted delicious in the middle of the night.
Fast forward to current times and it’s still a go-to for this busy mom who is constantly on the move, trying to keep up with a baby boy, deadlines, two dogs, and a backyard remodeling project.
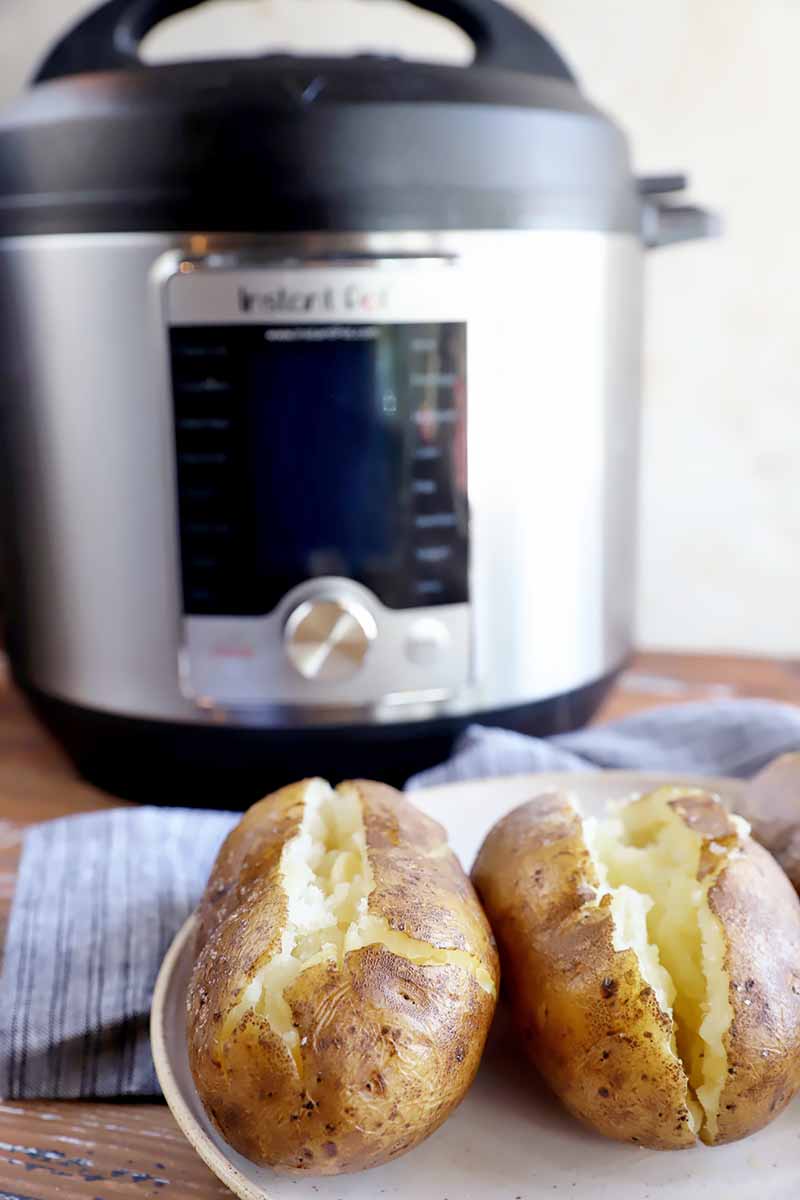
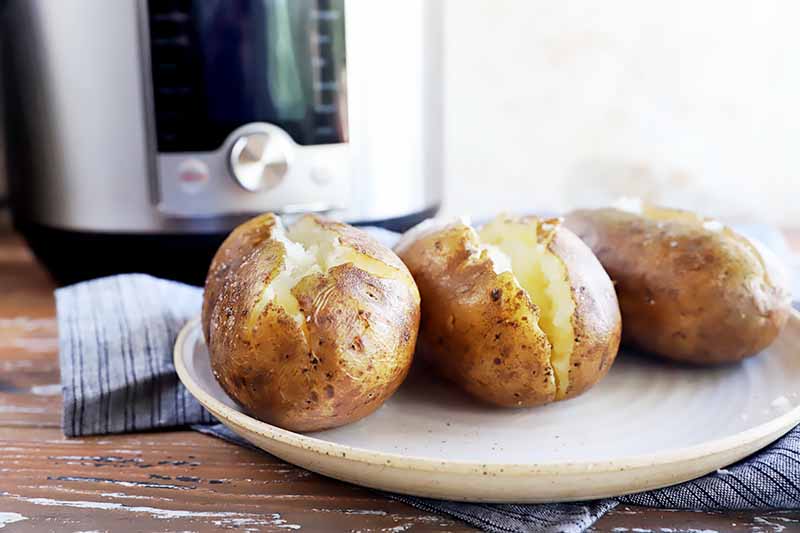
Now that I have an Instant Pot of my very own, I can enjoy that same beloved root vegetable without having to wait so long for it to be finished cooking. It’s my preferred method now because of how much time it saves.
Not to mention, particularly in the middle of summer, I’m absolutely thrilled if I can refrain from heating up the house by turning on the oven!
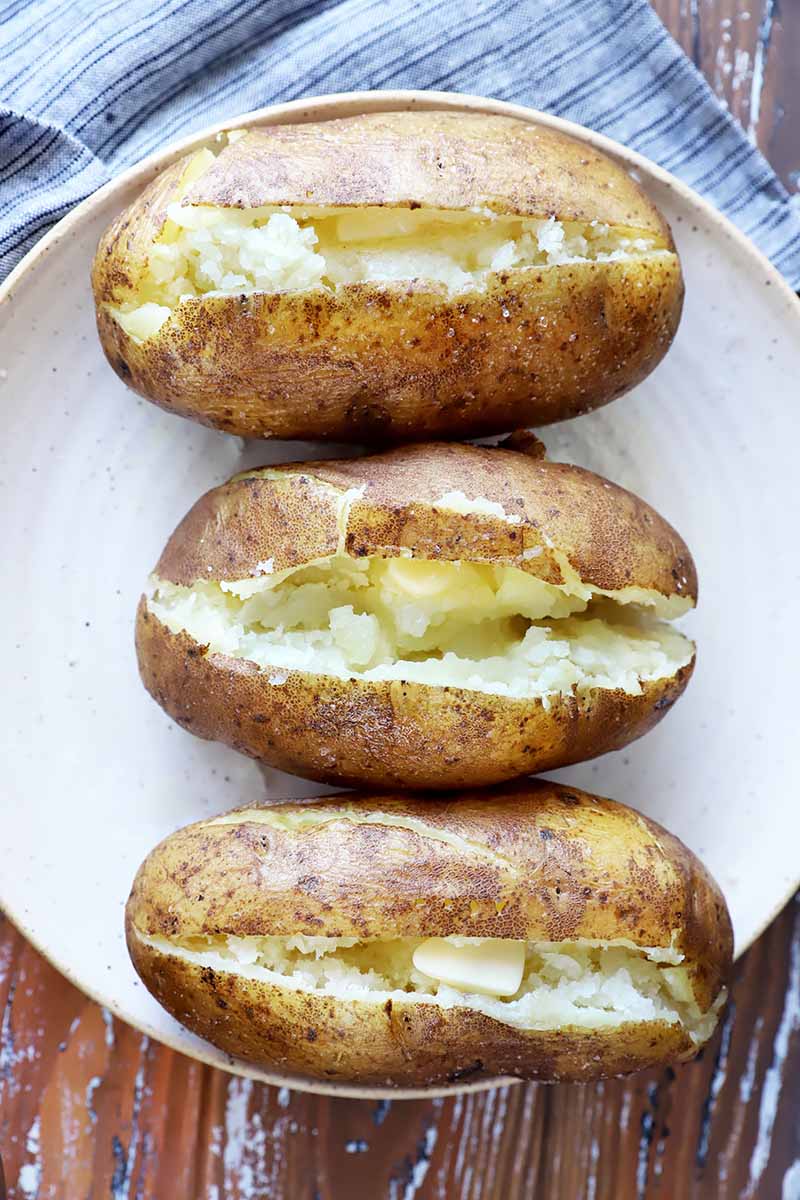
I also think the texture of a pressure cooked potato is much better than one that was cooked in the microwave. It really does taste like it’s straight out of the oven – fluffy, light, and delicious.
What About the Crispy Skin?
If crispy skin is what you’re craving, all it takes is an extra 10 minutes or so in the oven.
They’ll still come out more quickly than they would if you’d started them in there to begin with, but all you need to do is throw the pressure cooked spuds in for a few minutes before serving instead.
If you have a big enough appliance, you could do this in the toaster oven too!
Pro tip: I like to sprinkle a little coarse salt on the exterior before crisping them up as well, for added flavor.
Do You Have to Use a Trivet?
Yes, the wire rack is a must for this recipe because it prevents the vegetables from getting too watery.
If you don’t use a trivet, your spuds will be sitting directly in the water while they cook. This will end up throwing off the texture, and you won’t get the fluffy interior you were going for.
If you have a silicone trivet, this will work just as well as a metal one.
How Should I Top Them?
My favorite thing in the world is to add all of the toppings that I possibly can!

This starchy steamed vegetable is such a fantastic base for all sorts of flavors, so you can serve these simply as a side dish, or make a whole meal out of them.
Just make sure all of the toppings that require cooking (particularly the proteins!) are precooked and ready to go.
Here are some of my personal favorites to try:
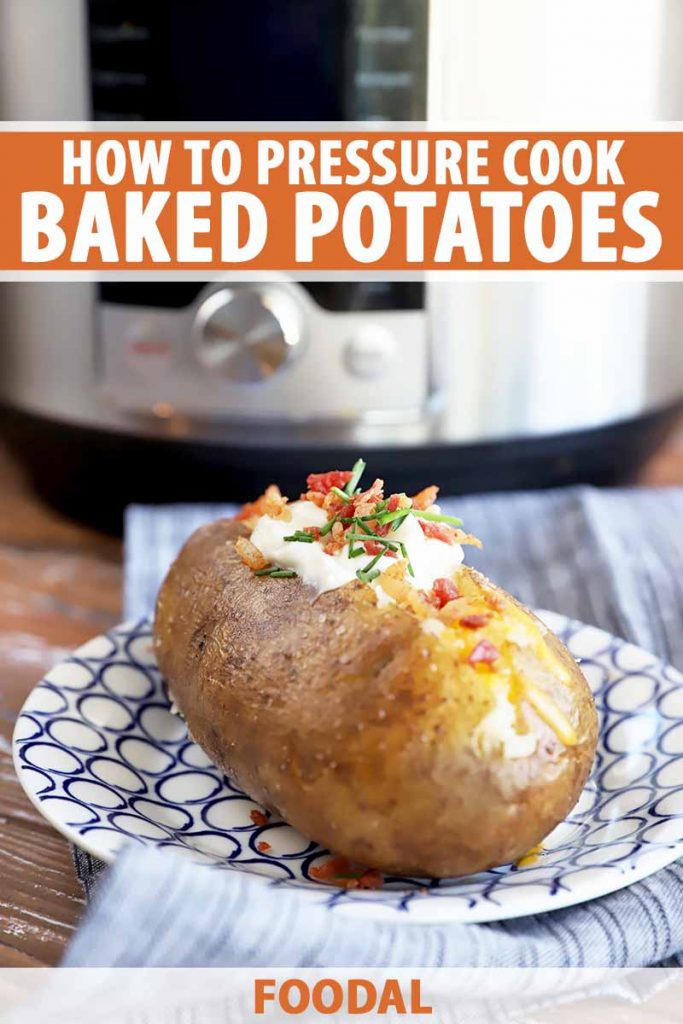
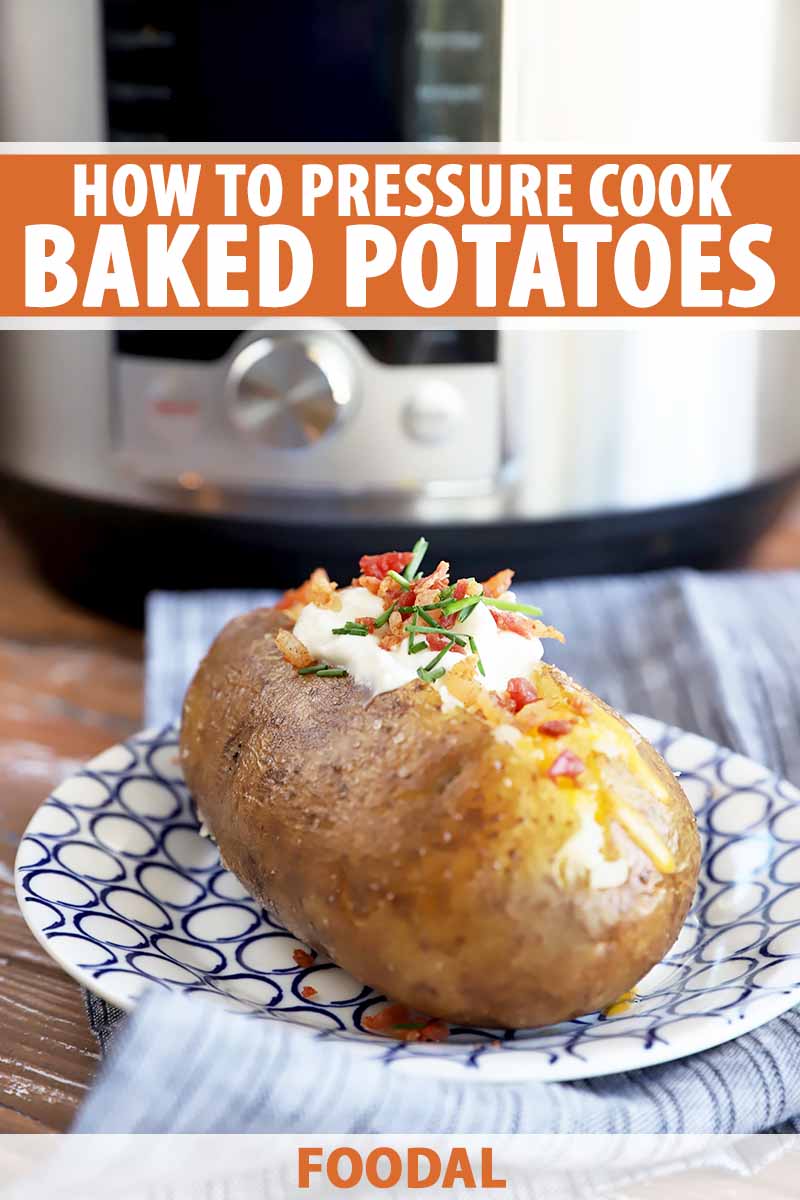
- Classic – sour cream, bacon bits, chives, cheddar cheese
- Southwestern – shredded chicken, black beans, corn, bell pepper, cheddar
- Buffalo – Buffalo blue cheese sauce, chicken
- Pizza – your favorite pizza toppings, marinara sauce, mozzarella
- Mexican – salsa, queso fresco, cilantro, jalapeno, your favorite protein (ground meat or shredded)
- Chili – your favorite chili recipe, plus your favorite toppings like cheese or sour cream
- Barbecue – shredded barbecue chicken or pork, extra BBQ sauce, shredded cheese
If you’re crisping up the skins too, you can even pop any of these that have cheese on top back in the oven just before serving as well, for some melty goodness!
How to Cook Baked Potatoes in the Electric Pressure Cooker
This method of cooking baked potatoes substantially cuts down the cooking time. Plus, you have the option to still get that crispy skin on the outside after they’re done.
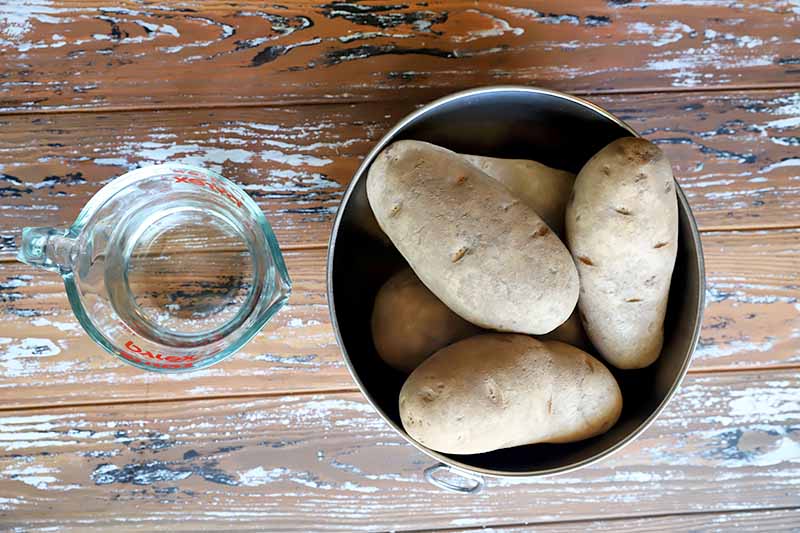
Step 1 – Prep and Measure Ingredients
First, get your ingredients ready. You will need:
- 5 medium russet potatoes, washed and scrubbed (about 8 to 10 ounces per potato)
- 1 cup water
Scrub the spuds clean with a vegetable brush under cool running water. Poke each potato with a fork all over the surface, about 7 to 8 times each.
Note that different sizes of potatoes (both larger or smaller) will work with this method Cooking times are noted below.
The important thing here is to make sure they are all in the same size range when preparing them together. Whatever size you use, you should always cook five total when making this recipe.
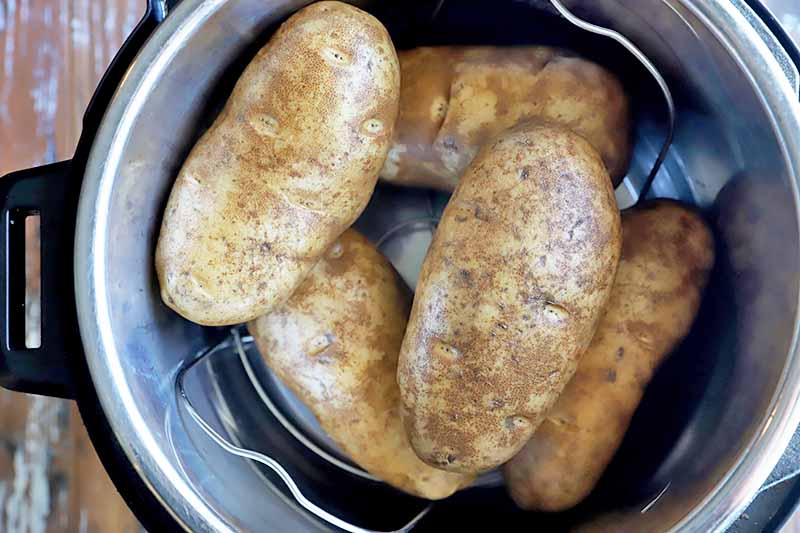
Step 2 – Pressure Cook
Pour the water into the insert of your electric pressure cooker. Place the wire rack insert or trivet inside. Arrange the potatoes on top of the rack, stacking them if necessary.
Place the lid on top and seal it. Set to Manual and cook on High pressure for 16 minutes.
If you have smaller potatoes that are 5 to 7 ounces each, cook them for 12 minutes.
Or if you have really large potatoes that are 11 to 13 ounces each, set the timer for 22 minutes.
Let the pressure release naturally for 10 minutes, then manually release any remaining pressure.
Remove from the insert with tongs and serve with your favorite toppings.
Step 3 – Get Crispy Skins (Optional)
If you want crispy skins, preheat the oven to 400˚F when the potatoes are about 10 minutes away from being done.
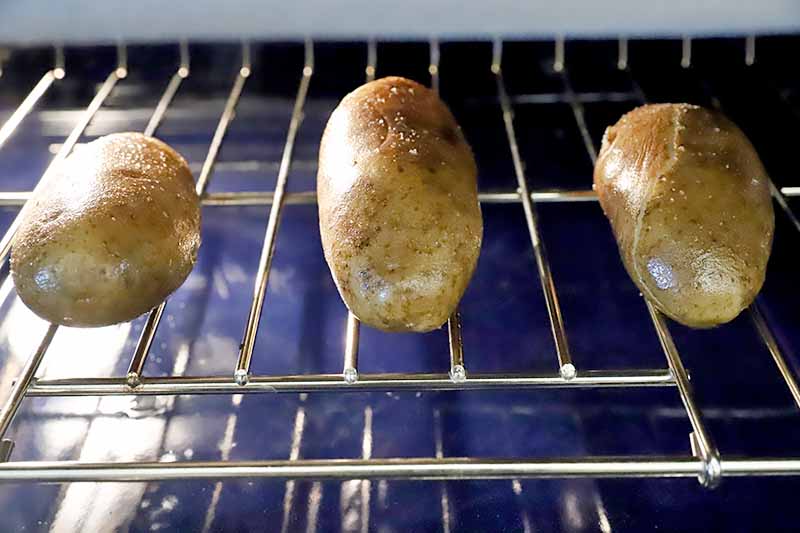
After you’ve removed them carefully with tongs, using an oven mitt as well so you don’t burn yourself, brush the outside of each lightly with olive oil, and sprinkle all over with coarse salt.
Set directly on the oven rack and bake for 10 minutes.
Does It Matter What Size My Pressure Cooker Is?
It doesn’t matter what size your pressure cooker is to make baked potatoes, as long as they are roughly the same size and they all fit nicely within the insert.
If you are using an electric pressure cooker with a capacity smaller than six quarts, I recommend using only small or medium potatoes in the size ranges described above. If you use large ones, all of them will not fit inside the insert.
What else is on the menu? You can learn to make many more vegetables in the pressure cooker from Foodal! Try these next:
What are your favorite toppings to enjoy on a baked potato? Tell us in the comments below.
Photos by Meghan Yager, © Ask the Experts, LLC. ALL RIGHTS RESERVED. See our TOS for more details.
About Meghan Yager
Meghan Yager is a food addict turned food and travel writer with a love for creating uncomplicated, gourmet recipes and devouring anything the world serves up. As the author of the food and travel blog Cake 'n Knife, Meghan focuses on unique foodie experiences from around the world to right at home in your own kitchen.