Who doesn’t love a really good roasted chicken?
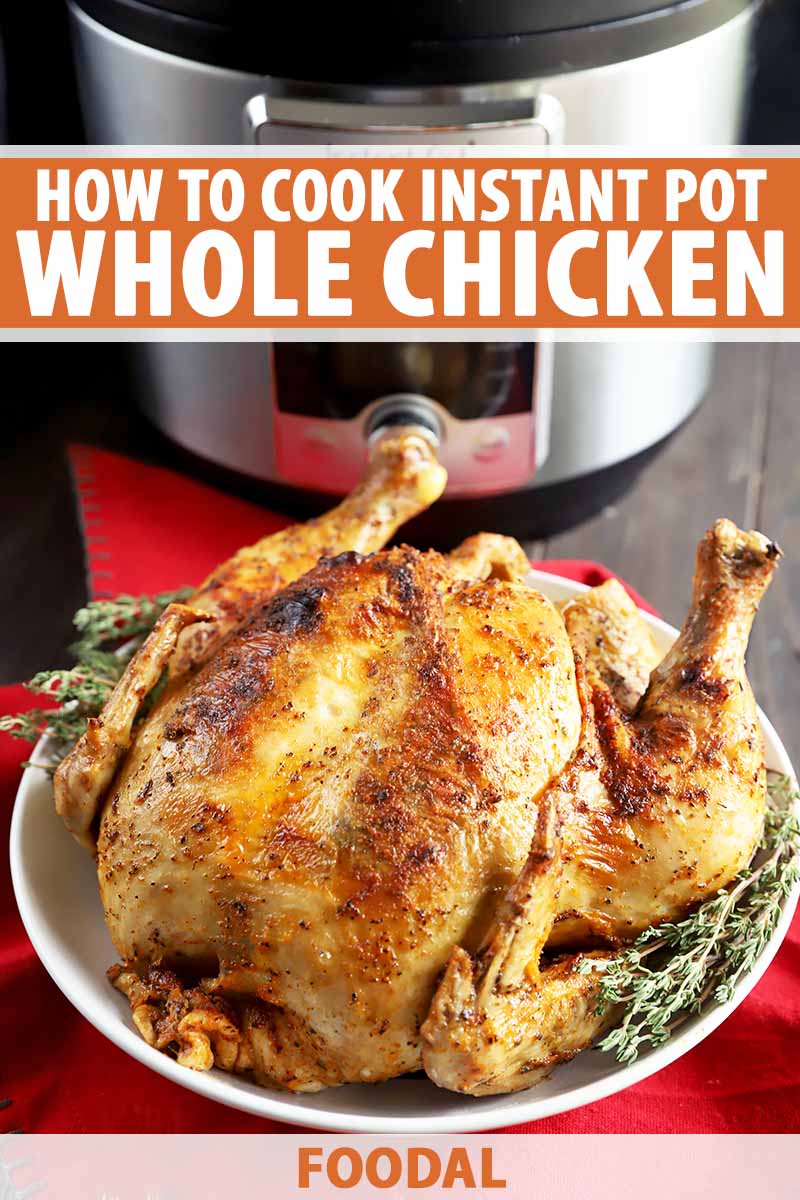
In our house, it’s one of the most versatile things to use in many different ways. It’s amazing on its own with some roasted veggies, and you can also use it in pasta dishes, soups, and sandwiches.
Making a roasted chicken at home can require a lot in terms of time and effort. That is, unless you know how to make it in the electric pressure cooker.
If you make it in the oven it usually takes a long time, but in this handy little appliance, you can get it done in less than 45 minutes if it’s been defrosted ahead of time, or in less than an hour if it’s frozen.
This is probably one of the most budget-friendly protein entrees you can make. Instead of buying a whole rotisserie chicken pre-cooked at the store, or roasting one at home in your oven for hours, you really can cook a whole chicken in your Instant Pot instead, with just a few minutes of prep time.
Freshly made, it will taste just like one that you prepared in the oven, and I think this option tastes so much better than the rotisserie ones you can get at the store. Not to mention, you will know exactly what ingredients are going into it as well.
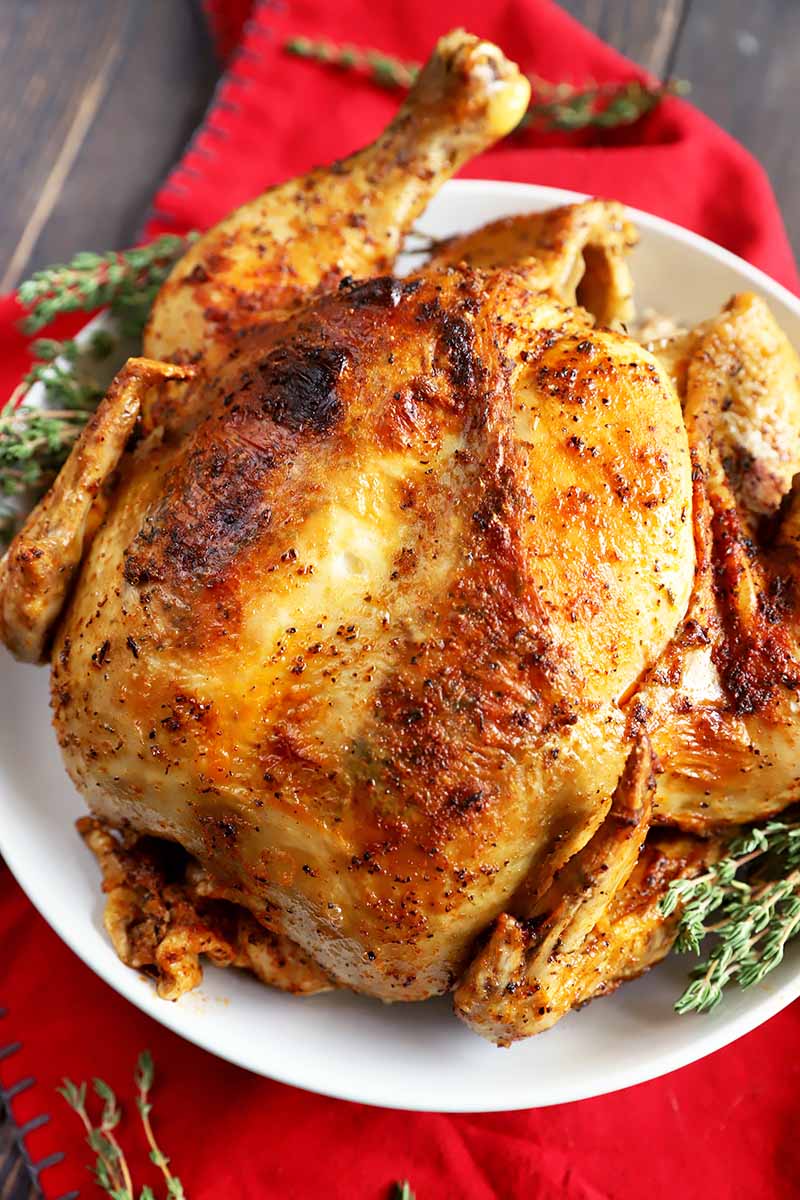
The biggest tip I have to offer you is to make sure you weigh the bird before you start cooking, to ensure that it cooks for the right amount of time. I like to remove the package of giblets before weighing it, to make sure this measurement is as accurate as possible.
You don’t want to overcook the bird because it will end up falling apart, and you won’t be able to transfer it out of the electric pressure cooker easily.
Transferring it is important because you need to get it onto a baking sheet after pressure cooking, to place it under the broiler. You know you want that crispy skin, right? And keeping it in one piece makes a prettier presentation possible as well.
Ready to learn my simple prep method? Here’s what’s ahead in this article:
What You’ll Learn
Can I Ensure Crispy Skin on the Chicken?
If you want your poultry to have crispy skin, all you have to do is complete an extra step after it’s done cooking in the electric pressure cooker.
Simply remove the bird from the cooking insert, and transfer it to a baking sheet. Brush it with oil, and broil until crispy and golden, for about 3 to 5 minutes.
Can I Cook the Bird While It Is Frozen?
Yes, you can prepare frozen whole poultry using this method!
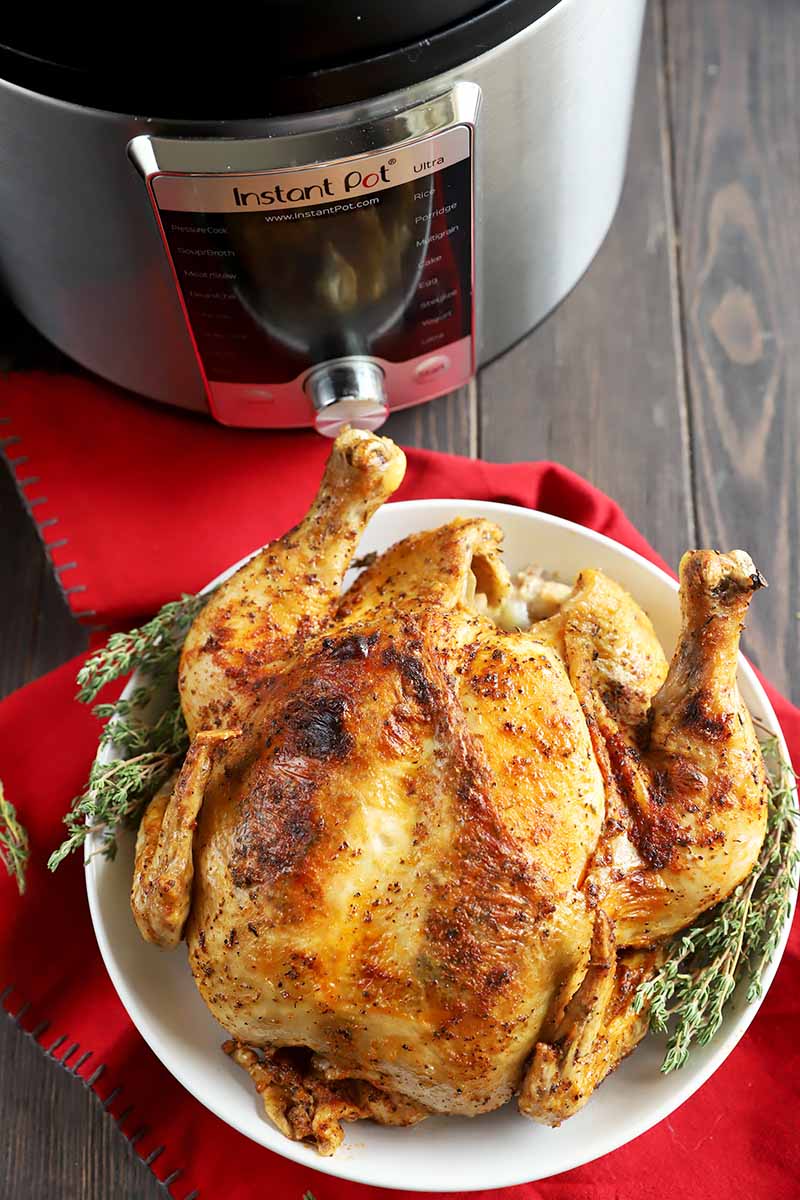
You will need to adjust the cooking instructions below and increase the cook time by 5 minutes per pound, for a total of 11 minutes per pound. Reference these adjusted cooking times for frozen poultry:
- 3-pound bird: 33 minutes on High pressure
- 4-pound bird: 44 minutes on High pressure
- 5-pound bird: 55 minutes on High pressure
You can add 6 more minutes to the total cooking time for every half pound between these measurements.
Is There a Way to Use the Leftover Liquid to Make Gravy?
Using those liquids that are left in the bottom of the insert is a tasty way to add more flavor to your dinner.
Pour off the liquid from the pot into a saucepan and bring it to a boil, then skim the excess fat off the top and discard it. You could also do this in the insert on the Saute setting. Make sure to use a long spoon to skim the fat.
Remove all the solids and discard them. Set the electric pressure cooker to saute and melt 3 tablespoons of unsalted butter. Whisk in 3 tablespoons of flour, using a silicone-coated whisk to prevent scratching, and continue to whisk for 1 minute until golden brown.
Add the drippings in the saucepan back to the insert, and whisk constantly until the gravy is simmering and thickened, for about 3 to 5 minutes. Season to taste with salt and pepper. Remove from the heat, and serve with the whole bird.
How to Cook a Whole Chicken in the Electric Pressure Cooker
Easily cook a whole chicken in less time with this how-to method.
Step 1 – Prep and Measure Ingredients
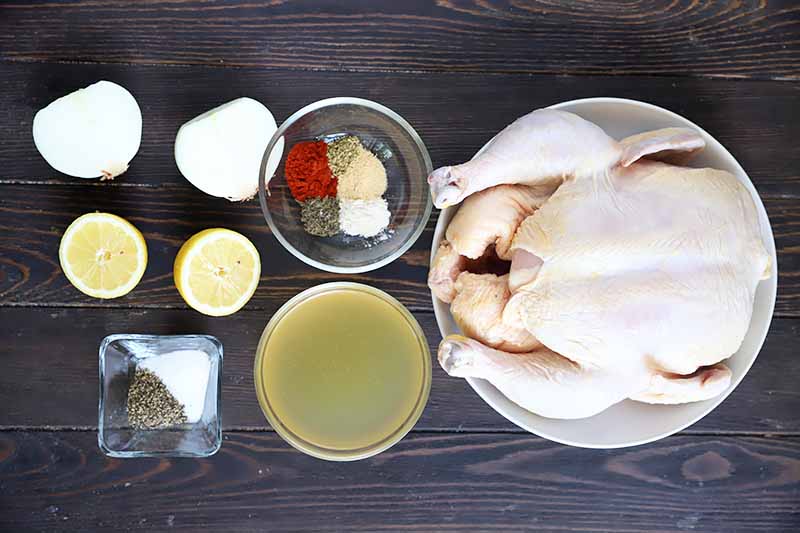
First, measure out everything that you will need:
- 1 lemon
- 1 medium onion
- 2 teaspoons salt
- 1 teaspoon ground black pepper
- 1 1/2 teaspoons smoked paprika
- 1/2 teaspoon dried oregano
- 1/2 teaspoon dried thyme
- 1 teaspoon garlic powder
- 1/2 teaspoon onion powder
- 1 whole chicken, giblet/offal packet removed
- 1 cup low-sodium chicken stock
- 1/2 tablespoon canola oil (optional)
Cut the lemon in half, and remove any visible seeds. Cut the onion in half and remove the skin.
Step 2 – Make Seasoning Mix and Prep the Chicken
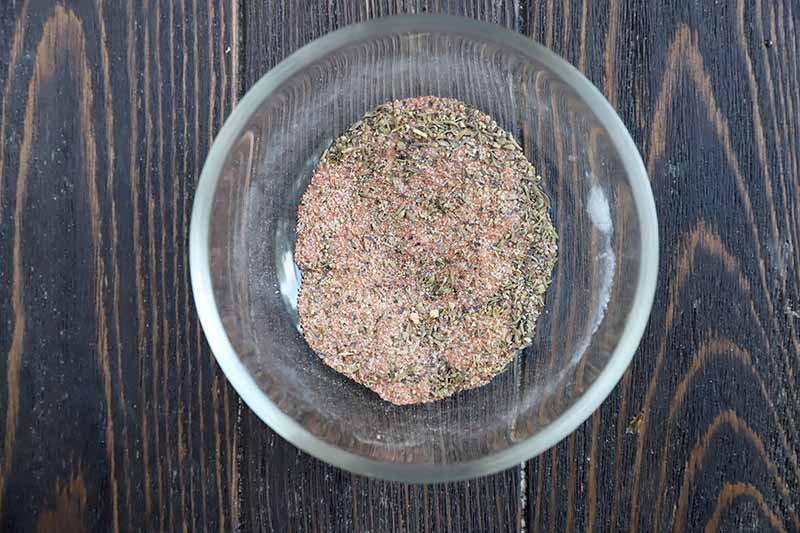
In a small bowl, stir together the salt, pepper, smoked paprika, oregano, thyme, garlic powder, and onion powder. Set the seasoning mixture aside.
Dry the bird well with paper towels. Again, if you haven’t already, be sure to remove the giblet packet if your bird has one.
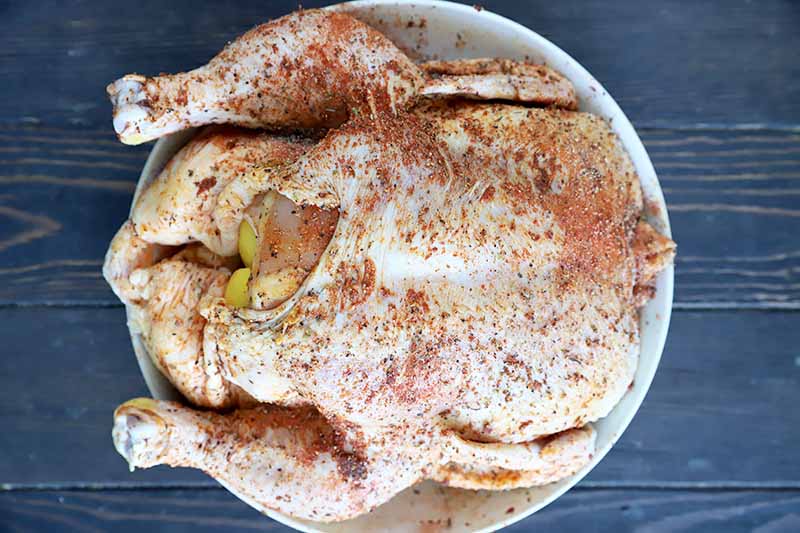
Spread the seasoning mixture all over the chicken, under the skin, and inside the cavity. Stuff the cavity with the lemon and the onion.
Step 3 – Pressure Cook
Place a trivet in the insert, and add the broth. Note that the amount of liquid that you need to use stays the same regardless of the size of the bird.
Place the chicken on top of the trivet, breast side facing up.
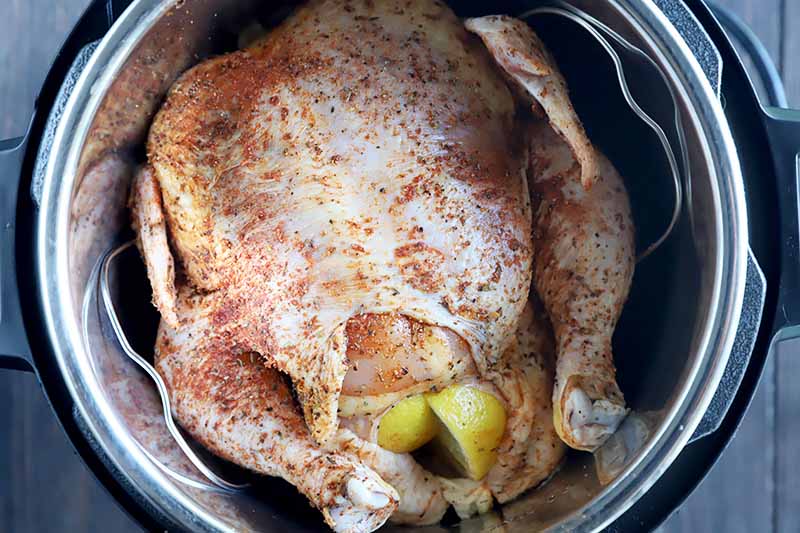
Set to Manual and cook on High pressure for 6 minutes per pound of fresh or fully defrosted poultry, or reference the above cook times for frozen. See the following for a quick reference of fresh cooking times:
- 3-pound chicken: 18 minutes on High pressure
- 4-pound chicken: 24 minutes on High pressure
- 5-pound chicken: 30 minutes on High pressure
You can add 3 minutes to the total cooking time for every half pound, to get the most exact cook time possible. The last time I prepped a chicken in my 6-quart Instant Pot, it weighed 4 1/2 pounds, and I cooked it for 27 minutes on High.
Most chickens are within the 3- to 5-pound range. If your bird is slightly over 5 pounds it should still fit, but anything 5 ½ pounds or over won’t.
Let the steam naturally release for 15 minutes before manually releasing the rest of the pressure. Check the temperature of the poultry with a meat thermometer to make sure it has reached 165˚F in the thickest part of the thigh.
If it hasn’t reached temperature, reseal and cook for another 3 minutes on High pressure to cook through. You can repeat this as necessary.
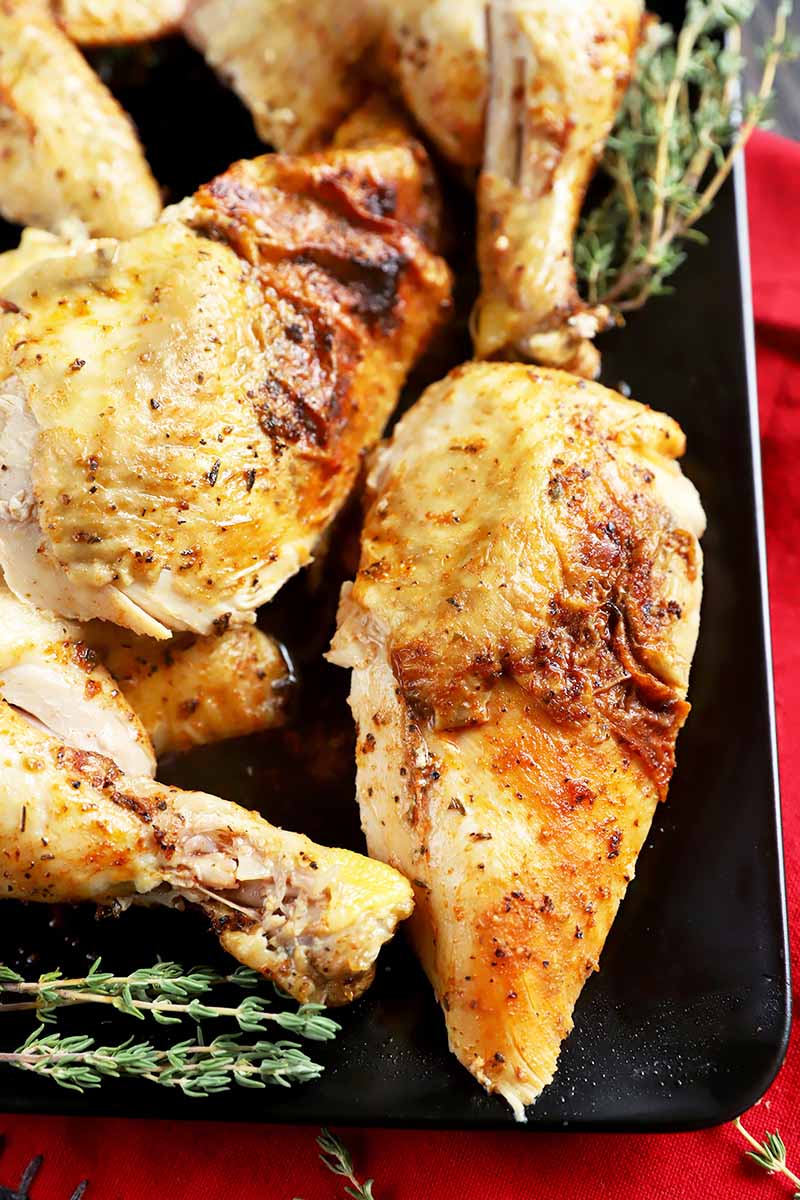
If you want crispy skin, proceed to Step 4 now. Otherwise, remove the bird from the appliance insert and let it rest for at least 10 minutes on a cutting board before slicing and serving.
Step 4 – For Crispy Skin (Optional)
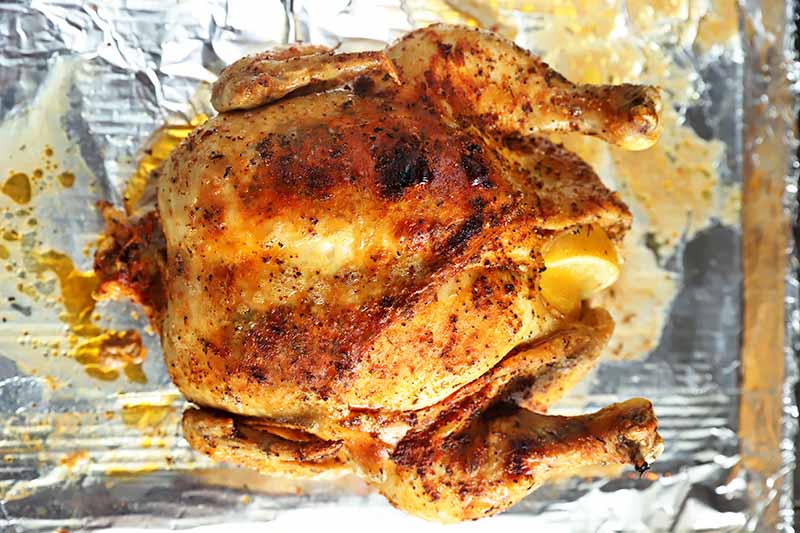
Transfer the cooked chicken carefully to a foil-lined baking sheet.
I used two spatulas to accomplish this. If your roasting pan came with turkey forks, if they will fit between the bird and the walls of the insert, you can use these for lifting as well.
Brush the outside lightly with oil and place under the broiler set to High for 3 to 5 minutes, until crispy and golden.
Remove from the oven and set aside on a cutting board to rest for 10 minutes before slicing.
Can I Use This Poultry for Meal Prep?
One of the easiest ways to cook poultry for meal prepping lunches during the week is in this handy appliance. And if you really want it to be flavorful and tender, cooking the whole chicken is the way to go.
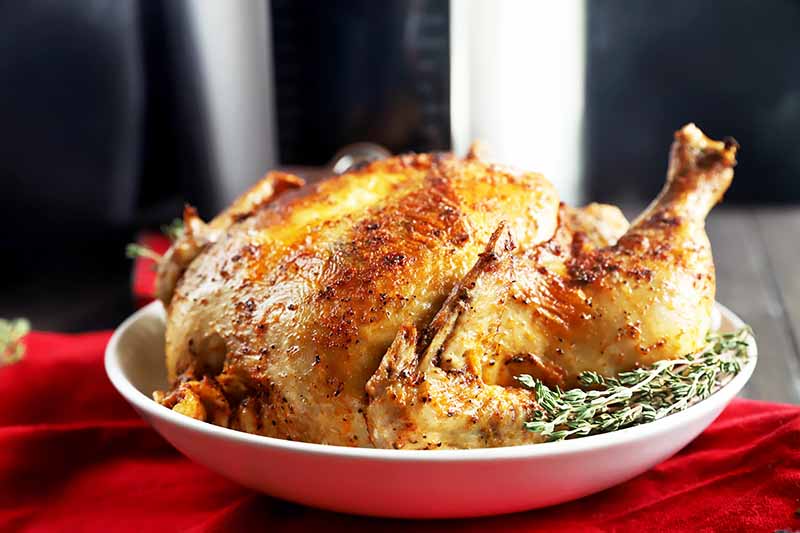
You can also save money by buying the whole bird instead of selecting specific cuts and parts. The leftover bones are a great way to make homemade chicken stock too.
You can easily cook this bird and break it down for meals throughout the week. Here are some of my favorite ideas for how to use it:
Add it to soup. You can even supplement canned vegetable soup to add protein.
Add it to a salad – just about any type will work! (Or make chicken salad.)
Top a rice or quinoa bowl.
Make a sandwich, with sliced poultry and all your favorite toppings.
Tacos are always a yummy idea, and you can easily change up the flavor profile with different vegetables and seasonings.
Stuff sweet potatoes with roast poultry for the filling to keep you full all afternoon long.
Will you use this method to make lunches for the week, or serve up the whole roast bird for dinner? Tell us in the comments below!
Looking for even more ways to use your electric pressure cooker to prepare poultry? Read these how-to guides next, to prepare:
- Chicken Breasts
- Thighs (coming soon!)
- Wings
Photos by Meghan Yager, © Ask the Experts, LLC. ALL RIGHTS RESERVED. See our TOS for more details.
About Meghan Yager
Meghan Yager is a food addict turned food and travel writer with a love for creating uncomplicated, gourmet recipes and devouring anything the world serves up. As the author of the food and travel blog Cake 'n Knife, Meghan focuses on unique foodie experiences from around the world to right at home in your own kitchen.


Lovely recipe. Explained so well to give me confidence with my pressure cooker.