When you were young, gathered around the dinner table with the family, what cut of meat did you ask for?

Roasted chicken was a big deal for my grandmother on my mom’s side of the family. We would go over to my grandparents’ house every week for dinner at some point, and she would always make the most beautiful roast chicken.
I remember sitting next to my grandfather during one of these dinners. When I reached for a slice of chicken breast, he stopped my hand and said, “No, no, you need to try this.”
He put a juicy piece of thigh meat on my plate, and eagerly waited as I took my first bite.
From then on, I became an advocate for thigh meat. No matter if it is chicken or turkey, this cut is so much more flavorful than the breast.
Whenever I see thighs on sale at the grocery store, you can bet I am stocking up the freezer in our garage with as much as I can afford.
It happens to be a killer ingredient for meal prep too, because the meat stays so juicy. Even when you microwave the leftovers, they don’t dry out.
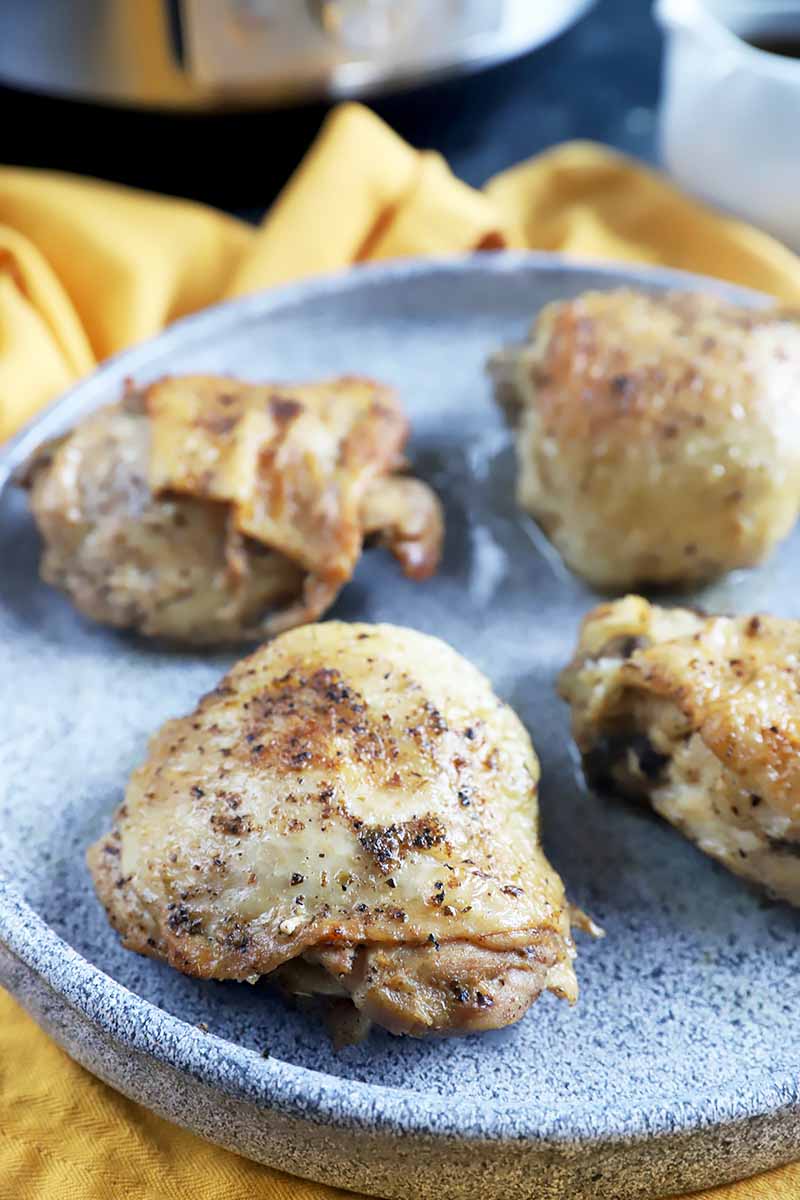
I tend to cook my favorite poultry in my electric pressure cooker for meal prep, because this makes it super easy to have meals ready to go throughout the entire week. But you can also make this recipe for dinner tonight!
The meat comes out extra flavorful, and it goes well with pretty much anything you can think of, whether it’s served on top of a salad, mixed into pasta, served with roasted potatoes, or stirred into leftover soup – one of my personal favorite ways to shake up my leftover options.
You can serve the thighs whole, but I also like to shred them and use them in different ways. There are only so many times you can eat a straight cut of poultry with sides, you know? Get some sauce in there, or fill up a taco!
Here’s what we’ll cover in this helpful how-to guide:
What You’ll Learn
Why Is It Important to Trim Off Excess Fat and Skin?
Since these thighs are bone-in, you might be wondering why the instructions tell you to trim them.
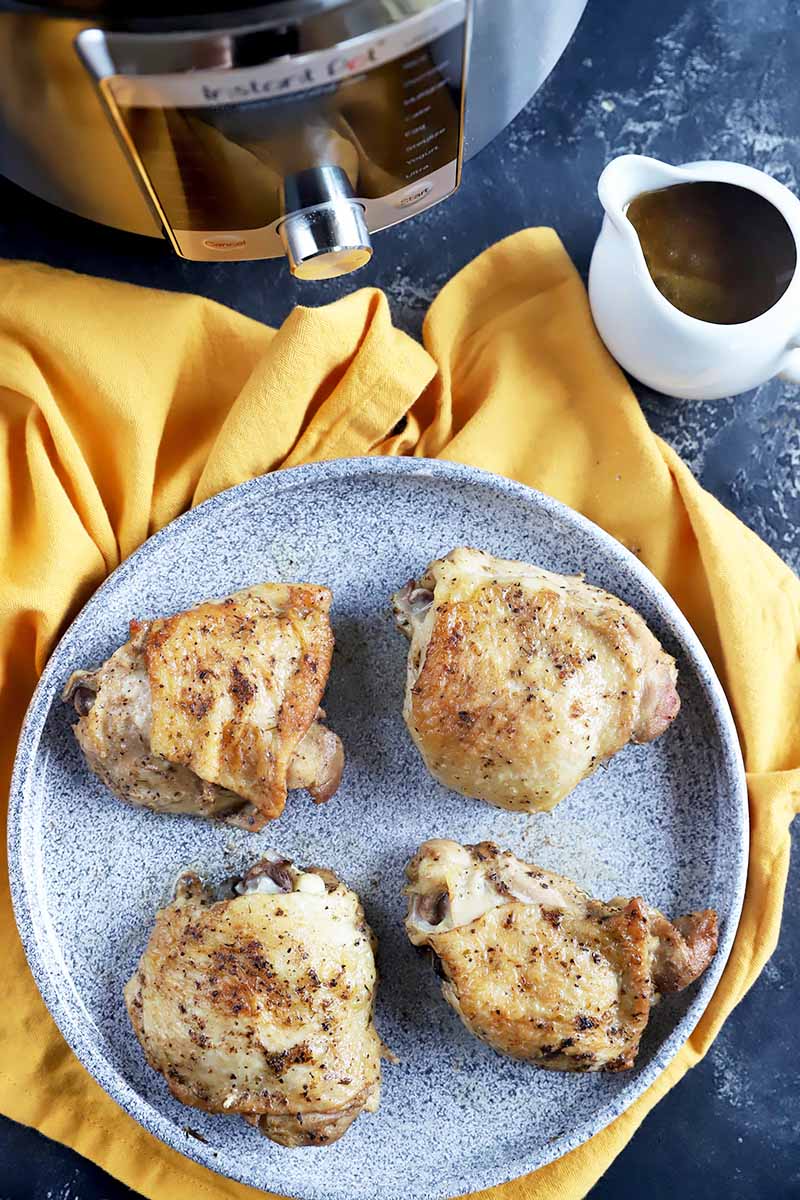
I find a lot of these come with excess fat and skin, which will not benefit from the searing step that’s part of this cooking method. And no one wants a chewy mouthful, so it’s easiest to trim any excess fatty pieces off.
You might be lucky enough to skip this step, but if you are buying your poultry at your local grocery store’s meat counter, you will likely need to do a little prep work before you start cooking.
If you want even crispier skin, after the chicken is done and while you’re preparing the gravy, you can place the cooked meat on a rack set into a rimmed baking sheet, and place it under the broiler on high heat for one to two minutes before serving.
Can I Make Gravy with the Drippings?
Yes, you can make gravy! I recommend it.
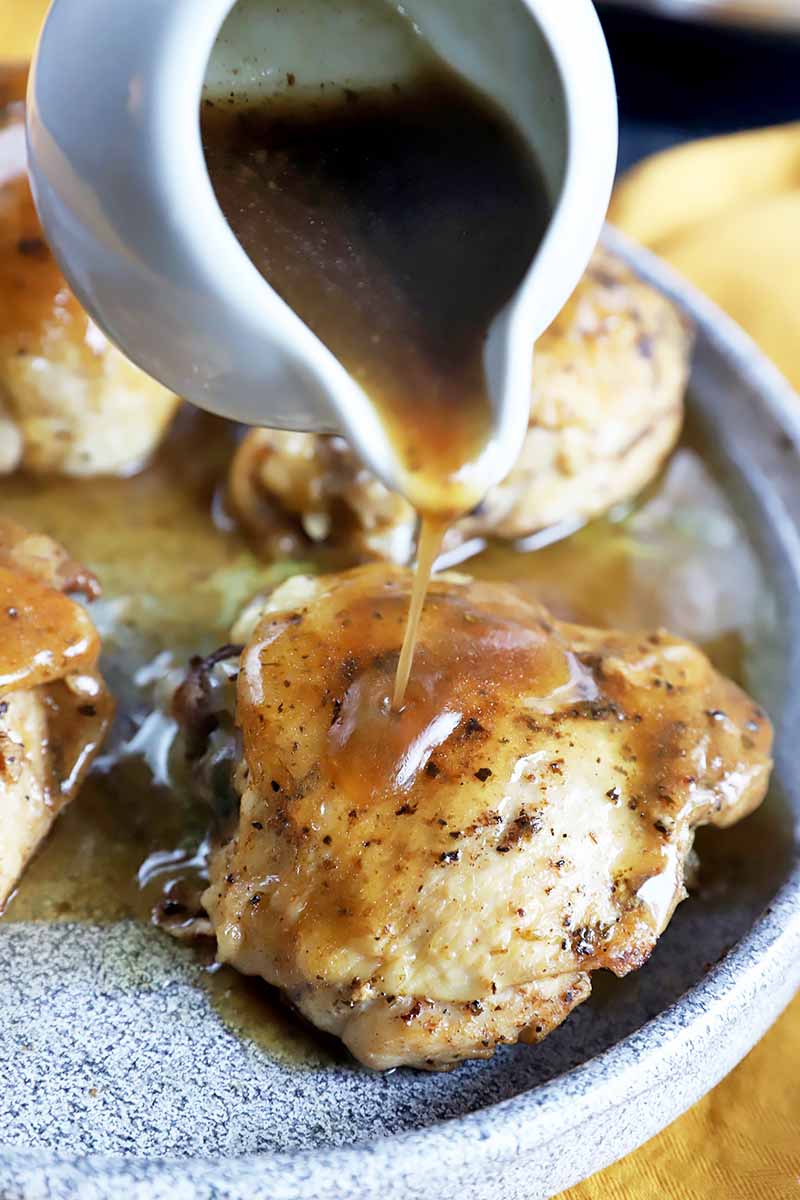
After removing the cooked meat from the insert, whisk 1 tablespoon of cornstarch with 1/4 cup cold water to make a thickening slurry. Add it to the pressure cooker, turn on the Saute setting, and stir.
Simmer for a few minutes until thickened, stirring constantly. Season with salt and freshly ground black pepper to taste, and serve your gravy with the chicken.
Can I Cook Frozen or Boneless Thighs Using This Method?
Yes, just cook frozen thighs for 17 minutes instead of 12.
Start by separating the pieces if they are sticking together. You may need to run them under cool water to defrost a little.
This is your best option – don’t use a knife! Cutting frozen poultry apart can be dangerous, since knives are prone to slipping.
Rub the seasoning mixture all over the thigh meat, and skip the searing step.
If you want to opt for boneless poultry instead, follow our simple method.
Can I Double the Recipe?
If you want to make more than four chicken thighs in a single batch, it is ridiculously easy to double the recipe in a 6- or 8-quart electric pressure cooker.
The only change you have to make is to saute the chicken pieces in batches three or four at a time, as they will not all fit in the bottom of the insert.
You can keep the amount of liquid (1 cup of water) the same, and pile the pieces on top of the trivet. Cook for the same amount of time as directed below, and they will come out perfectly.
How Can I Store Them?
Whether you have leftovers or you want to save the meat for another use, like in chicken salad, storage is easy!
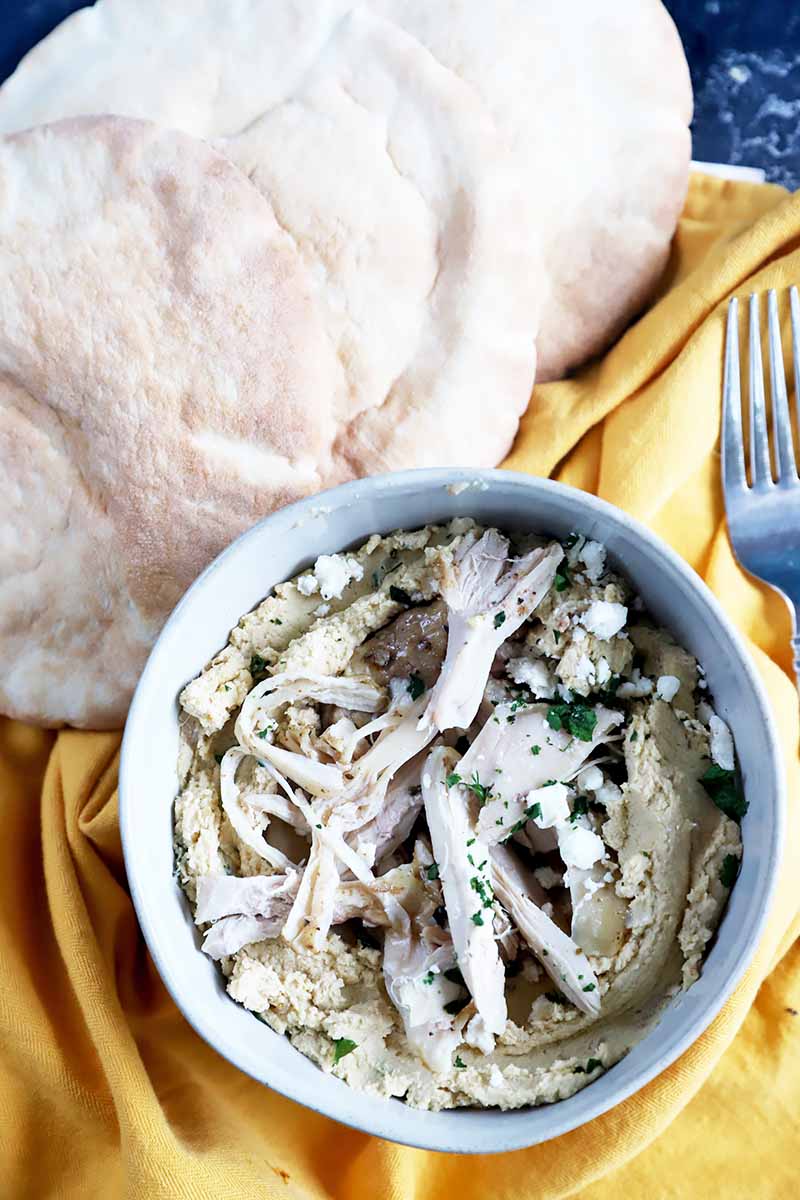
Allow the cooked chicken thighs to cool completely, then pack them in an airtight container or zip-top bag and place it in the refrigerator or freezer.
They can be stored in the refrigerator for up to 4 to 5 days, either whole or shredded. In the freezer, they will last for up to 3 months.
How to Cook Bone-In Chicken Thighs in the Electric Pressure Cooker
Ready to get dinner started? You are going to love how easy it is to make this juicy and flavorful protein entree.
Step 1 – Trim Excess Fat, Measure Ingredients, and Make Spice Mix
To begin, measure out all of the ingredients as listed:
- 4 bone-in, skin-on chicken thighs (approx. 1 1/2 pounds)
- 1 teaspoon salt
- 1/2 teaspoon ground black pepper
- 1/2 teaspoon garlic powder
- 1 teaspoon dried oregano (or 2 teaspoons chopped fresh)
- 1 tablespoon olive oil
- 1 tablespoon unsalted butter
- 1 cup water
Trim any excess skin and fat from the chicken thighs.
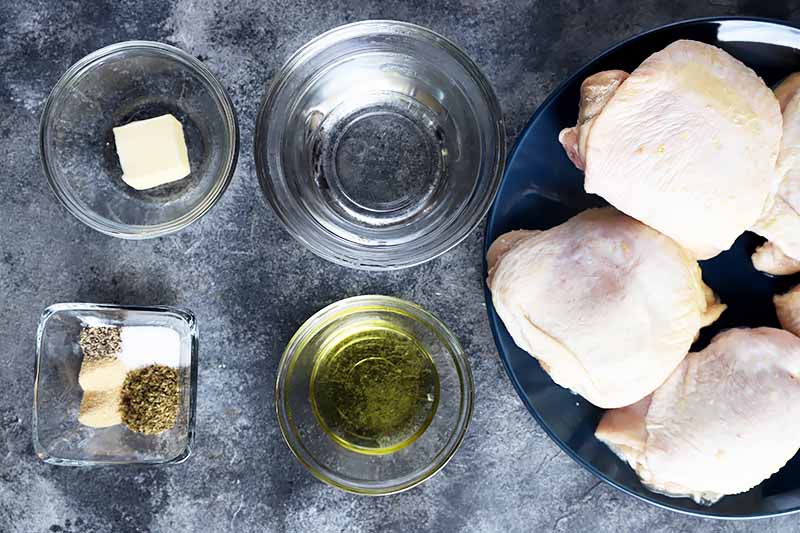
You want to remove any large pieces of fat, as well as any excess skin that is hanging off the meat. Leave enough skin in place to just cover the meat.
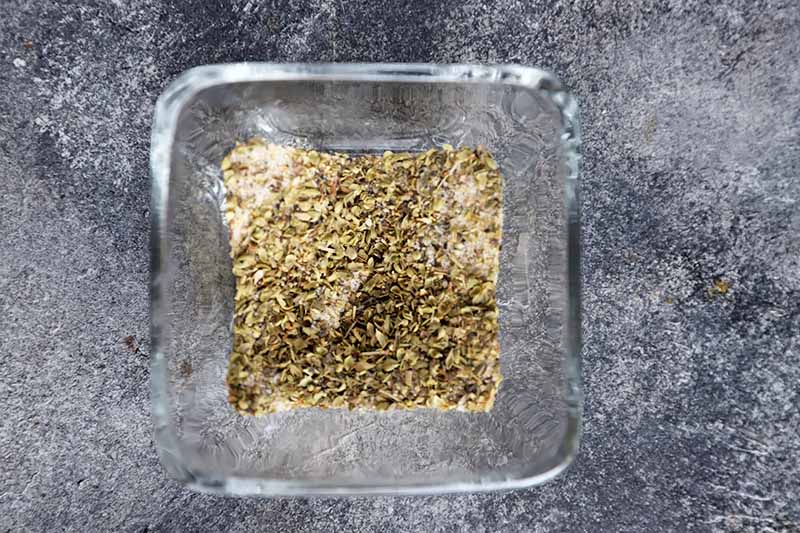
In a small bowl, stir together the salt, pepper, garlic powder, and oregano.
Step 2 – Season and Brown the Chicken
Rub the seasoning mixture evenly all over the chicken thighs.
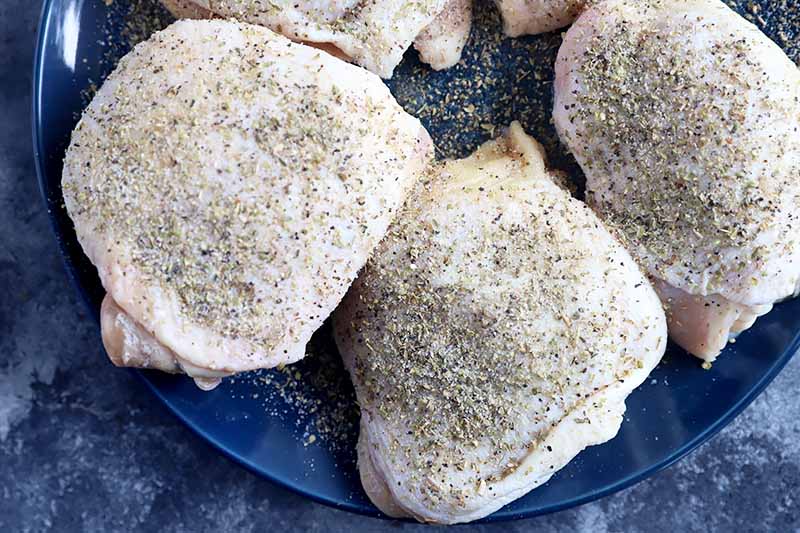
Turn on the Saute function on the electric pressure cooker. Once it’s hot, add the oil and butter.
Once the butter has melted, add the seasoned thighs skin side down. Brown for about 2 to 3 minutes, flip them over, and brown for another 2 to 3 minutes.
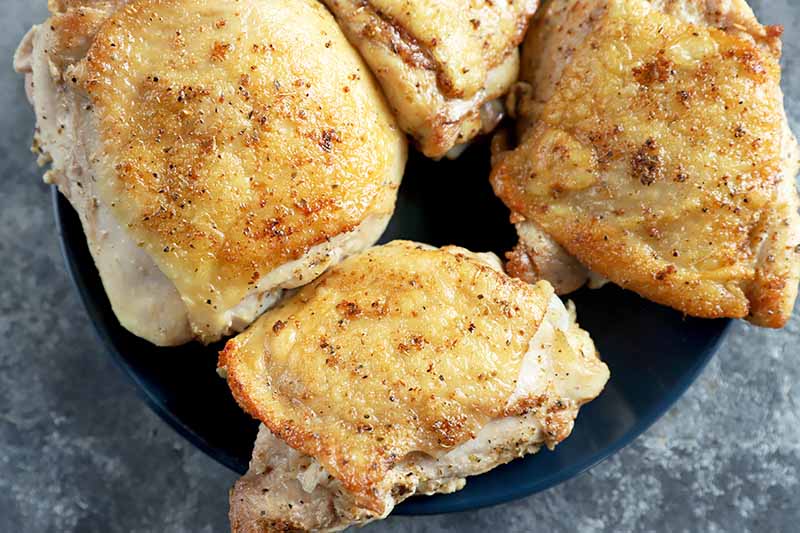
Remove the seared meat from the insert and set it aside on a plate. Turn the pressure cooker off.
Step 3 – Pressure Cook
Add the water to the insert and use a wooden spoon to scrape up all of the brown bits from the bottom. This is called the fond, and it’s full of flavor.
Place a trivet inside, and arrange the chicken thighs on top.
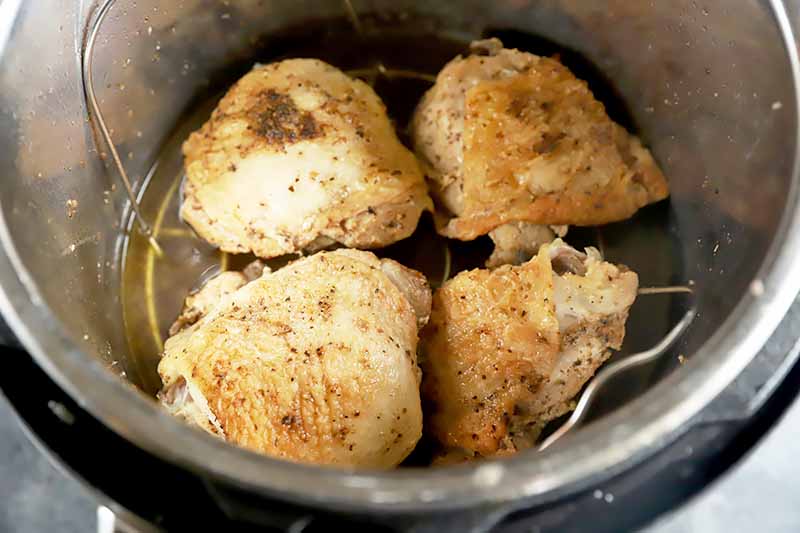
Seal the lid and set your appliance to Manual. Cook on High pressure for 12 minutes.
Let the steam naturally release for 10 minutes, then release the remaining pressure manually.
Transfer the chicken to a platter and and serve it immediately, with gravy made from the drippings if you like.
How Can I Change Up the Recipe?
The easiest way to experiment with this easy cooking method is to change up the types of seasonings you add.
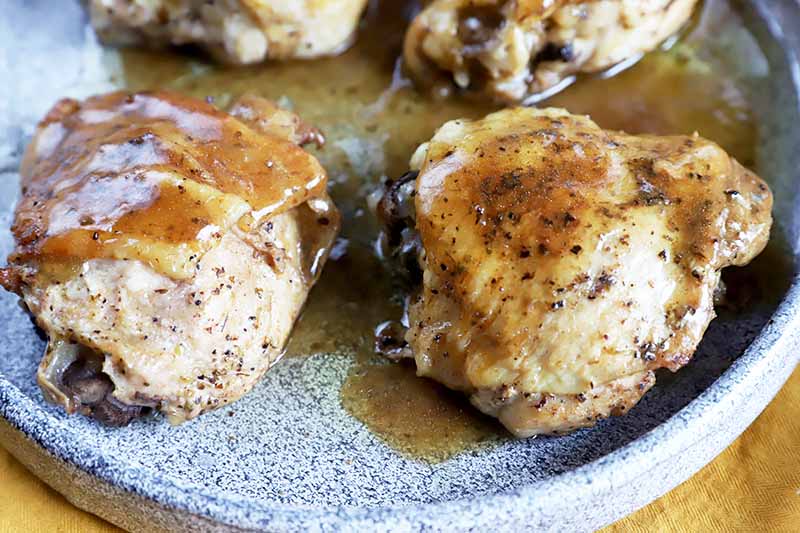
Try using your favorite dry rubs or spice mixes, like taco seasoning, an Italian herb blend, or Cajun seasoning. You will need 1 tablespoon of seasoning total to replace the salt, pepper, garlic powder, and oregano listed above.
Is meal prep a part of your weekly routine, or do you make recipes like this for dinner on weeknights? Tell us in the comments below.
And if you want to learn even more ways to cook chicken in the electric pressure cooker, check out these how-to’s from Foodal next:
Photos by Meghan Yager, © Ask the Experts, LLC. ALL RIGHTS RESERVED. See our TOS for more details. With additional writing and editing by Allison Sidhu.
About Meghan Yager
Meghan Yager is a food addict turned food and travel writer with a love for creating uncomplicated, gourmet recipes and devouring anything the world serves up. As the author of the food and travel blog Cake 'n Knife, Meghan focuses on unique foodie experiences from around the world to right at home in your own kitchen.




My cooker doesn’t have a trivet, any ideas?