When it comes to sweet snacks, I’m a Gushers™ girl.
That’s right. Even at the ripe age of almost-thirty-six, I have no shame in admitting that I would still unapologetically crush a package of juice-filled “fruit-flavored” gummies.
It could just be the nostalgia factor, because all I want right now if I’m being completely honest are some Dunkaroos, Doritos 3D, and a stack of silly VHS tapes to last me through Sunday.
But as amusing as it is to relive the enjoyment of the many store bought afternoon treats of my youth, I think it’s more fun to take this venture into my own hands, or more specifically, into my oven, by making homemade fruit leather roll-ups with all natural ingredients.
I don’t know a single person who would disagree with the statement that there’s nothing like a mouthful of memories, and these dried fruit rolls fit the bill like no other. You can search my kitchen up and down for a food dehydrator, but I guarantee you won’t find one. That’s the beauty of this recipe.
If you do have one of these available, you could certainly adapt the recipe. But even though I know the value of having a lineup of essential appliances for a raw food kitchen, one of my favorite things about it is that there’s no fancy equipment needed, just your imagination. Well, that and a roll of parchment paper.
The truth is, you don’t even necessarily need to use fresh fruit. Since the ingredients are pureed and dried to form sticky, leathery strips, starting with frozen is fine. Just defrost and drain any excess liquid before you get started.
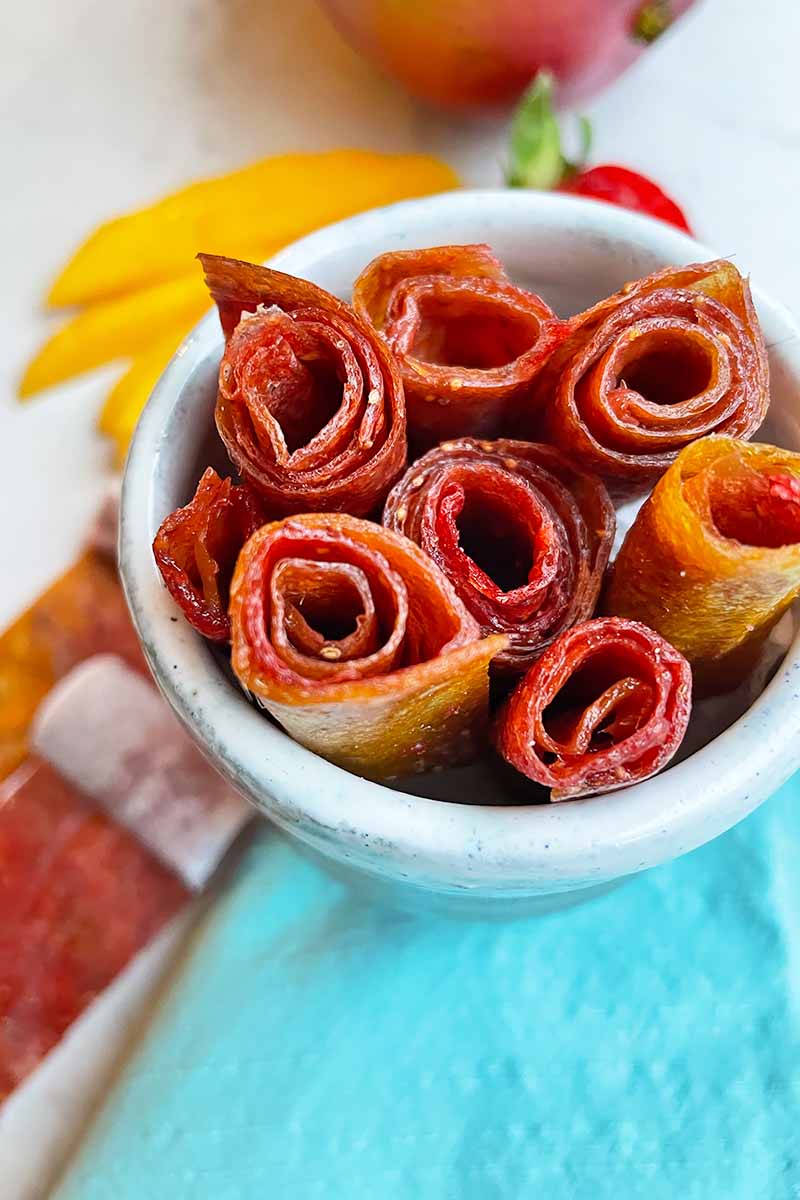
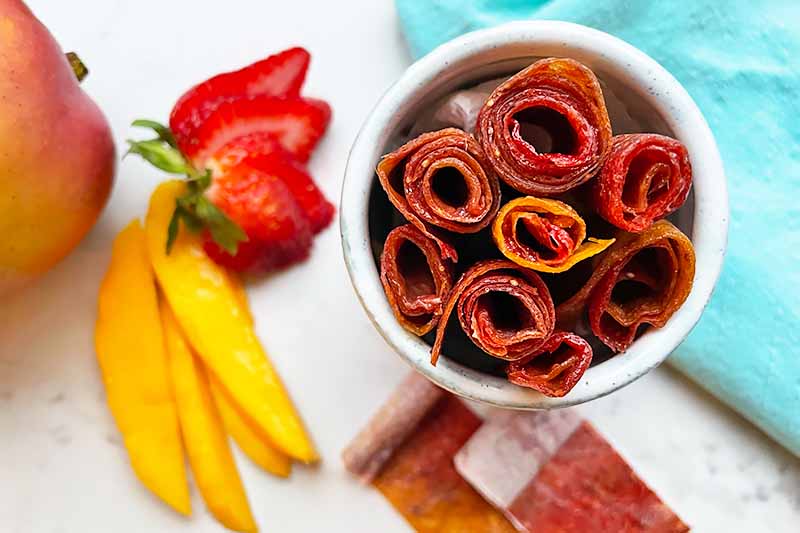
Using bright, contrasting colors like yellow and red results in a tie-dye-ish vibe, which makes these rolls a rad choice for kids who turn their noses up at bland, boring food. Just a touch of sugar is used to bring out the fruit’s natural flavor, but honey or maple syrup are also popular choices for sweetening things up.
You could also use two tablespoons of my homemade strawberry syrup recipe as the sweetener, if you can’t get enough fruity flavor!
Keep in mind that granulated sugar is, well, granular and it may give the rolls a bit of a gritty consistency, whereas a liquid sweetener will result in a smoother look and feel, without any other adjustments to the recipe required.
I personally prefer a more rustic, imperfect texture, but to each his own.
And since there’s nothing that’s unsafe to sample raw in the pre-baked puree, feel free to sweeten the mixture to taste before popping your pan in the oven.
Speaking of things that go pop, the seeds in the strawberries give each bite an added bit of crunch that will remind you these munchies were made from scratch.
Chia seeds can also add unexpected texture, not to mention fiber and antioxidants. If you’d rather keep things silky smooth, on the other hand, straining before swirling will do the trick.
I snuck in some vanilla extract to perfume the fruit with its distinctive woody, musky flavor, but the contents of a real vanilla bean would be an even swankier addition that I could totally get behind.
Come on. What’s better than taking an edible childhood memory and putting an epicurean spin on it at home? Just spend five minutes talking to any chef you know to prove my point.
A medley of mixed berries and stone fruits will create a great base if you want to try something a little different in terms of the fruit combo, but avoid super soft ingredients that brown easily, like bananas.
As far as cooking times go, I’m here to give you the honest answer that every oven varies. Five hours seemed to be the sweet spot for me, but cooking times can fluctuate as every oven is a little different, and the amount of moisture in the fruit also has to be factored into the process.
To me, using the touch test is the only way to go.
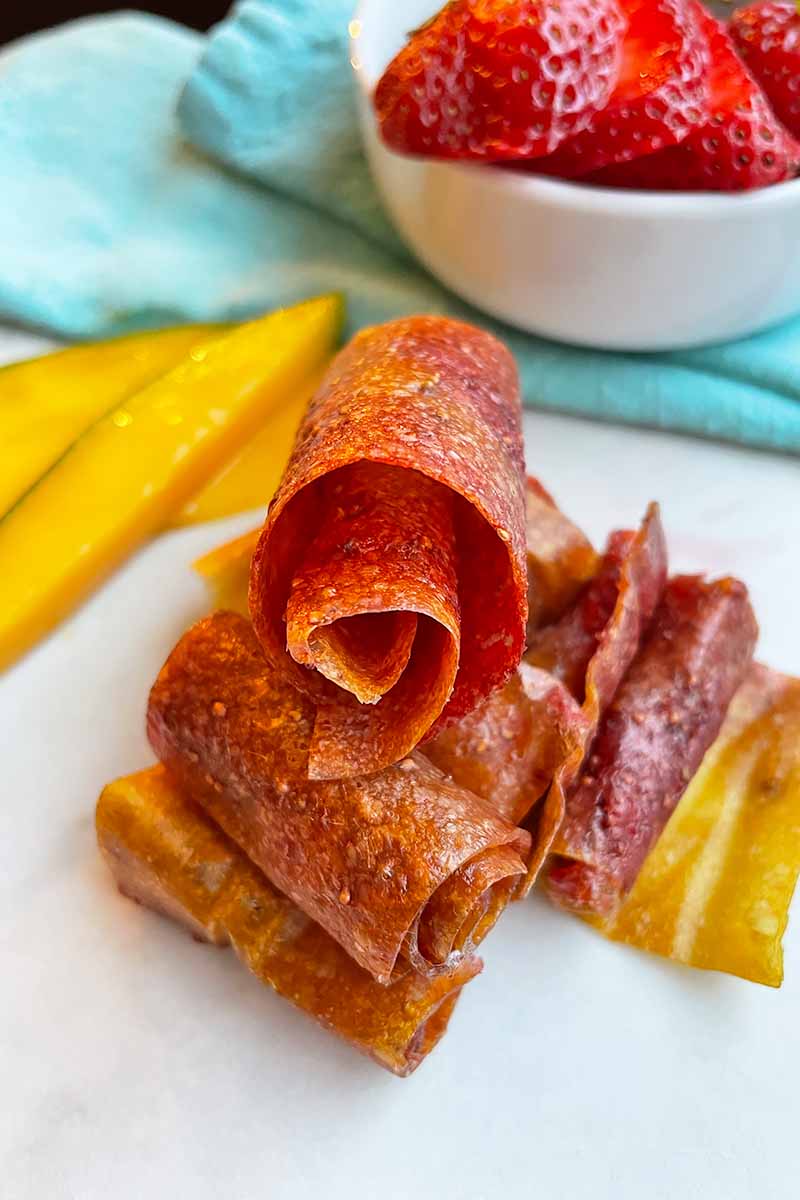
If the fruit leather isn’t done, it will still feel wet and somewhat liquified, whereas a finished roll-up will be shiny and dry. Straight out of the oven, allow it a brief siesta to cool to room temperature, and then you’ll be ready to rock and roll.
Well, slice and roll.
These are ideal for lunchboxes and snack packs, and certainly a favorite among little ones, but no one said this recipe has to be eaten only by kids. If I’m not working from home where I have the advantage of chomping into a freshly sliced mango that I chilled in the fridge, these make a killer snack backup.
Or snack-up, if you will. And believe me, you will.
Print
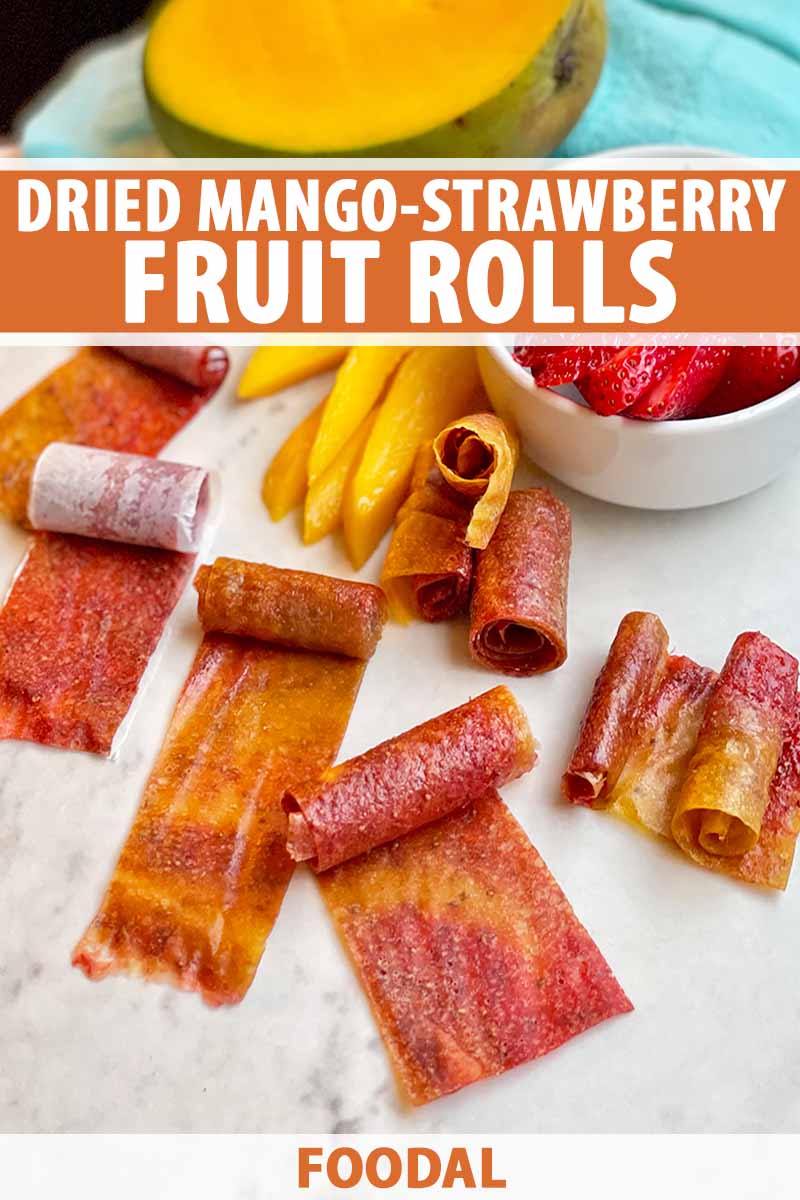
Dried Mango-Strawberry Fruit Rolls
- Total Time: 6 hours, 50 minutes
- Yield: 8-12 rolls 1x
Description
Level up your homemade snack game with these oven-dried mango-strawberry fruit rolls. They’re as lovely and vibrant as they are tasty.
Ingredients
- 1 large ripe mango, peeled and chopped (about 2 cups)
- 6 ounces fresh strawberries, hulled and stemmed
- 1/2 teaspoon pure vanilla extract
- 2 tablespoons granulated sugar (or sub honey or agave syrup)
Instructions
- Preheat the oven to its lowest setting, preferably somewhere between 150 and 170°F. Line a rimmed half baking sheet (18 by 13 inches) with a silicone mat or parchment paper.
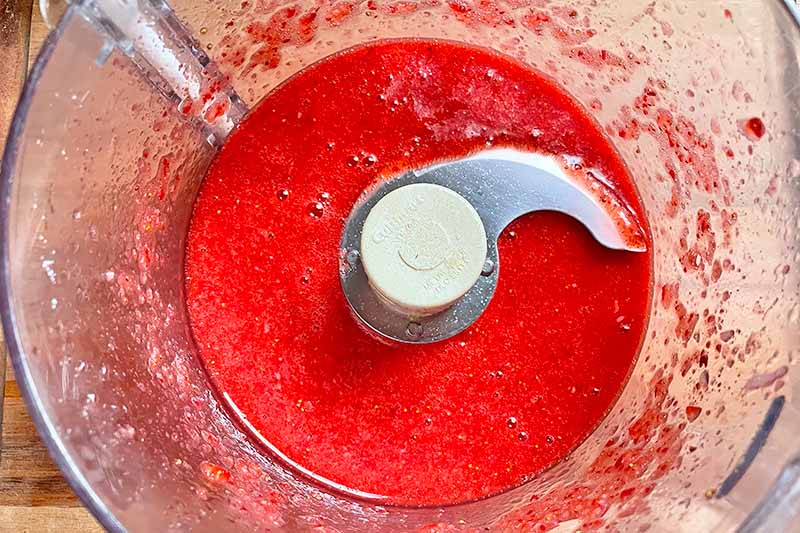
- In a food processor, pulse the mango until it’s smooth and then transfer the puree to a bowl. Add the strawberries, vanilla, and sugar to the food processor, and blend until liquefied.
- Dollop spoonfuls of the mango and strawberry purees on the prepared pan, alternating them across the surface. With a small offset spatula, spread and swirl them to form one thin, even layer about 1/8 inch thick with no holes.
- Bake until the consistency of the mixture is still slightly tacky, but not overly sticky or wet, for about 5-6 hours. Remove from the oven. Cool to room temperature on the baking sheet.
- Lay a piece of wax paper on top of the fruit roll, then carefully flip it over so the roll is now stuck to the wax paper. Peel off the parchment paper or silicone mat. Using scissors, cut the fruit and paper (together) into whatever size strips you desire, and roll them up paper-side out.
- Store in a sealed container in the fridge for up to 1 week.
- Prep Time: 20 minutes
- Cook Time: 6 hours
- Category: Fruit
- Method: Baking
- Cuisine: Snacks
Cooking By the Numbers…
Step 1 – Prep and Puree the Fruit
Preheat the oven as low as it will go, between 150 and 170°F. Line a rimmed half sheet pan with a silicone mat or parchment paper.
Dehydrator Tips
- If you have a food dehydrator, you could technically use it to make this recipe. Review our ultimate guide to dehydrating for some topnotch tips on the process.
- You can line your dehydrator trays with parchment paper if you go this route, or use specially designed fruit roll mats and dry according to the manufacturer’s directions. The rolls will likely dry in about 6 to 8 hours at 145°F.
- Note that, depending on the style, many fruit leathers made in a dehydrator will be round in shape, and they may have a hole in the middle – plan to slice them as needed, and adapt accordingly when shaping these fun snacks.
Slice one end off of the mango so it sits flat and then peel the skin. Roughly chop the mango into pieces and then add them to your food processor. Pulse until smooth, and then transfer to a bowl.
If you are having some difficulty cutting a mango, become a prep master by reading our helpful tutorial!
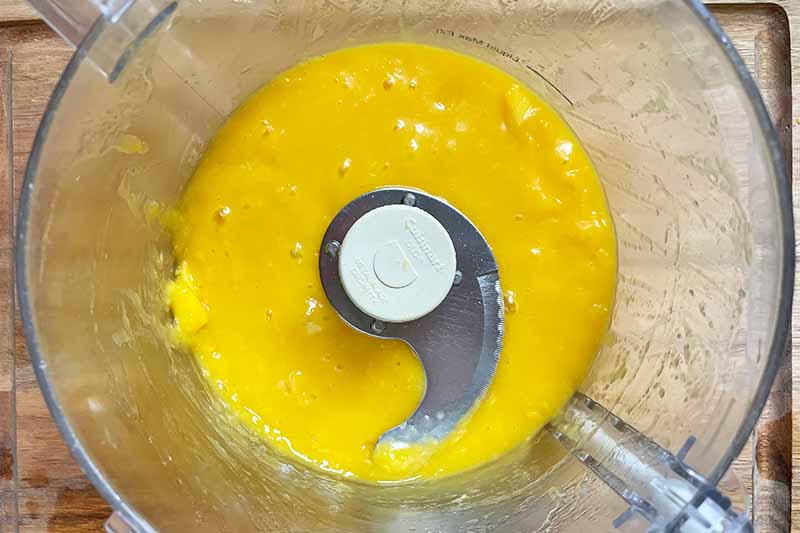
Pinch the green leafy tops off of the strawberries. Using a paring knife and slicing in a circular motion, cut out the hulls, including the pale flesh underneath the stems. Add the hulled strawberries, vanilla, and sugar to the food processor and blend until liquefied.
There’s no need to transfer this mixture to a separate bowl, as you can remove the blade of the food processor and spoon the strawberry puree straight onto the baking sheet.
If you’re using vanilla beans instead of vanilla extract, use half of one whole vanilla bean. Just scrape the pulp inside into the food processor. You can save the remaining pod for another use, like making vanilla sugar.
Step 2 – Spoon and Spread the Fruit
Dollop spoonfuls of the mango and strawberry purees on the prepared pan, alternating flavors as you wish, with the aim of creating a tie-dye effect in mind.
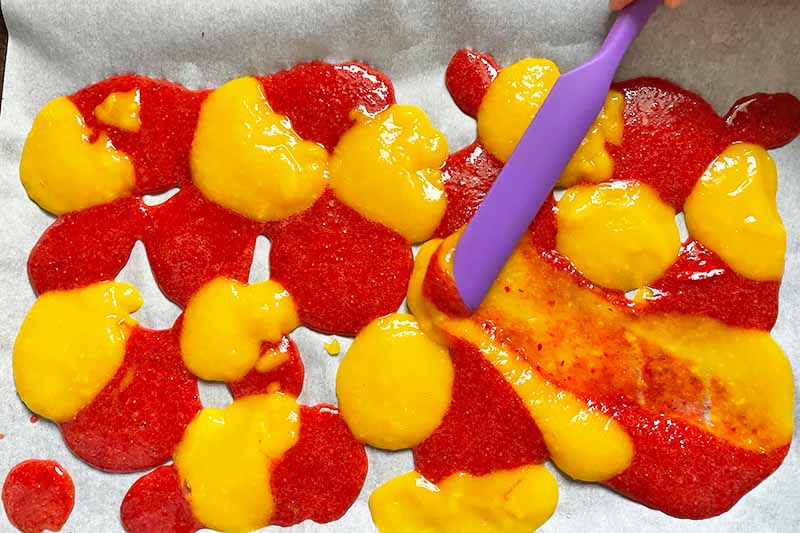
With a small offset spatula, spread and swirl them to form one thin, even layer that’s about 1/8 inch thick, with no holes or gaps.
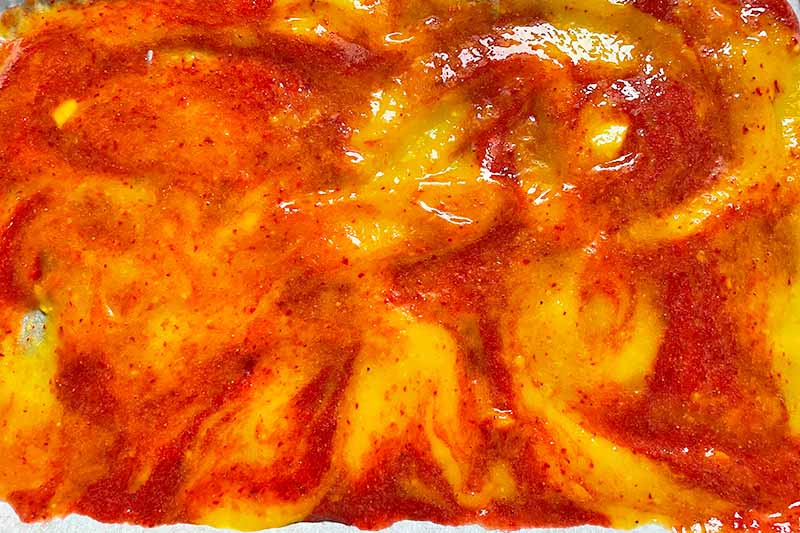
If the roll is uneven, the thicker parts will take longer to cook. But the outer edges will tend to dry faster than the middle, so it’s okay if the outer border is a little thicker than the center.
Step 3 – Bake/Dry the Fruit Roll
Bake the fruit roll until the consistency of the mixture is still slightly tacky, but not sticky or wet. This will take about 5 to 6 hours, and it will look shiny and glossy when it’s done.
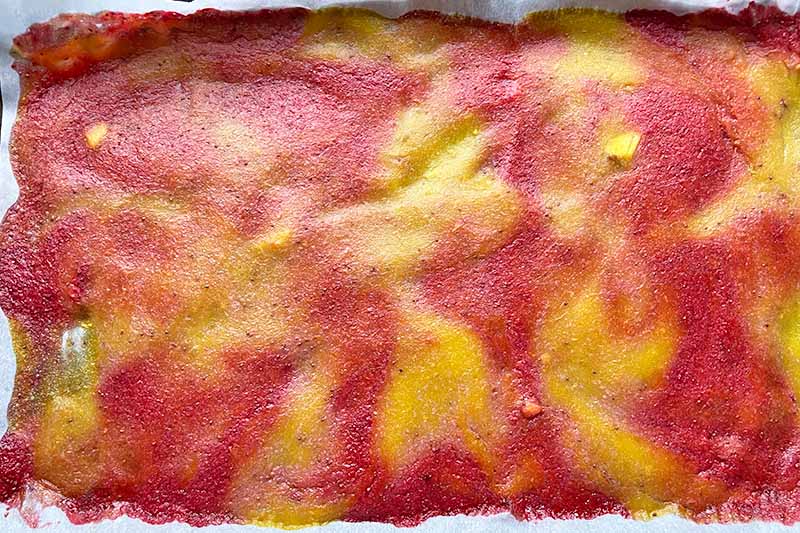
Check the roll by gently touching it every 2 hours or so, or more frequently just to be safe, throughout the first 4 hours of cooking.
If the fruit sticks to or rubs off on your finger, it’s not done yet. To avoid overcooking, do the touch test every 15 to 20 minutes in the last hour of dehydrating.
Some ovens will dry the fruit more quickly than others, so testing the roll frequently is the best way to determine when it’s done.
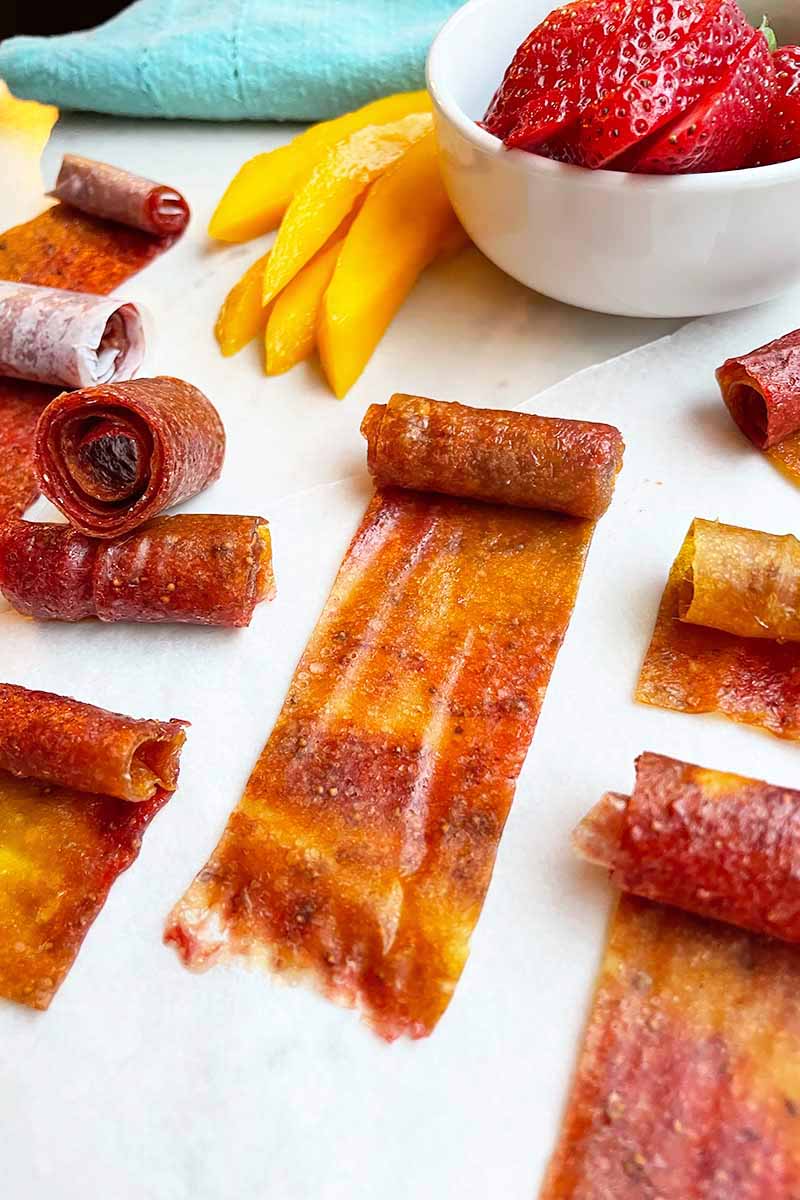
Step 4 – Cool and Cut
Cool to room temperature on the baking sheet. This will take about 30 minutes or so.

Lay a piece of wax paper on top of the fruit roll, then carefully flip it over so the roll is now stuck to the wax paper. Peel off the parchment paper.
Using scissors, cut the fruit and paper (together) into whatever size strips you desire, and roll them up paper-side out.

You don’t have to leave the wax paper on the fruit rolls, but it helps to keep them from sticking together when they’re rolled.
Store in a sealed container in the fridge for up to 1 week.
Roll Out.
If you’ve been doing your own research on homemade fruit rolls (just as I did before diving in to create this radiant recipe), you may find that many versions call for lemon juice.
I left it off my ingredient list because my mango and strawberries were perfectly ripe, but about a teaspoon of the citrus juice will brighten up the fruit’s flavor even more, so that choice is up to you.
Drying fruit leather is a lengthy process, so make sure to clear your schedule for several hours before kicking things off in the kitchen.
Watching Grey’s Anatomy reruns in your pajamas while waiting for fruit to dehydrate is a tough job, but someone’s gotta do it.
Using your oven at a low temperature is a hidden gem of a hack that can lead to all kinds of healthy, homemade snacks. Craving more? Try these recipes next:
Raspberry and cinnamon? Blackberry and peach? What ingredients will you reach for to rev up your rolls?
Share your fruity combos in the comments below! And don’t forget to give this recipe a five-star rating if you loved it.
Photos by Fanny Slater, © Ask the Experts, LLC. ALL RIGHTS RESERVED. See our TOS for more details.
Nutritional information derived from a database of known generic and branded foods and ingredients and was not compiled by a registered dietitian or submitted for lab testing. It should be viewed as an approximation.
About Fanny Slater
Fanny Slater is a home-taught food enthusiast based in Wilmington, North Carolina who won the “Rachael Ray Show” Great American Cookbook Competition in 2014, and published her cookbook “Orange, Lavender & Figs” in 2016. Fanny is a food and beverage writer, recipe developer, and social media influencer. She was a co-host on the Food Network series “Kitchen Sink,” was featured on Cooking Channel’s longtime popular series “The Best Thing I Ever Ate,” and continues to appear regularly on the “Rachael Ray Show.”