There are jars upon jars of fruit spreads in our refrigerator. And now that I just made a fresh new batch of strawberry basil jam, I have even more (kind of unnecessary) backstock!
I’m opening the fridge right now… Gah, look!
I see apricot preserves, peach jam, grape jelly, raspberry jelly, strawberry jam, mango preserves…
We don’t need all of this. I don’t even know why we have accumulated all of this. How many PB&J sandwiches can you make in one day?
Time for a creative new recipe to use up some spread and finally save what’s left of my refrigerator space.
And I choose ice cream as my knight in creamy, dreamy armor!
Just when you thought you couldn’t get more summery than strawberry basil jam, I’m excited to prove you wrong.
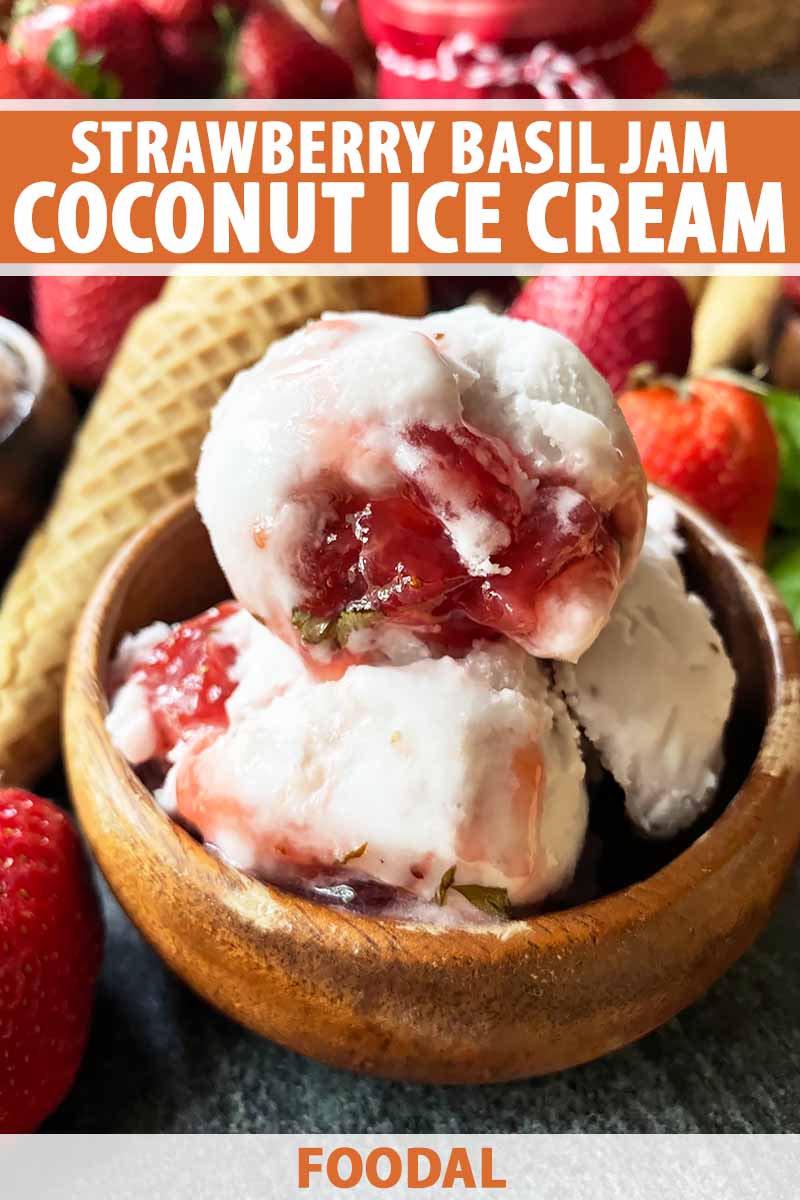
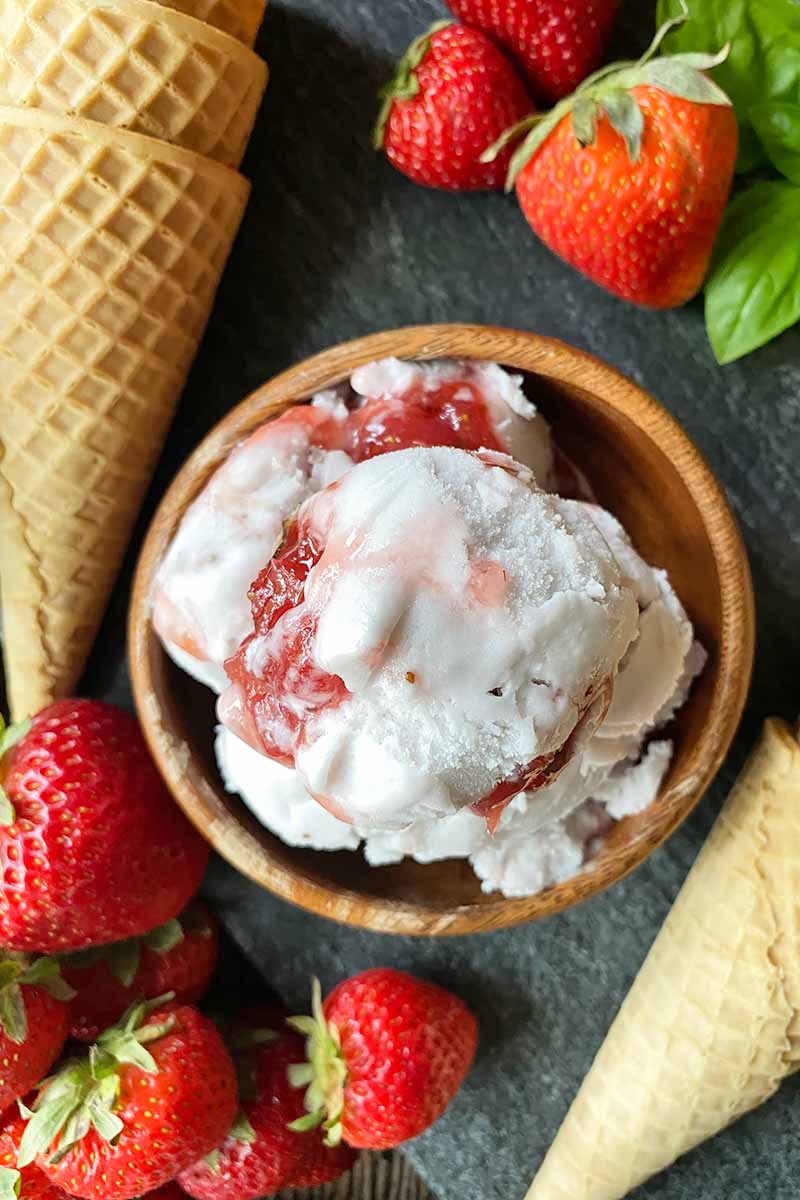
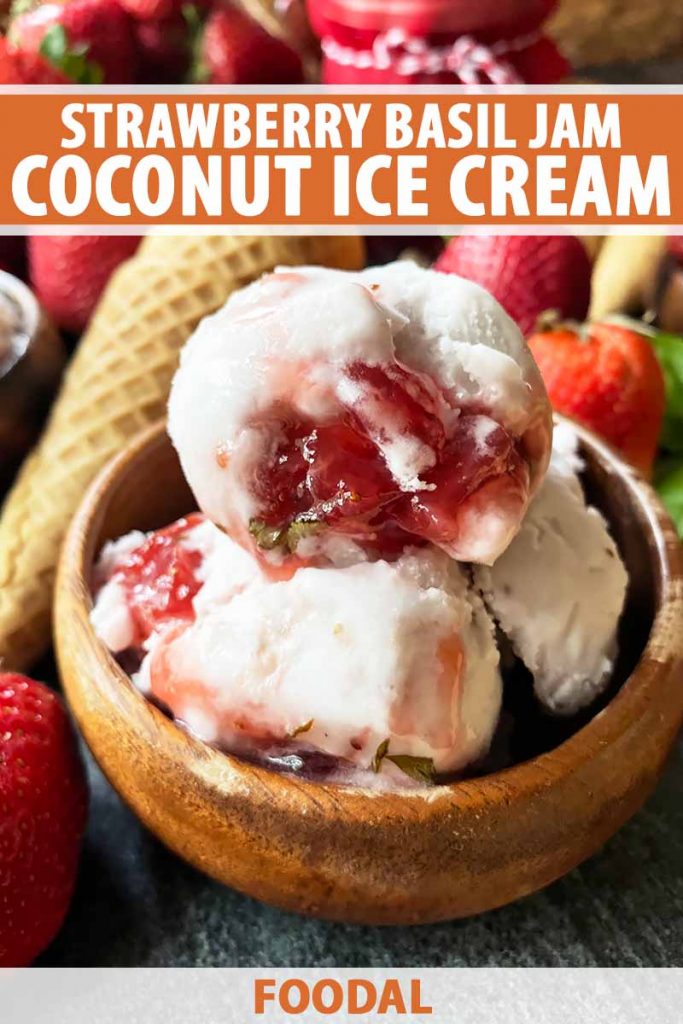
My dairy-free strawberry basil jam coconut milk ice cream is a cool and refreshing idea that marries a seductively rich vanilla base with a sweet, tart, and subtly herbal fruit spread.
The vanilla coconut milk base is a slight variation of my vegan vanilla bean recipe – it’s a basic recipe to keep in your digital pocket when you’re in need of a dairy-free dessert you can make ahead of time.
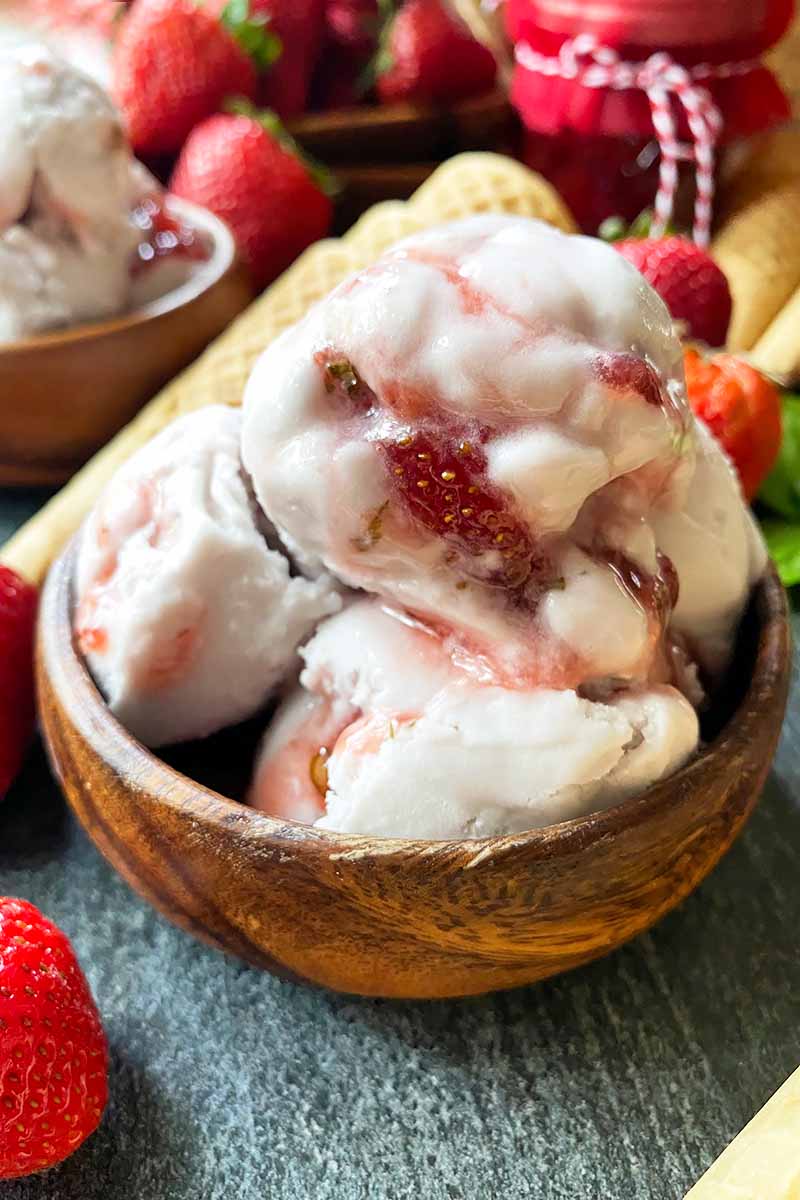
Because my love for strawberries knows no bounds, I like to double up: not only do I mix a little jam in the base before I churn it, I also dollop and swirl it throughout the ice cream before the final set in the freezer.
Those pretty, pretty swirls are so mesmerizing! And the pink color is breathtaking!
But the best part of all? When you know the whole world, perhaps the whole universe, is on your side?
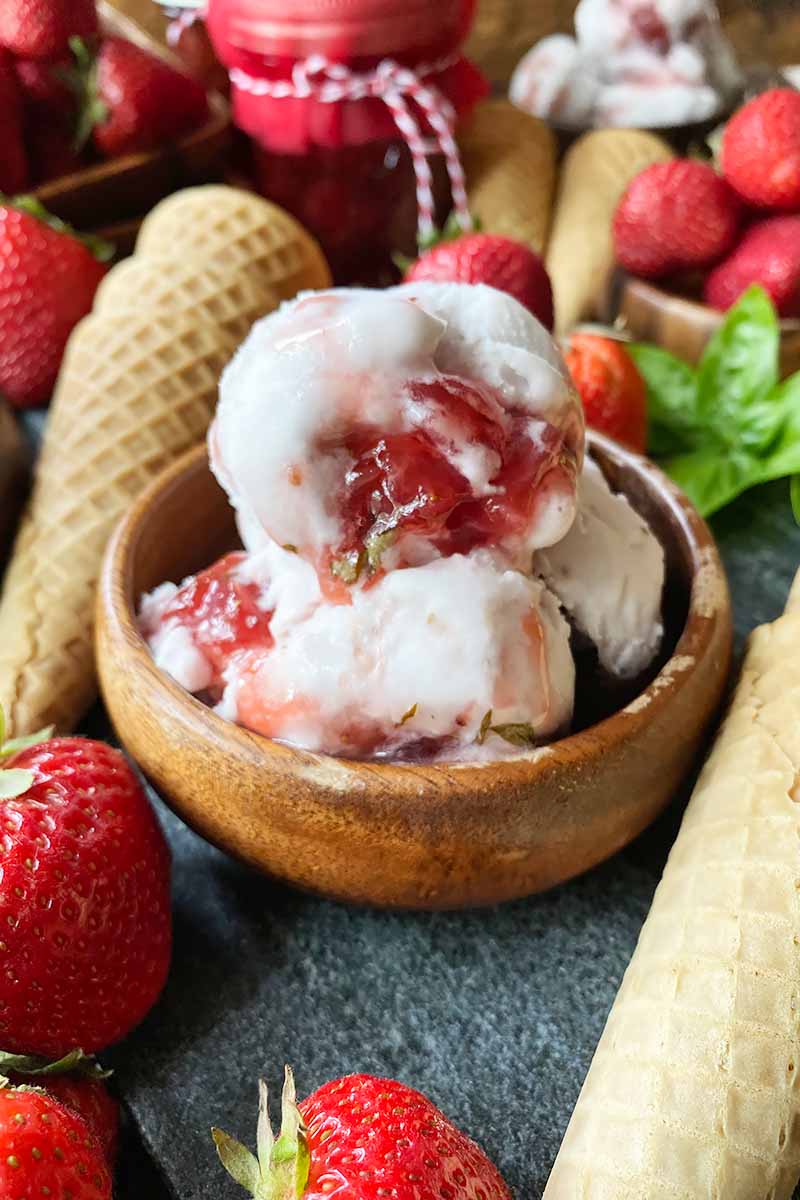
It’s the moment you taste that perfect bite: a spoonful of slowly melting ice cream enveloping a soft, small chunk of sweet strawberry hidden in the basil-infused jam.
Divine.
But let’s step out of La-La Land for just a second, and think about all of the amazing variations you can do with this!
Don’t stop at this homemade strawberry basil jam – you can really use any of your own favorite jams, preserves, or jellies in its place to create your own unique flavor combos. Any fruity option would pair so well with the flavors from the coconut and vanilla in the recipe.
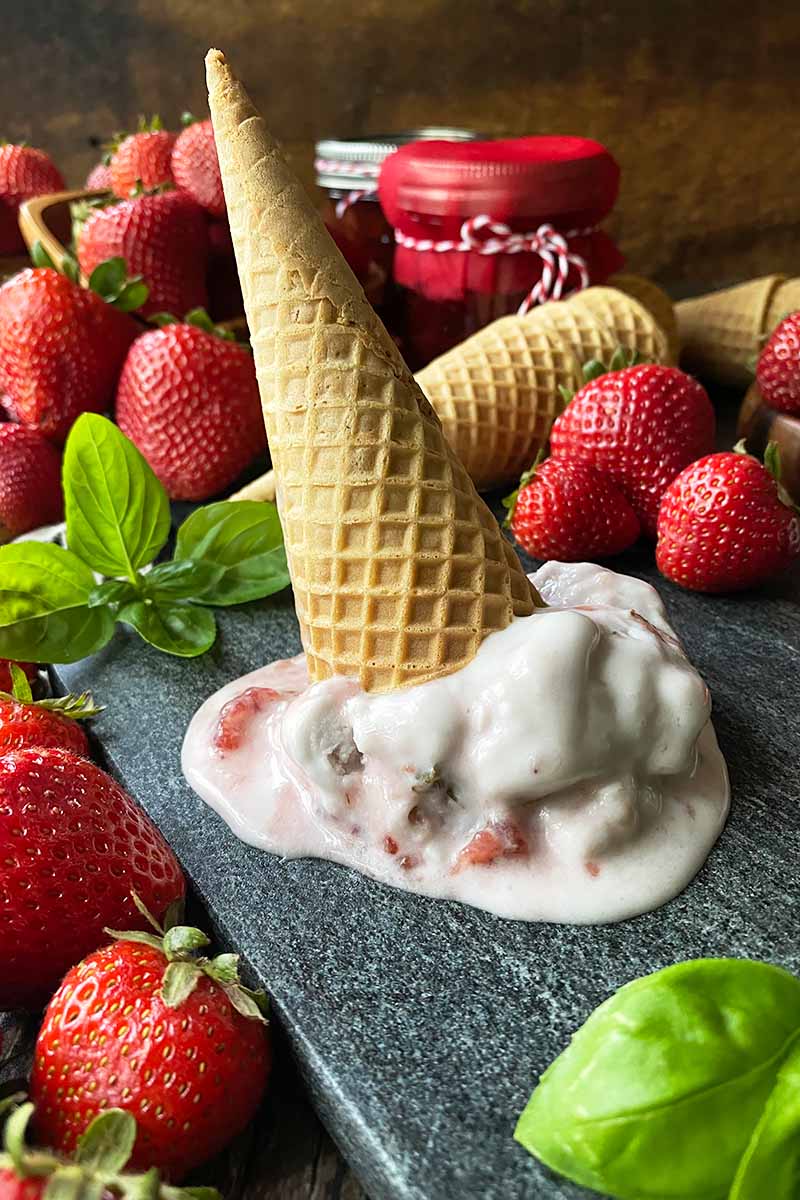
Because I know that you know that I know that you also have some half-used jars tucked away in the very back corner of your fridge that you almost forgot about until I said something.
I’m here for you. Down to the last teaspoon of nearly ignored jam.
Print
Strawberry Basil Jam Coconut Milk Ice Cream
- Total Time: 6 hours, 50 minutes
- Yield: 1 quart (about 8 servings) 1x
Description
Want a fun way to use jam? Drop the toast, and make our dairy-free coconut milk ice cream with swirls of strawberry basil jam.
Ingredients
- 1 13-ounce can full-fat coconut milk
- 1 13-ounce can coconut cream
- 1/2 cup granulated sugar
- 1/4 teaspoon kosher salt
- 1 tablespoon cornstarch
- 1/2 teaspoon vanilla extract
- Seeds scraped from 1 vanilla bean (optional)
- 3/4 cup strawberry basil jam, divided
Instructions
- Prepare your ice cream maker according to the manufacturer’s directions.
- Open the cans of coconut milk and coconut cream. Before pouring out the contents, reserve about 1/2 cup of liquid from the bottom of the can of coconut milk that separated from the cream on top. Place in a small bowl and set aside.
- Whisk together the rest of the coconut milk and cream, the sugar, and the kosher salt in a 2-quart or 3-quart saucepan. The mixture will look lumpy.
- Warm the mixture over medium-low heat, stirring occasionally with a whisk, until the sugar has completely dissolved and the mixture is smooth, about 2 minutes. Remove from heat.
- Whisk the cornstarch into the bowl with the reserved 1/2 cup coconut liquid to make a smooth slurry.
- While whisking constantly, gradually pour the slurry into the warm coconut milk and cream base.
- Place the pot back on the stove and cook on medium-low heat, stirring occasionally with a whisk, until the base has thickened just enough to coat the back of a spoon, about 6 to 8 minutes. Do not overcook, and do not allow the base to come to a boil.
- Remove the pot from the heat. Carefully pour the liquid through a fine-mesh strainer into a heatproof bowl. Whisk in the vanilla extract, vanilla bean, and 1/4 cup of the jam.
- Let the base cool completely at room temperature, stirring occasionally, for about 30 minutes. Once it has cooled completely, transfer the mixture to an airtight container and refrigerate for at least 4 hours or up to 1 day.
- When ready to churn, remove the base from the refrigerator and pour into the ice cream maker. Churn until it thickens to the consistency of soft-serve ice cream, about 10-25 minutes. Do not let it freeze solid.
- Transfer about half of the ice cream into a clean airtight container. Dollop 1/4 cup jam over the top and gently swirl with a butter knife. Add the remaining ice cream on top, and dollop the remaining 1/4 cup jam over the top. Gently swirl with a butter knife.
- Place a piece of parchment or wax paper against the surface of the ice cream. Seal the container with the lid, and freeze for about 2 hours to fully harden the ice cream.
- Serve with your favorite toppings!
- Prep Time: 40 minutes
- Cook Time: 10 minutes
- Category: Ice Cream
- Method: Stovetop/Ice Cream Maker
- Cuisine: Frozen Dessert
Keywords: coconut milk, coconut milk, ice cream, strawberry, basil, jam
Cooking by the Numbers…
Step 1 – Prep
Prepare your ice cream maker according to the manufacturer’s directions. If your model has a canister insert, make sure the canister is frozen at least 24 hours prior to making the recipe.
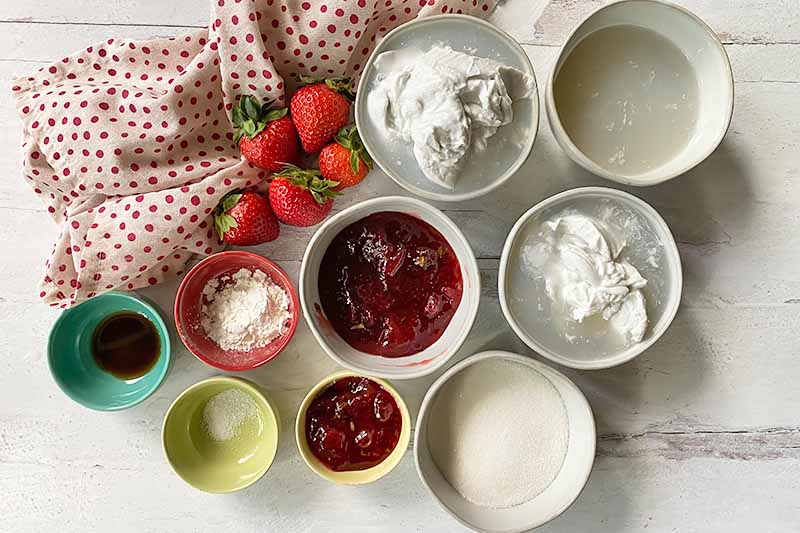
Don’t forget!
Open the cans of coconut cream and milk. But don’t pour everything out just yet!
Reserve about 1/2 cup of liquid from the bottom of the can of coconut milk that separated from the cream on top. Place in a small bowl and set aside.
Canned coconut milk usually separates into two parts: solids and liquids. The solids will float to the top of the can, and the liquid will stay at the bottom.
You’ll use this 1/2 cup of liquid to make the cornstarch slurry in the next step, without introducing any extra water to the recipe. Additional water may potentially cause the ice cream to be too icy after freezing.
Measure out all of the other ingredients.
Use a sturdy cutting board and a paring knife to scrape out the seeds from the vanilla bean, if using.
Step 2 – Mix Together the Base Ingredients
In a 2- or 3-quart saucepan, whisk together the coconut cream, remaining coconut milk, granulated sugar, and salt.
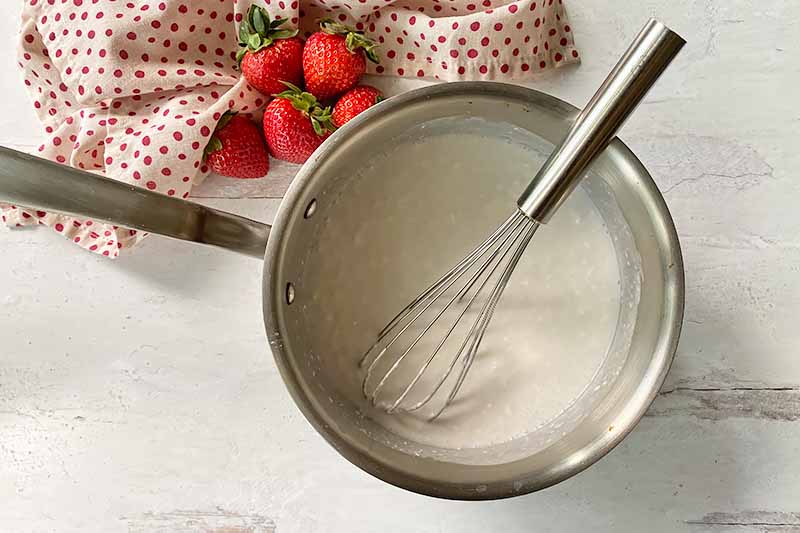
The mixture will look a little lumpy and weird, but it will become smooth once heated in the next step.
Step 3 – Heat the Mixture
Place the pot on the stovetop. Gently warm the mixture over medium-low heat. To prevent scorching, don’t go any higher in heat level for the entirety of the cooking process.
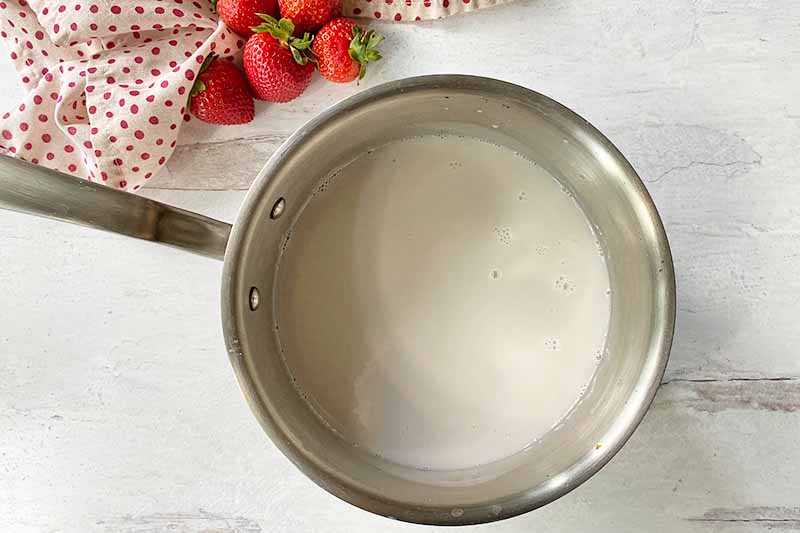
Whisk occasionally until the sugar has completely dissolved and the mixture is smooth. This will take about 2 minutes.
Remove the pot from the heat as you make the slurry to eliminate overcooking or scorching.
Step 4 – Make the Slurry
A slurry is a mixture of a liquid and a thickening agent. For this recipe, we’re using the reserved coconut liquid and cornstarch to make our delicious recipe denser and richer.
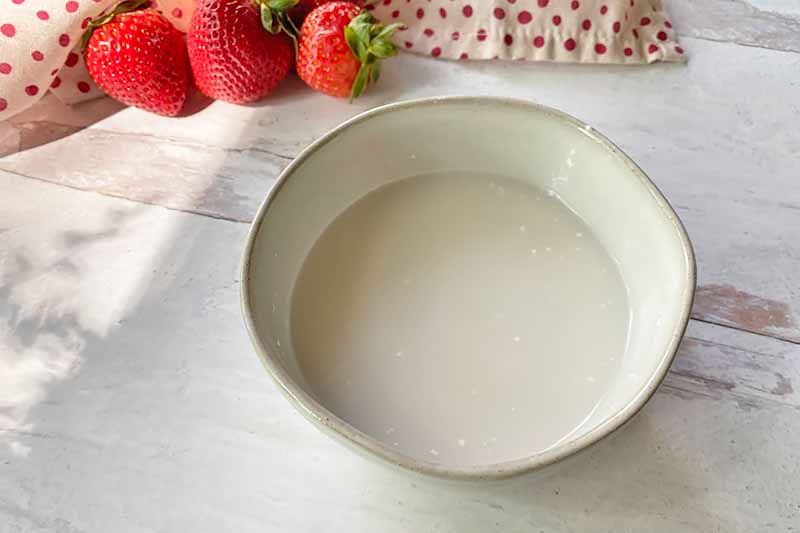
Whisk the cornstarch into the reserved 1/2 cup coconut liquid until completely dissolved and smooth. It helps to gradually add the cornstarch into the liquid, so you don’t get any clumps.
Step 5 – Add the Slurry to the Base and Heat
While whisking constantly, gradually pour the cornstarch mixture into the warm coconut milk. Don’t pour the cornstarch mixture in all at once or you risk failing to create a homogenous mixture.
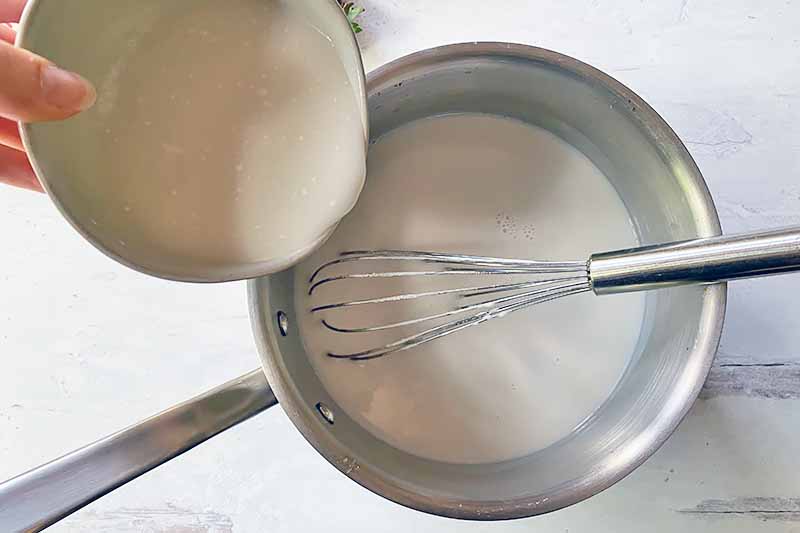
Continue cooking on medium-low heat, stirring occasionally until the base has thickened slightly, about 6 to 8 minutes. It won’t take too long!
You can check this by dipping a spoon into the mixture, and running your finger through what coats the spoon. If the line remains there without the liquid quickly running back into it, you have cooked the base perfectly. If it runs together, give it a bit more time and test again.
Do not overcook the mixture, and do not allow the base to come to a boil. Overcooking or boiling the mixture may make the final texture grainy.
Keep that heat on medium-low, and don’t leave the pot’s side!
Step 6 – Strain and Add the Remaining Ingredients
Remove the pot from the heat and carefully pour the liquid through a fine-mesh strainer into a heatproof bowl. Straining the base will remove any excess lumps and particles, so it’s an easy step for you to do to achieve a smoother finished product.
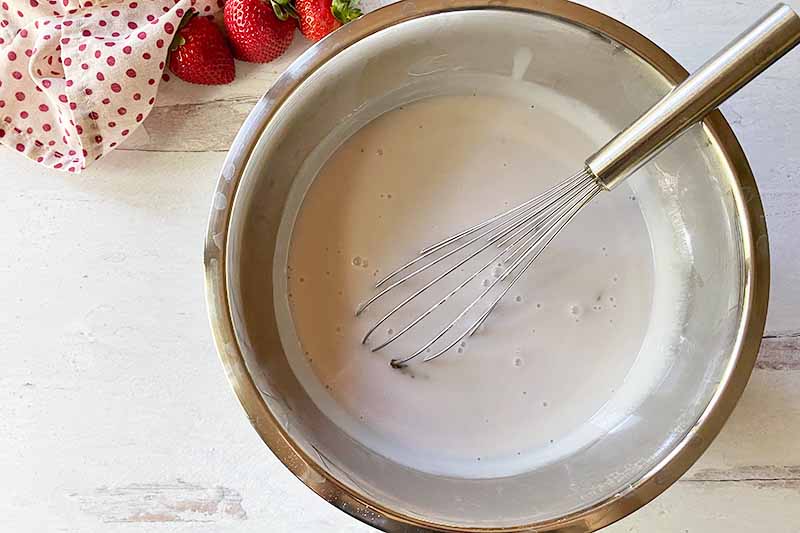 Whisk in the vanilla extract, vanilla bean seeds (if using!), and 1/4 cup of the strawberry jam.
Don’t want to go too crazy with the strawberry flavor? If you don’t want to flavor the base with the jam, skip it! Keep it vanilla-flavored, and only swirl in a total of 1/2 cup of jam before freezing.
Step 7 – Cool
Keep the mixture at room temperature, letting it cool completely while stirring occasionally. Stirring will continue to redistribute the heat, helping it cool faster. This will take about 30 minutes or so.
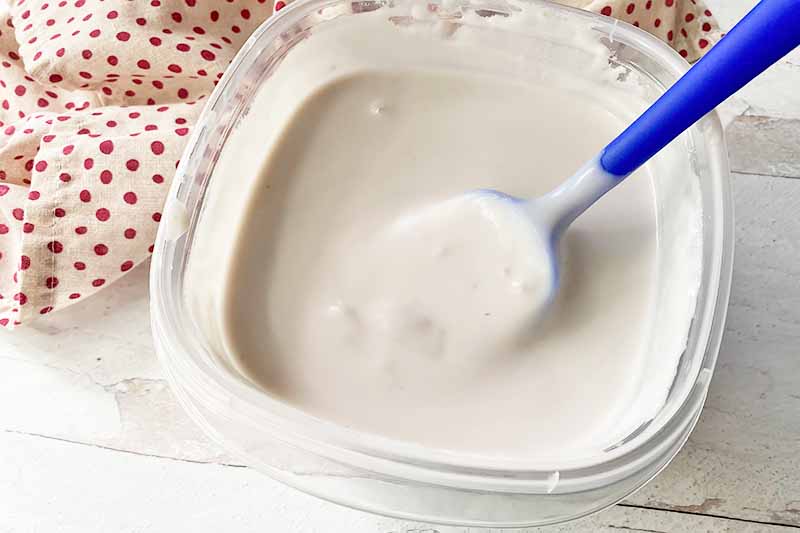
In a hurry? Want to complete this step even faster? You can place this bowl over a bigger bowl filled with ice cubes.
Cooling to room temperature before transferring to the fridge to chill will eliminate the development of any unnecessary condensation on the lid.
Pour the mixture into an airtight container and refrigerate for at least 4 hours to chill completely. You can leave it in the refrigerator for up to 24 hours, if you are not ready to churn that same day.
Chilling the base will help it freeze more efficiently in the ice cream maker, and will keep the ice crystals small and evenly distributed – all of these steps help to produce you the smoothest final product possible!
Step 8 – Churn
When you’re ready to churn the mixture, remove it from the refrigerator. Pour it into the prepared ice cream maker (you did let the canister freeze for the appropriate amount of time, riiiiiight?).
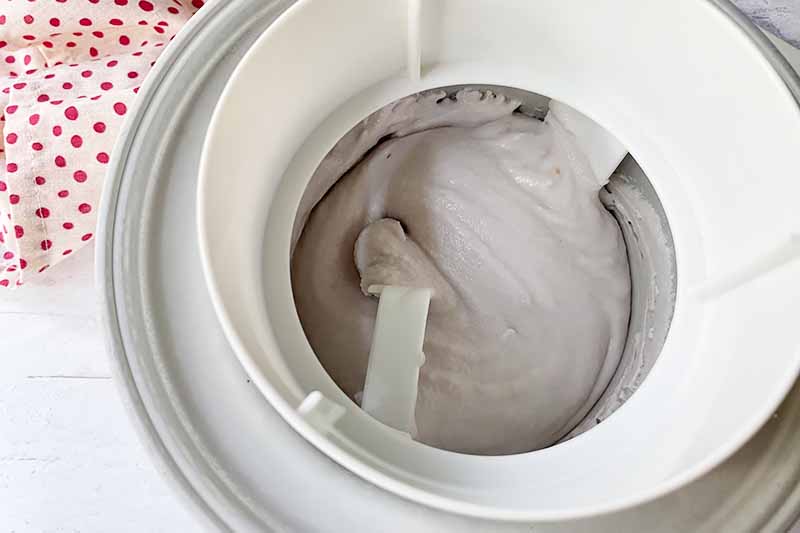
Churn the base until it thickens to about the consistency of soft-serve ice cream, for about 10 to 25 minutes. The time required will depend on the make of your machine.
Don’t let it harden to the point of freezing – more of the mixture will freeze onto the sides of the canister and will be difficult to remove, and this will make it difficult to swirl with the jam in the next step.
Plus, you’ll be doing the remaining hardening in your freezer!
Step 9 – Layer with Jam
Spread half of the ice cream in a clean, airtight container.
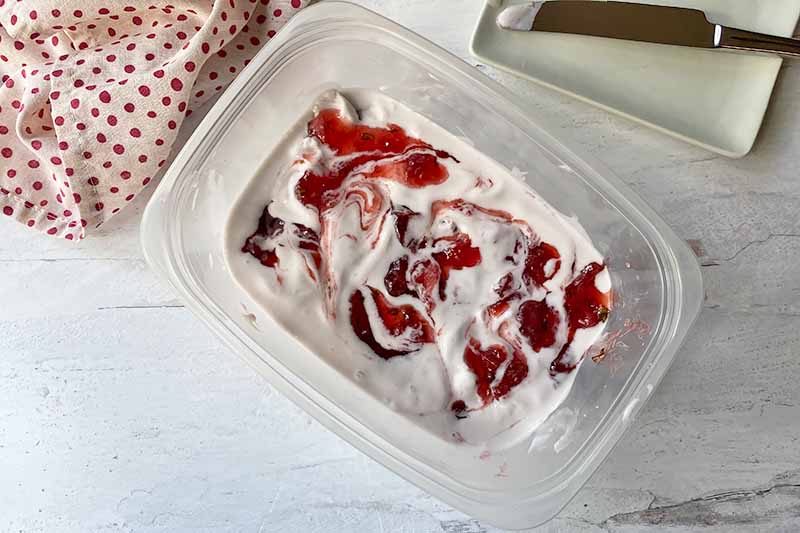
You will be using the remaining 1/2 cup of jam to for swirling into the base. Evenly dollop small mounds over the top, using about 1/4 cup of jam, and gently swirl with a butter knife.
Spread the remaining ice cream on top of the jam layer. Evenly dollop small mounds of the remaining jam on top of that, and swirl with a butter knife.
Step 10 – Freeze
Place a piece of parchment or wax paper against the surface of the mixture. This will prevent ice crystals from forming on top.
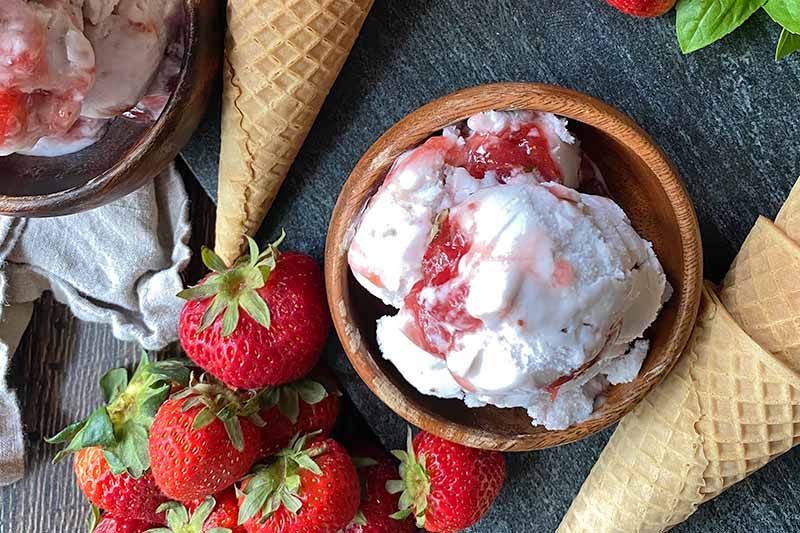
Seal the container with the lid, and freeze for about 2 hours to fully harden. The jam won’t freeze fully, and it will still be slightly soft.
Before serving, allow the ice cream to sit out at room temperature for about 5 to 10 minutes to soften slightly before you get in there with your ice cream scoop. Enjoy!
Should I Serve This with Anything Else?
This could be a toughie!
Since you’re already technically using a condiment (the jam!) with the ice cream, would anything else even be necessary?
Some may say less is more.
But I think we can have some fun with other tasteful dairy-free pairings.
If you want to add some textural contrast, serve a few scoops with a couple vegan shortbread cookies on the side. The recipe calls for you to dip the cookies in chocolate, but I would serve them plain.
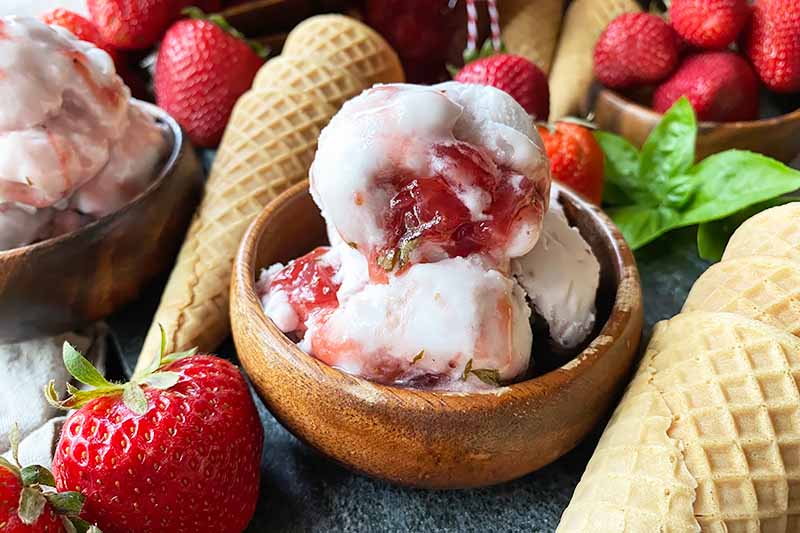
You can also sprinkle some vegan coconut almond chia granola on top.
And pairing ice cream and cake? We love it! Serve this recipe alongside our vegan coconut cupcakes, and everyone will be pumped up with happiness.
And sugar.
What are your go-to tips and tricks for trying to clean out condiments in your fridge? How will you try to use up jams and jellies in a creative way? Ideas, please! Leave a message for me below.
We love using coconut milk in so many of our dishes, sweet and savory! Try more recipes where this dairy-free ingredient shines:
- Coconut Milk Mexican Flan
- Creamy Parsnip, Beet, and Coconut Milk Puree
- Cherry Dark Chocolate Coconut Milk Ice Cream
Photos by Nikki Cervone, © Ask the Experts, LLC. ALL RIGHTS RESERVED. See our TOS for more details. Originally published by Shanna Mallon on May 28, 2013. Last updated on June 26, 2022.
Nutritional information derived from a database of known generic and branded foods and ingredients and was not compiled by a registered dietitian or submitted for lab testing. It should be viewed as an approximation.
About Nikki Cervone
Nikki Cervone is an ACS Certified Cheese Professional and cheesemonger living in Pittsburgh. Nikki holds an AAS in baking/pastry from Westmoreland County Community College, a BA in Communications from Duquesne University, and an MLA in Gastronomy from Boston University. When she's not nibbling on her favorite cheeses or testing a batch of cupcakes, Nikki enjoys a healthy dose of yoga, wine, hiking, singing in the shower, and chocolate. Lots of chocolate.



Lovely post! We went strawberry picking this weekend, it was my first time. I am planning on making some jam too, here’s hoping it turns out as good as yours looks!
This time of year, I am obsessed with strawberries. I’m growing a couple of strawberry plants in a container on our back patio — it’s so fun watching them grow! More fun eating them.
Yum! This is making me hungry for strawberries. 🙂 Definitely need to do some jam making!
our local strawberry/veg/fruit farm opens this coming Friday and i am so excited! we go first thing Saturday morning.
i also have ice cream on my mind, as well as maybe some homemade nutella to go with these red gems.
I am salivating over this ice cream… Thinking I need to get an ice cream maker very, very soon… 🙂
I love the images and sincerity behind this post and the recipe sounds terrific. keep em’ coming 🙂
the strawberry jam and ice cream both look amazing – i must imagine a trip to the farm & a sunny afternoon of strawberry picking has the power to inspire their creation!
Ah, a post on jam–one of my favorite things to make! Adding basil is interesting; I will try that this year.
What a lovely post! I went strawberry picking with my future sister-in-law last summer and it was such a pleasure. We giggled the whole time and couldn’t get enough gorgeous strawberries. The jam and ice cream you made sound perfect.
just made something similar today! I had a bowl after lunch and am fighting going for another…knowing I’ll then want another after dinner 😉
This looks amazing! I want some of that ice cream. I actually just made strawberry-basil-lime popsicles this afternoon 🙂
Mmmm , I love the twist on this jam. Very original.
i can’t blv you have strawberries already! WOW!!! we’re still cold, up here in michigan. but i have big plans, after this post. YES. yum. thank you!
Your ice cream looks so stunning! I just stumbled across your blog and love it!
Love strawberries!! What wonderful ideas for my favorite summer fruit. 🙂
The strawberry jam ice cream recipe is amazing! It was so easy.