If there’s anything that I have permanently ingrained into my brain, it is time-marking collection of months that make up the school season. After over twenty years of time spent on my education, the school year is still the way that I mark time.

Is that just me?
Whenever summer arrives, I am hit with the urge to ditch everything and spend my days being lazy. I want to run around at the reservoir, picnic in the park, and pretend that I don’t have any responsibilities.
As fall inches closer, I start getting the urge to buy books to read along with my PSL at the local coffee shop.
Fall break, winter break, and spring break still come to mind as the weeks roll on by.
All of this, even though I am working the day-to-day grind of a job. I don’t know why I can’t shake it, but I never can, and I don’t even have kids.
Another habit of mine that has stuck around since my school days is snack time. As soon as 3 o’clock hits, my body starts getting a little antsy.
My stomach starts to growl and since dinner is hours away, I know I need something to hold it together until I get to the end of the day.
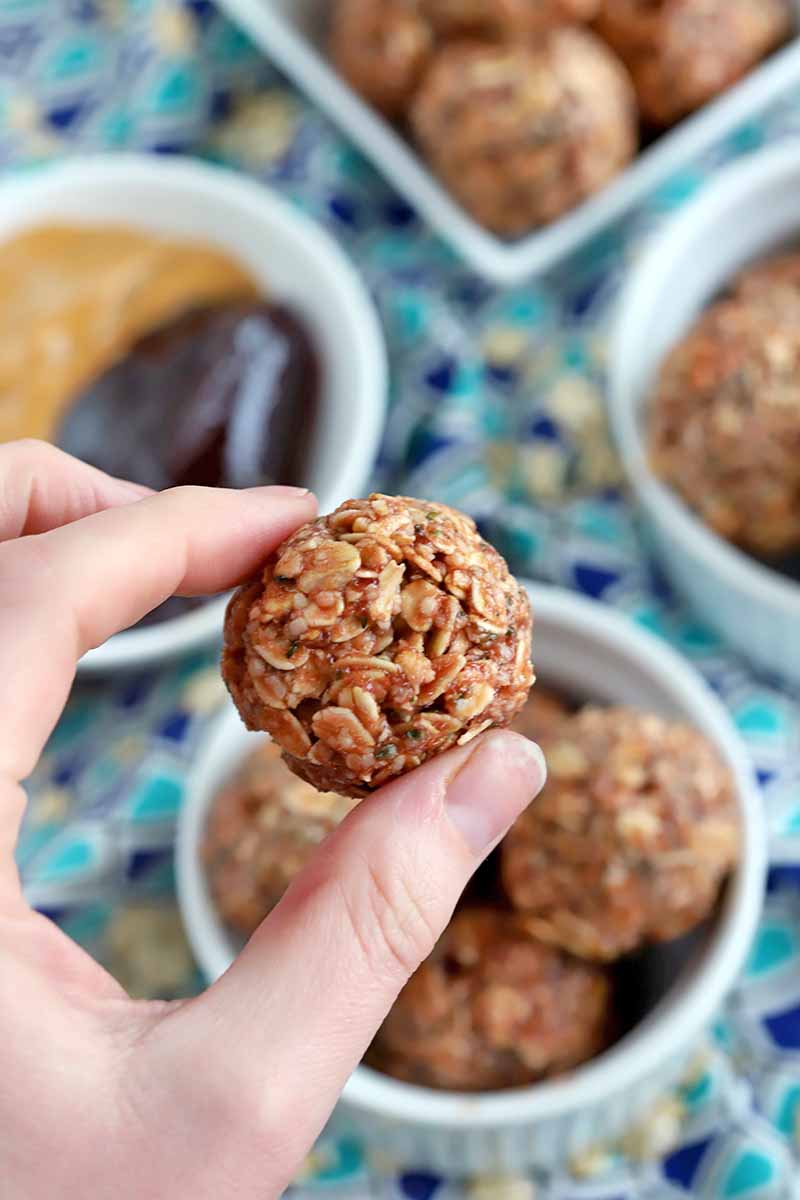
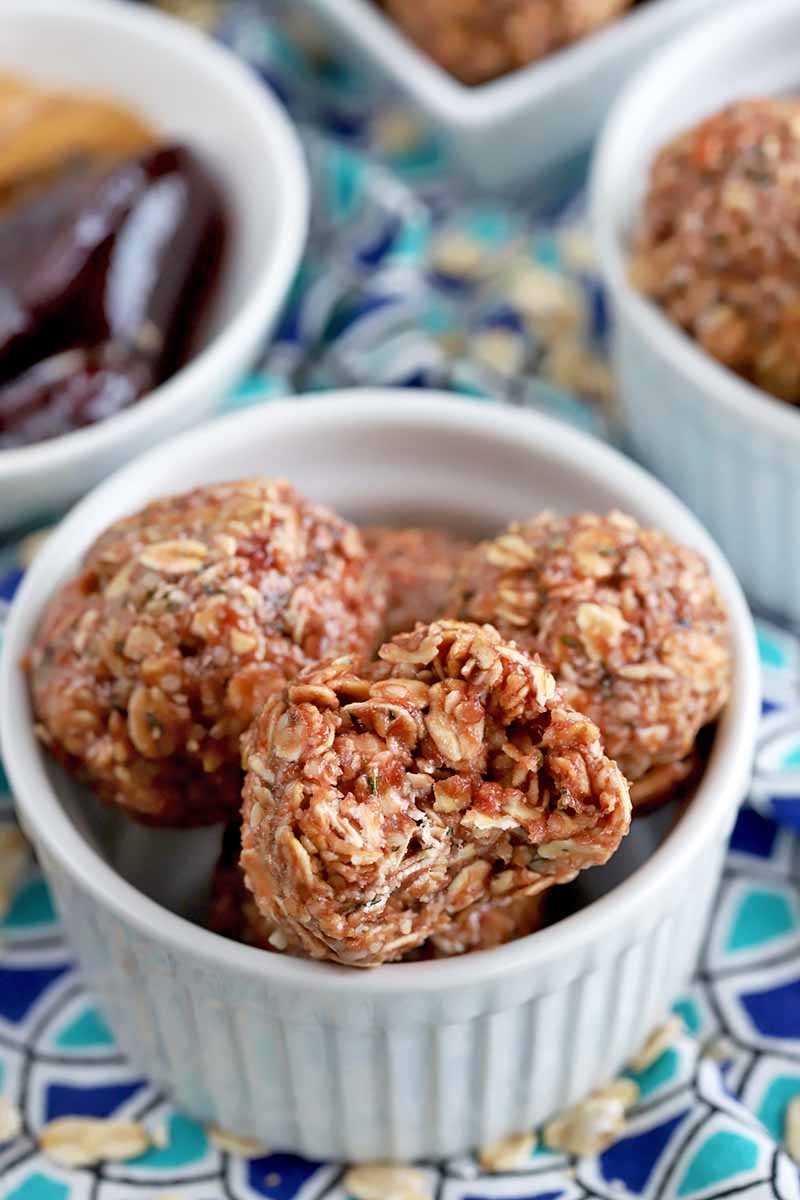
Oh, how I wish I had these no-bake peanut butter and jelly bites for snack time when I was a kid. Back then, it was all crackers and snack packs, Fruit Roll-Ups, and fresh fruit.
Now it seems like there are endless healthy snack options to choose from, in all shapes and sizes. And so many that are easy to make at home! Hello, homemade fruit rolls!
This recipe came as a serious surprise to me, because one might assume that these would generally appeal to kids. However, they are meant for adults and kids alike. The flavors are classic, and they will appeal to any palate.
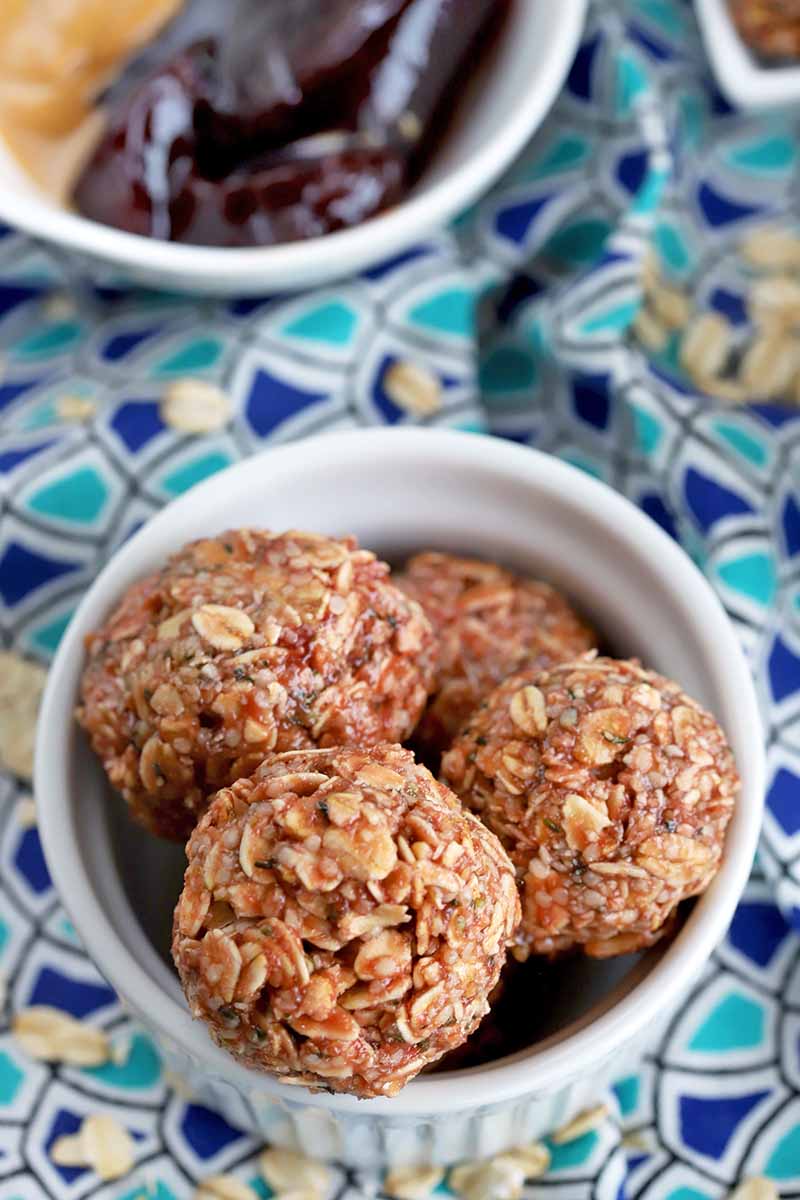
Even the pickiest of eaters will adore them. I swear, my friend’s youngest child can’t get enough of them.
These snack balls are so full of flavor and texture, you are going to be shocked that the recipe only requires four measly ingredients. And the best part is, these ingredients are most likely already in your pantry.
When you bite into one of these, it’s like biting into a peanut butter jelly sandwich, but with a whole lot more texture. The hearty oats and hemp seeds makes for a hearty combination, with some crunch to correspond with the stickier chew of the wet peanut butter and jelly.
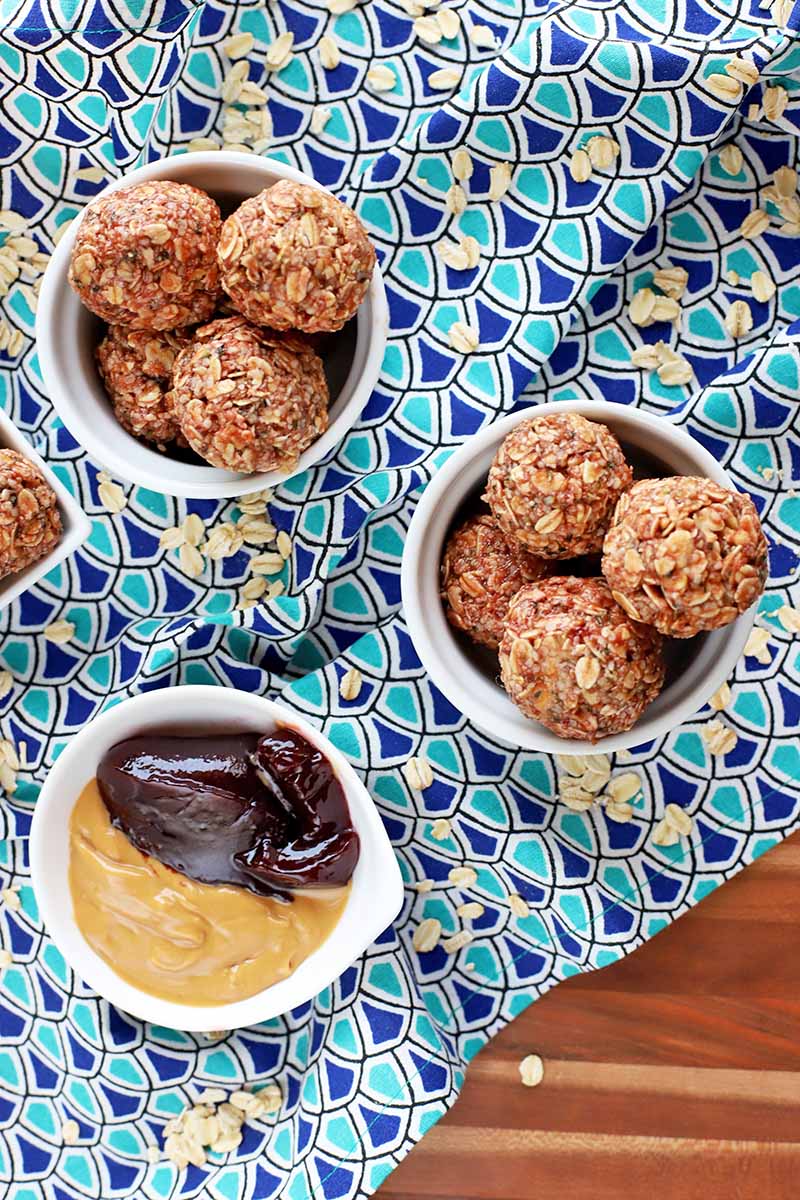
I prefer to keep these refrigerated for the best texture possible. At room temperature, they get way too soft and you miss out on that chewy texture that really makes this recipe stand out.
All you need to do is make this recipe over the weekend, and you’ll have snacks ready for the entire week.
You can pack them up in little baggies for the kids to reach for when they get home from school, grab a baggie on your way out the door to store in the fridge at work for an afternoon pick-me-up, or pack them on ice for your next outdoor adventure.
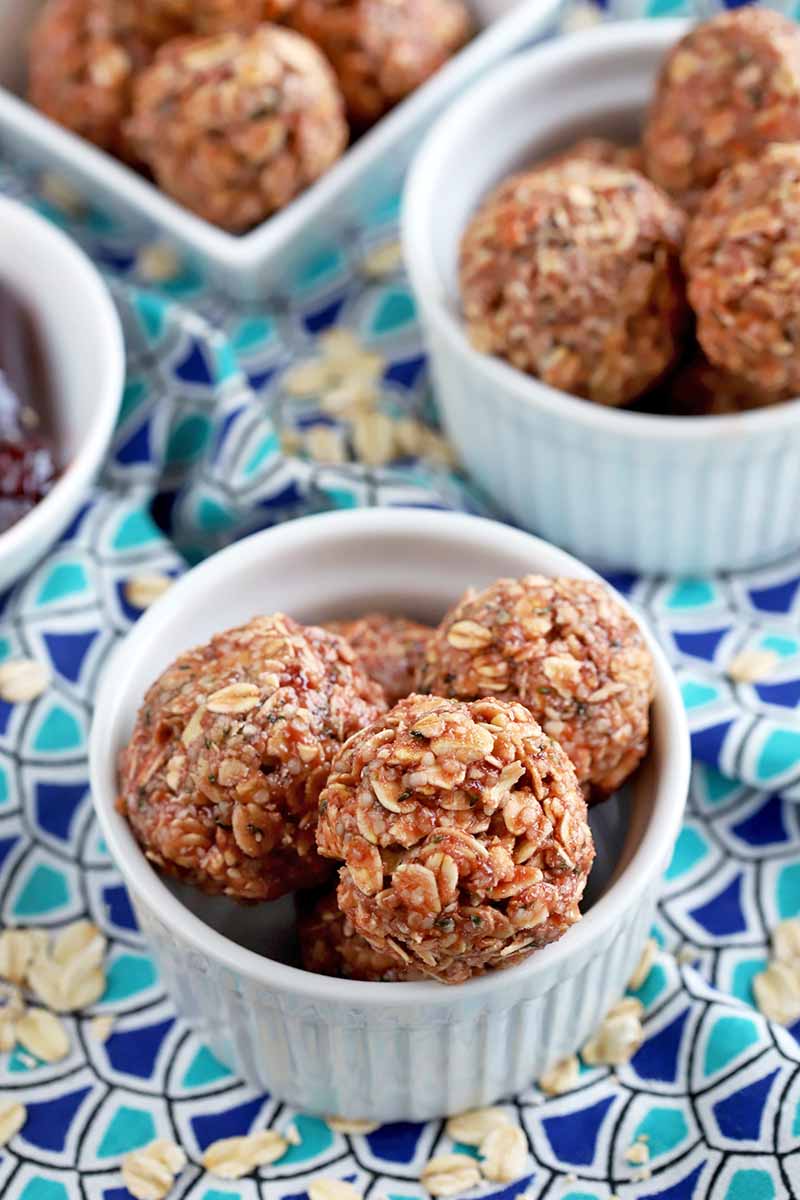
No matter when or where you choose to enjoy them, you’ll be hard pressed to find a better snack to help your afternoon sail by more quickly.
Print
No-Bake Peanut Butter and Jelly Balls
- Total Time: 1 hour, 5 minutes
- Yield: 1 1/2 - 2 dozen 1x
Description
To satisfy an afternoon hunger pang, reach for the no-bake peanut butter & jelly balls. They pack a real punch of flavor in each chewy bite.
Ingredients
- 2 cups old-fashioned rolled oats
- 1/2 cup shelled hemp seeds
- 2/3 cup creamy peanut butter (or sub almond or sunflower seed butter)
- 1/2 cup jelly or jam, your favorite flavor (I used raspberry)
Instructions
- Place oats and hemp seeds in a large mixing bowl and stir to combine.
- Add peanut butter and jelly to the dry ingredients. Use a silicone spatula to combine well.
- Place mixture in refrigerator for 25 minutes, or freezer for 10 minutes to firm up a bit.
- Scoop out about one tablespoon of mixture and roll into a ball using your hands. Set aside.
- Continue with remaining mixture.
- Place in an airtight container and refrigerate for 30 minutes for best texture. Can be stored for up to 1 week in the refrigerator.
- Prep Time: 10 minutes
- Category: Bite-Sized
- Method: No-Bake
- Cuisine: Snacks
Keywords: no-bake, peanut butter, jelly, snack, healthy snack
Cooking By the Numbers…
Step 1 – Measure Out Ingredients
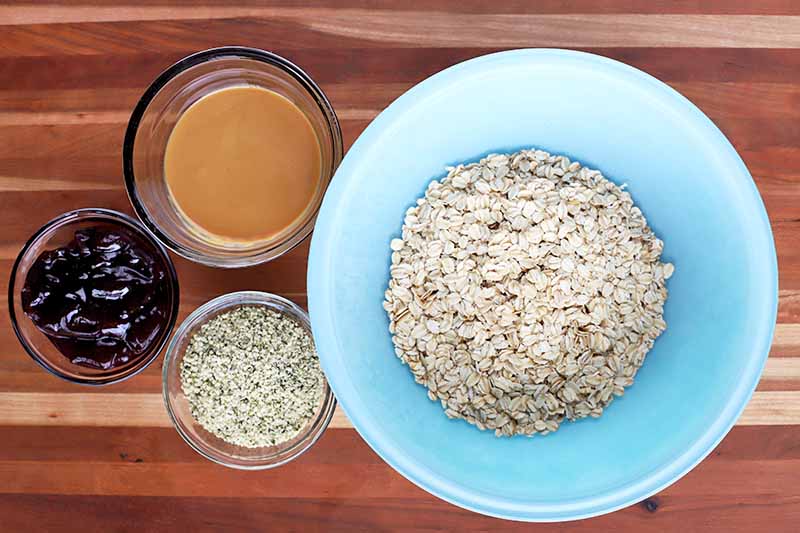
Measure out all four ingredients as they are listed on the ingredients list.
You can use your choice of jam or jelly, and the nut butter can be substituted with sunflower seed butter for a nut-free version.
Step 2 – Make Mixture
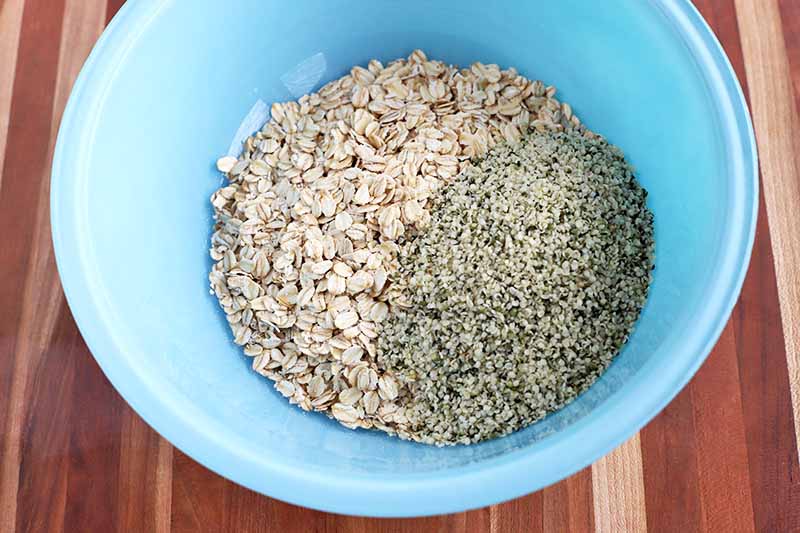
Add the oats and hemp seeds to a large mixing bowl. Stir to combine.
Stir in peanut butter and jelly until combined. I used a silicone spatula to stir together the ingredients, and that helped to keep the mixture from sticking to the utensil. Don’t use a wooden spoon.
Step 3 – Chill Mixture
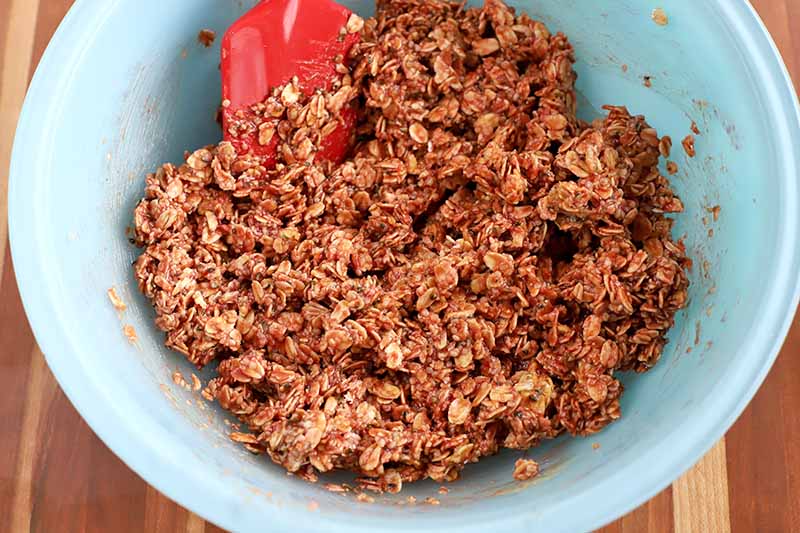
Place the bowl in the refrigerator to chill for 25 minutes. You can also place it in the freezer for 10 minutes instead, if you want to save time.
Step 4 – Form Balls
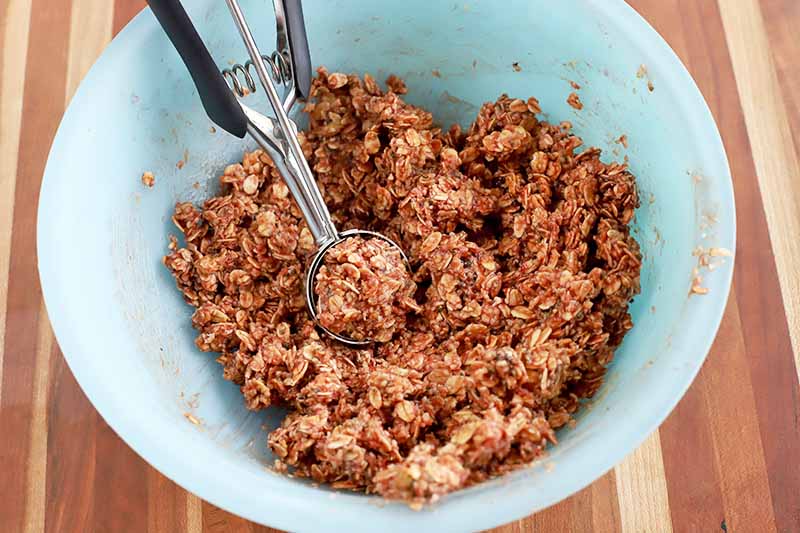
Scoop out the mixture by the tablespoonful. Roll quickly into balls, using your hands. Place in an airtight container.
Continue with the remaining mixture, until you’ve shaped all of it.
Step 5 – Chill and Store
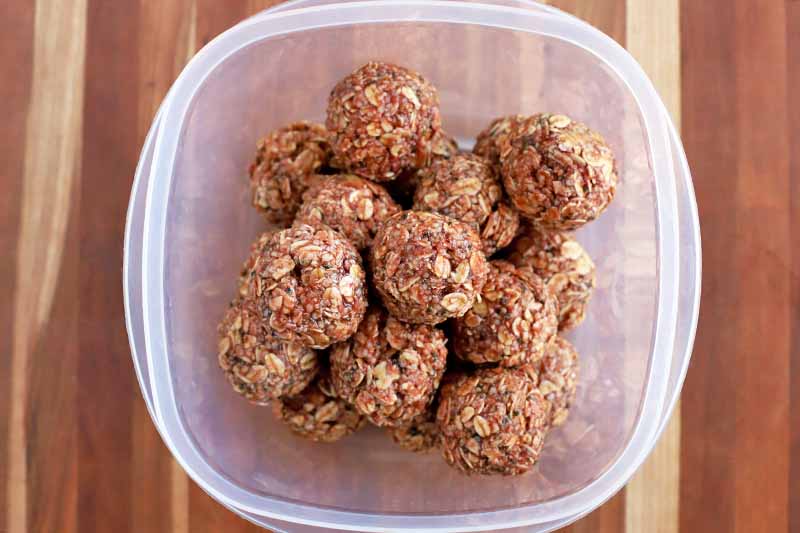
Cover the container and refrigerate for at least 30 minutes before serving, for the best texture.
These snack bites can be stored for up to 1 week in the refrigerator.
What Flavor Should I Choose?
I think this is the best part of making this recipe – the flavor of jelly or jam is completely up to you. You can go with classic grape, or shake things up with raspberry, blueberry, or apricot.
The only thing I would make sure of is to choose only a jelly or jam. You will want to avoid preserves or marmalade with pieces in it, because the wetness of a smooth fruit spread is what helps to bind the snack balls together.
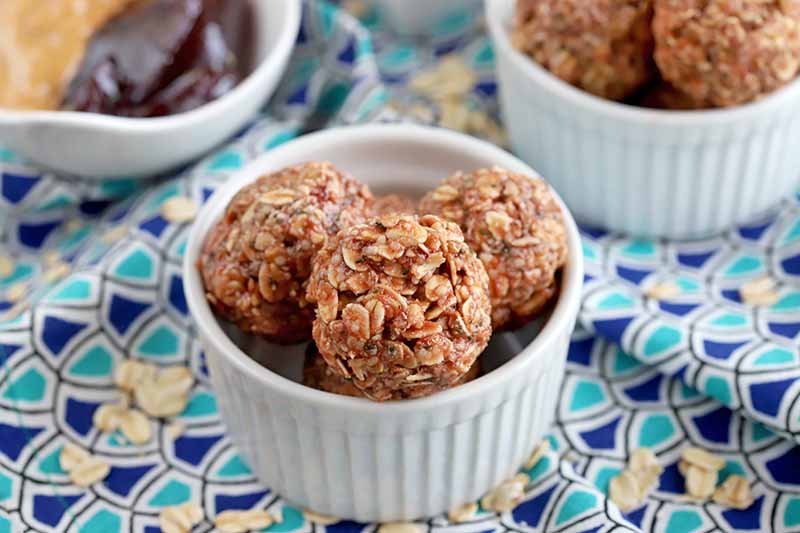
If there are chunks in there, they may fall apart.
The same applies to using chunky peanut butter. Make sure you are using creamy, for sure!
For more snacktime inspiration, here are some additional oat-y favorites to try out:
- Easy Homemade Granola Bars
- Blueberry Pecan Oat Bars
- Whole Wheat Oat Bars with Chocolate Drizzle
- Pumpkin Granola Bars
- No-Bake Chocolate Energy Balls
What’s your favorite flavor of jelly or jam? Was PB & J a lunchtime favorite when you were a kid? Tell us in the comments below. And once you try this recipe, be sure to come back and rate it!
Photos by Meghan Yager, © Ask the Experts, LLC. ALL RIGHTS RESERVED. See our TOS for more details. Originally published on November 3, 2016. Last updated: August 26, 2023 at 17:37 pm.
*Nutritional information derived from a database of known generic and branded foods and ingredients and was not compiled by a registered dietitian or submitted for lab testing. It should be viewed as an approximation.
About Meghan Yager
Meghan Yager is a food addict turned food and travel writer with a love for creating uncomplicated, gourmet recipes and devouring anything the world serves up. As the author of the food and travel blog Cake 'n Knife, Meghan focuses on unique foodie experiences from around the world to right at home in your own kitchen.


