Jump to the Recipe
I love homemade gifts!
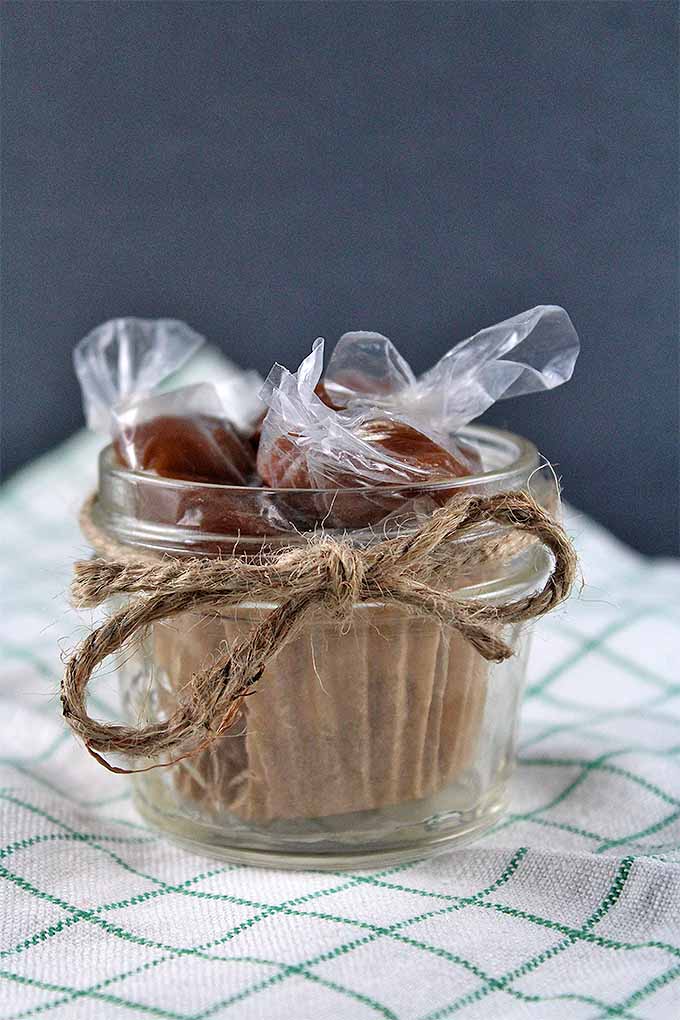
There is something so magical about seeing the delight in a friend’s eyes when they receive a gift you’ve crafted with your own two hands – and it’s even more special when that gift is super tasty.
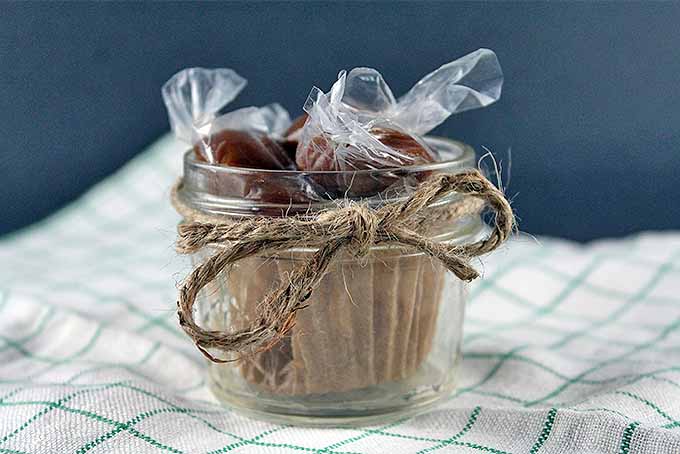
These caramel candies are my go-to holiday confectionary gift. They can be flavored a million different ways, wrapped in cute packaging, and shipped anywhere in world.
I created this recipe while working for a local restaurant. We would give one piece to every guest as they paid their bill.
They were such a hit that I had to start hiding them from the servers – after all that hard work, preparing and then wrapping them individually, I couldn’t bear to see them scarfed down by the hungry staff!
They became iconic in my family too, a favorite gift for Christmas or birthdays. My sister even asked me to make them as favors at her wedding.
Candy Making Tips
Caramel is one of my favorite things to make. I love watching sugar transition from granules to liquid, and then to slowly take on that auburn sheen.
It’s dangerous – the sugar reaches over 300°F. But the danger makes it all the more fun.
Many home cooks are scared to attempt homemade caramel, as it is known to crystallize quite easily. But there are a few tricks you can use to minimize this risk:
- Make sure your pot is completely clean
- Add a bit of water to your sugar to dissolve evenly
- Stir in some corn syrup
- Most importantly, while it cooks, do not stir!
With these tips, you’ll be well on your way to making batch after batch of super tasty caramel candies that are sure to become as famous in your family as they are in mine.
The Recipe
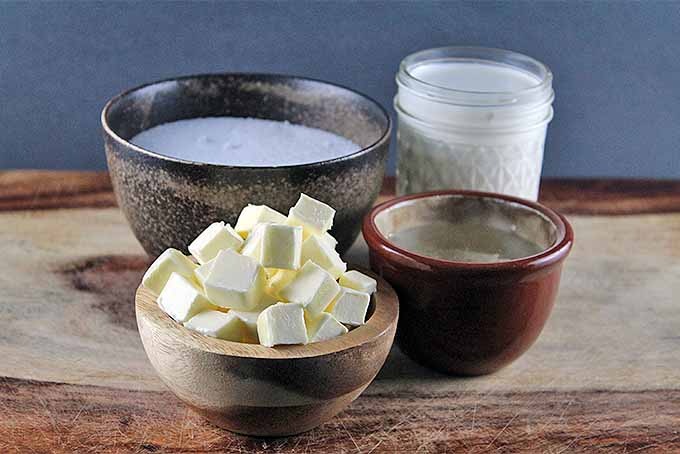
- 1 1/2 cups sugar
- 1/2 cup corn syrup
- 1 cup cream
- 1 stick (4 ounces) unsalted butter
- Flavorings like bourbon, tea, coffee, spices, lemon peel, etc. (optional)
- If you want to flavor your caramel candies, start by steeping the flavoring in the cream. Pour the cream into a medium-size pot with the flavoring of your choice. Heat on medium until the cream scalds. Then remove from heat and let cool. Strain the cream and set aside.
- In a large, clean pot, combine the sugar and corn syrup. If you’re not completely comfortable making caramel, add a couple tablespoons of warm water and stir to begin dissolving the sugar.
- Cook the sugar over high heat until it bubbles and turns light brown. Do not stir!
- Once the sugar is brown, turn off the heat and whisk vigorously while pouring in the cream. It will bubble up significantly, so be careful!
- Add the butter and whisk until melted.
- Turn the heat back on to medium and cook until the caramel reaches 240°F, whisking every 3 minutes.
- Once the mixture hits 240°F, turn off the heat and whisk vigorously to cool. Pour onto a small sheet tray lined with parchment or aluminum foil and let cool completely.
Cooking by the Numbers…
Step 1 – Flavoring
This step is optional. If you want to add some extra flavor to your caramel candies, start by steeping the cream.
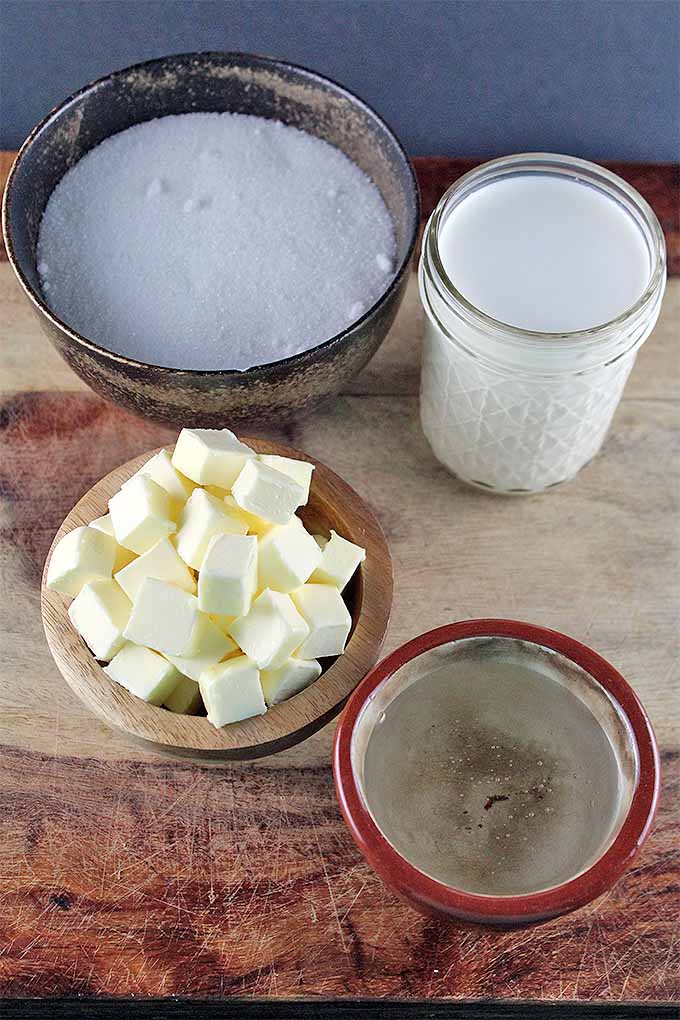
You can be so creative with your flavor combinations. Basically, if it will flavor the cream, it will work in your caramel.
Some of my favorite flavor add-ins are:
- Liquor, like bourbon (1 shot)
- Whole, dried spices like cardamom, cinnamon, and star anise (3-5 pieces)
- Coffee (2 tablespoons ground)
- Tea, like Earl Grey (3 teabags or 1 tablespoon loose leaf)
- Lemon zest (2 tablespoons)
- Flavoring extracts like vanilla (1 teaspoon)
- Dried herbs like lavender or rosemary (1 tablespoon)
To steep the cream, pour it into a medium-sized pot with the flavoring of your choice. Place on medium heat until the cream scalds. It will begin to bubble around the edges, then it will quickly grow and fill the pot before turning into a boil.
Be sure to keep a close eye on the cream as it grows, and turn off the heat as soon as this bubbling begins! Otherwise, your cream will bubble up over the pot and create a huge mess all over your stove.
Let the cream cool completely, then strain out the flavorings if necessary. Use the flavored cream to replace the plain cream that’s called for, and proceed with the recipe as follows.
Step Two – Sugar
Caramel is nothing more than cooked sugar. As the temperature of sugar rises, it goes through a series of phases.
Each phase alters the structure of the sugar, changing the texture it will have once cooled to room temperature.
Soft Ball
Sugar that has reached soft ball stage will be soft, like a chewy candy.
Hard Ball
At this stage it is firmer, but still a bit chewy.
Soft Crack
Soft crack is closer to a hard candy, with some give.
Hard Crack
At this phase, the candy is like glass!
The next phase to follow is caramel – when the sugar begins to take on a brown hue and lovely flavor, and then finally a dark burn.
While in the first four phases, sugar is quite delicate, and any disruption will lead to crystallization. The sugar seizes into tough granules and refuses to ever dissolve.
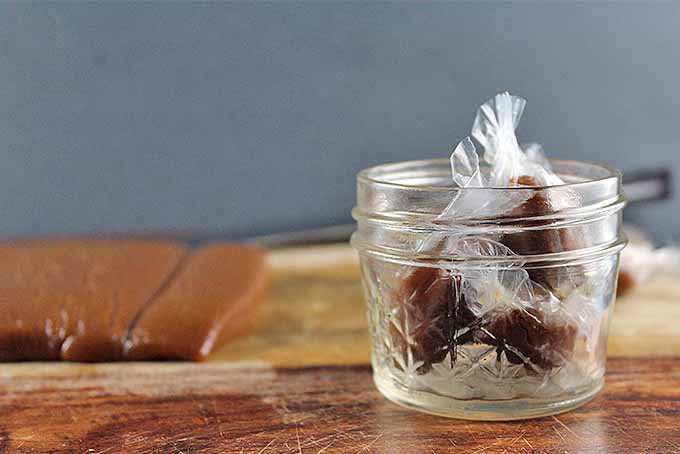
Unfortunately, once crystallized, the damage is irreversible. But there are plenty of ways to reduce this risk:
1. Keep it Clean
Make sure that the pot and any utensils are completely clean. Any kind of unwanted debris could cause the sugar to sieze.
2. Dissolve
Add a bit of water to the mixture before cooking. This will help the sugar to dissolve more evenly.
3. Paint with Water
As the sugar cooks, use a pastry brush to paint water along the sides of the pot in order to dissolve any bits of sugar that have stuck to it.
4. DO NOT STIR
Finally, as tempting as it might be, do not stir the sugar until it reaches its caramel phase!
The addition of corn syrup also aids in preventing crystallization, as glucose holds a stronger bond than sucrose.
The corn syrup also creates the smooth, gooey end texture for the candy –keeping it soft and chewy.
Step Three – Caramelize
Cook the sugar, water, and corn syrup over high heat. It will begin to bubble rapidly, then you will see the bubbles slow down and grow much larger.
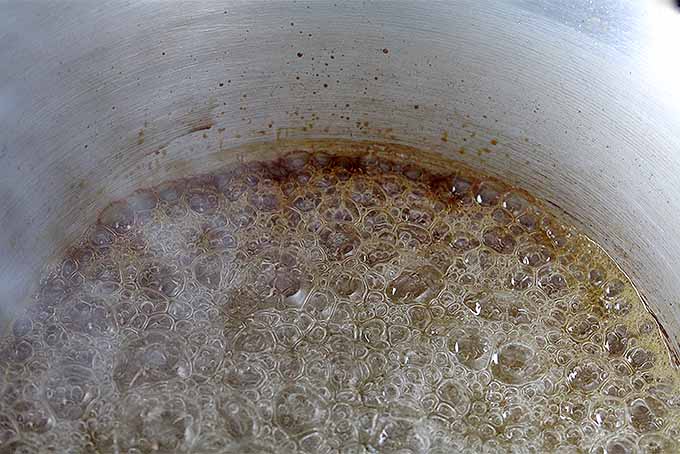
Soon, the liquid will begin to take on a bit of color. Watch closely at this point – that color will spread very quickly.
Once all of the sugar has taken on color, you are in the crystallization clear – caramelized sugar won’t seize. However, this color change probably won’t occur evenly.
Once the color has started to appear, it’s okay to swirl the pot gently, to begin to mix it together.
Don’t use a whisk or spoon quite yet, as there are probably still few pockets of liquid that haven’t quite reached the safe zone.
Step Four – Cream
Once the entirety of the mixture has taken on a nice brown hue, turn off the heat and slowly add the cream. The darker the color, the more bitter the caramel will be.
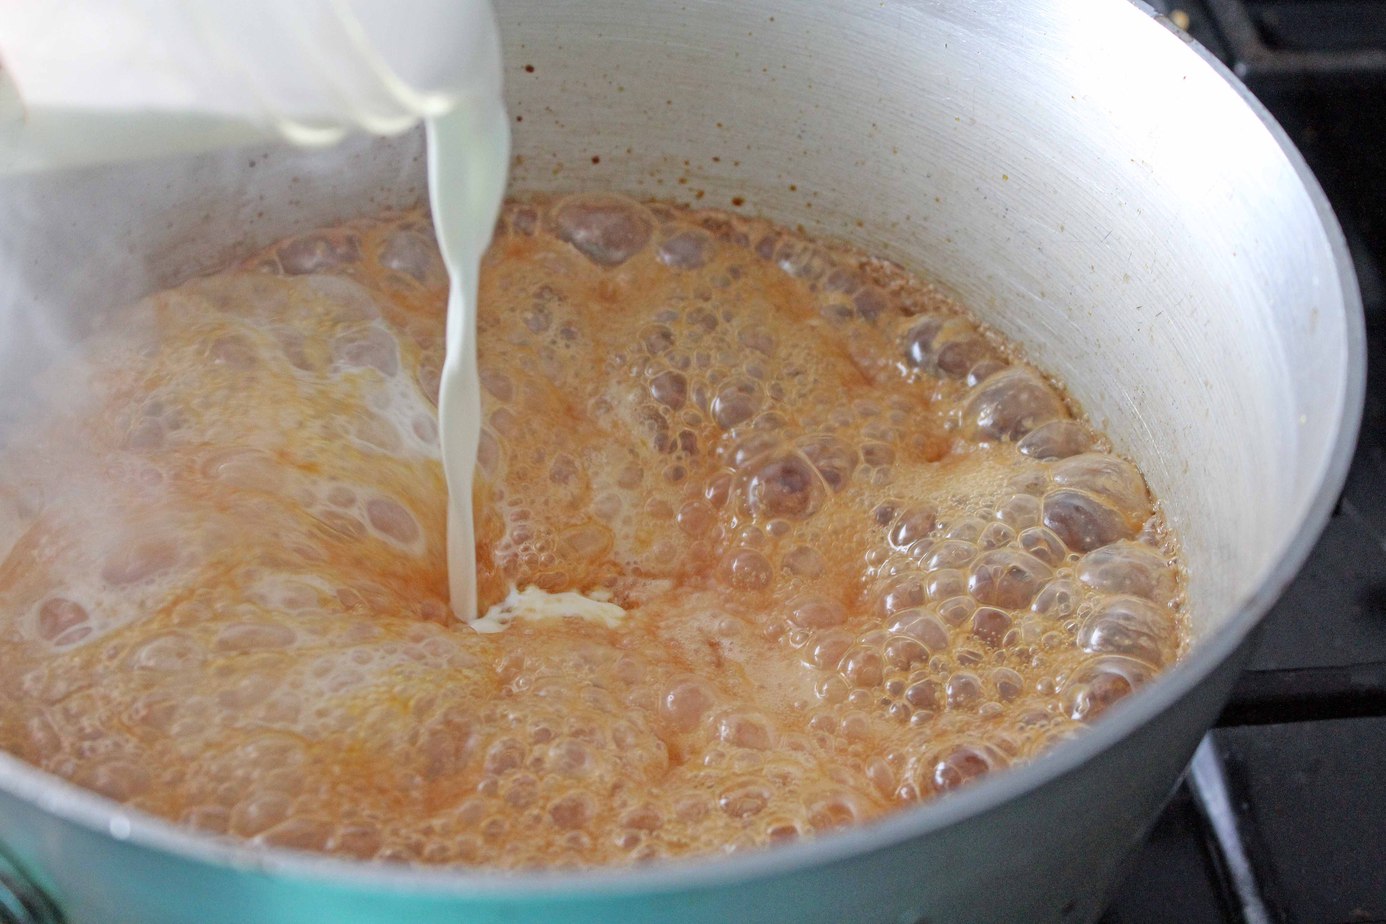
When making candy, I prefer to keep the caramel quite light, but others like a deep color. It is up to you to stop the cooking at whatever temperature your taste buds deem best. Feel free to experiment with this, and try different stopping points for different batches.
When you pour in the cream, be sure to do so slowly and whisk vigorously. Introducing cold cream to the super hot caramel will cause an immediate burst of steam.
The pot will bubble and sputter, which is why it’s important to use a large pot for a relatively small amount of candy.
Step Five – Butter
After the cream has been fully incorporated, add the butter and whisk until melted and smooth.
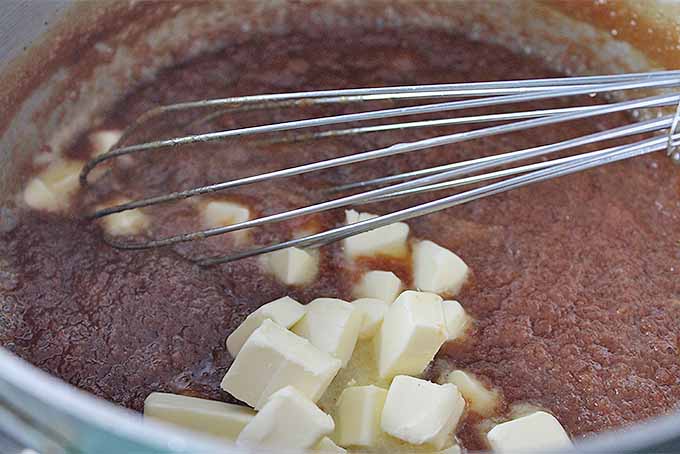
It’s likely that some sugar is stuck to the sides and the bottom of the pot. This is okay; it simply cooled faster than the rest of the mixture.
As you re-cook the caramel in step six, it will melt back down and be incorporated into the rest of the candy.
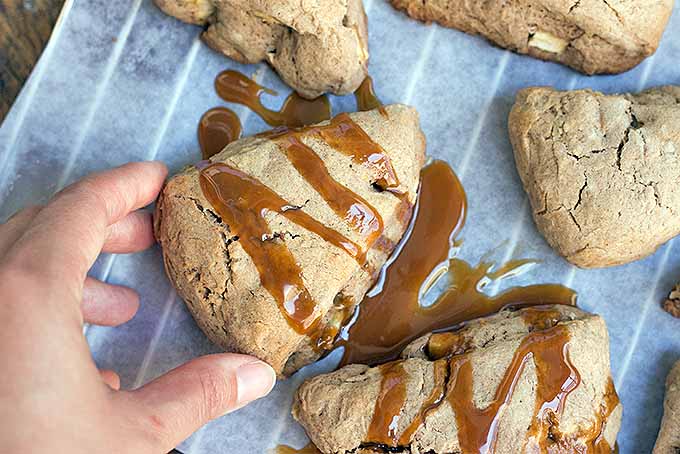
Stop Here to Make Homemade Caramel Sauce
If you want to use your caramel as a sauce, you can just remove it from the heat at this point.
Step Six – Cook
After the butter and cream have been fully incorporated, turn the heat back on low. Slowly bring the temperature of the mixture back up to 240°F.
This temperature is very important. If it doesn’t get past 235°F, then the caramel will be too gooey to cut and wrap. And if it gets beyond 245°F, it will shatter when you attempt to cut it and hurt your teeth if you try to chew!
Stir the pot every 3 minutes during this second phase of cooking, to make sure that it is heated evenly throughout.
Meanwhile, prepare a pan for the candy to cool in. I like to use a 1/8th-sheet tray. This is a small baking tray with tall sides. Line with parchment paper or aluminum foil.
Step Seven – Pour
Once the candy has reached 240°F, turn off the heat and whisk vigorously to cool.
Carefully pour the mixture into the prepared sheet tray. Keep in mind that caution is important here – it is very, very hot! Just a small drip on your skin would lead to a very painful burn.
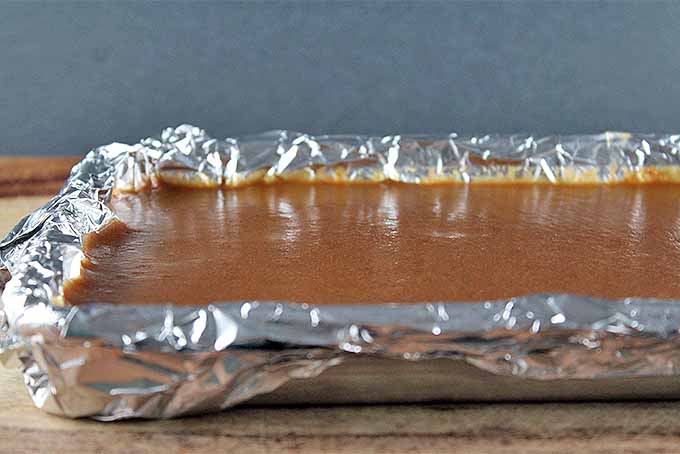
As the candy cools, it will begin to set. Let it cool completely at room temperature.
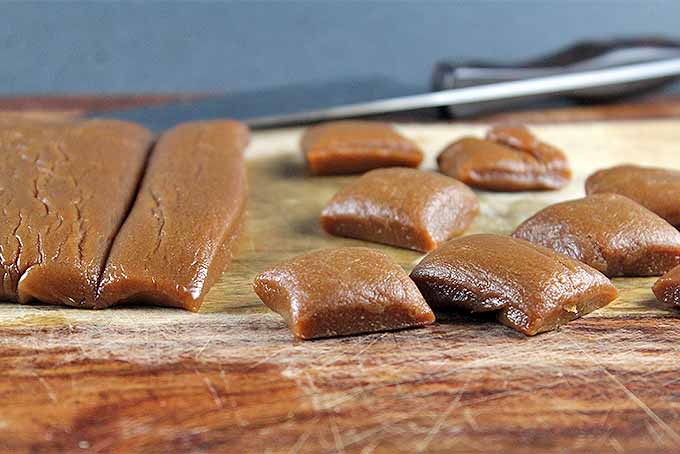
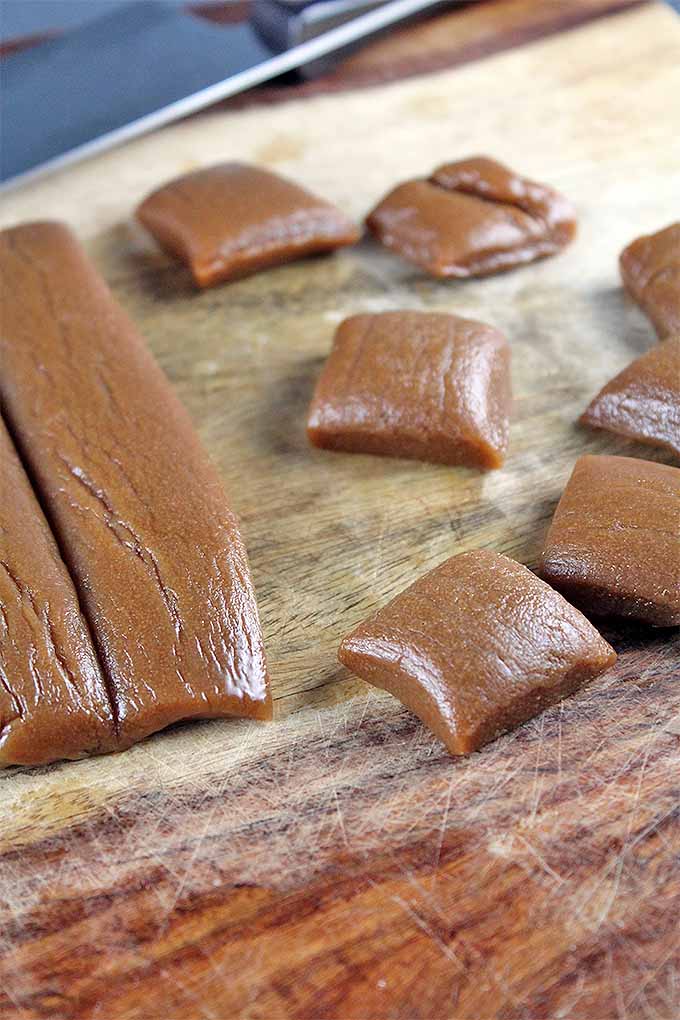
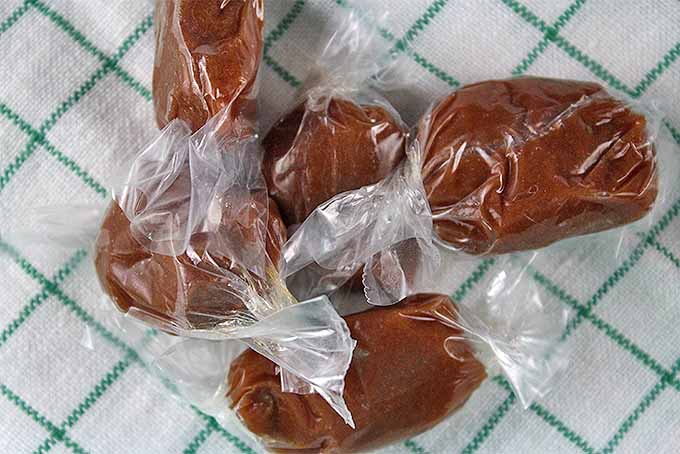
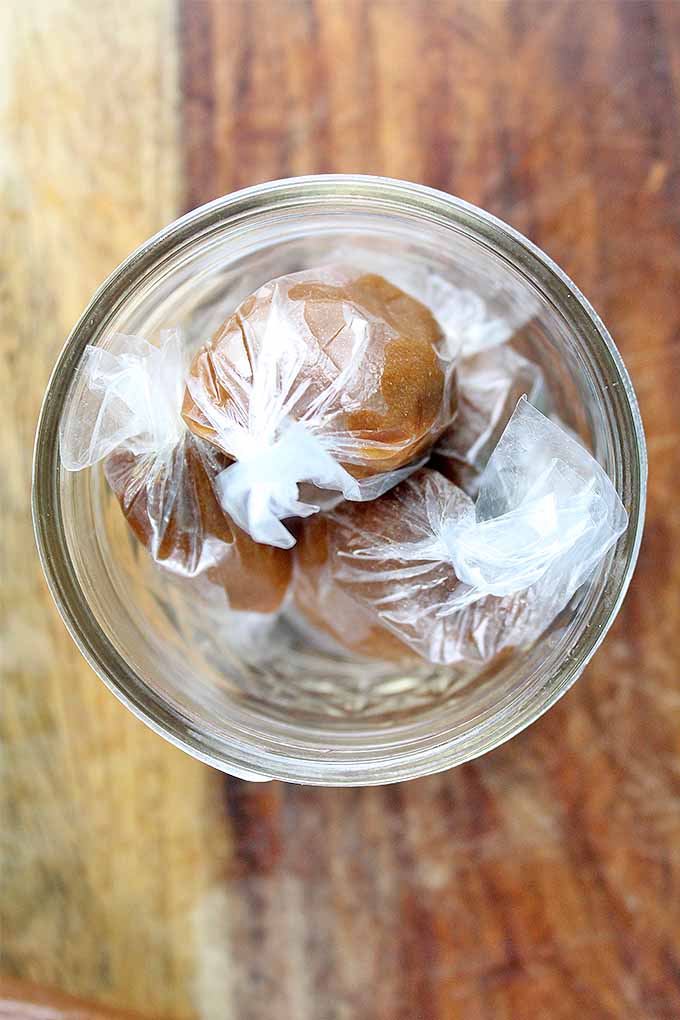
Then cut into small pieces, wrap in cellophane or parchment, and give away. Or, of course, you could always eat them all up yourself!
That’s a Wrap!
This caramel recipe is only one of many among our 23 top favorite holiday candies. Make sure to check them all out!
At the holiday season, for birthdays or party favors, homemade caramels make an excellent gift. Now that you’re ready to make your own, in your favorite style or flavor, what are you waiting for?
That caramel’s not going to make itself! Though details are important, when it comes to this recipe, the delicious results are so worth the effort.
For even more homemade candy recipe ideas, check out our round-up post, with selections from some of our favorite bloggers.
Here are some of our favorite sweet confections:
Have you made caramel candies before? Does the process make you nervous? Let me know any other questions you might have in the comments below.
And make sure to check out all of our Christmas inspired recipes as well as all our dessert ideas.
Don’t forget to Pin It!
Photos by Kendall Vanderslice, © Ask the Experts, LLC. ALL RIGHTS RESERVED. See our TOS for more details.
About Kendall Vanderslice
Kendall’s love of food has taken her around the world. From baking muffins on a ship in West Africa and milking cows with Tanzanian Maasai, to hunting down the finest apfelstrudel in Austria, she continually seeks to understand the global impact of food. Kendall holds a BA in Anthropology from Wheaton College and an MLA in Gastronomy from Boston University, and has worked in the pastry departments of many of Boston’s top kitchens. Based in Somerville, Massachusetts, Kendall helps to run a small community supported bread bakery and writes about the intersection of food, faith, and culture on her personal blog, A Vanderslice of the Sweet Life.


Now these look addictive. Seriously, I might need to put a lock on these if anyone else is going to get to try them! Yum!
Yes! They definitely are addictive, it’s hard to stay away 😉 but they are well worth it for sure.
Hi Kendall!
Thanks for a great recipe. What degree exactly should the temperature get to before it is time to stir in the cream please? If corn syrup is unavailable can you please recommend substitutes?
Trying to get chewy but not leaky caramel candies.
Thanks!
This really depends on the type of caramel that you’re going for, Munira. You mentioned a certain level of chewiness – the usual temperature range that’s recommended is for the syrup to be between 250 and 325°F before stirring in the cream. A higher temperature will result in darker, more firm candies.
As for the corn syrup, it’s an invert sugar that has different properties than other types of sweeteners, and as such, it will prevent crystallization and act to keep the candy soft. It also burns less easily than other types of sweeteners. You might try using honey and a dash of lemon juice, and heating no higher than 250°F before whisking in the cream, but we cannot vouch for the proportions of the ingredients since we haven’t tested this method. The texture and flavor that you get as a result will be different than what’s described here, but it may be worth a try! Some candymakers have also experimented with making their own cane-based invert sugar, by simmering simple syrup with an acidic ingredient like cream of tartar or citric acid added to the mixture.
I am an avid caramel maker and this method looks lovely. Does the quick stirring at the end introduce lots of little crystals? Also, for doubling the batch, would you add more glucose/corn syrup to keep it from crystallizing? Or do you think it would still fare well?