There was one year – a whole year – when I made all the bread that AJ and I ate. It was amazing.
It was also a bit stressful. I LOVE making bread, and I really find it to be a relaxing activity. But I was always worried about having the bread made exactly when we needed it, and if I was busy one night and it didn’t get done, I would feel bad and I’d stress out about it.
Sometimes, the process can can take days, like when I soak the dry ingredients overnight to make the dough easier to knead and to digest.
Now, I just make it when the urge strikes. Every time I do, I ask myself why I don’t do it more often, but alas, life often gets in the way. Darn life.
I feel like people think that making bread is scary. Really, it’s not. Once you get a few loaves under your belt (ha!) it really becomes old hat.
Most sandwich loaves follow a very similar protocol, so you don’t even need instructions – I often just write down the ingredients when I make a new recipe, and use the same process each time!
It is easiest to make the dough in a mixer with a dough hook, but sometimes it is nice to make it with your hands. If you need help with kneading dough, you can read our full guide here. I made all my bread by hand for a while, until AJ got me a KitchenAid mixer for my birthday one year. Boyfriend, for the win!
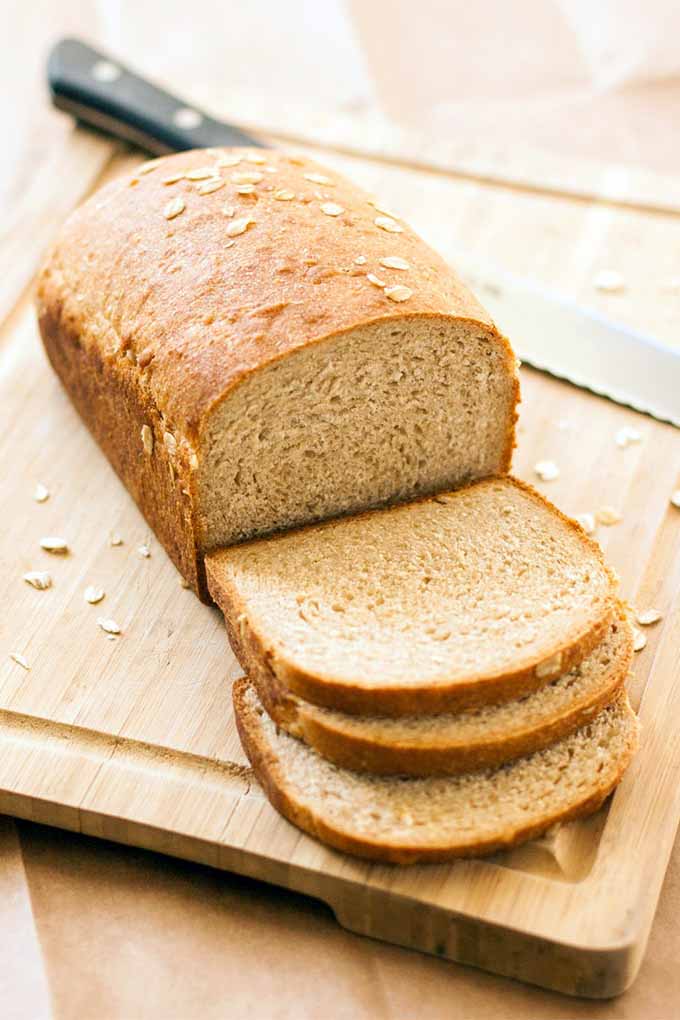
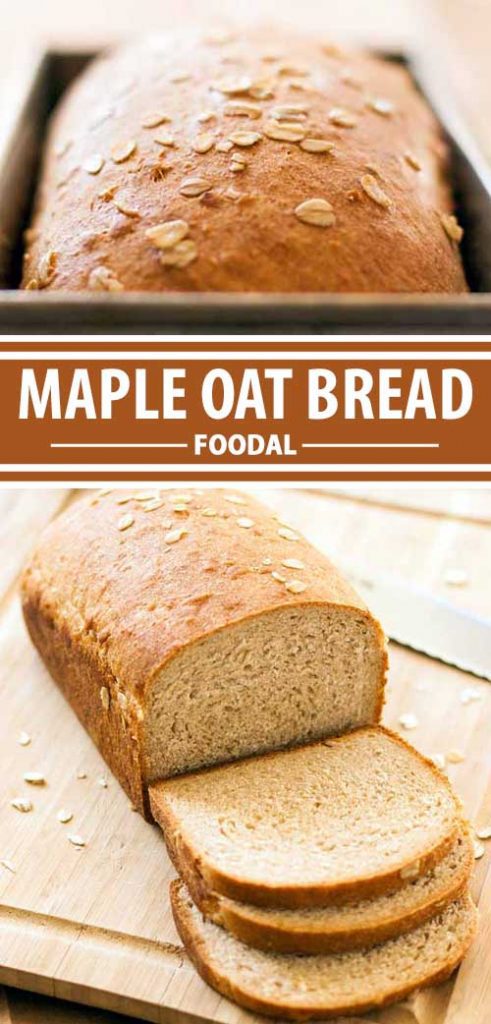
And this loaf? It’s a great place to start. Using half whole wheat adds to its nutritional profile, and gives it a great nutty flavor.
The oats add a nice texture. No surprise, this certainly isn’t the first time we’ve used oats in a variety of our baked goods! Try it in our no-knead oat bread and einkorn scones.
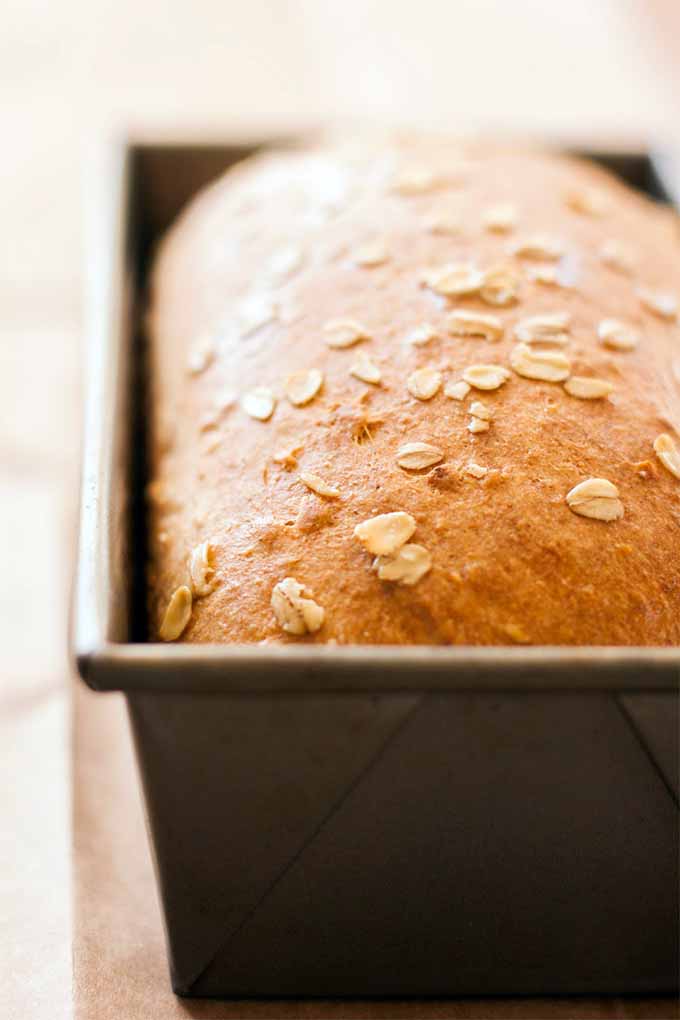
And the maple syrup sweetens it beautifully. It smells sooo incredible while it’s baking.
It’s difficult not to eat it the minute it comes out of the oven.
Print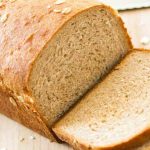
Vegan Maple Oat Bread
- Total Time: 3 hours 50 minutes
- Yield: 10 slices 1x
Description
A delicious, chewy sandwich bread that’s full of flavor from the oats, whole wheat flour, and pure maple syrup. It’s delicious slathered with peanut butter and jelly, or eaten on its own with a smear of margarine.
Ingredients
- 2 oz (1/4 cup) + 1 Tbsp vegan margarine, divided
- 6 oz white whole wheat flour*
- 6 1/2 oz (scant 1 1/2 cups) all-purpose flour
- 1 1/4 tsp salt
- 1/2 tsp cinnamon
- 1 3/4 oz (heaping 1/2 cup) old-fashioned rolled oats*
- 2 1/4 tsp active dry yeast
- 7 oz (3/4 cup + 2 Tbsp) warm water (not hot!)
- 2 3/4 oz (1/4 cup) pure maple syrup
- Cooking spray oil
Instructions
- Melt the margarine in the microwave, and set it aside to cool slightly.
- Combine both types of flour with the salt, cinnamon, and oats in a large bowl. Mix together well. Add the yeast and stir again until everything is incorporated.
- Add the water and maple syrup, and stir into the flour a bit with a wooden spoon (if you are using a mixer to knead the dough, just use the dough hook to mix it together). Add the melted margarine and quickly mix it together to form a shaggy dough.
- Knead for 7-8 minutes, until the dough is tacky but not sticky and it holds together nicely. If needed, add flour 1-2 Tbsp at a time until you reach the tacky point. When you’re finished, the oats will prevent it from forming a completely smooth dough, but it should look rather smooth when pressed with your palm.
- Coat a bowl with oil, shape the dough into a rough ball, and place it in the bowl. Spray the top of the dough with more oil and cover the bowl with plastic wrap. Set aside to rise for 60-75 minutes.
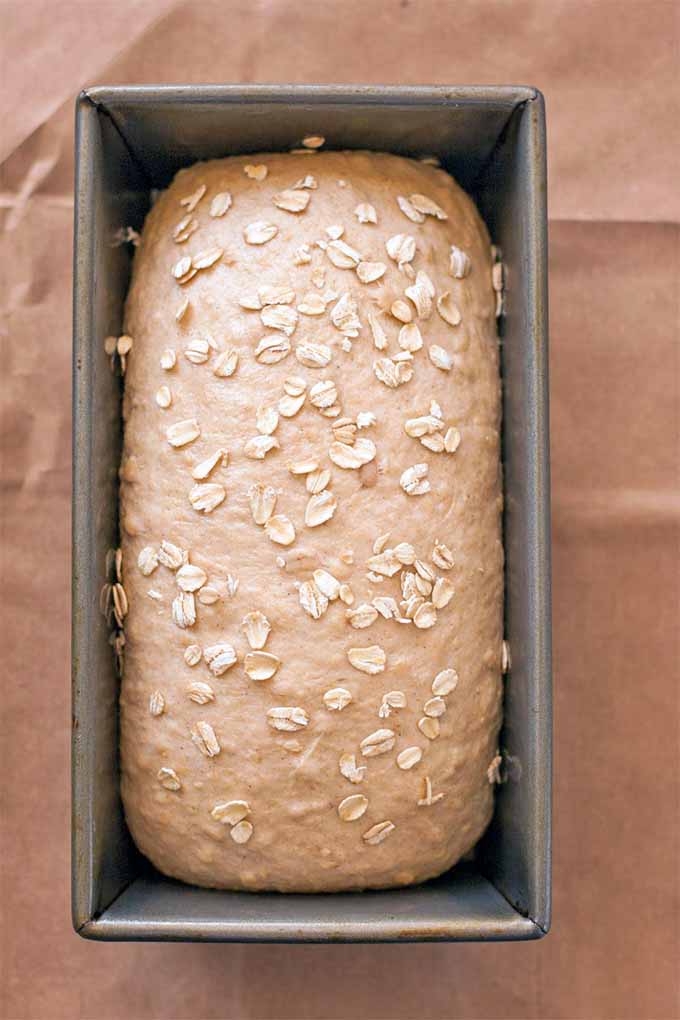
- When the dough is finished proofing, it will be just about doubled in size and should maintain an indent when poked gently. Lightly spray a large wooden cutting board with cooking spray and turn the dough out onto the counter.
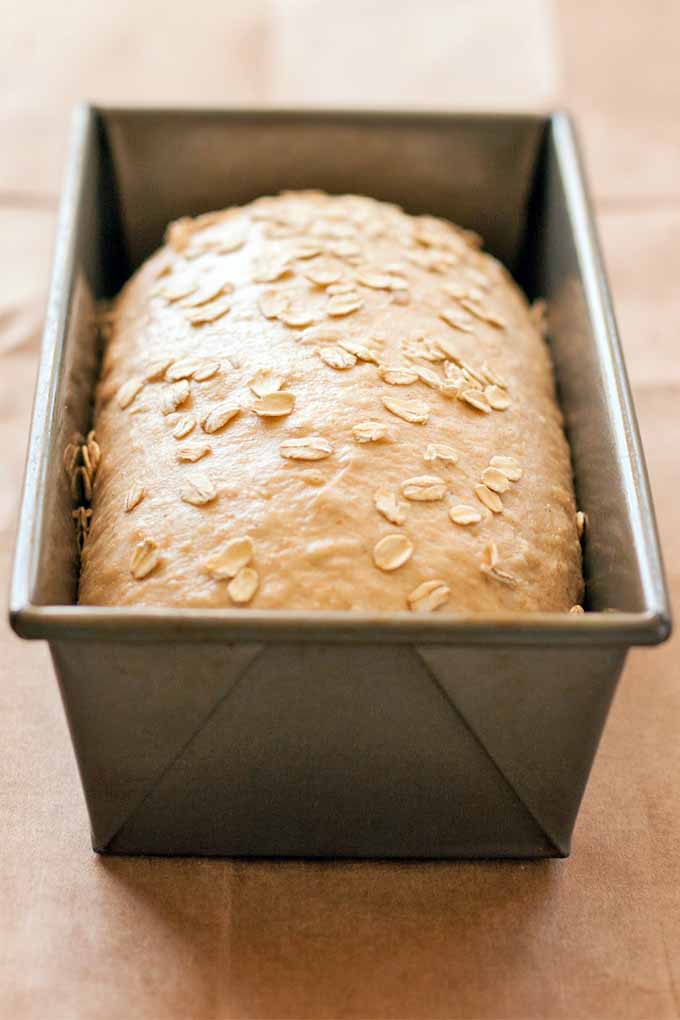
- Pat the dough into a rough rectangle about 15×8 inches. Starting at one end, tightly roll the dough up into a log. Seal the long edge with your fingers by pinching it gently with the dough beneath it, and orient the dough so this seam is on the bottom. Tuck the short ends under the bottom so you get a nice fat log shape. If desired, roll the top of the dough in a pile of oats for a nice presentation.
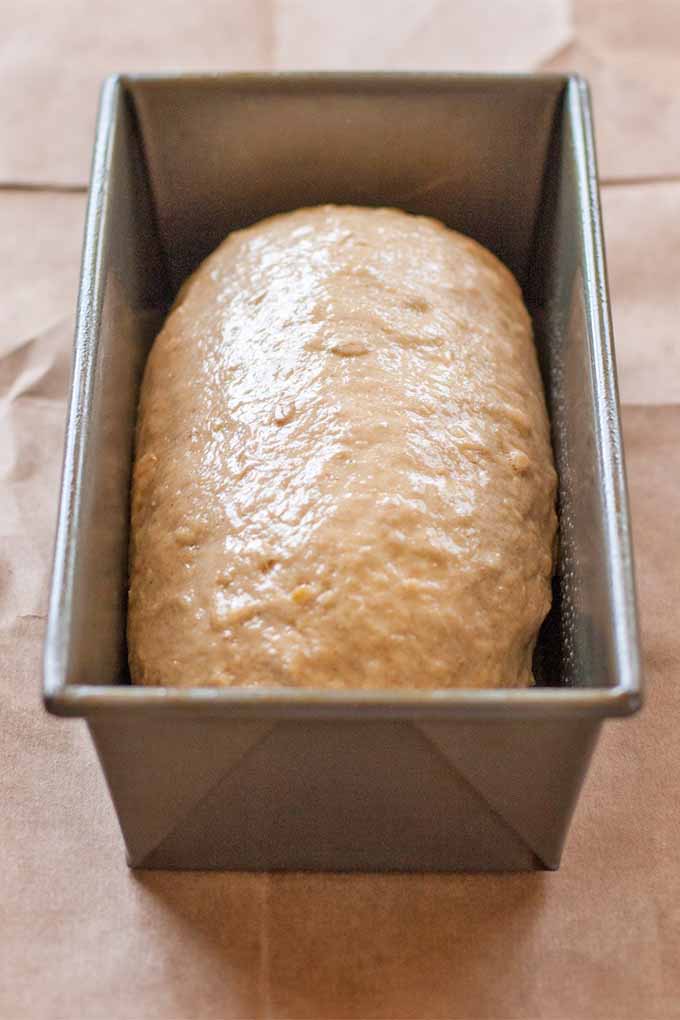
- Oil an 8×4″ loaf pan and place the dough seam-side down in the pan. Cover with plastic wrap and set aside to rise for 60 minutes.
- About 15 minutes before you plan to bake the bread, preheat your oven to 350°F.
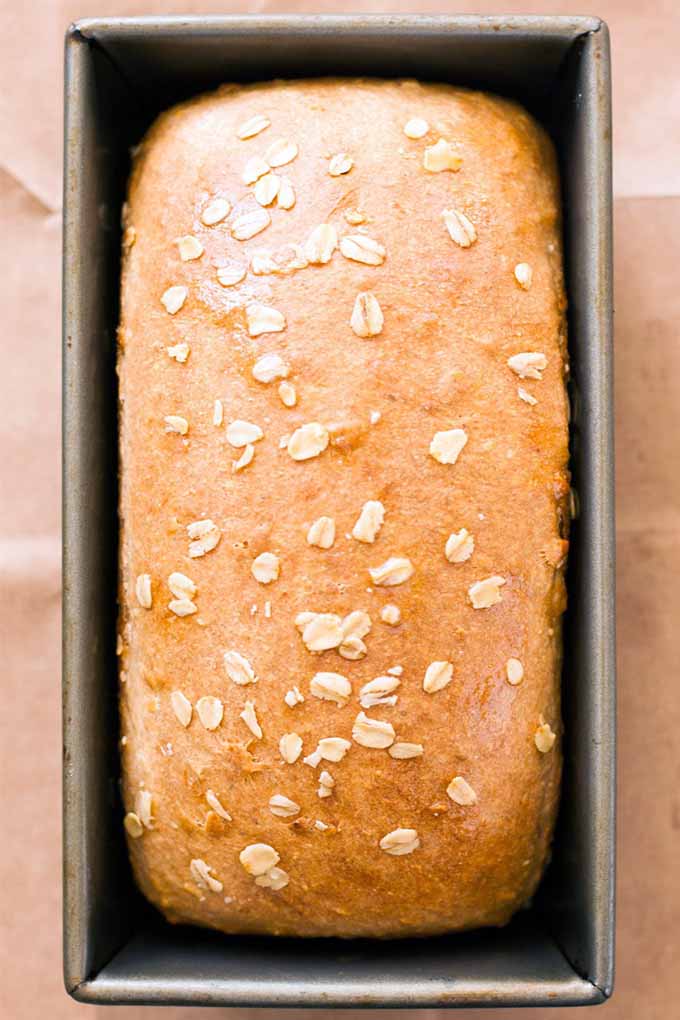
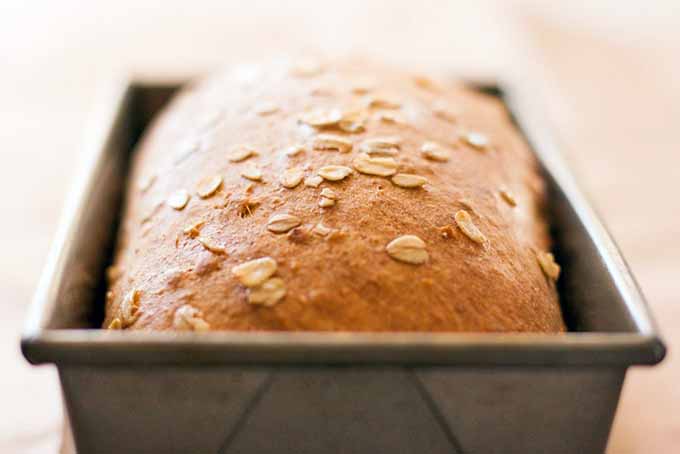
- When the bread has finished rising, it should be puffy and domed on the top, and should have roughly doubled in size. It won’t quite have taken over the pan, but it should be mostly filling it up.
- Bake for 50-60 minutes, rotating once halfway through, until it is a dark golden color on top and registers 190°F in the middle. I use a digital meat thermometer to check the temperature.
- Turn the loaf out onto a wire cooling rack and rub the top with about 1 tablespoon of margarine. Let cool for at least 2 hours, and don’t cheat – it’ll be gummy and undercooked if you cut into it before it’s cool!
Notes
If you have a kitchen scale (or are willing to buy one), I definitely recommend weighing your ingredients. It is more accurate and much easier, especially for baking.
Do not use instant oats! You want the big flaky ones.
King Arthur Flour makes a wonderful white whole wheat flour that I use in all my whole-wheat cooking. It’s a bit more mild than regular whole wheat (made from red wheat berries) and has a softer texture. If you can’t find white whole wheat, you can use regular whole wheat, but you may want to use a bit less of it.
- Prep Time: 3 hours
- Cook Time: 50 minutes
Homemade Is So Much Better
This is not a huge batch of dough. The recipe makes a loaf that’s definitely smaller than what you’d typically get off the shelf at the store. I kind of do that because 1. it is so full of flavor I think I prefer it smaller, and 2. the loaves at the store are ginormous! Let’s get back to normal portion sizes, yo.
If you want, you could make 1.5x the recipe and still bake it in the 8-by-4-inch pan, and it should pretty much expand over the edges like the loaves at the store. Either way, it’ll be delicious!
So, give this recipe a try, let me know what you think in the comments, and don’t forget to give it a rating!
Caught the baking bug? We have plenty more bread recipes for you to enjoy:
Don’t forget to Pin It!
Photos by Raquel Smith, © Ask the Experts, LLC. ALL RIGHTS RESERVED. See our TOS for more details. Originally published on June 18th, 2014. Last updated: June 7, 2022 at 13:54 pm.
Nutritional information derived from a database of known generic and branded foods and ingredients and was not compiled by a registered dietitian or submitted for lab testing. It should be viewed as an approximation.
About Raquel Smith
Raquel is a whole foods enthusiast, an avid mountain biker, and a dog lover. She works by day at Food Blogger Pro and formerly maintained her food blog "My California Roots" (now merged into Foodal).


The Maple Oat Bread is so seductive! Add a slather of butter and a spoonful of jam or nut butter and sheer delight is found. I love making bread and find great pleasure in the process and knowing exactly what ingredients I am feeding my family.
Thanks, Deb! It really is delightful with just some simple toppings. And I, too, love knowing exactly what goes in!
This bread is amazing!!!
Just saw this. Thanks, Jen!
I was wondering if I could substitute the butter with a vegan alternative like coconut oil and if so, would an equivalent amount work?
Can I make this with almond flour instead of wheat?