Well, it’s not vanilla. It’s not chocolate. And it’s not devil’s food.
It’s a unicorn amongst desserts.
Despite how obvious the color of red velvet cake is, there remains a shroud of mystery as to what exactly it is in terms of flavor.
Chocolate? Vanilla?
Neither, actually!
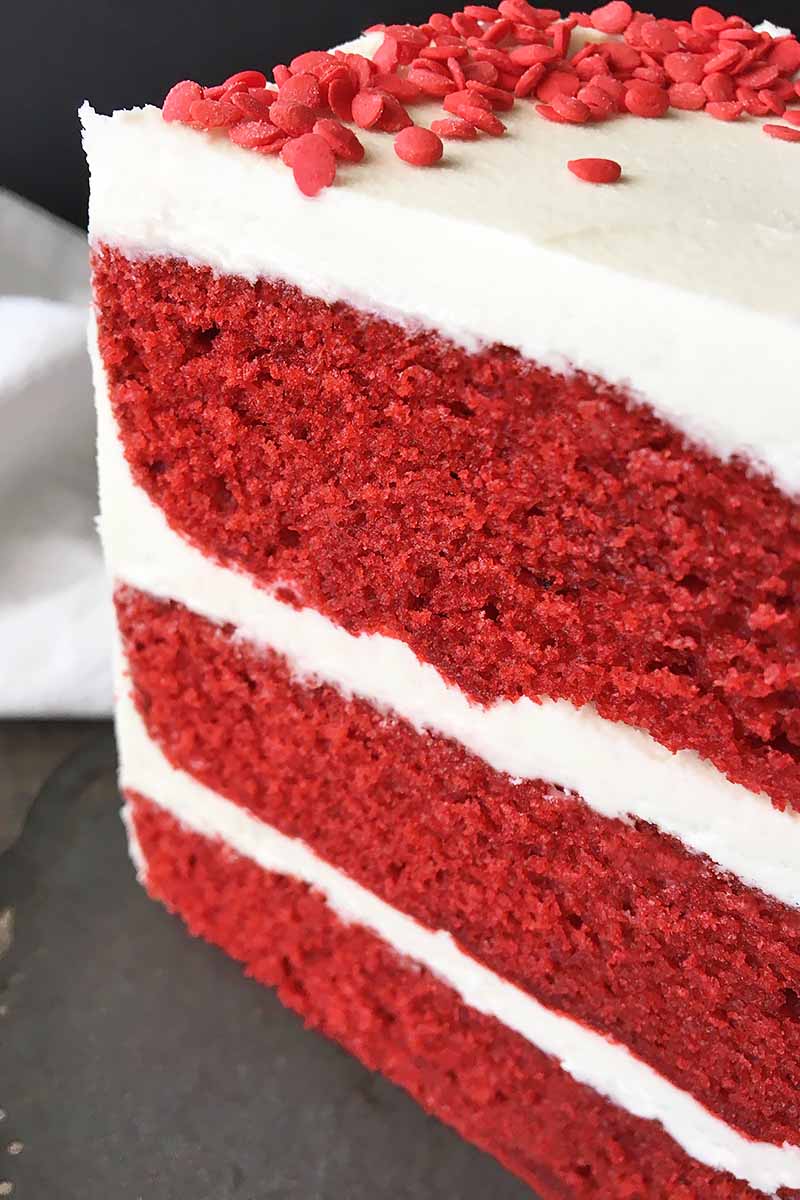
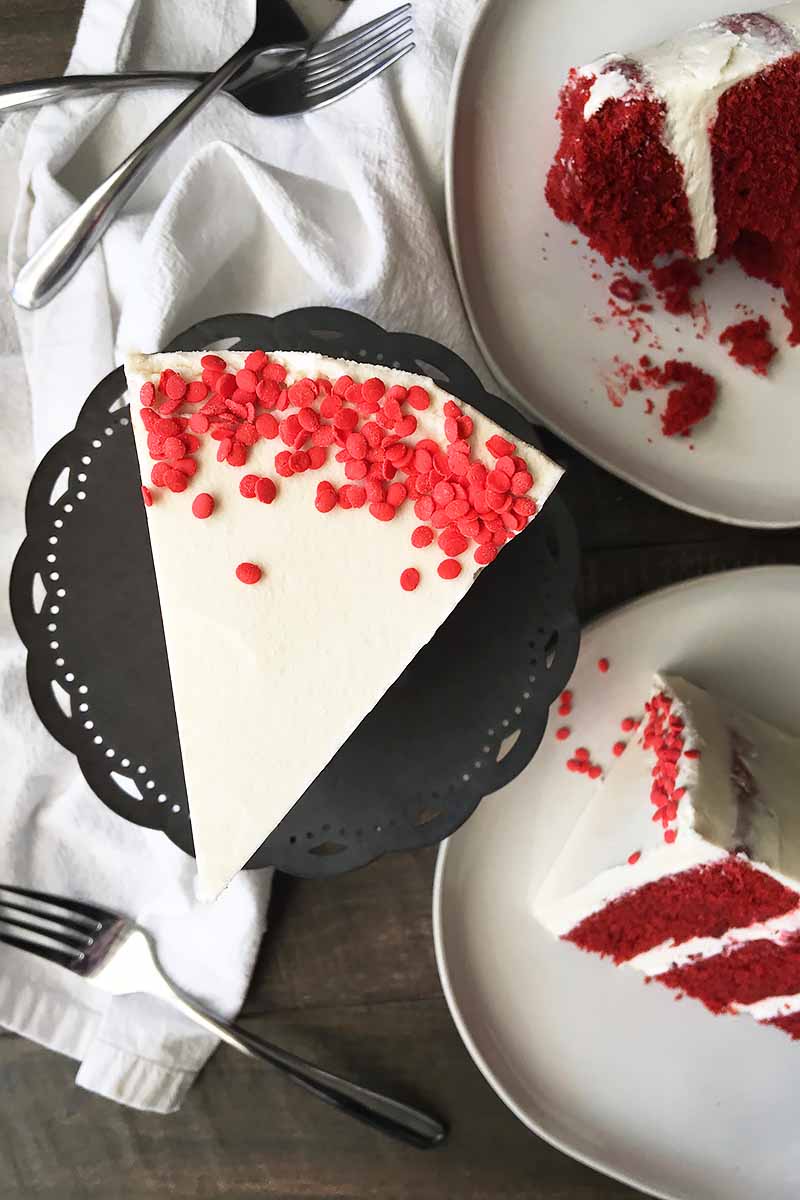
It’s in its own crazy category. Red velvet cake’s base is a dreamy, rich concoction that has sweetness, vanilla fragrance, a subtle tanginess, and a hint of chocolate flavor.
Before food coloring became popularized and affordable with passing of the Food, Drug and Cosmetic Act in 1938, red velvet cake’s color originally was caused by Dutch-processed cocoa powder, the available cocoa powder available at the time. The highly pigmented cocoa gave the cake a rusty reddish tint, though certainly not as vibrant as the modern red food coloring.
The dessert often has an acidic ingredient added to it, like buttermilk, vinegar, sour cream, or a combination of the three.
The acidity lends an amazing flavor that balances the sweetness, and augments the hue of the red food coloring.
And with a delicate taste of both cocoa powder and vanilla, you get one of the most well-rounded desserts out there, as well as one of the most gorgeous.
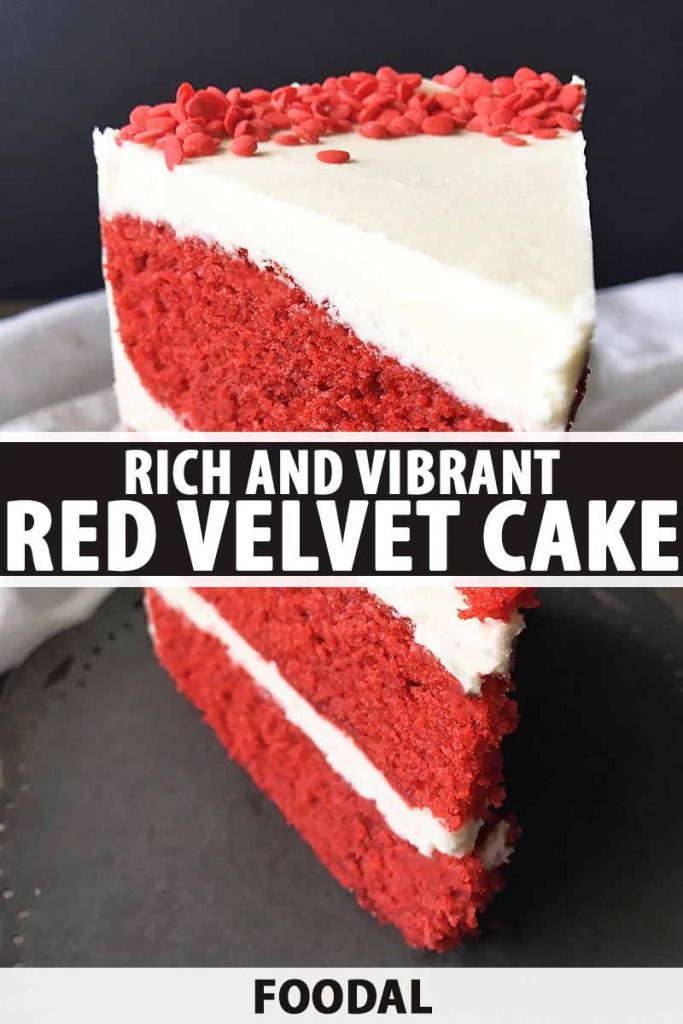
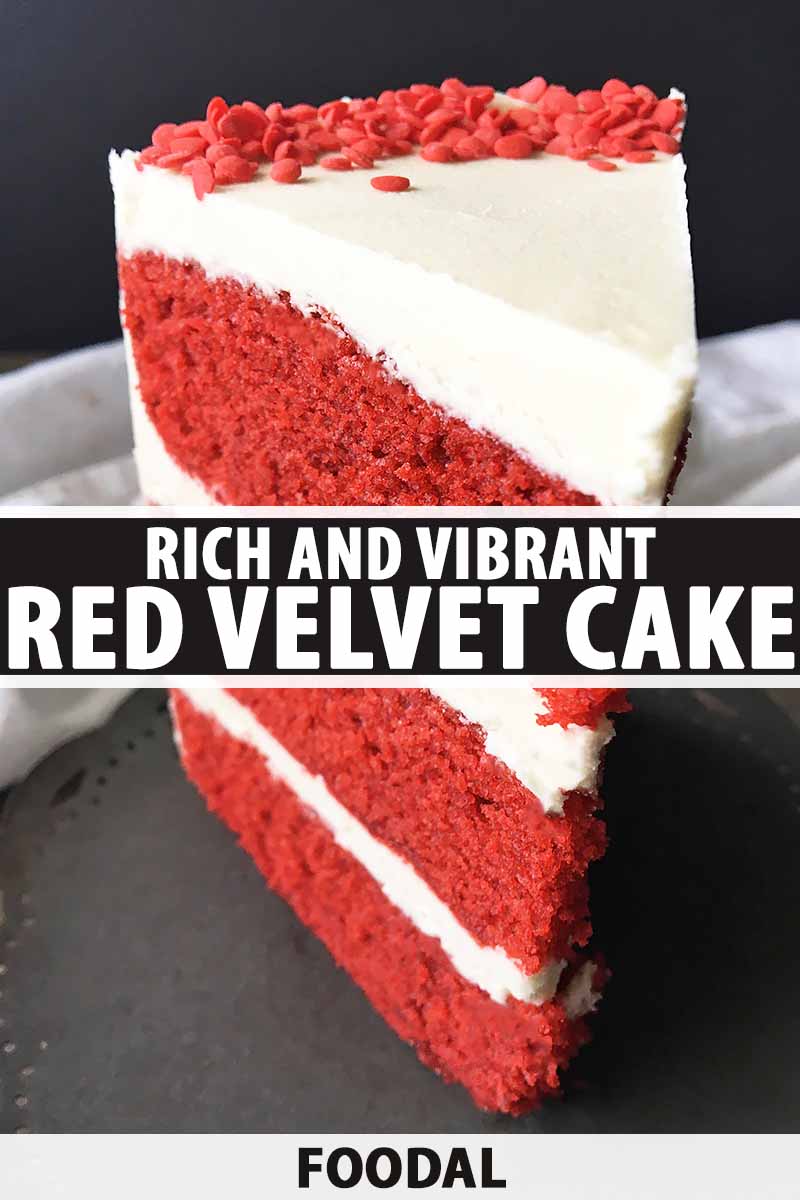
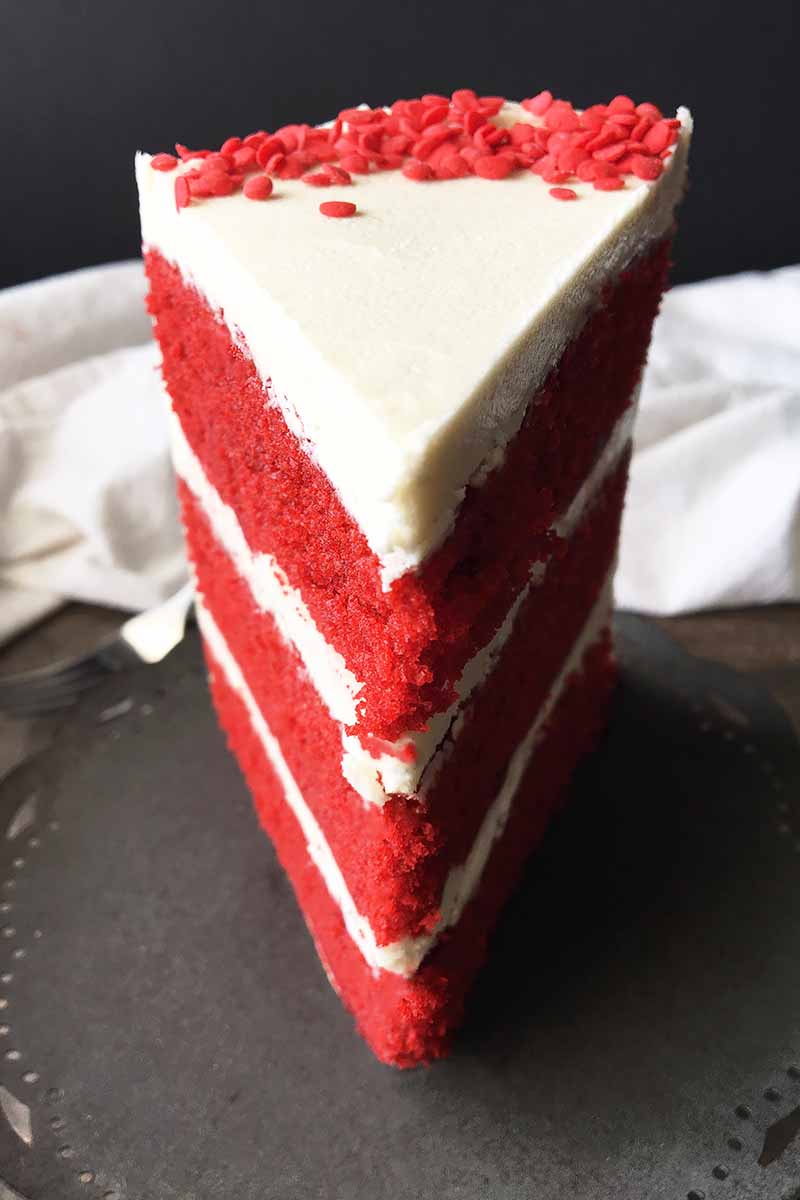
Rich and vibrant, see this sweet world through red-colored glasses with my delectable recipe!
Print
Rich and Vibrant Red Velvet Cake
- Total Time: 1 hour
- Yield: 12 servings 1x
Description
Red velvet cake is a rich and dreamy dessert with an unforgettably gorgeous bright color. Serve up a slice!
Ingredients
- Cooking oil spray
- 3 cups cake flour
- 2 tablespoons unsweetened cocoa powder
- 1 teaspoon baking soda
- 1 cup buttermilk, room temperature
- 3/4 cup canola oil
- 3 tablespoons red food coloring
- 1 tablespoon vanilla extract
- 1/2 cup unsalted butter, room temperature
- 2 cups granulated sugar
- 1/2 teaspoon salt
- 3 large eggs, room temperature
- 4 cups frosting*
Instructions
- Preheat the oven to 350°F. Line the bottom of 3 8-inch cake pans with parchment paper, and spray the entire pan with a nonstick cooking spray. Set aside.
- Sift together the flour, cocoa powder, and baking soda in a large bowl. Set aside.
- Combine the buttermilk, canola oil, red food coloring, and vanilla in a small bowl. Set aside.
- In a stand mixer fitted with the paddle attachment, cream together the butter, granulated sugar, and salt at high speed. Add the eggs one at a time at medium-high speed, mixing fully after each egg. Scrape the bowl down and re-mix.
- With the mixer on low speed, alternate between adding the dry mixture and wet mixture until everything is incorporated, and a soft, thick batter forms.
- Divide evenly between the three prepared pans. Immediately bake for 15-20 minutes, until a toothpick inserted in the center comes out clean with a few crumbs sticking to it.
- Let the cakes cool in the pans for 15 minutes before removing them, them allow them to cool completely on a wire rack.
- Once the cake rounds are completely cool, frost and decorate as you wish!
Notes
*Use your favorite flavor of icing – anything goes! For sweet inspiration, try Foodal’s recipes for vanilla buttercream or Swiss meringue buttercream.
- Prep Time: 25 minutes
- Cook Time: 20 minutes
- Category: Cake
- Method: Baking
- Cuisine: Dessert
Cooking by the Numbers…
Step 1 – Prep
Preheat the oven to 350°F.
Line the bottom of three 8-inch cake pans with parchment paper, and spray the entire pan with a nonstick cooking spray. Set aside.
Looking for even thicker, fluffier layers? Use two 8-inch pans instead of three.
Measure out all of the ingredients. Be sure your unsalted butter, eggs, and buttermilk are all at room temperature – this helps the batter mix and combine more evenly.
Step 2 – Make the Batter
With a sifter, sift together the cake flour, cocoa powder, baking soda, and salt in a large bowl. Set aside.
Cake flour, in comparison to all-purpose flour, has a lower protein content. This means that the cake will be more delicate and soft. You can use an equal amount of all-purpose flour, if cake flour is not available. The cake will be just slightly chewier. Be sure to not overmix, to not develop any more gluten!
Combine the buttermilk, canola oil, red food coloring, and vanilla extract in a separate small bowl. Set aside.
Using a hand mixer, or in a stand mixer fitted with the paddle attachment, cream together the room temperature, unsalted butter and granulated sugar. Cream until the mixture looks thick and fluffy.
Add the eggs one at a time and continue to mix until completely incorporated. Scrape the bowl down and briefly re-mix.
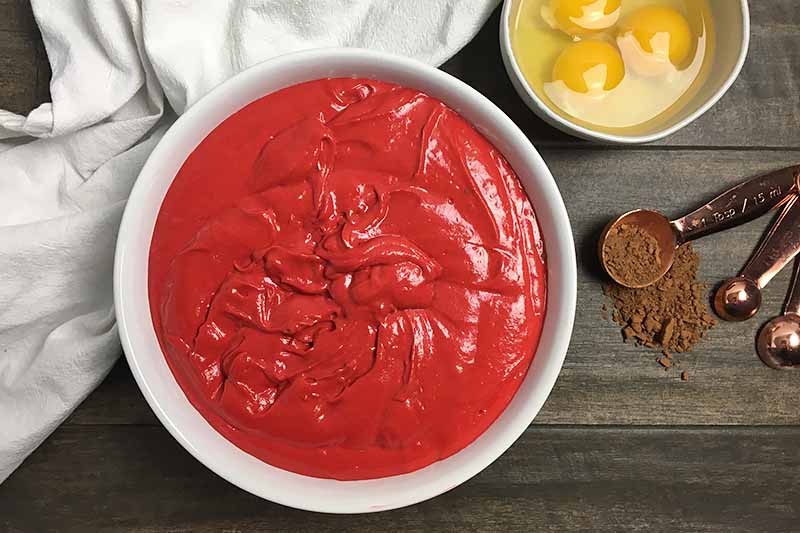
With the mixer on low speed, alternate between adding the dry mixture and wet mixture until everything is incorporated, and a soft, thick batter forms. The batter should look very smooth.
Not red enough for you? Go for an extra tablespoon of food dye to get a richer, brighter color.
Step 3 – Divide Batter Between Prepared Pans
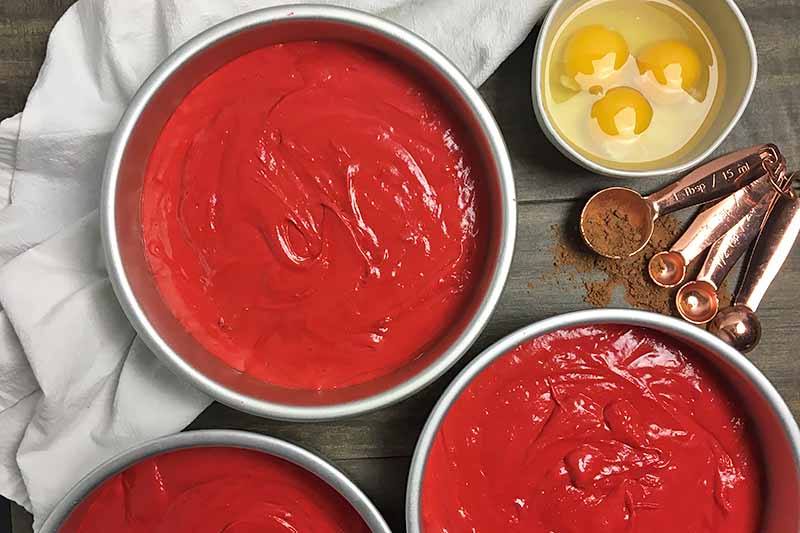
With a spatula, evenly divide the batter into the prepared pans. For a more accurate measurement, you can weigh the batter on a kitchen scale – each pan will have about 16-18 ounces of batter.
If you plan to check the weight when the batter is already in the pans, don’t forget to weigh the empty pan first and tare it to reset to zero so the pan itself won’t be included in the total!
Step 4 – Bake
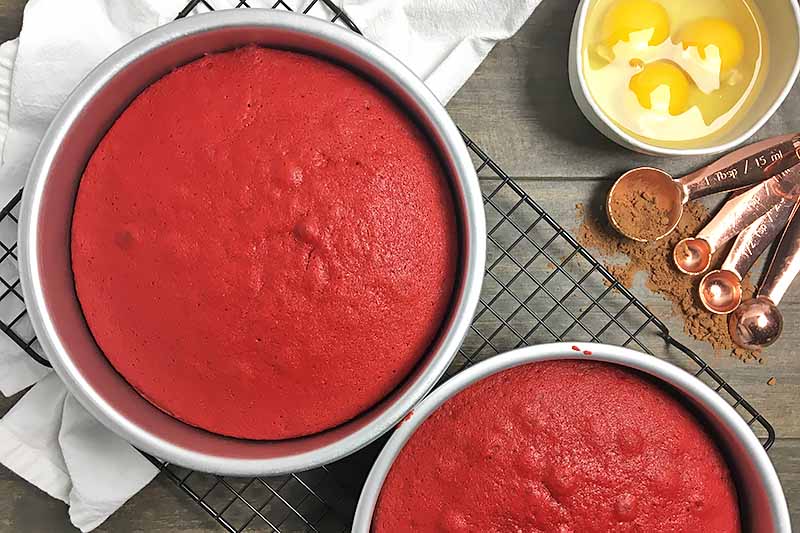
Immediately bake for 15-20 minutes, rotating the pans halfway through baking, until a toothpick comes out clean with a few crumbs sticking to it.
Like any cake batter, you need to bake the cake batter as soon as you make it. Letting the batter stand for a longer period of time looses the leavening ability of the chemical leavening agents. And you need as much of that power as possible, since the crumb of a cake is super delicate!
If you are using 2 pans, the bake time will increase slightly, about 20-25 minutes.
Do your best to not overbake. They can quickly become dry and crumbly, especially with a thinner batter divided between three pans.
Step 5 – Cool
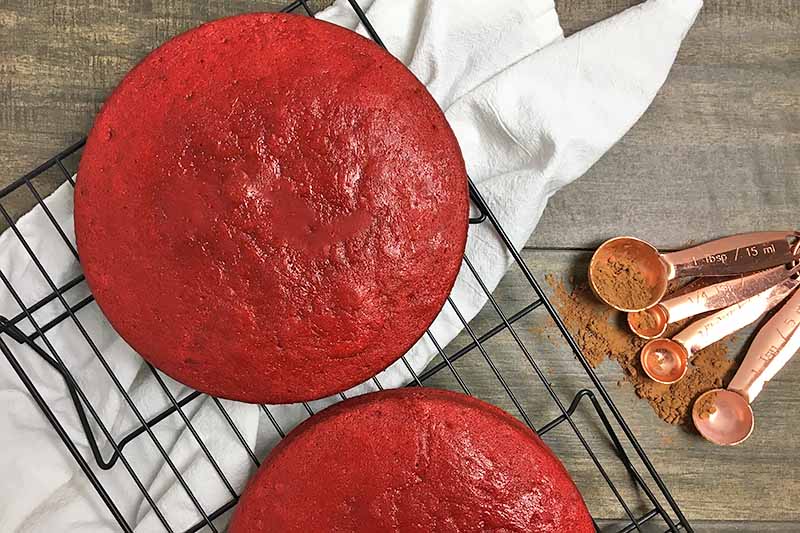
Let them cool in the pans for 15 minutes. Run a sharp knife around the edges, and invert each pan to remove the cake. Dispose of the parchment paper on the bottom, and turn them right side up. Let them cool completely on cooling racks before decorating.
This part is important, since you don’t want your icing to melt, sliding off the cake and resulting in a runny mess. Nobody wants that! It’s worth the wait.
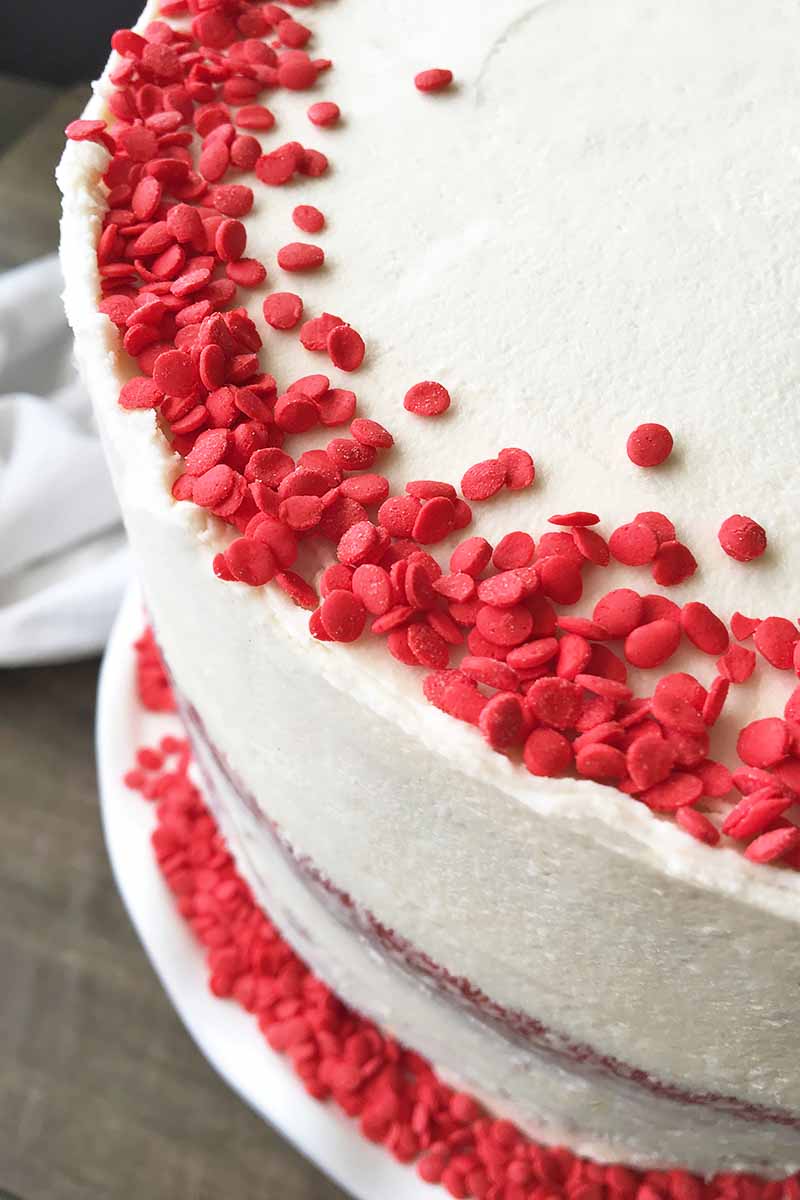
Step 6 – Decorate
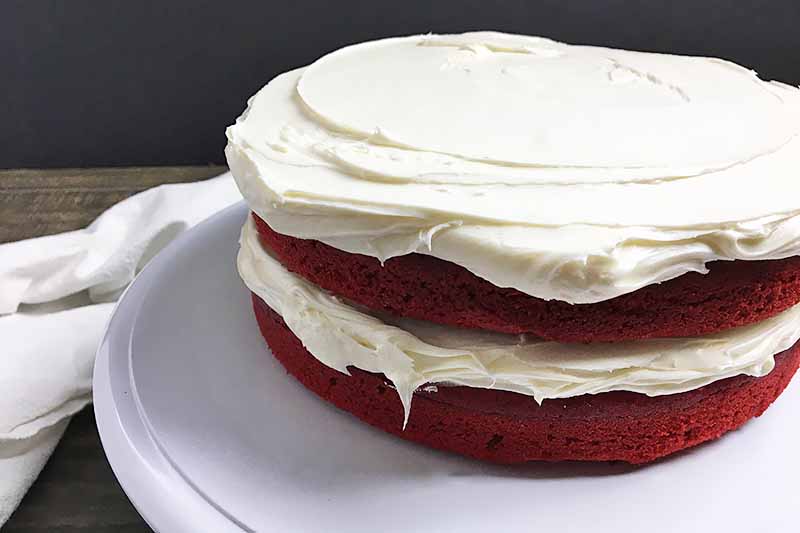
Decorate as you wish! Need some help with this step? Read my article on basic cake decorating to learn the essentials. And you’ll need all the right tools for decorating, too!
Let chill and set in the refrigerator for about one hour before serving. Enjoy!
Frost As You Wish
While this cake isn’t technically vanilla or chocolate, it can certainly be paired with all the fun flavors of frosting.
Vanilla, chocolate, or cream cheese will all be perfect. Try my recipes for silky Swiss meringue buttercream, or thick and fluffy American-style buttercream.
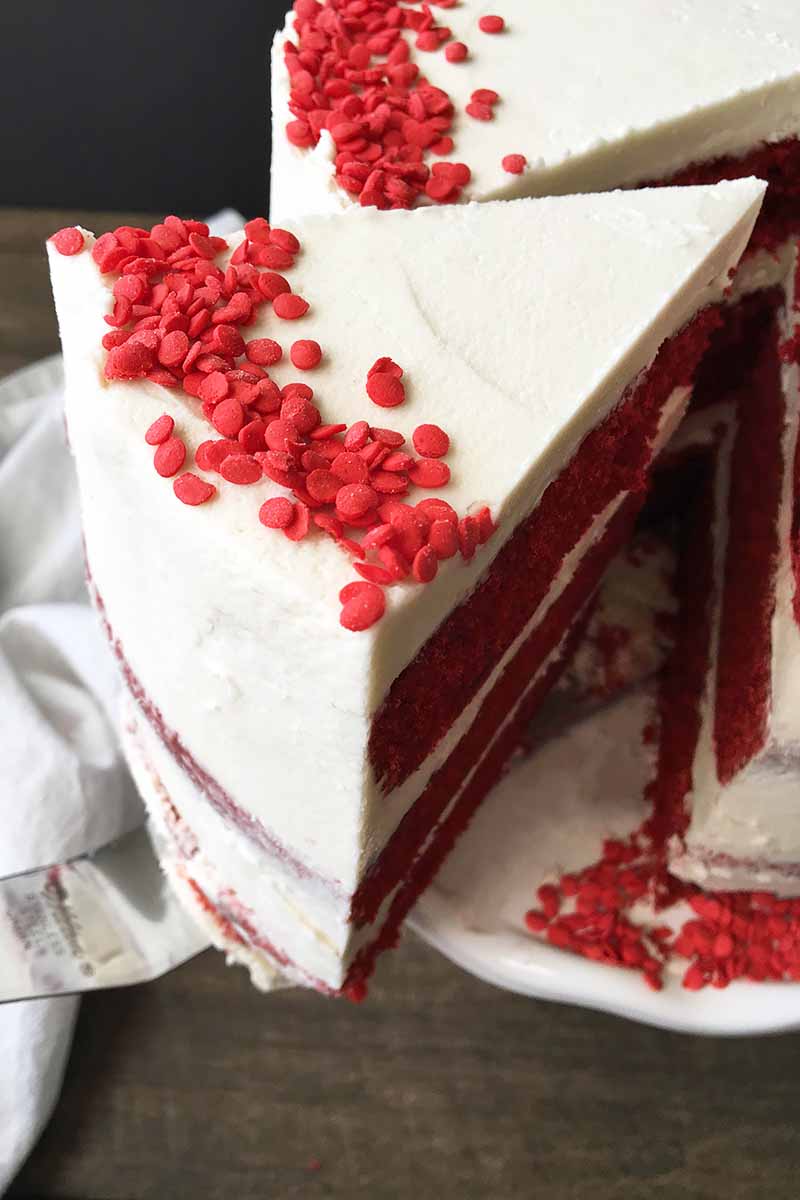
What frosting will you choose? I love the contrast of a vanilla icing with the bright red crumb. Let me know what you decide! Rate the recipe, and leave a comment for me below.
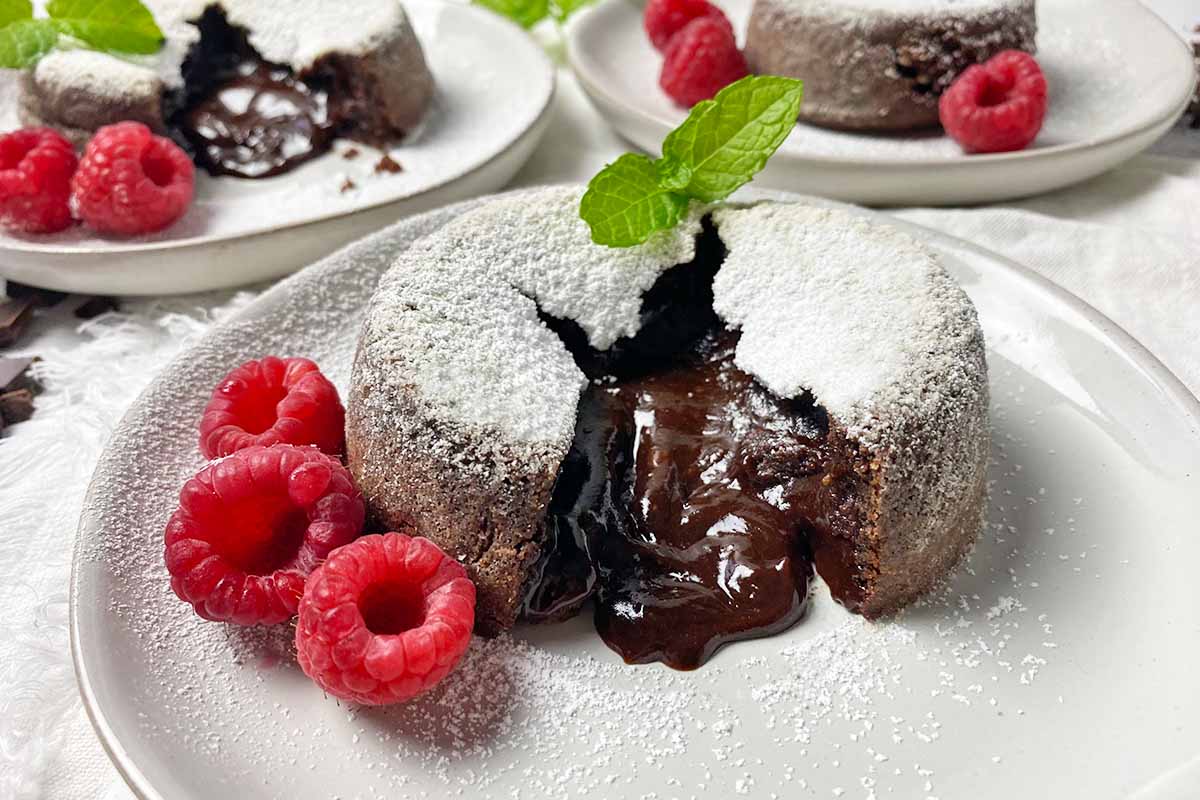
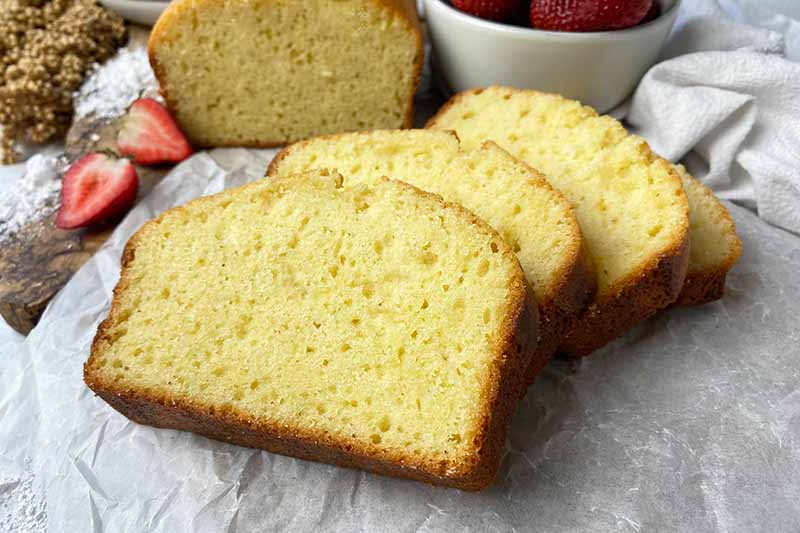
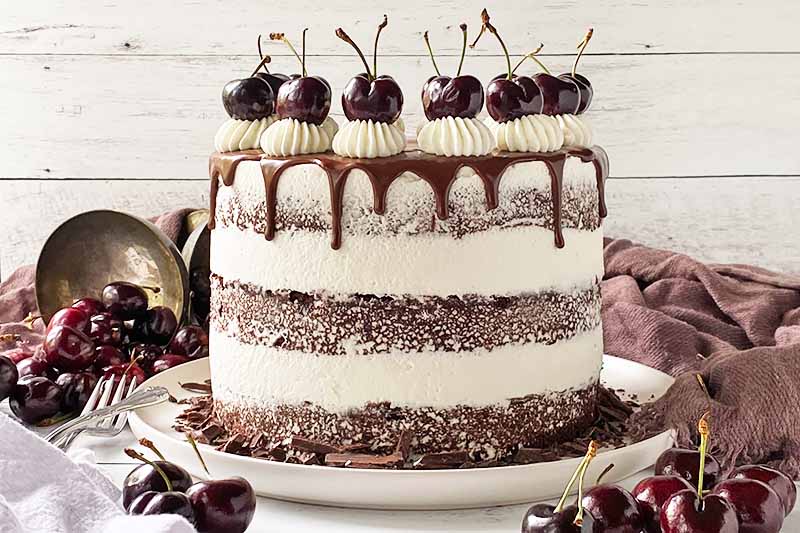
Can’t get enough fluffy rounds of sweet, sweet goodness? Enjoy another big slice with more of our classic recipes:
Photos by Nikki Cervone, © Ask the Experts, LLC. ALL RIGHTS RESERVED. See our TOS for more details.
Nutritional information derived from a database of known generic and branded foods and ingredients and was not compiled by a registered dietitian or submitted for lab testing. It should be viewed as an approximation.
About Nikki Cervone
Nikki Cervone is an ACS Certified Cheese Professional and cheesemonger living in Pittsburgh. Nikki holds an AAS in baking/pastry from Westmoreland County Community College, a BA in Communications from Duquesne University, and an MLA in Gastronomy from Boston University. When she's not nibbling on her favorite cheeses or testing a batch of cupcakes, Nikki enjoys a healthy dose of yoga, wine, hiking, singing in the shower, and chocolate. Lots of chocolate.
Red velvet cake is an all-time favorite and nothing is better than baking it at home. The best part is its topping. Thank you for sharing a wonderful recipe.
The “red” color originally came from the use of red beet juice. Double check your history
It’s true that beet juice was sometimes used, particularly during WWII when common baking ingredients were rationed. But according to our research, the original recipe for red velvet cake predates that time.
The cake looks perfect and fabulous to bake for a special day. Yes, it’s definitely the best red velvet cake. Lovely!!
what brand of food colouring do you suggest?
Question what recipe for a 10 inch cake pan 3 inch deep please thank you
Sorry, Kayleigh- we have several recipes on our site that call for a 10-inch springform pan, but I don’t think we have any published at this time that call for a regular cake pan with these dimensions.
You can try to make adjustments to recipes with the pan you have, but you will need to keep a close eye on things. A pan of this size has more surface area than an 8- or 9-inch pan and the finished cake will come out thinner. You could try increasing the oven temperature by 25 degrees and decreasing the bake time by about 25%, checking more regularly for doneness.