Jump to the Recipe
Imagine the perfect cut-out sugar cookie.
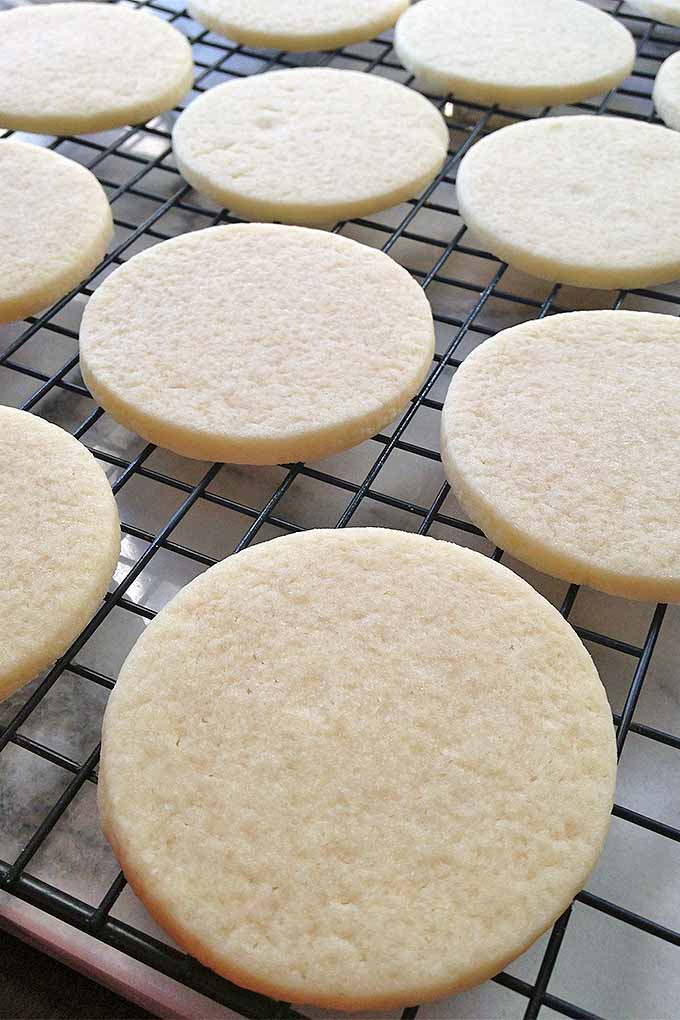
Or, as I like to call it, the pristine holy grail of hand-held dessert delights.
White, soft, slightly chewy, with a subtle aroma of vanilla that gently whispers to you to forget your diet plans and eat that second one.
It’s a classic that never gets old, no matter what time of year it is.
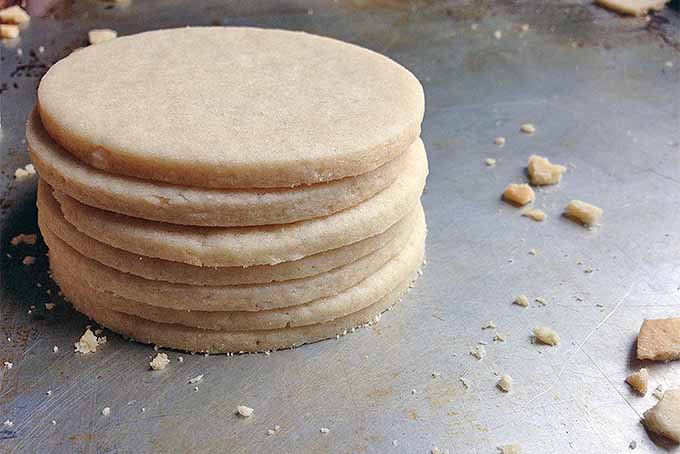
Pin this recipe on Pinterest, download it to your computer, and print it for your kitchen binder.
This is a recipe that can be used repeatedly, with different cut-out shapes for so many fun celebrations!
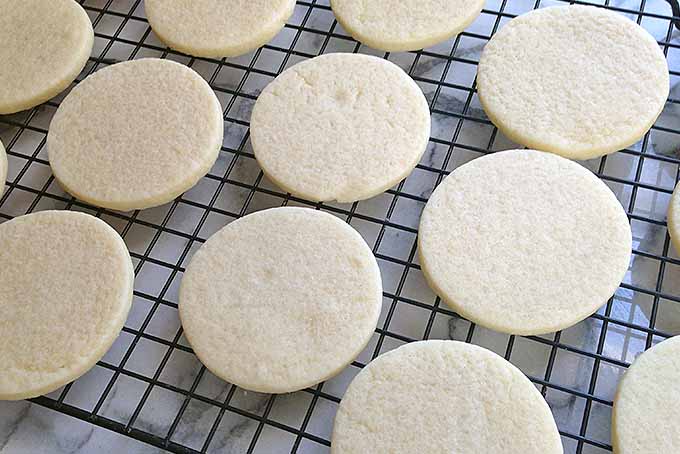
It’s an edible blank slate for all your decorating needs. Hearts for Valentine’s Day, snowflakes for the winter holidays, flowers for springtime… you name it!
Ready to make your own? Keep reading!
The Recipe
- 2 cups all purpose flour
- 1/2 teaspoon baking powder
- 1 1/2 sticks (6 ounces) unsalted butter slightly softened
- 1/2 cup granulated Sugar
- 1/2 cup Powdered sugar
- 1/2 teaspoon salt
- 1 egg*
- 1 teaspoon vanilla extract
- 1 tablespoon whole milk
- Preheat the oven to 325°F.
- Sift together the flour and baking powder. Set aside.
- In a mixer with a paddle attachment, cream the butter, sugar, confectioner’s sugar, and salt together until light and fluffy.
- Blend in the egg, vanilla extract, and milk until well incorporated. The mixture will look slightly lumpy.
- Add the flour mixture, beating just until combined and the dough starts to come together. Do not overmix.
- With your hands, form the dough lightly into a uniform disc. Wrap in plastic wrap and refrigerate until firm, about one hour.
- Cut and work with one half of the dough at a time, keeping the other half wrapped and refrigerated. Take out the dough and let it sit for about 5-10 minutes at room temperature. On a lightly floured board, roll out the dough with a rolling pin to approximately 1/4 inch thick. Use more flour if the dough gets sticky.
- Cut as desired, and carefully transfer to a lined baking sheet. Repeat with the other half.
- Once the cutouts are all transferred to baking sheets, place them in the refrigerator. Chill for 15 minutes.
- Remove from the refrigerator and immediately bake until set, approximately 8-10 minutes. They will still be pale white and soft to the touch. Remove from oven. Let the cookies stand for 1 minute, then transfer them to write racks to cool completely.
- Once cooled, decorate and serve!
Cooking by the Numbers…
Step 1 – Sift Together the Dry Ingredients
The first step is crucial, to ensure that your dry ingredients are aerated and blended together properly. Sifting them together is the best way to do this.
Not only does sifting help to aerate and lighten the flour, it also helps to evenly blend the dry ingredients together with an equal distribution. No clumps of baking powder here!
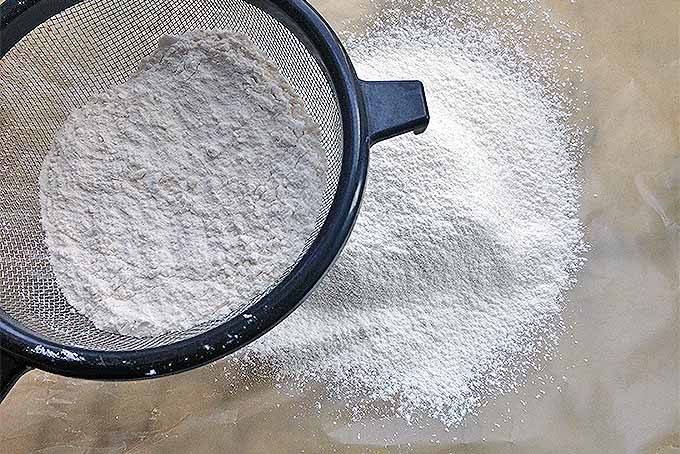
Measure out the flour and baking powder in a small bowl. Place a fine-mesh strainer over a bigger bowl or piece of parchment paper. Then, a little at a time, pour the dry ingredients over the sieve and pat to sift. Repeat until all the flour and baking powder are sifted, and set aside.
Step 2 – Cream the Butter, Sugars, and Salt
Stop right there. Check on something for me, please. Before mixing the butter with the sugar and salt, do you know if your butter is at the right consistency?
Butter that is too soft or melted will lose its structure during the creaming process, leaving you with a sad, sandy pool of liquid butter and sugar. You won’t be able to get the properly fluffy consistency that you need.
You need your butter to be slightly softened for this, but not melted. It needs to be firm enough to hold its shape.
To achieve this, you can leave the butter out at room temperature ahead of time for it to soften naturally. Alternately, you can microwave it for 10-second intervals until it reaches the right softness.
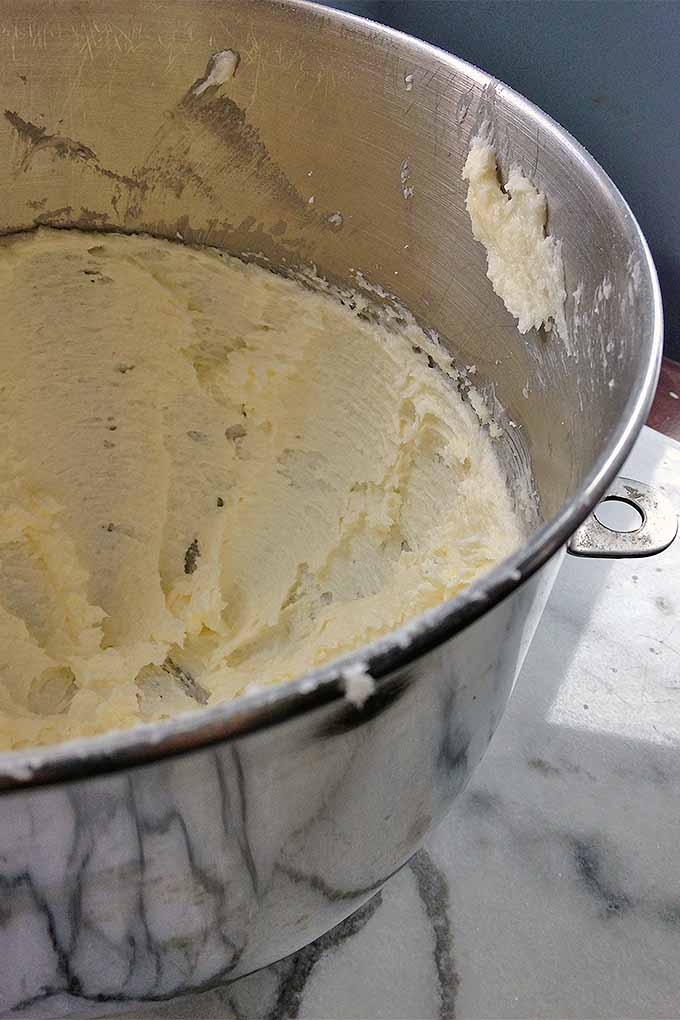
Once the butter is ready, place it, along with the granulated and powdered sugar and salt, in a mixer with a paddle attachment.
So… why the powdered sugar?
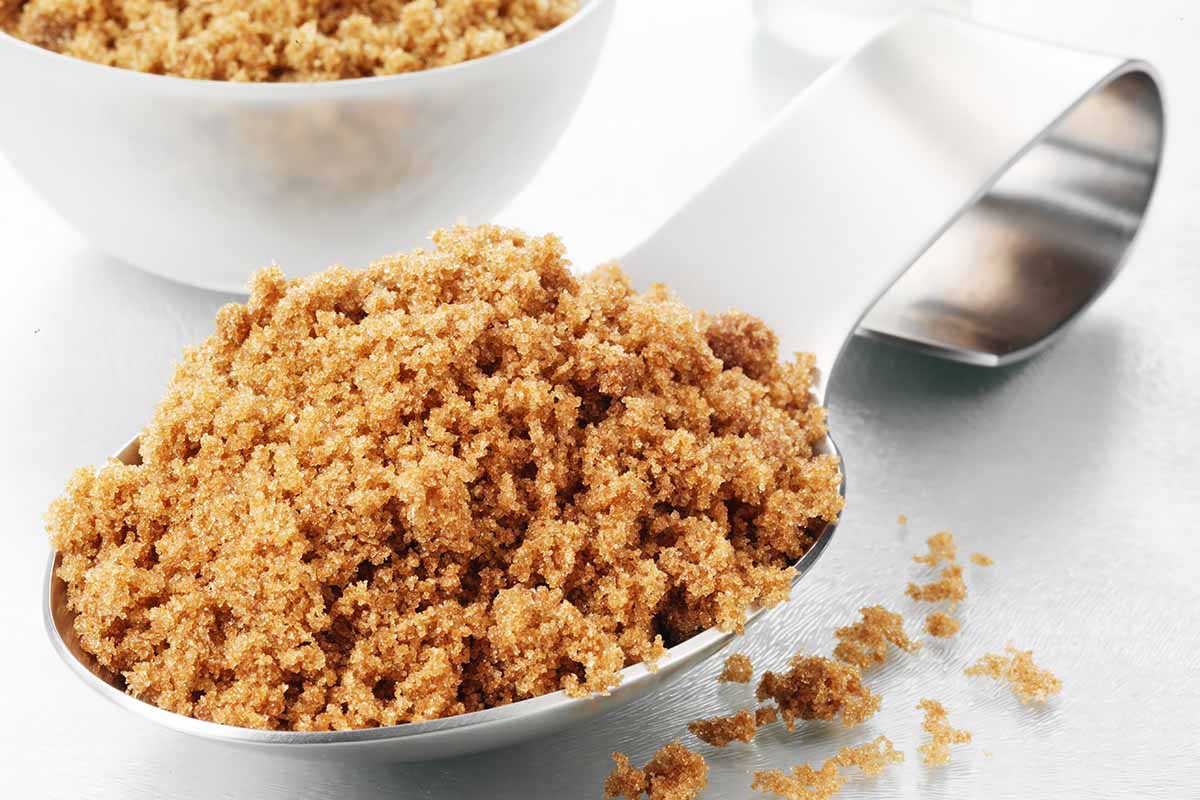
Using a small portion of confectioner’s in addition to granulated sugar actually makes a finer, more even crumb in the finished product. It also helps to reduce the spread as they bake, maintaining a perimeter that’s close to the original shape of the cutout.
The coarser texture of individual granulated sugar grains gives the butterfat more room to spread. With powdered sugar, since it is a very fine, uniform product, the butterfat is more evenly coated, preventing it from melting and spreading too much.
Consult our guide to sugar to learn more about sugar varieties, and how to use them in the kitchen!
Step 3 – Add Other Ingredients to Form Dough
Add all of the liquid ingredients next. At first, the addition of eggs, vanilla, and milk will make the dough look like it is curdled. Just keep mixing at a medium speed until a more uniform mixture is formed.
Add the dry ingredients to the wet, and mix on low speed just until it forms a dough.
We use all-purpose flour for this recipe. As you mix the cookie dough, the stronger flour will develop some gluten structure, helping the dough maintain its shape and decrease spread.
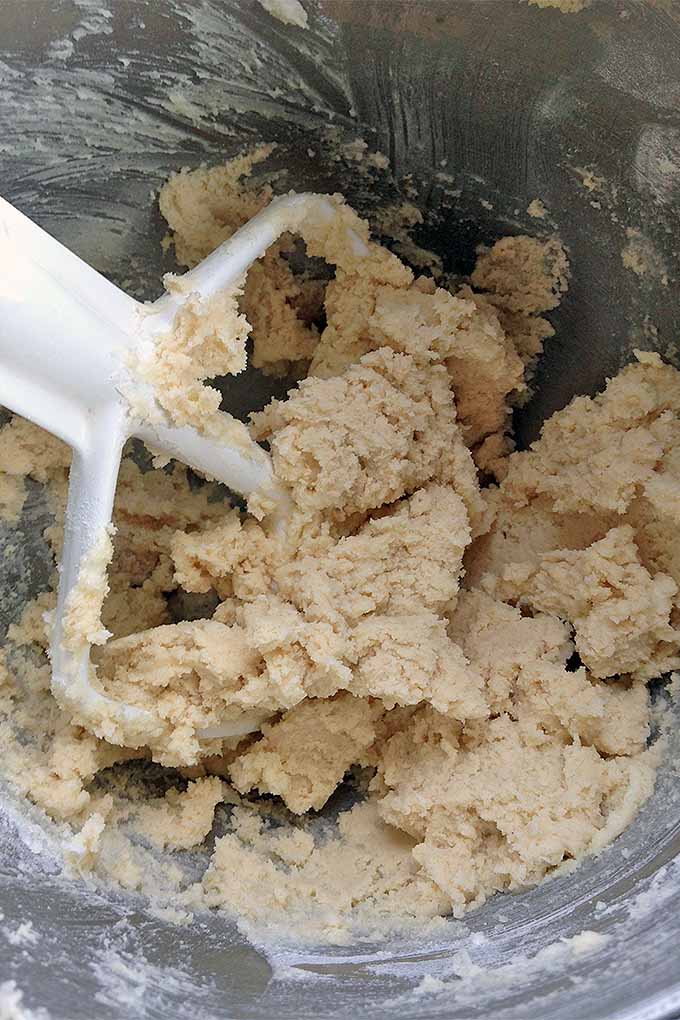
But be careful!
Do not overmix the dough, as you do not want to create a cookie that is too tough. While some gluten development is necessary for the cookie to hold its shape, it is very easy to go overboard with mixing. The more you mix the dough, the more gluten will form.
What are the consequences of overmixing? A very tough, very chewy cookie. And very sad, very dissatisfied consumers.
Step 4 –Chill
Once you have mixed the dough, form it into a flat, compact disc by hand and wrap it in cellophane. Place it in the fridge for at least one hour to fully chill it.
This process helps to re-harden the butter, which makes it much easier to roll and cut the dough for the next step.
If you skip this process and go directly to shaping the final cookie product, the dough will be sticky, and far too soft to handle easily.
Step 5 – Rolling and Cutting
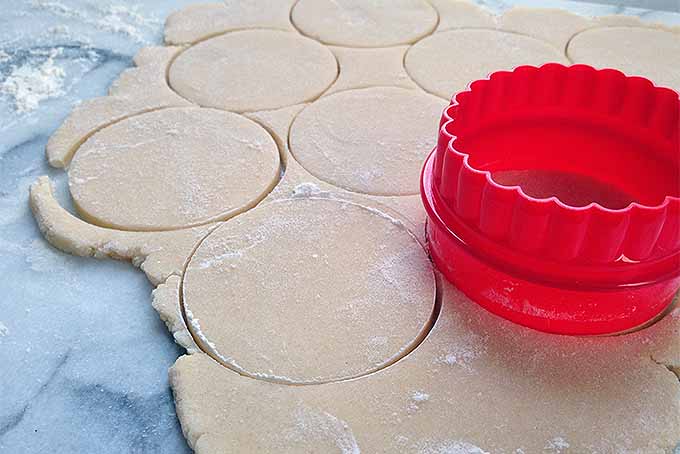
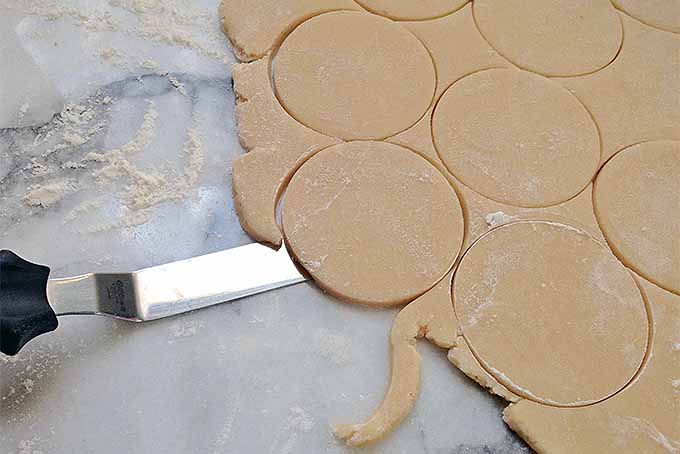
Working with half of the dough at a time, roll it out on a lightly floured surface with a lightly floured rolling pin, to prevent sticking.
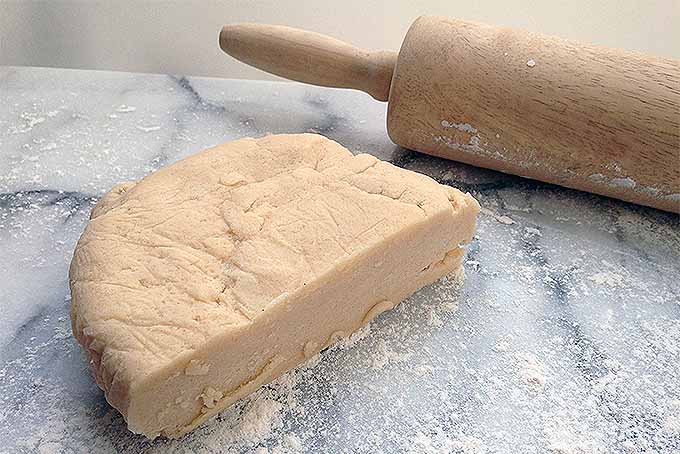
It is best to wait at least five minutes before rolling it out – this makes the dough a little more pliable to work with, rather than trying to roll out a cold, hard product.
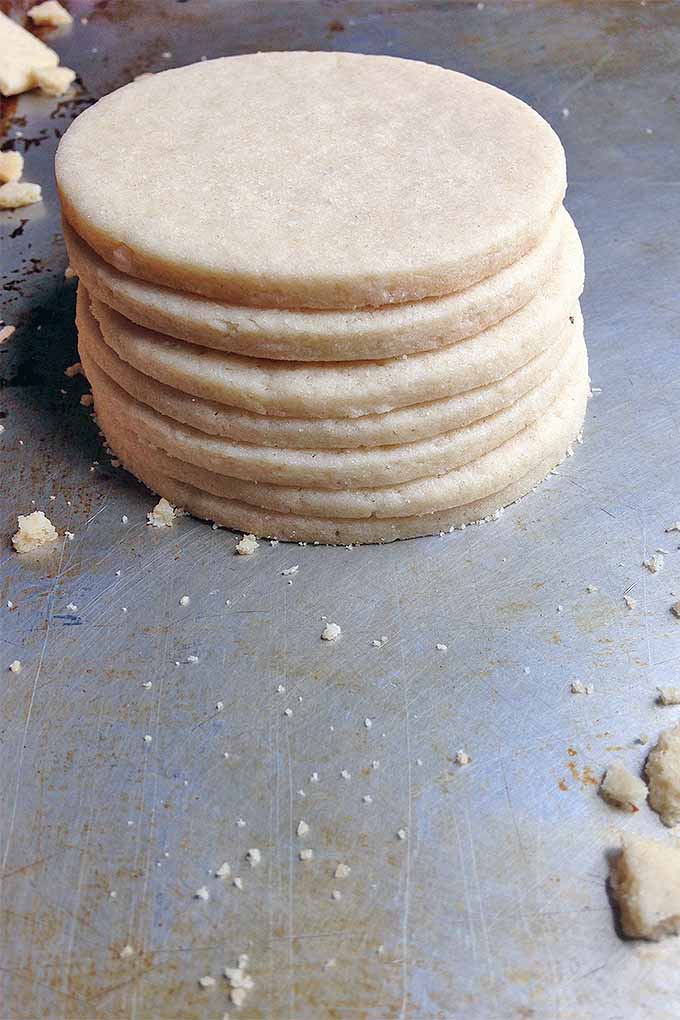
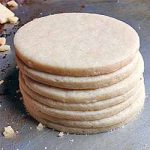
My ideal thickness for a soft and chewy cookie is about 1/4 inch. If you prefer a thinner treat, roll it to about 1/8 inch.
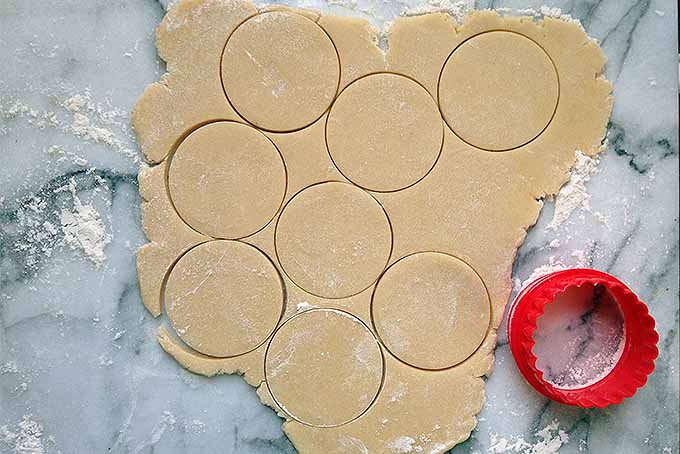
I suggest only re-rolling the dough once. The more you knead the dough, the tougher it gets with each re-roll. The resulting cookie will be chewier, drier, and tougher.
When you are ready to use your cookie cutters, dip them in some flour first. This helps to get a more precise cut, and also prevents the dough from sticking.
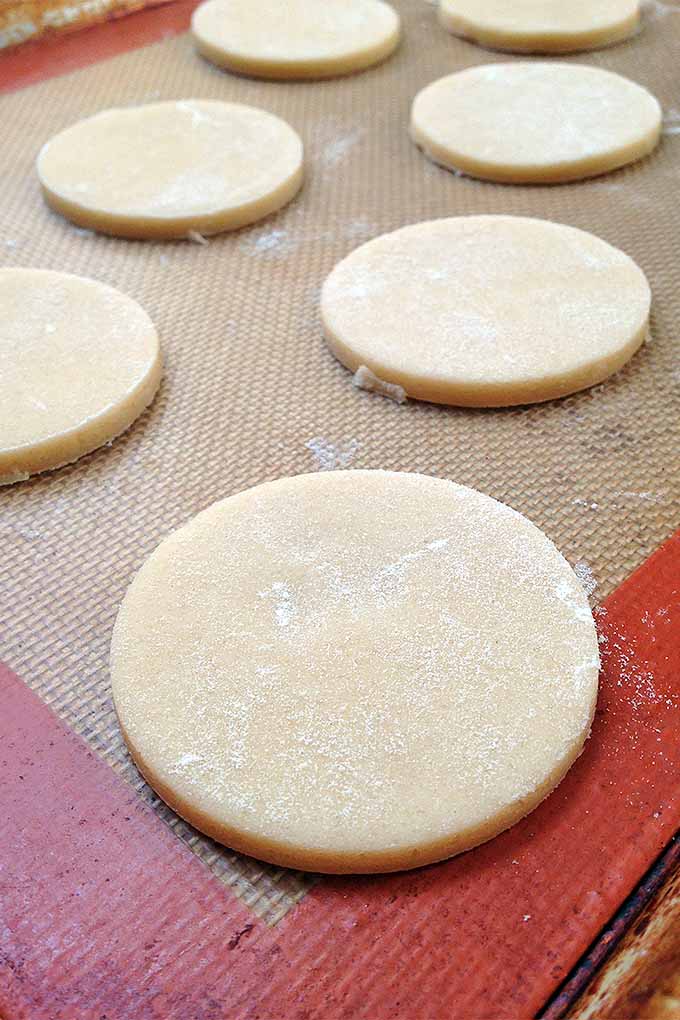
Silpats or another type of silicone pan liner help to keep your cookies from sticking to the baking sheets (and provide for easier cleanup as well).
Step 6 – Baking
Mark my words, and remember what I am telling you at this crucial moment:
For a soft, slightly chewy sugar cookie, DO NOT OVERBAKE.
You will desperately want to keep baking them well after the 8-10 minutes are over. You will doubt yourself.
You will keep checking the oven every 30 seconds, asking yourself if you should bake them for just a few minutes longer.
Resist this urge.
You have been trained up until this point that a cookie is done when it has a light golden-brown hue. But nothing could ruin a soft cookie more than that deceptive color.
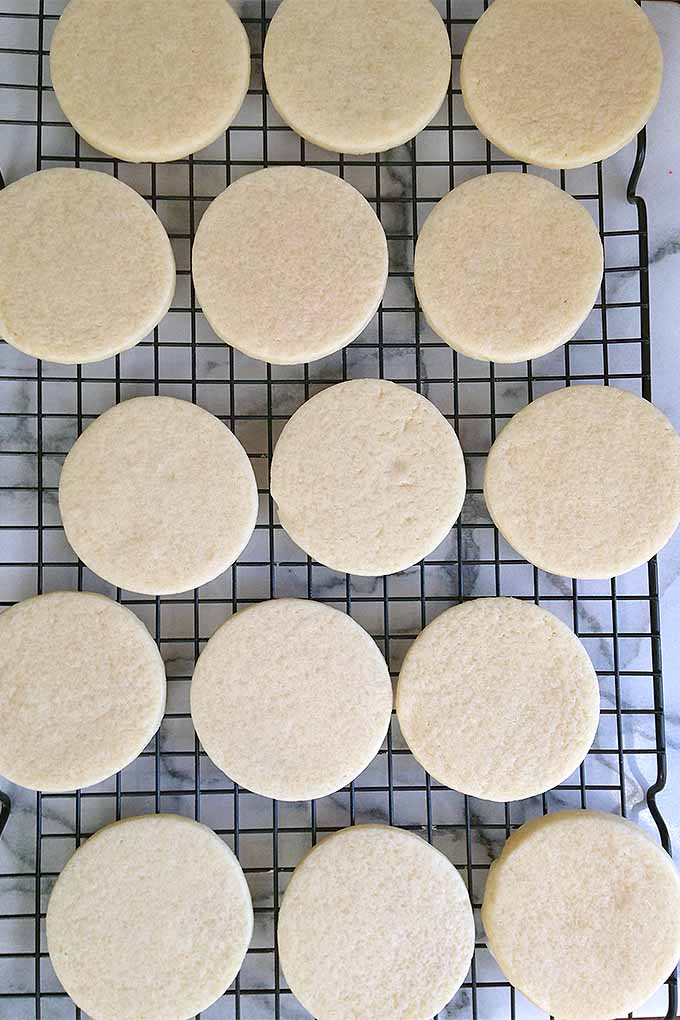
You want these to still be pale white. You want them to still be soft, and yielding to the touch.
I like to bake small batches in a convection based toaster oven where I can watch them easily.
Take into consideration the carryover cooking that will commence when you take them out of the oven to cool. Their internal temperature is still quite high, and they will still continue to harden even when you remove your baking sheets from the oven.
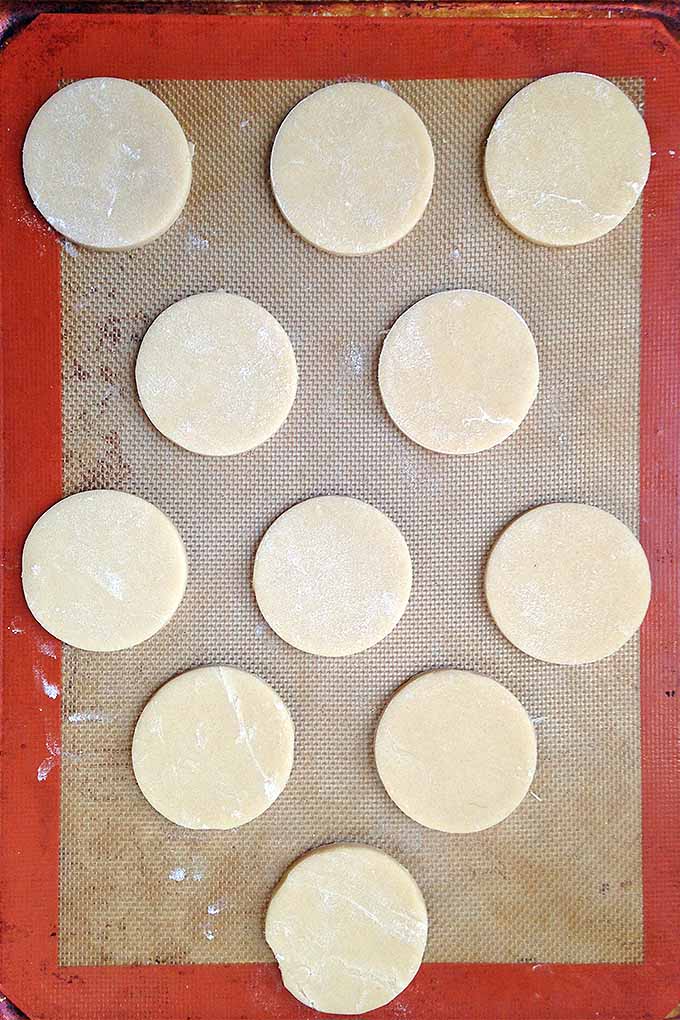
Now, it is entirely up to you if you prefer a crispier sugar cookie. These also bake up beautifully as thin, golden-brown, crispy dessert treats. If this is your dream for baking day, bake them an additional 5-10 minutes.
But if you want a softer sugar cookie, renounce the golden-brown point of view, just this once.
Step 7 – Cooling
Once they have finished baking, promptly remove your pans from the oven.
Allow them to rest for a minute or two on the sheet tray before transferring to a wire cooling rack.
Using a small spatula, transfer them one by one to the rack, being sure to leave a little space in between each to promote faster and more even cooling.
Step 8 – Decorating and Storing
Make sure they are completely cool before applying icing.
Use my recipe for cocoa fudge frosting, if you (like me) constantly crave chocolate.
Curious about royal icing? Sugar cookies provide the perfect flat canvas! Read our ultimate guide to royal icing!
For room temperature storage, place them in an airtight tin, bag, or lidded container. They will keep for one week.

Happy Baking, All Year Long!
Whether you like them soft and chewy or thin and crispy, no matter if you’re making candy canes for Christmas, shamrocks for St. Patty’s Day, or Peeps-inspired bunnies for Easter, the classic sugar cookie aims to please all year round!
If you loved this recipe, why not give a few other Foodal cookie recipes a try? They’re great for the holidays, or anytime:
- Snowflake Cookies
- Black and White European Christmas Cookies
- Brownie Roll-Out Cookies
- Vanilla Crescent Cookies
- Earl Grey Tea Flavored Shortbread Cookies
- Madeleines
- Italian Biscotti Cookies
- Grain-Free Chocolate Chip Cookies
- Double Chocolate Orange Cookies
Give this recipe a try, and let us know that you think in the comments below!
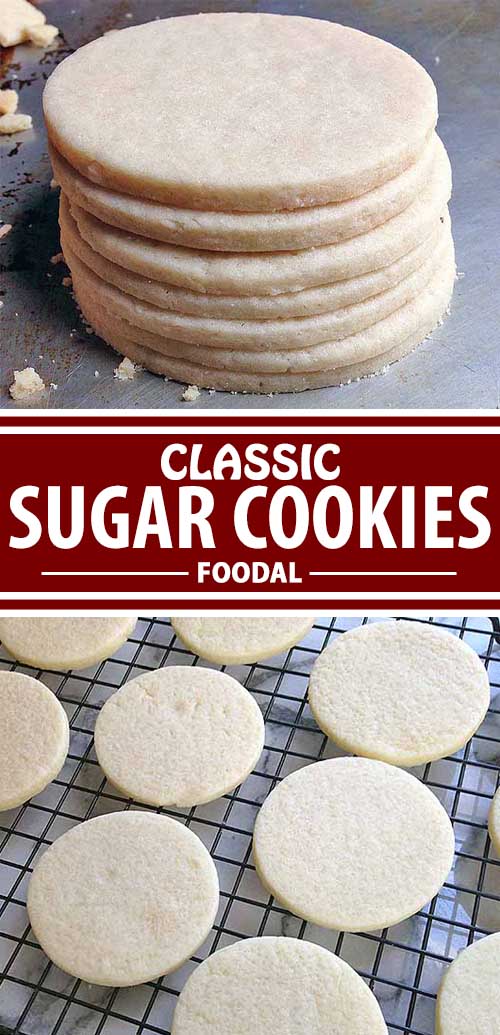
Don’t forget to Pin It!
Photos by Nikki Cervone, © Ask the Experts, LLC. ALL RIGHTS RESERVED. See our TOS for more details.
About Nikki Cervone
Nikki Cervone is an ACS Certified Cheese Professional and cheesemonger living in Pittsburgh. Nikki holds an AAS in baking/pastry from Westmoreland County Community College, a BA in Communications from Duquesne University, and an MLA in Gastronomy from Boston University. When she's not nibbling on her favorite cheeses or testing a batch of cupcakes, Nikki enjoys a healthy dose of yoga, wine, hiking, singing in the shower, and chocolate. Lots of chocolate.

Hi, I am looking forward trying this recipe. I looked at many recipes but none had both sugar. My 2 questions to you are you have an ( *) next to the eggs in the ingredients not leading to anything ..that I see. 2, I like to make a thicker decorated cookie, do you think this recipe will be okay without spreading?