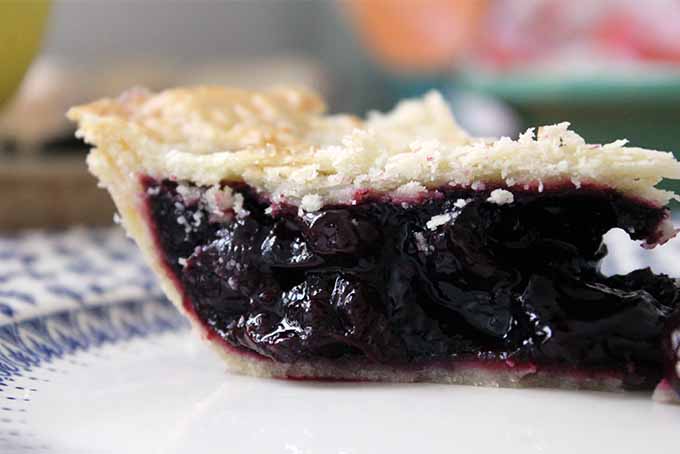
There’s nothing I love more than a large slice of tart cherry pie with a scoop of homemade vanilla ice cream.
It’s too bad that most local cherries hit prime pie-making ripeness right when the weather is too warm to want to turn on the oven.
When using cornstarch or tapioca to thicken a recipe, the filling must boil for several minutes to successfully cook it all the way through. This version uses arrowroot instead, which doesn’t take as long to thicken.
Additionally, arrowroot does not break down with the presence of an acid (unlike tapioca) and it forms a clear filling (unlike the cloudiness of cornstarch). It is neutral tasting and sets nicely, making it a great choice for fruit fillings.
The only downside to using arrowroot is this: if it remains at the boiling point for too long, the starches will burst, reversing their thickening power.
To combat this issue (and to decrease baking time in the oven), I cook the cherries over the stove to break them down before adding the starch. The temperature at which cherries turn into a nice fruity syrup is much higher than that at which arrowroot sets, so cooking the cherries first allows you to create a flavorful filling without bursting the arrowroot starches.
Once the pie is assembled, it bakes in just under 30 minutes.
The white balsamic vinegar adds a unique depth of flavor that’s quite different from the more typical lemon juice. And the sweetness in this acid pairs nicely with black or purple cherries.
If you’re looking to perfect your pie-making game before you get started, make sure to check out our guide to the perfect pie crust recipe here.
The Recipe

- 2 cups all purpose flour
- 1 teaspoon salt
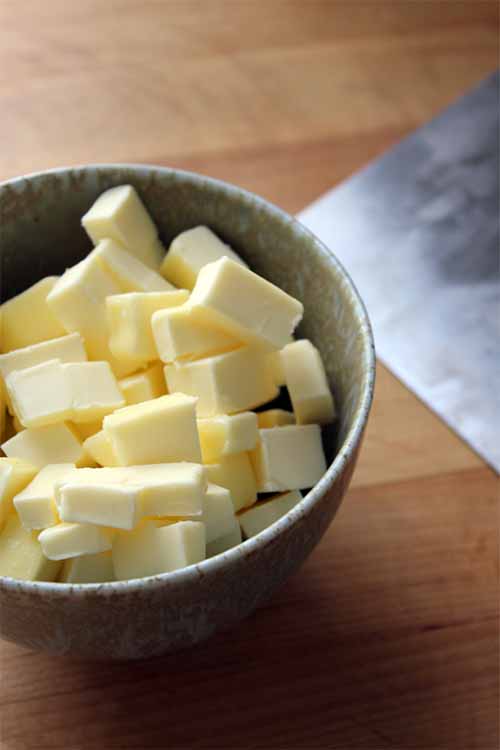
- 2 sticks unsalted butter (1/2 pound or 225 grams)
- 6 tablespoons ice water
- 1 egg*
- 5 cups pitted and halved cherries
- 1/4 cup white balsamic vinegar
- 1/2 cup sugar
- 1 teaspoon salt
- 1/4 cup arrowroot starch
- Using the paddle attachment on a stand mixer, a food processor, or a pastry cutter, incorporate the butter into the flour and salt until it is broken into pea-sized pieces.
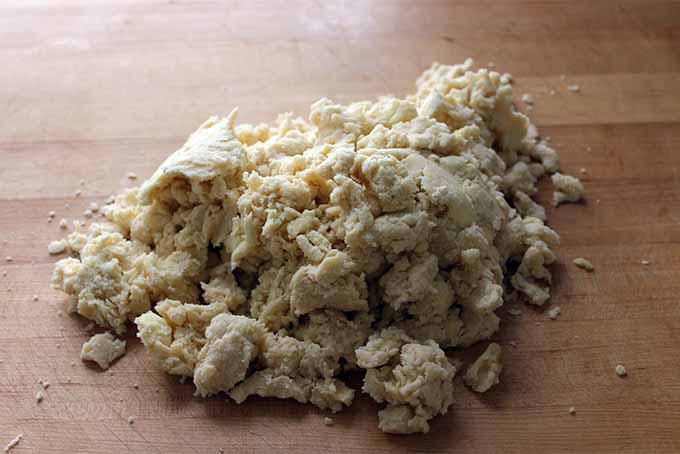
- Add the ice water and mix until the dough just begins to come together.
- Turn onto a clean counter and knead lightly one or two times to form a solid ball.
- Divide the dough into two even pieces, form each into a disc, and wrap in plastic wrap. Refrigerate for at least one hour, or up to 3 days.
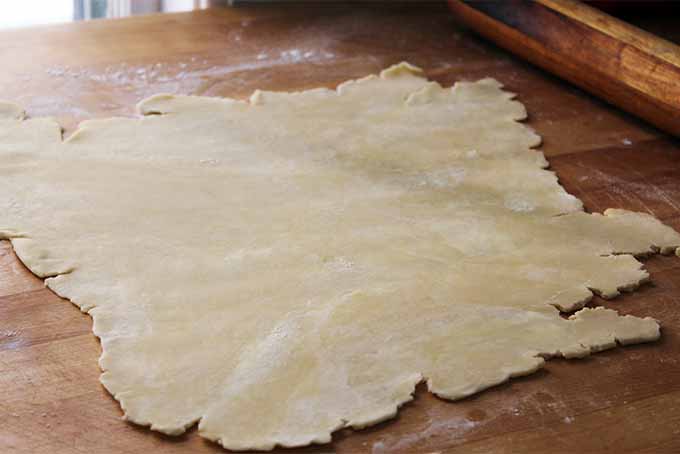
- Once the dough is chilled, roll it out until it will fit the base of a pie plate, with a little bit of excess.
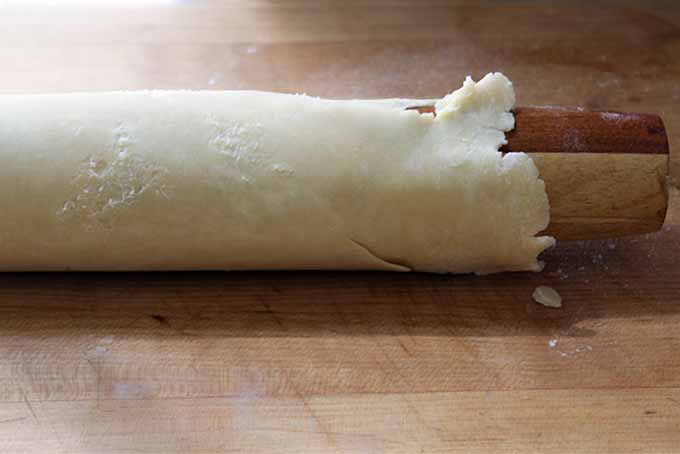
- Roll the dough carefully onto the rolling pin and transfer it to the plate. Press into the bottom of the pie dish, then trim around the edges of the plate. Place back into the refrigerator for at least half an hour to chill.
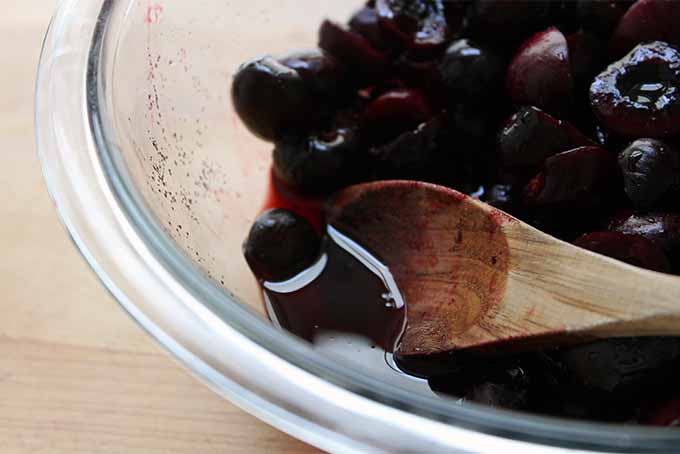
- Combine the cherries, vinegar, sugar, and salt in a bowl and let macerate for an hour.
- Once the sugar has dissolved and the cherries have formed a puddle of liquid in the bottom of the bowl, transfer them to a medium-sized saucepot and cook on medium-low heat for fifteen minutes, stirring regularly.
- After the filling has thickened, turn off the heat and stir in the arrowroot until it has dissolved.
- Let the filling cool slightly while you roll out the second half of the pie dough. If desired, cut a design into this top piece. Preheat the oven to 375°F.
- Transfer filling to the chilled shell. Roll the second half of the dough over the top.
- Trim the top so that it is the same size as the edge of the bottom of the shell. If you did not cut a design in the top crust already, use a knife to slice 4 1-inch vents in the top dough. Using a fork, crimp the edges of the crust together.
- Whisk the egg with 1 tablespoon of water. Using a pastry brush, brush this egg wash over the top of the pie.
- Bake for 30 minutes, until the top is slightly browned.
- Let cool for half an hour, then slice and enjoy!
Cooking By the Numbers…
Crust:
Step One – Process Flour & Butter
Cut your butter into pieces about 1/8 inch in size. Place the cut butter in the freezer for 5 minutes. This will help to prevent coating the flour with fat, which can inhibit the production of a nice flaky crust.
Blend together the flour and salt in the bowl of a stand mixer, a food processor, or in a mixing bowl. Add the chilled butter.
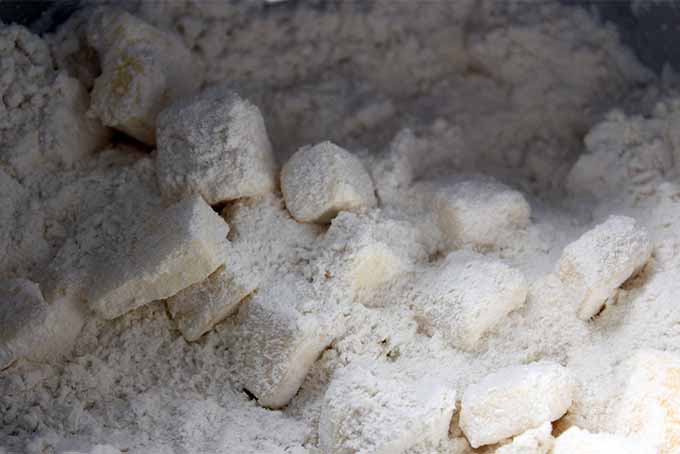
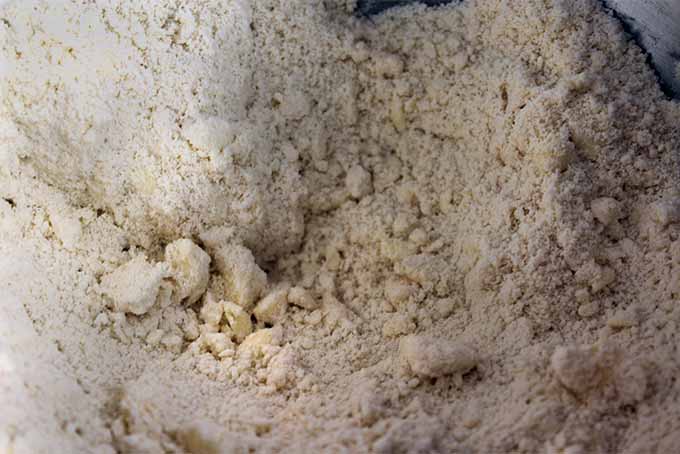
Mix with a paddle attachment on low speed, or pulse with a food processor, or cut with a pastry blender until the butter is incorporated into the flour in pea-sized pieces. When it has reached this point, the flour will hold in clumps if pressed with your hands.
Be careful not to overwork the dough at this point. Doing so will coat the flour with butter, and this will prevent it from hydrating properly with the addition of water.
Step Two – Add Water
Sprinkle the cold water over the flour mixture and mix on low speed just until it comes together.
One trick to make sure that your water is cold enough is to add ice to a cup of water, then measure straight from this.
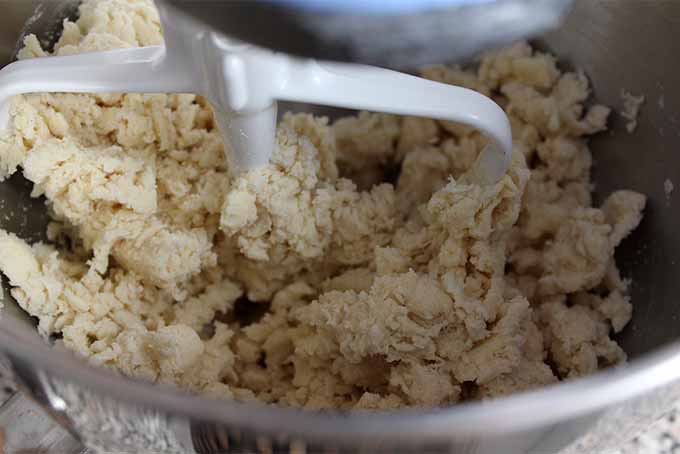
Once the dough begins to pull together, stop mixing – you will finish it by hand to prevent overmixing.
Step Three – Knead Lightly
Turn the dough out onto a clean counter and knead one or two times, just until it comes together into a single lump.
There should still be streaks of butter present. This is okay – it will add to the flaky texture after you roll the dough out.
Step Four – Divide & Chill
Divide the dough into two even pieces. Working lightly, form each piece into a small disc.
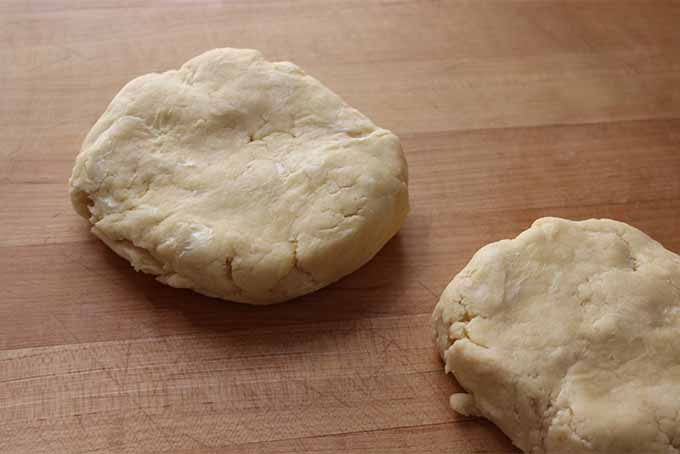
You want to be careful to work the dough as little as possible. Pie dough is very delicate; nobody wants a tough crust!
The easiest way to do this is to first form a ball, then flatten it out a bit.
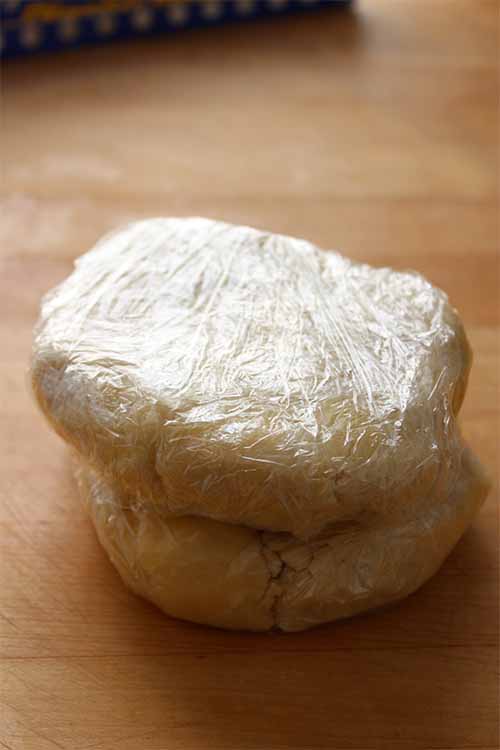
Wrap each disc tightly in plastic wrap and refrigerate for at least an hour, or up to three days. You want to make sure the dough is very cold before you go to roll it out.
Step Five – Roll
Roll one disc of pie dough out into a circle 11 inches in diameter. Flour your counter lightly.
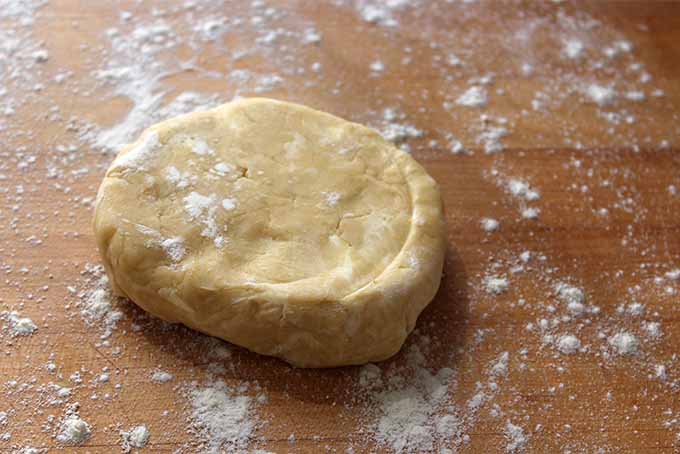
Rotate the round 90° after every pass of the rolling pin. This will not only help to form the round shape, it will also ensure that you stretch the gluten strands evenly so that they don’t spring back and form a tough dough.
Step Six – Transfer
In order to ease the process of transferring your dough to the pie plate, roll it onto your rolling pin.
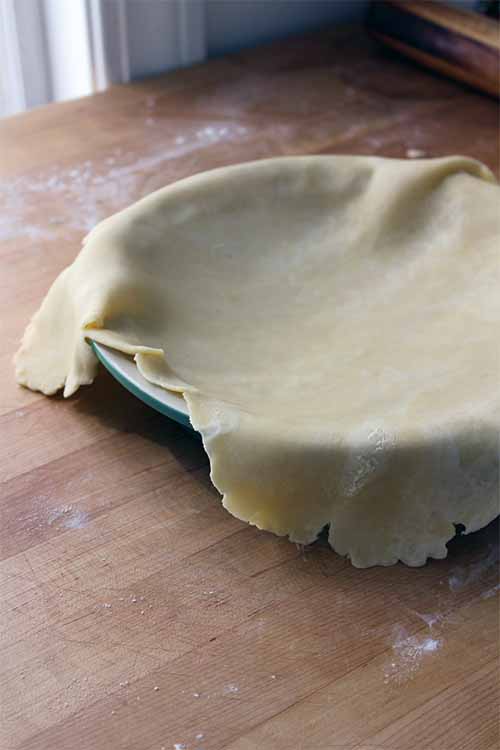
Spray your pie plate with pan spray or rub it with butter. Roll the dough out onto the plate and press into the edges.
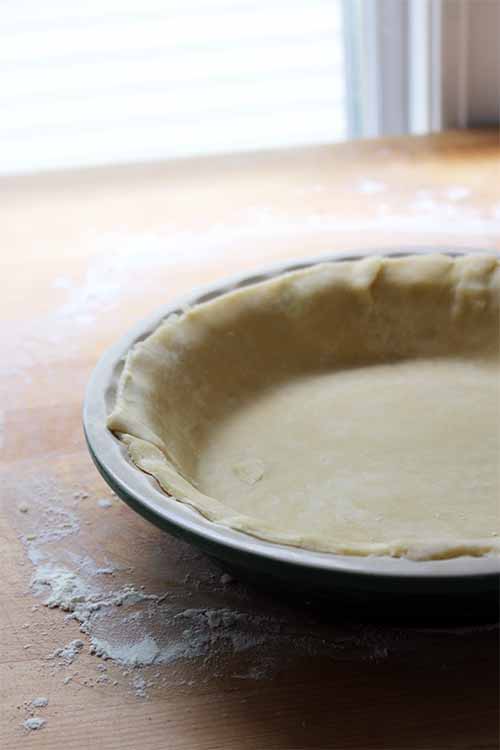
Trim the top edge so that it has about 1/4 inch of overhang – you will need this to attach the top crust.
Return the crust to the refrigerator for at least half an hour before baking, to rest the dough and relax the gluten.
Filling:
Step One – Macerate
Pit the cherries and slice them in half. If you have latex gloves, they can be very helpful for preventing stained fingers!
You’ll probably want to protect your clothes as well – don’t wear anything that stains easily when you’re pitting fresh cherries, and cover up with an apron.
Mix together the cherries, vinegar, sugar, and salt in a medium-sized bowl and let it sit at room temperature for an hour. The sugar and vinegar will begin to break down the cherries.
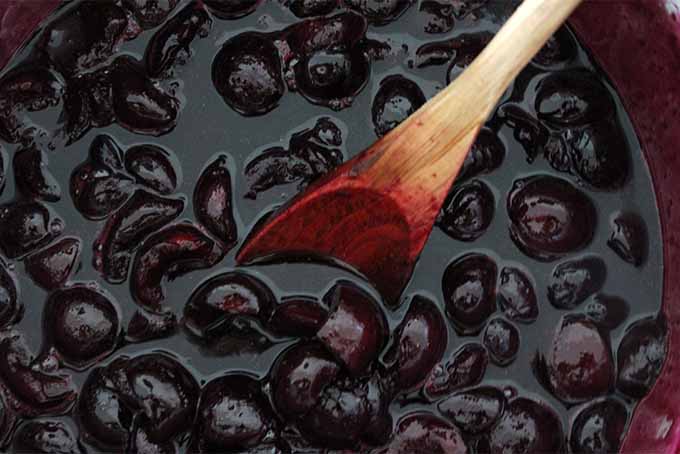
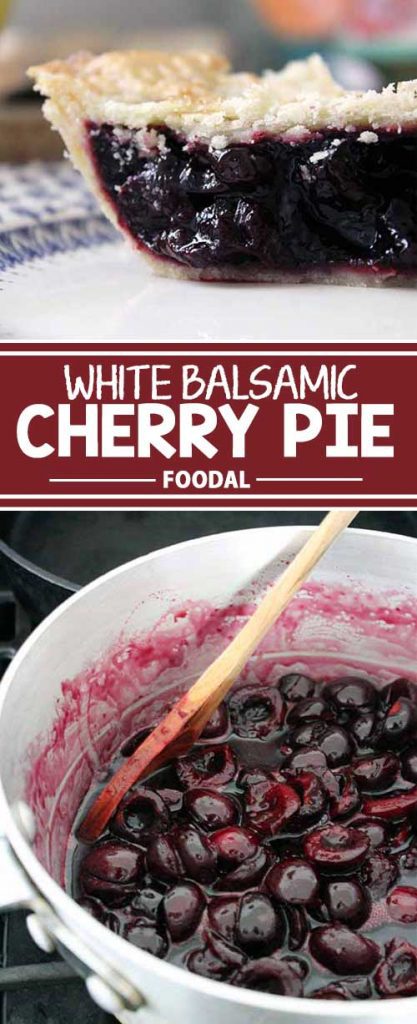
Step Two – Cook
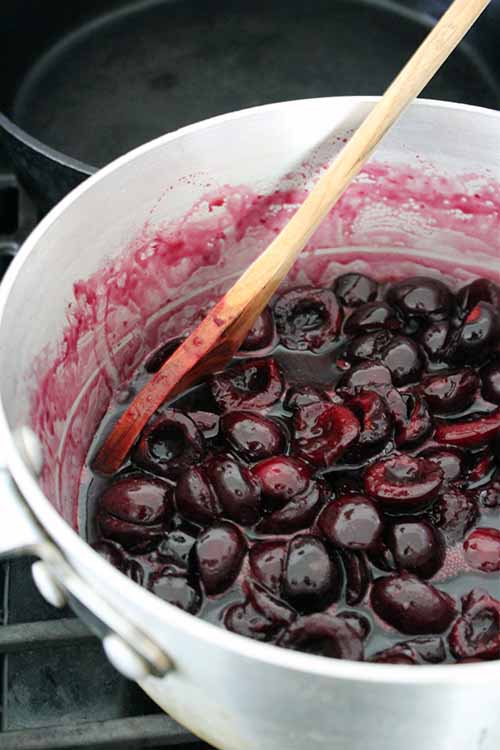
Once the sugar has dissolved and the cherries are sitting in a puddle of dark juice at the bottom of the bowl, transfer them to a medium-sized saucepot.
Cook on medium-low heat for fifteen minutes.
Stir the cherries constantly as they begin to boil. After fifteen minutes, the liquid should have turned into a thick syrup. At this point, turn off the heat.
Step Three – Stir in Starch
Scatter the arrowroot powder over the filling and stir in until it has dissolved. If the starch has formed any clumps, be sure to break these up.
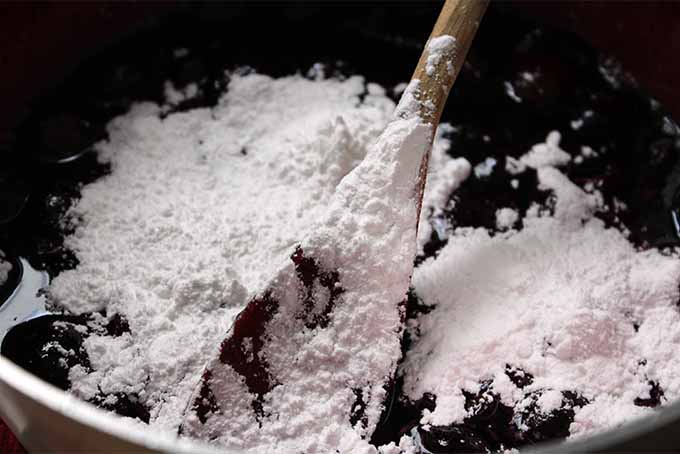
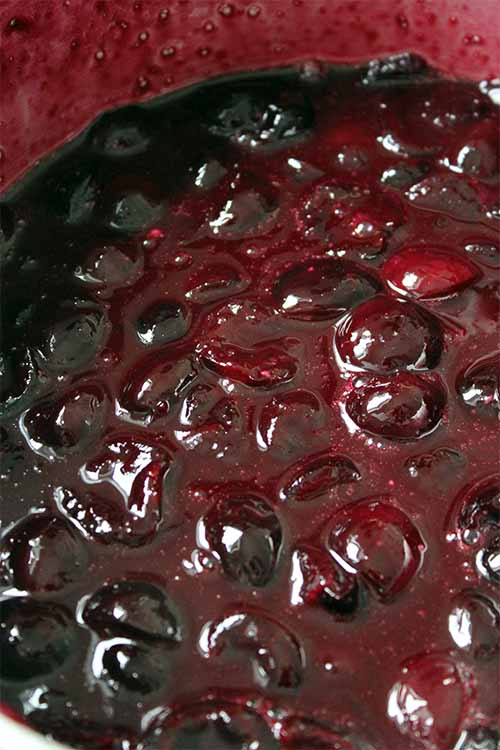
The filling should look much lighter in color at this point. Let it cool at room temperature as you move on to step four.
Step Four – Roll Top Crust
Roll the second half of your pie dough into a circle about 10 inches in diameter. Follow the same directions as when you rolled out the bottom crust.
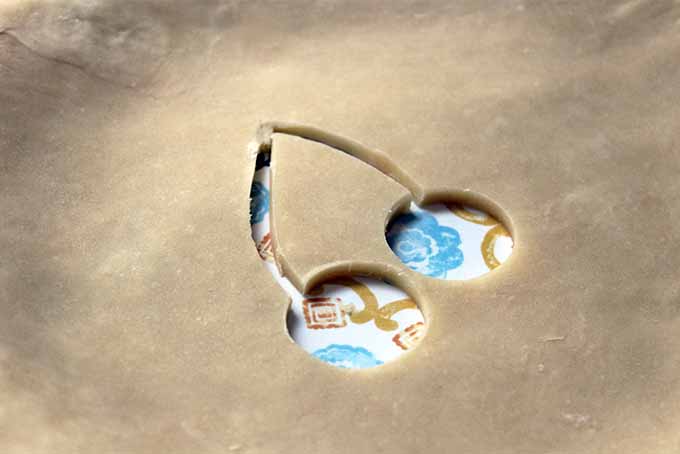
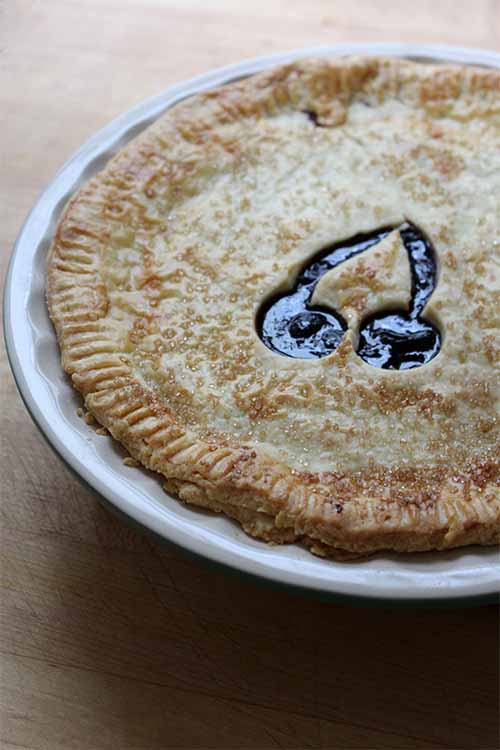
If you want to create a fun design on top of your pie, cut it out now. I like to form a cute cherry cutout using the wide end of a pastry tip and a paring knife.
While you roll the dough, preheat your oven to 375°F.
Step Five – Transfer
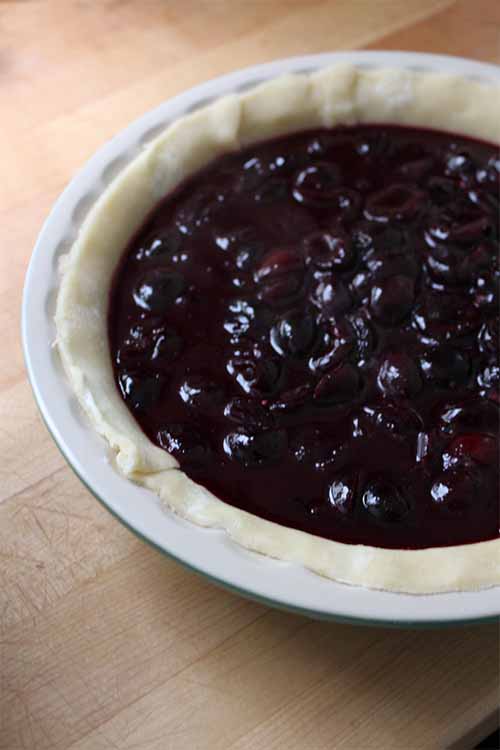
Pour the slightly cooled filling into the prepared crust.
Roll the dough for the top onto a rolling pin to transfer. If you have cut out a design, be gentle so you don’t break it!
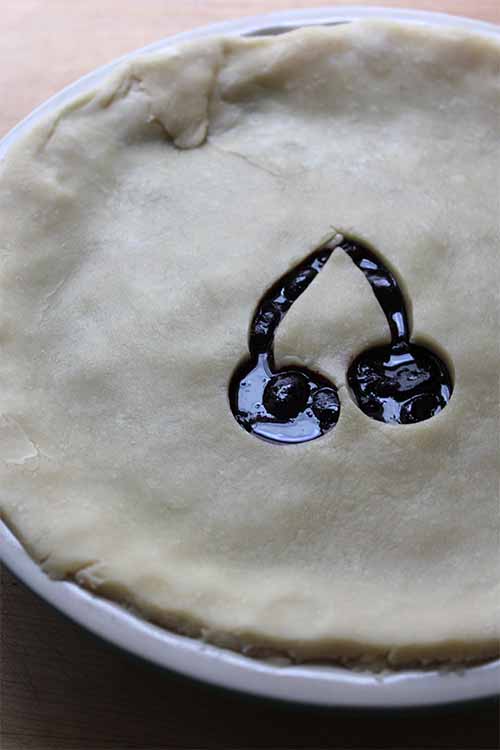
Roll the top crust onto the filled pie base.
Step Six – Trim
Trim the edge of the top crust so that it is the same size as the bottom.
If you did not cut a design in the top crust already, cut four 1-inch long vents in the top to let the steam escape as it bakes.
Using a fork, crimp the edges of the crust so that the top and bottom pieces hold together.
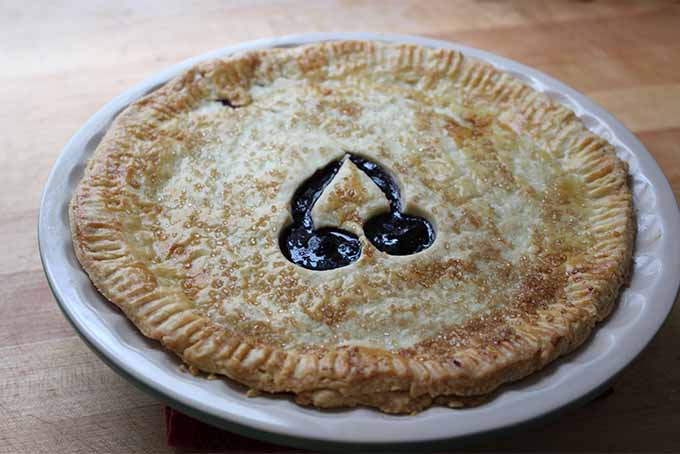
Step Seven – Egg Wash
Whisk the egg with 1 tablespoon of water in a small bowl. Spread this egg wash lightly over the top crust with a pastry brush.
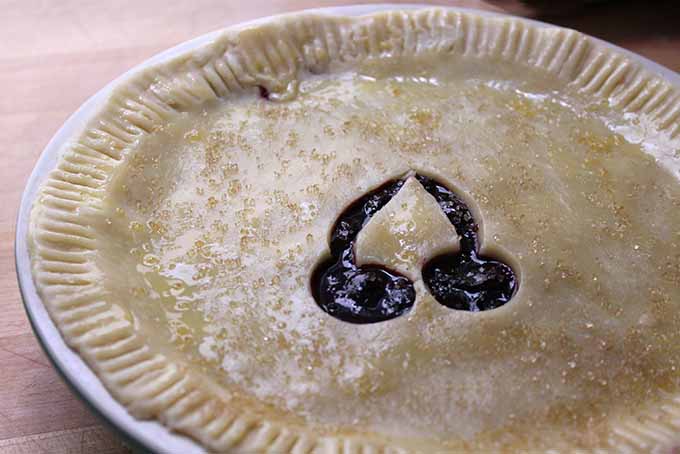
If desired, you can also sprinkle the crust with a bit of demerara (or “raw”) sugar to add a bit of a crunch.
Step Eight – Bake
Bake the pie for 30 minutes. It is finished when the top crust is just lightly browned.
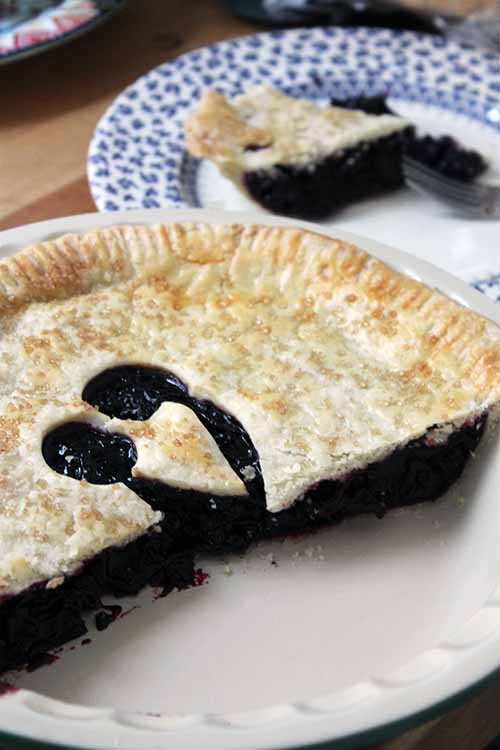
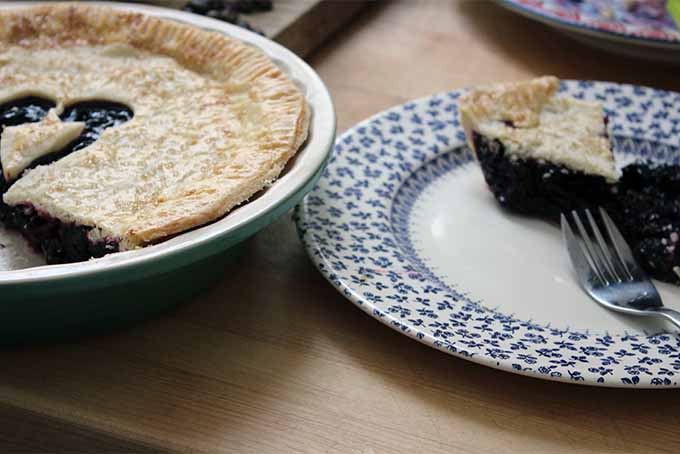
Step Nine – Cool & Enjoy!
Let the pie cool for at least half an hour on a wire rack before slicing. As tempting as it might be to eat straight from the oven, the filling will not set if you don’t let it rest!
Serve with a scoop of your favorite homemade ice cream, like our recipe for cinnamon honey ice cream, or a dollop of freshly whipped cream. Whip it up with an electric hand mixer or the old fashioned way, using a large balloon whisk.
Stored at room temperature, this pie will keep for several days. If it’s particularly hot in your kitchen, consider wrapping tightly and storing in the refrigerator instead.
This pie comes together so quickly, and it’s so delicious with the fresh sweetness of the fruit and a touch of tanginess from the vinegar paired with a flaky, buttery crust. You should give it a try today!
Not a fan of cherries? Hoping to use up some quickly ripening berries of another variety? Try our blueberry or strawberry rhubarb pie recipes instead, or our autumn-inspired recipes like apple pear, pumpkin sage, or sweet potato pie.
Even better, we have an entire round up post of 23 holiday pie recipes if you’re looking for a perfect pie for Thanksgiving or Christmas.
Have you tried using arrowroot as a thickener in pie filling? Tell me about your experience in the comments below!
Don’t forget to Pin It!
Photos by Kendall Vanderslice, © Ask the Experts, LLC. ALL RIGHTS RESERVED. See our TOS for more details.
About Kendall Vanderslice
Kendall’s love of food has taken her around the world. From baking muffins on a ship in West Africa and milking cows with Tanzanian Maasai, to hunting down the finest apfelstrudel in Austria, she continually seeks to understand the global impact of food. Kendall holds a BA in Anthropology from Wheaton College and an MLA in Gastronomy from Boston University, and has worked in the pastry departments of many of Boston’s top kitchens. Based in Somerville, Massachusetts, Kendall helps to run a small community supported bread bakery and writes about the intersection of food, faith, and culture on her personal blog, A Vanderslice of the Sweet Life.
The truth is, I was honestly too lazy to go get the rest of the ingredients for this recipe, but I had most of them and some interesting substitutions. I used my old standby cornstarch instead of the arrowroot. I have never used arrowroot and have no idea where to procure some around here, but I have more than enough cornstarch. I had just filled up the cherry bowl from the flea market so they were bountiful to make the filling. The only other substitution I made was regular balsamic instead of white balsamic. Because of this substitution, I also increased the sugar but just by a few tablespoons. It turned out very unique and tart. I will give it another go with the traditional ingredients that the recipe calls for, but if I had to guess, it will likely be even better.
Hi Lisa! I’m not sure where you are, but I am able to find arrowroot at Whole Foods as well as in the baking section of my local grocery chain. You can also buy it online! I would guess that the regular balsamic would make it much more unique in flavor, white balsamic is a much more delicate taste. Good luck with round two!
Well I must admit that I am not sure if I have seen the words balsamic attached to much else outside of salad dressing, and certainly not paired with fruits, but I am intrigued now. It is definitely an interesting combination of flavor types, though, and it has my mouth watering a little bit just thinking about it. I am sensing some tartness and maybe a little sour, but I guess I will never know until I try. Thanks for sharing.
It is a little bit tart, but not so much as you would think. The white balsamic vinegar has a smoother flavor than regular balsamic. The sugar and the sweetness of the cherries definitely helps as well 😉
I have to say, I haven’t heard the name balsamic used in association with a pie before either, but I am amazed at how this recipe turned out. It looks really great and I am going to try it out at the first opportunity I get. The images look so appetising and scrumptous.
Yum! I only have tried one single fruit pie on my life and it was an apple pie, and I would truly never forget how it tasted, it was so, so good! The sweet taste of the fruit combined with the bread it was just perfect. I think that it would be a really similar experience with this pie, it looks so good! it seems like a perfect option for the coldest days, I’ll definitely save this recipe on fall/winter.
Thank you so much for sharing!
This really reminds me of my grandmother when she used to bake pies every single sunday along with my mom, it’s a shame she ain’t here anymore to bake some more of her pies. I will copy this down to practice, thank you for sharing.
That looks delicious!
I’m not sure I’ve ever had a cherry pie but this is inspiring me to try one this summer. And thanks for the explanatory bits at the start between using different starches and not over heating the arrowroot – I didn’t know any of that.
Glad it was helpful!