We occasionally link to goods offered by vendors to help the reader find relevant products. Some of these may be affiliate based, meaning we earn small commissions (at no additional cost to you) if items are purchased. Here is more about what we do.
Being a kid during the summer is the ultimate example of freedom.

Running around the park all day. Hanging out with friends while you run a lemonade stand. Swimming at the local pool.
Whether it was summer camp, sports clubs, or whatever that summertime joy looked like for you, I’m sure you have fond memories of those days.
I’m also pretty sure that those sun-filled, steaming hot days sometimes included ice pops.
Those frozen pops in the plastic wrappers hold a special place in my heart. They showed up everywhere from summer camp to swim practice to picnics in the park with my friends when we were all home from college on vacation.
Personally, I was all about the red ones because they turned my lips red, and I felt like I was wearing lipstick by the time I was done.
Of course, now I realize that those pops might not have been made with the purest or most healthy of ingredients, with everything from added sweeteners and unnatural flavors to artificial dyes.
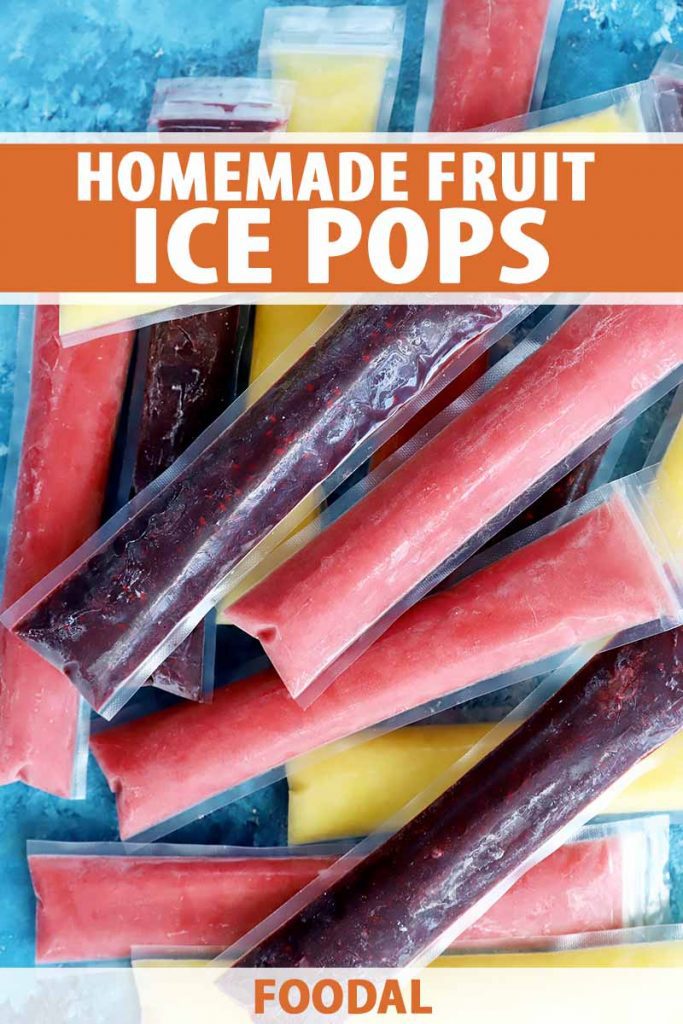
Since I learned how to make ice pops at home, I have never had to buy them again, and you won’t either.
This recipe only requires three ingredients – fruit, water, and a little sweetener. I used honey here, but you can also use agave syrup if you prefer a vegan option, or some other alternative that’s to your liking.
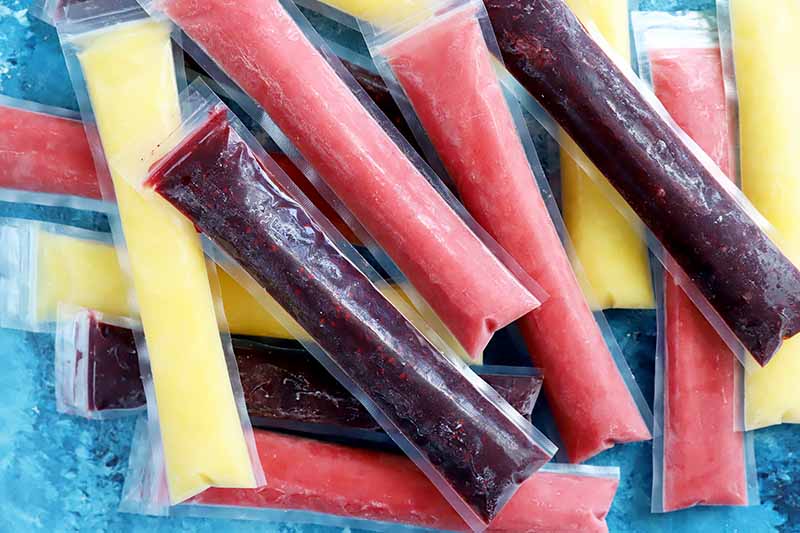
Not only are they delicious, they’re fully customizable, and you can create them in whatever delicious fruit flavors you wish, favorites from back in the day, or ones you only dreamed about but could never find at the store as a kid.
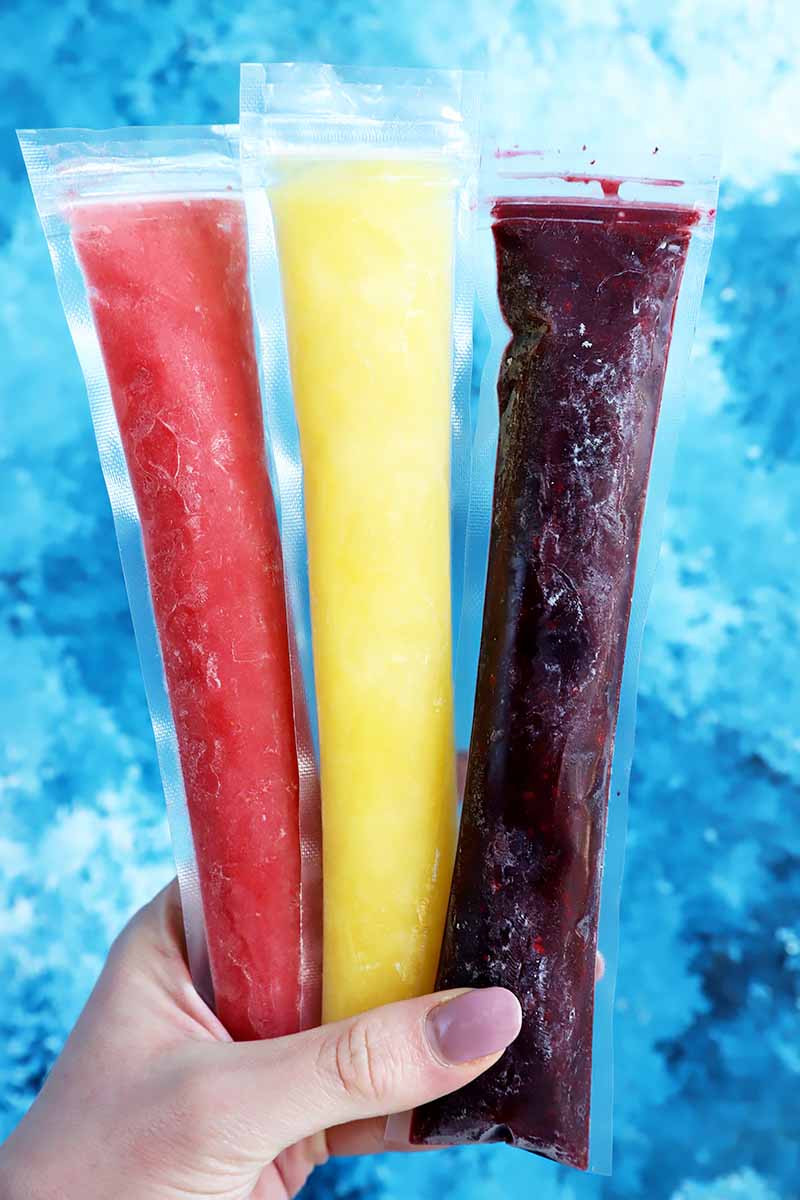
Fruit Combination Ideas
Looking for some inspiration? There are tons of ways to customize and get creative with this recipe!
You can use any combination of fruit you would like, as long as the total weight of the fruit comes out to ten ounces.
To make these taste more like a smoothie, consider using your choice of milk (dairy, oat milk, soy milk, etc.) instead of water. You can even impart more flavor with coconut milk or coconut water for a tropical island vibe.
Here are some of my favorite ideas:
- Strawberry banana
- Cherry peach
- Strawberry watermelon
- Banana, mango, and pineapple
- Pineapple, orange, and guava
- Mixed berry
- Pineapple with coconut milk (tastes like a piña colada!)
You can even sneak in some veggies like spinach or carrots, if you are trying to get some picky kids to eat more vegetables.
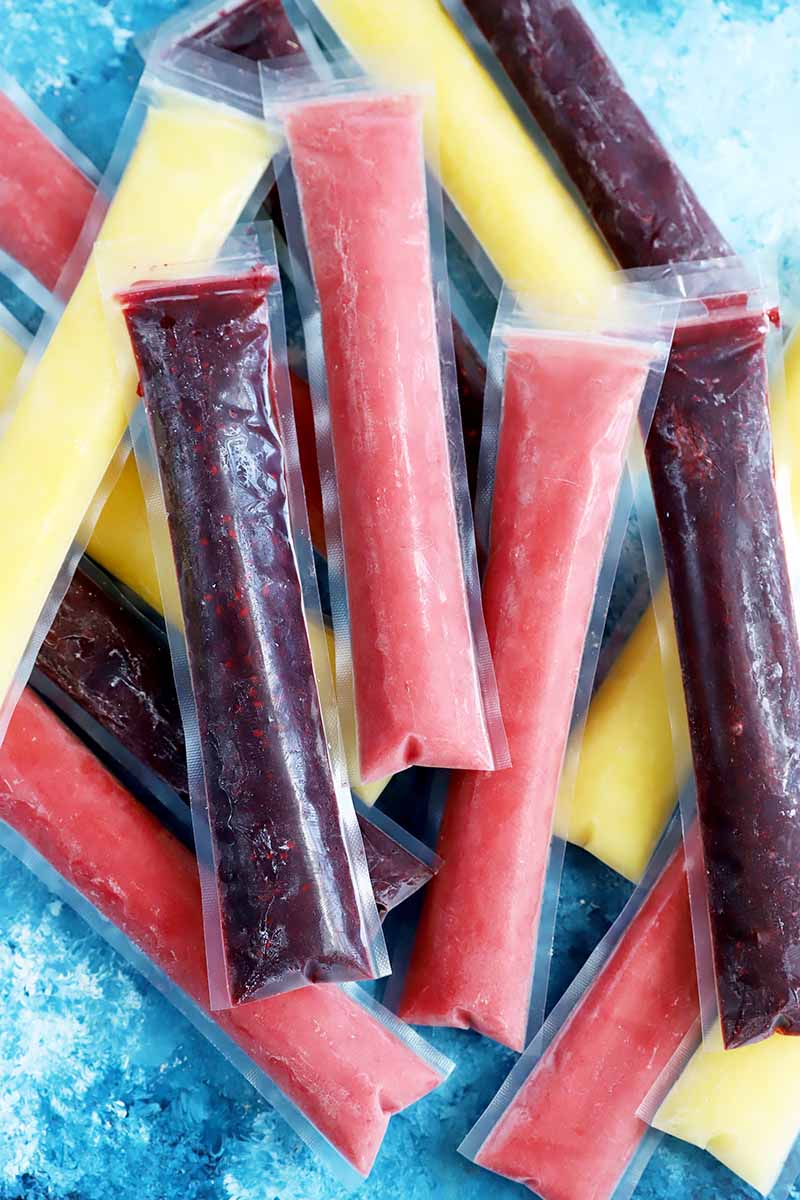
Tips for Freezing
To freeze a large batch of these ice pops, arrange them on a baking sheet so they all lay flat. Or if you have space, you can store your ice pops standing upright in freezer-proof cups or containers.
Once they are frozen, they can be moved to freezer bags for storage.
Depending on their final position, note that the liquid will freeze at the top of the pouches, so these might be a little difficult to open. When you are ready to eat them, simply run the opening under warm water for 10 seconds to unstick it.
Be sure to label the individual pops with the flavors you choose, or label the freezer bags you store them in so you can remember what you made. Also note the date you made them so you can keep track of when to use them up by.
Print
Homemade Ice Pops
- Total Time: 2 hours, 10 minutes
- Yield: 6 ice pops 1x
Description
Cool off this summer by learning how to make your own ice pops. You can customize the flavors any way you want, and they are so easy to make.
Ingredients
- 10 ounces fresh or frozen fruit
- 1/2 cup water
- 1 tablespoon honey, agave syrup, or your choice of liquid sweetener
Instructions
- Add all ingredients to a high-speed blender with the fruit added so it’s furthest from the blade. Blend until smooth.
- Using a funnel, pour the mixture into ice pop sleeves to the “fill” line. Close each sleeve after it’s been filled.
- Freeze for at least two hours, or until firm.
- Prep Time: 10 minutes
- Category: Popsicles
- Method: No-Cook
- Cuisine: Dessert
Cooking by the Numbers…
Step 1 – Measure Ingredients
Prep any fruit as needed. You can use fresh fruit that has been peeled, seeded or cored, and chopped as needed in the case of larger pieces.
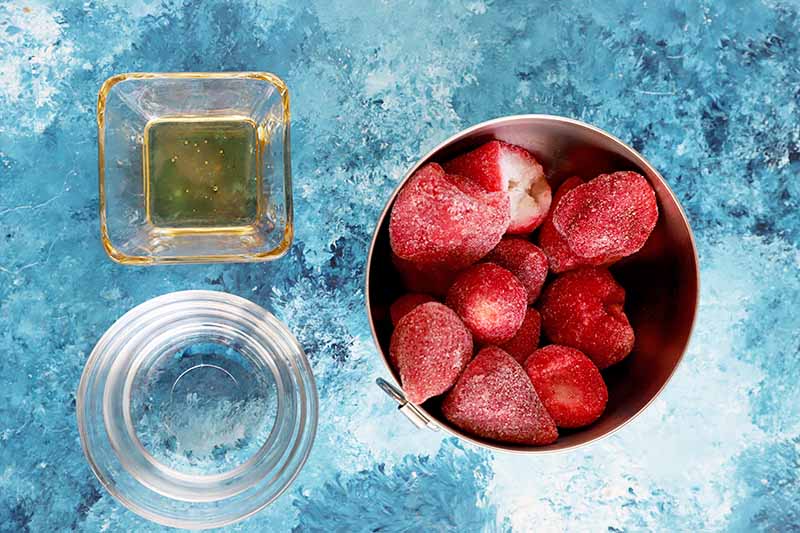
Feel free to use a combination of fresh and frozen fruit, if that’s what you have on hand!
Measure out all of the ingredients as listed on the ingredients list.
Step 2 – Blend
Add all ingredients to a high-speed blender and blend until smooth. It’s best to load the blender with firm and frozen ingredients furthest from the blade.
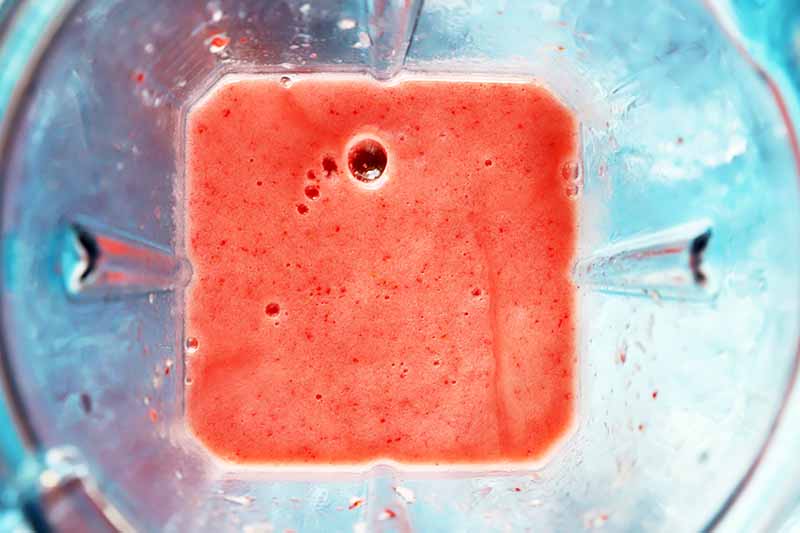
For an upright blender with blades at the bottom, add the liquid and sweetener first, followed by the fruit. For an inverted blender, load the fruit first, so it will be furthest away.
Using a funnel, pour the mixture into popsicle sleeves to the “fill” line.

This recipe fills 6 standard ice pop sleeves per batch. I like to use these ice pop pouches from Zipzicle, which come in packs of 36. Pick up a pack on Amazon.
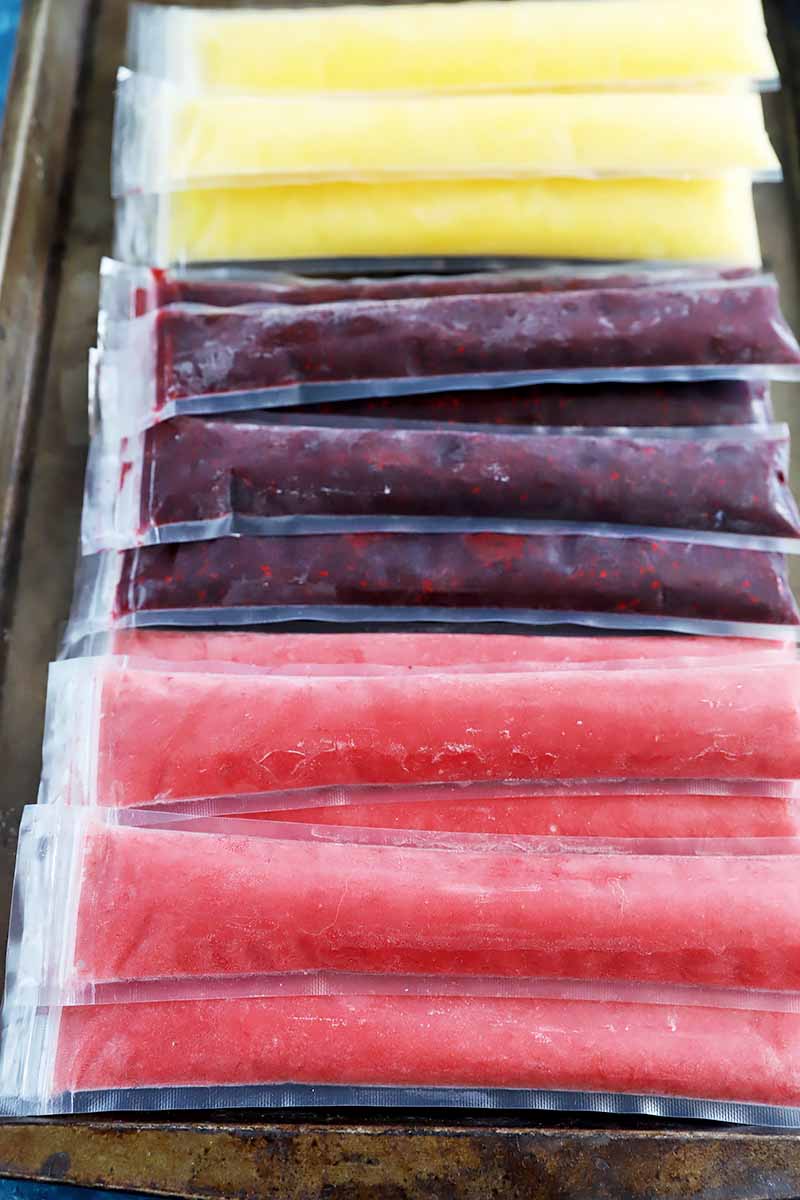
Step 3 – Freeze
Lay them flat in the freezer and freeze for at least 2 hours, or until set and firm.
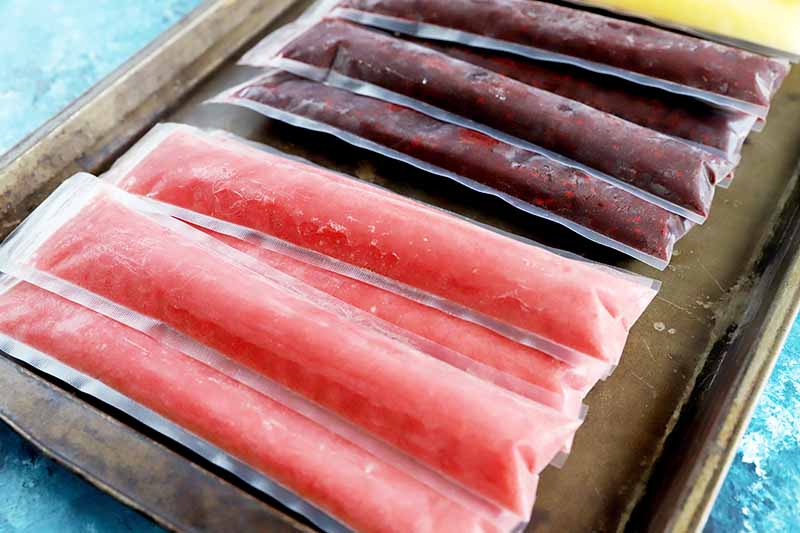
You could also position them upright and freeze while standing in a container, if you have enough space in the freezer. This can help to make them easier to open!
Frozen popsicles can be stored in the freezer in a resealable zip-top bag.
How Long Do Ice Pops Last?
If you have any leftovers, the recommended freezer storage time for these all depends on the ingredients you choose to use to make your ice pops.
If you are using any type of dairy in your pops, they should be stored in the freezer for only 1 to 2 months max. However, if you are not using dairy, they can be frozen for up to 6 months.
But if you’re a frozen dessert lover like I am, especially in the heat of the summer, I doubt any will stick around for that long!
Craving even more frozen treats? Try these next:
- All-Natural Citrus Honey Basil Creamsicles
- Five-Ingredient Peach Popsicles
- Four-Ingredient Strawberry Lemonade Popsicles
What’s your favorite flavor of ice pop? Do you remember enjoying these when you were a kid? Tell us in the comments below, and be sure to give the recipe a rating after you try it!
Photos by Meghan Yager, © Ask the Experts, LLC. ALL RIGHTS RESERVED. See our TOS for more details. Originally published on June 5, 2012. Last updated on June 21, 2021.
Nutritional information derived from a database of known generic and branded foods and ingredients and was not compiled by a registered dietitian or submitted for lab testing. It should be viewed as an approximation.
About Meghan Yager
Meghan Yager is a food addict turned food and travel writer with a love for creating uncomplicated, gourmet recipes and devouring anything the world serves up. As the author of the food and travel blog Cake 'n Knife, Meghan focuses on unique foodie experiences from around the world to right at home in your own kitchen.

Hi Madam!
I liked your ice pops making process.
Need to know more on storage factor
These can be frozen standing upright or laying flat in the freezer, and then transferred to plastic zip-top bags once they are frozen. Storage time depends on the ingredients used to make them. See the concluding section of this article for tips!
Hii mam how to transport them?
Where will you be going? A cooler filled with ice is probably going to be your best option for picnics and beach days.
How you make the green apple and the orange kind
Orange popsicles are easy to make with peeled fresh or frozen orange segments. And you can try making green apple ice pops with cored Granny Smith apples with the peels on, a touch of lemon juice, and a few seeded kiwis if you like, for added color.
I made strawberry-blueberry popsicle
I added 1 1/2 tablespoon of sugar
I tried a small batch first with honey it didn’t taste sweet at all
So we did sugar
They are freezing we will see how they turn out!