Cheese is unquestionably my favorite food.
And when it comes to cheese in the form of a crunchy, snackable treat, I’m all in.
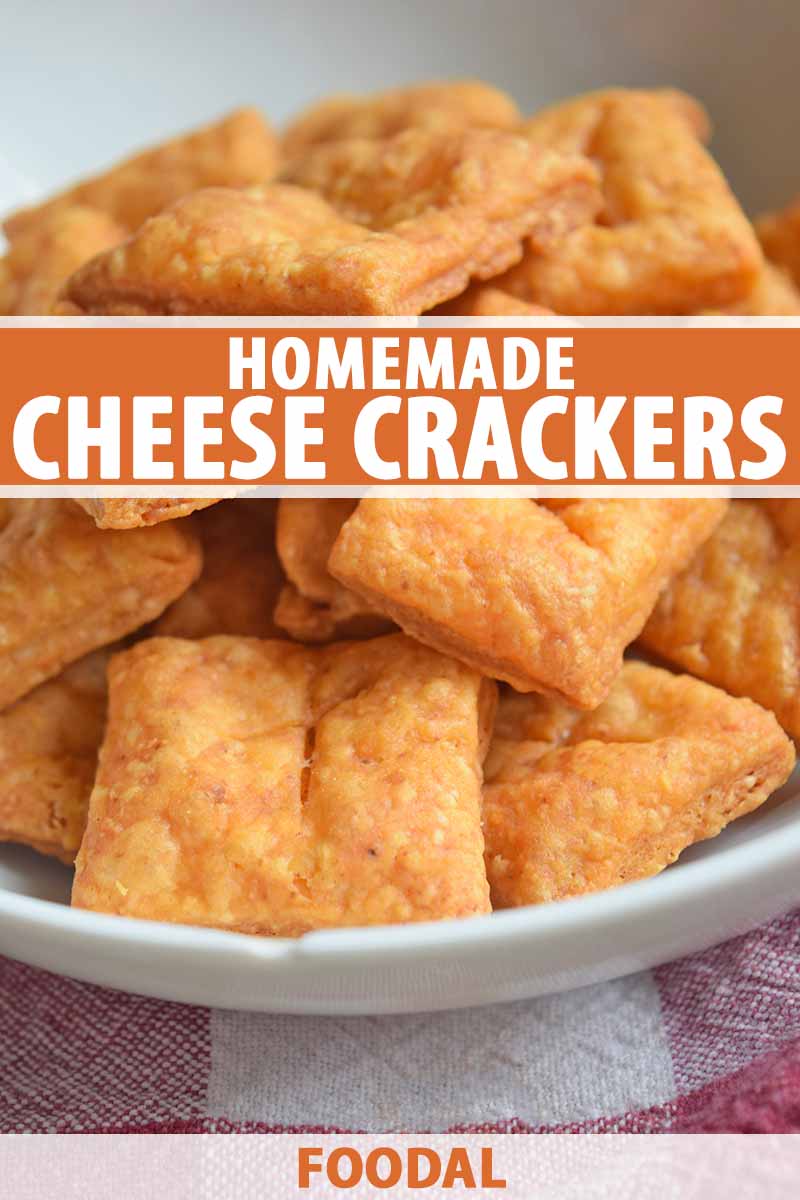
Cheese-flavored crackers? Absolutely. Cheese-flavored chips? Gimme. Cheese-flavored coasters?
I’ll try anything once.
I’m a sucker for those toasted, buttery, mini cheese crackers that come in a box. You know the ones I’m talking about.
Professional snack-eating tip: if you transfer crackers from a box to a bowl, or in your homemade snack packs, you won’t feel as bad about eating what is definitely an absurd about of snacks.
As far as manifesting these salty bites from scratch, I never had the urge until recently when, once upon a time, I tasted my first cheese straw.
I love fairy tales about cheese.
Let me back up. This wasn’t exactly my first cheese straw, but it was the first one that had an impact on me. I’m clearly an avid cheese enthusiast, but there are a few forms of this magnificent dairy product that don’t appeal to me.
Shocking, I know.
The first is a cheese ball. I adore a charcuterie plate scattered with nuts and smoky meats and savory cheeses, but I’ve never had the urge to smash those ingredients together into a round shape.
Well, there was that one time. I blame the tequila…
The other is cheese straws. My distaste for these swizzle sticks likely comes from the memories of holiday tins filled with stale, funky versions of the twisty crackers.
No, thank you.
I recently encountered a cheese straw, however, whose crispy shell and moist, buttery interior made me reach for more.
It wasn’t procured from anywhere extraordinary. Rather, it was simply a gift of leftovers from a neighbor going out of town who didn’t want his perishables to go to waste.
I also obtained a loaf of rye bread that day, and half a wheel of brie. Score!
When my snack bell went off that afternoon, I found myself reaching for the mysterious cheese straw package I had eyed earlier and pushed aside.
To my surprise, they were delicately crisp, lightly salted, and delightfully rich. They didn’t last.
So, when the opportunity came to recreate those boxed cheddar crackers I love so much, I hoped my homemade version would turn out something like these unexpectedly glorious cheese straws.
Mission accomplished.
These scratch-made snacks come together with so few ingredients, you really have no excuse not to give this recipe a try.
The sharper the better when it comes to cheddar, so I opted for an aged white variety from Vermont. The smoky paprika brings a crimson zing, and the flecks of cayenne spark each square with a fiery bite.
It took everything in me not to go overboard with experimentation (rosemary, garlic powder, brown sugar, and beyond), but I held back. Other than the notes of spice, these are a perfectly traditional recreation of my beloved boxed snacks.
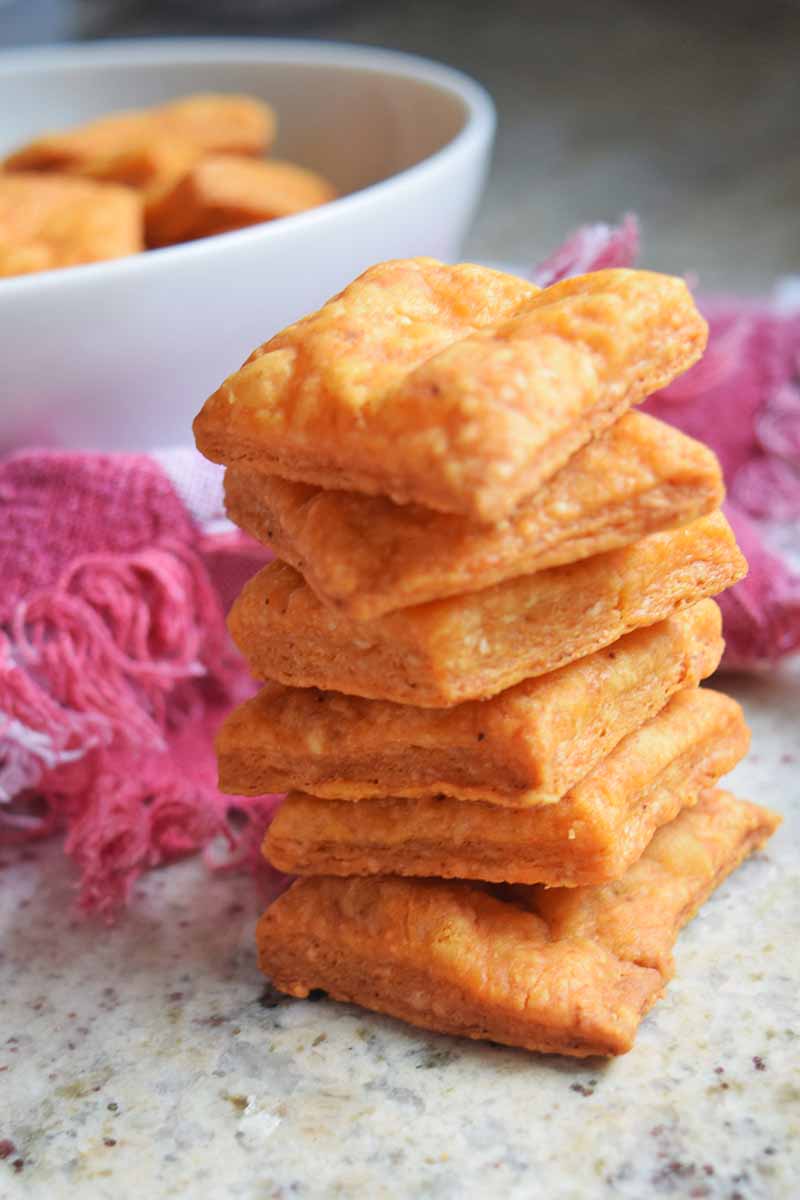
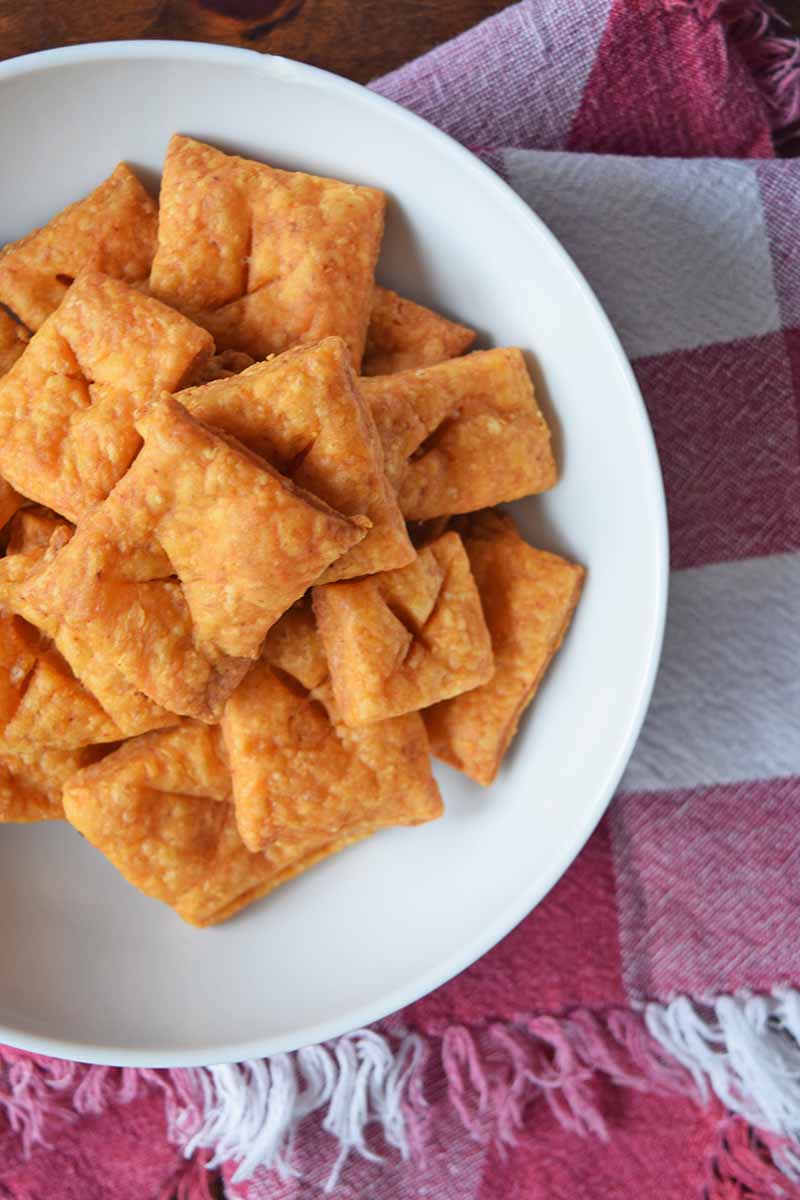
Their imperfect shapes, puffy tops, and crumbly centers make them unapologetically homemade. And since you can cut them to any size you like, no one will ever be able to keep count of your cracker intake.
That’ll just be between us.
Print
Homemade Cheese Crackers
- Total Time: 1 hour, 35 minutes
- Yield: about 60 crackers 1x
Description
When a serious snack attack strikes, fight back with these homemade cheese crackers. Each bite is a savory eruption of sharp cheddar and spice.
Ingredients
- 1 1/2 cups grated extra-sharp cheddar cheese
- 4 tablespoons (1/2 stick) unsalted butter, softened
- 3/4 cup all-purpose flour, plus more for dusting
- 1/2 teaspoon kosher salt
- 1/4 teaspoon paprika
- 1/8 teaspoon cayenne pepper
- 2 tablespoons cold half-and-half or heavy cream
Instructions
- In a food processor, combine the cheese, butter, flour, salt, paprika, and cayenne, and pulse until the mixture resembles coarse crumbs.
- Add the half-and-half and continue pulsing until the dough forms a ball, about 10 seconds.
- Cover the dough ball with plastic wrap and refrigerate until firm, about an hour (or up to a day).
- Preheat the oven to 350°F and line a baking sheet with foil, parchment paper, or a silicone baking mat.
- Dust a clean work surface or cutting board with flour.
- Roll out the dough to a 1/4-inch thickness and cut into evenly-sized squares. Cut a small X in the center of each cracker. Arrange on the baking sheet.
- Bake until golden brown, about 15-18 minutes. Remove pan from the oven and allow to rest for several minutes, and then transfer them to a cooling rack to cool completely. Store in an airtight container.
- Prep Time: 15 minutes
- Cook Time: 20 minutes
- Category: Crackers
- Method: Baking
- Cuisine: Snacks
Keywords: cheddar, cheese crackers, savory snacks, Cheez-Its
Cooking By the Numbers…
Step 1 – Pulse Ingredients in Food Processor
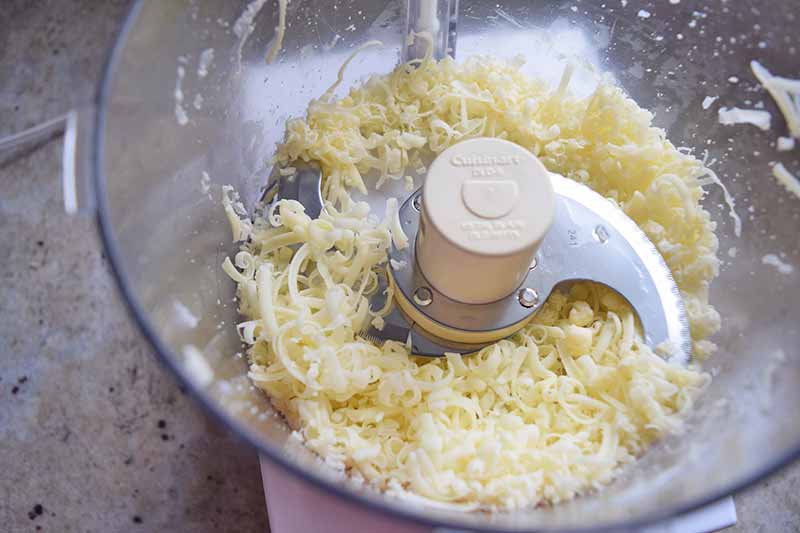
If you haven’t already, grate the cheese.
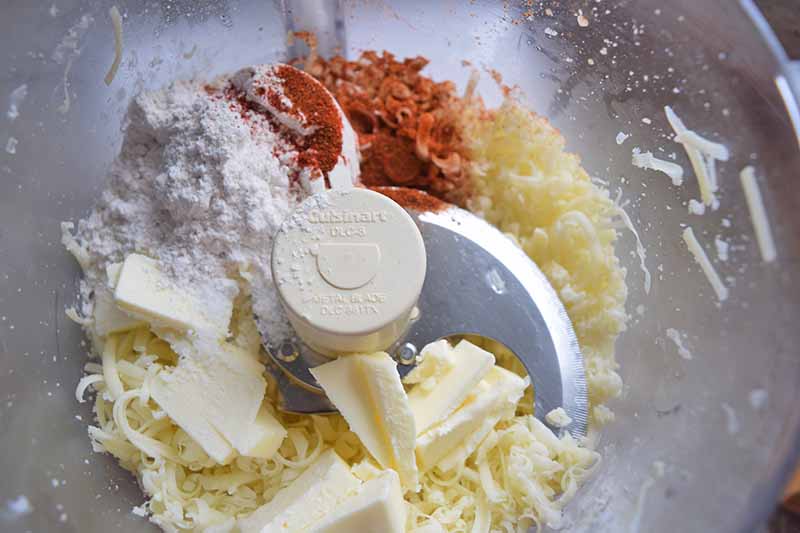
In a food processor, combine the cheese, butter, flour, salt, paprika, and cayenne.
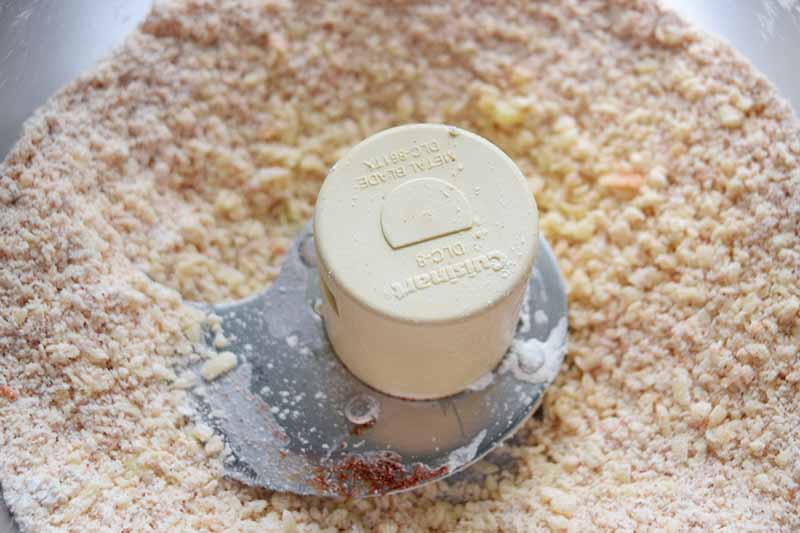
Pulse until the mixture resembles coarse crumbs.
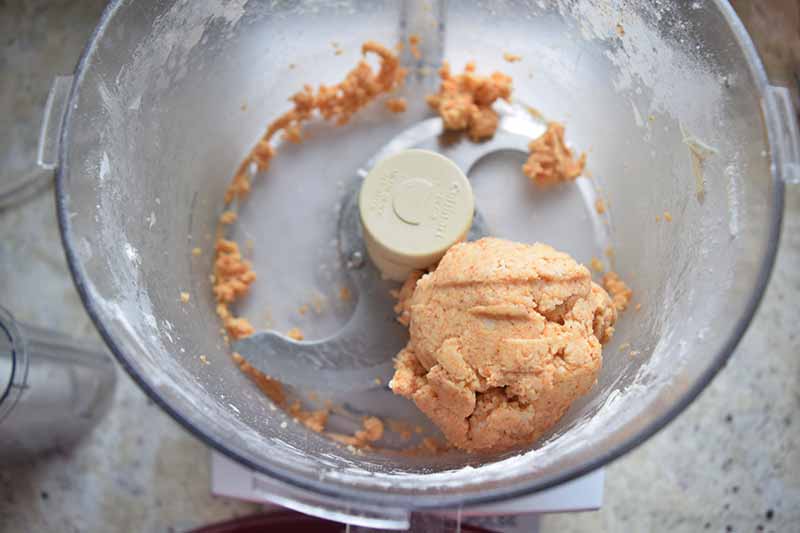
Slowly pour in the half-and-half, a few drops at a time, and continue pulsing until the dough forms a ball, about 10 seconds.
Step 2 – Wrap and Refrigerate
Remove the dough ball from the food processor, and wrap it tightly in plastic wrap.
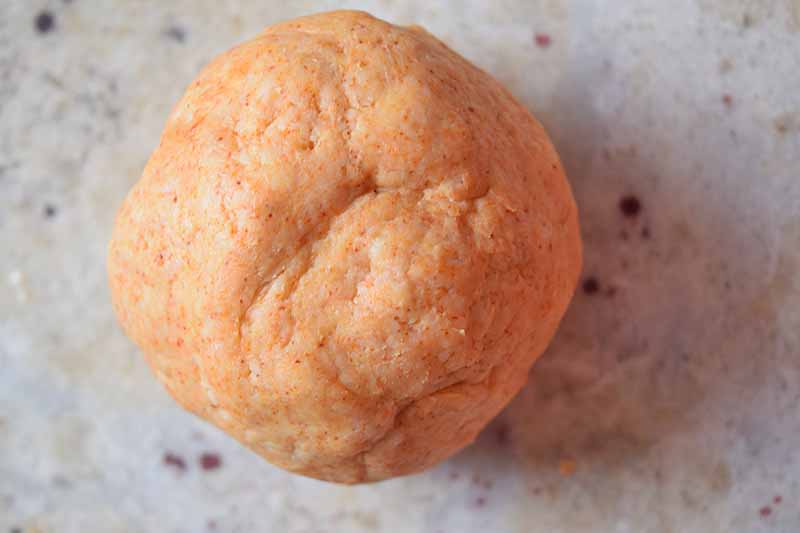
Refrigerate until firm, for about an hour, or up to a day. To save time, you can also freeze the dough for 20 minutes.
Step 3 – Roll and Portion
Preheat your oven to 350°F and line a baking sheet with foil, parchment paper, or a nonstick silicone baking mat.
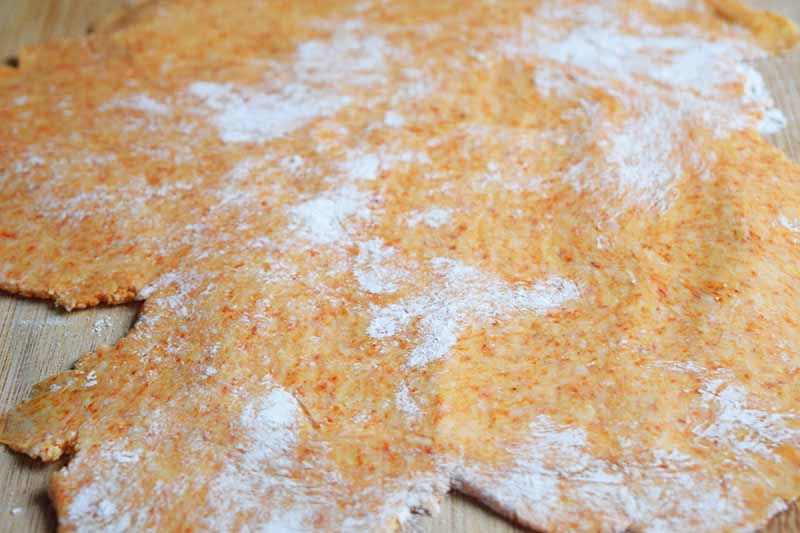
Dust a clean work surface or cutting board with flour, and get out your rolling pin.
Roll out the dough to 1/4-inch thickness and cut into evenly sized squares. Mine were about 1.5 inches on each side.
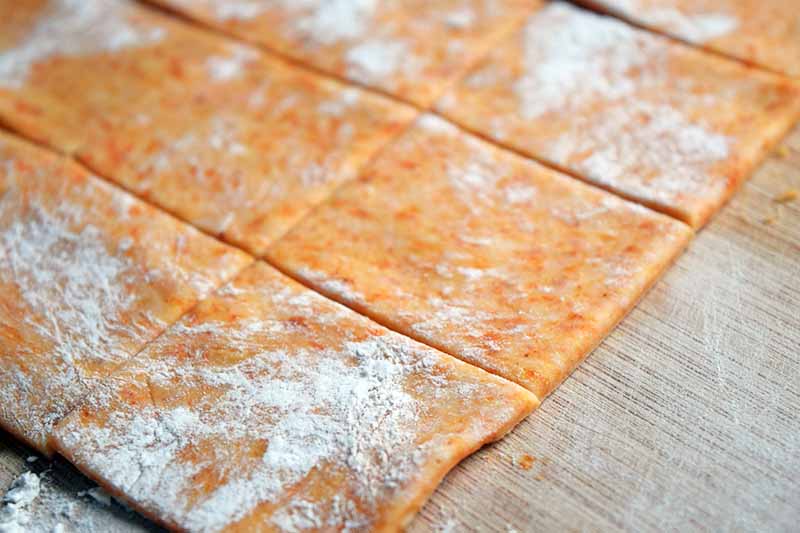
You could also choose to cut them into rounds using a small cookie cutter, but keep in mind that this will leave excess dough behind, and re-rolling more than once isn’t recommended since the resulting crackers will have a tougher texture.
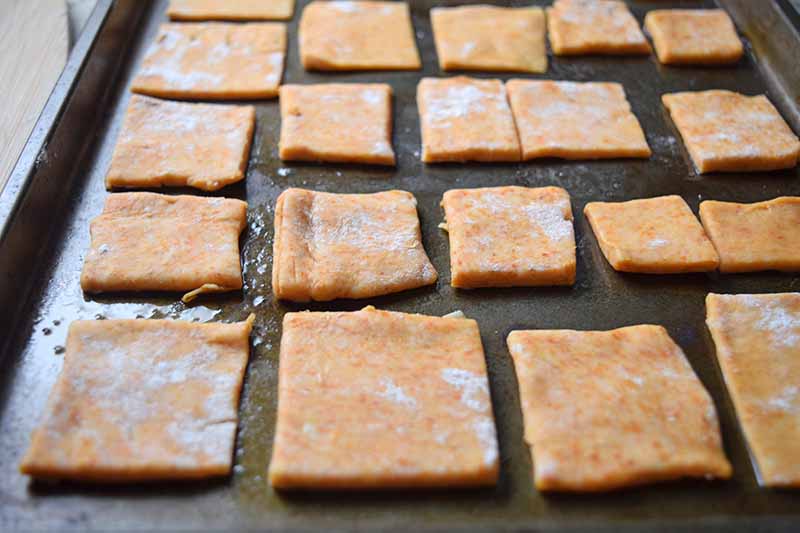
Work quickly, as the dough will get stickier as it comes to room temperature. Adding more flour also helps to combat the stickiness.
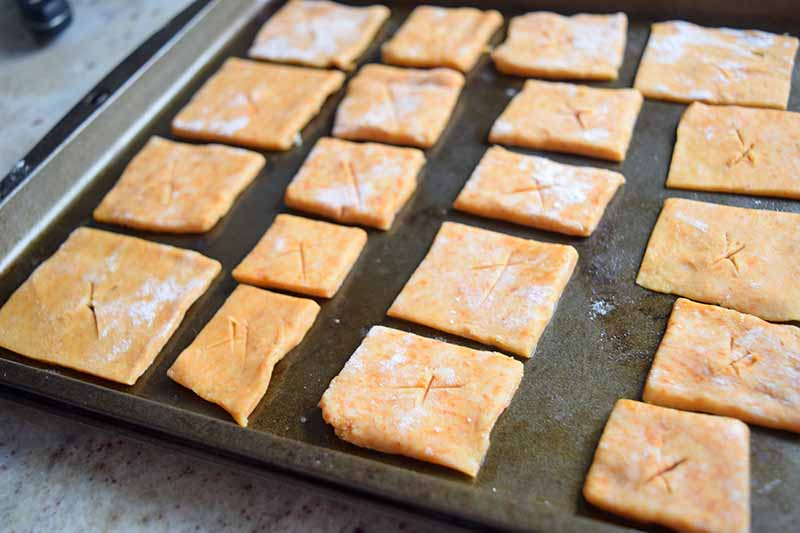
Place the crackers on the baking sheet with a little space between each, and make a small X in the center of each one with a paring knife. You can also poke holes in the middle of the crackers with a skewer. This lets out some of the air and creates a puffy top.
Step 4 – Bake and Cool
Bake until golden brown, about 15-18 minutes. Allow them to rest for several minutes, and then transfer to a cooling rack.
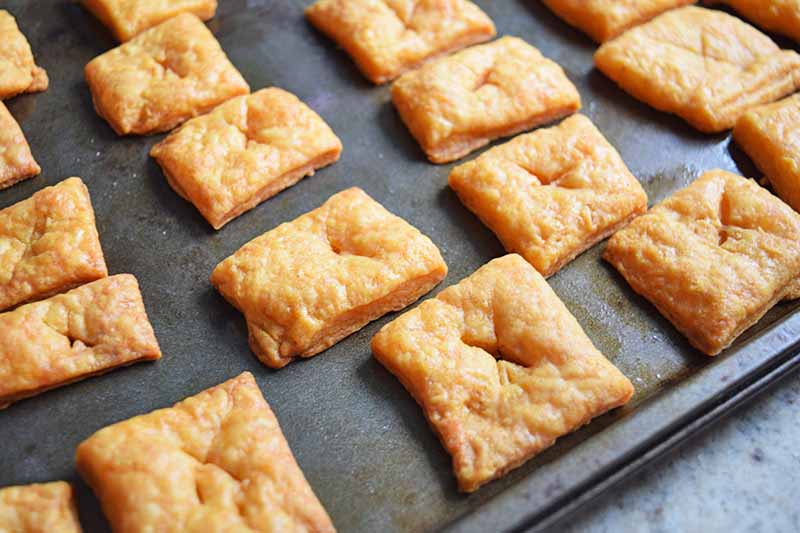
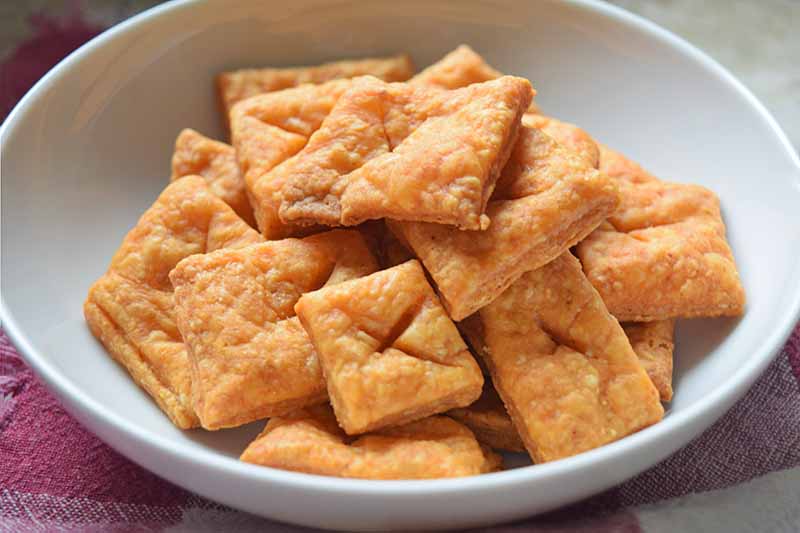
Cool completely before placing them in an airtight container to store at room temperature. The crackers will stay crispy for up to a week.
Snack Attackers Unite
With just a few simple steps, homemade healthy snacking has never been so easy. Customize these crackers to your heart’s delight by swapping in other flavorful goodies you have on hand.
Craving Italian? Toss in a fragrant pinch of basil and a hefty handful of Parmesan. Looking to lighten up and give a nod to nutrition? Sub in whole wheat flour.
For more snackable, crispy vehicles you can make from scratch, check out these other cracker creations:
What other cheesy snacks do you go crazy for? Share your salty pleasures in the comments below! And don’t forget to give this recipe a five-star rating if you loved it.
Photos by Fanny Slater, © Ask the Experts, LLC. ALL RIGHTS RESERVED. See our TOS for more details. Originally published on January 29, 2010. Last updated: August 26, 2023 at 17:36 pm. With additional writing and editing by Allison Sidhu.
Nutritional information derived from a database of known generic and branded foods and ingredients and was not compiled by a registered dietitian or submitted for lab testing. It should be viewed as an approximation.
About Fanny Slater
Fanny Slater is a home-taught food enthusiast based in Wilmington, North Carolina who won the “Rachael Ray Show” Great American Cookbook Competition in 2014, and published her cookbook “Orange, Lavender & Figs” in 2016. Fanny is a food and beverage writer, recipe developer, and social media influencer. She was a co-host on the Food Network series “Kitchen Sink,” was featured on Cooking Channel’s longtime popular series “The Best Thing I Ever Ate,” and continues to appear regularly on the “Rachael Ray Show.”

These look great!
oh wow they do look good! and something the boys would love to have at snack time!!!!
Yum! You have the best recipes for quick crackery things!
Those crackers look great!!
YUM. i love cheese crackers!! nothing better!
Wow those look really tasty. I LOVE cheese crackers. I bet they’re even better than CheesIts, maybe healthier too.
Jessica, They really are sooo much better than store-bought, I mean it!
oh wow, these look so easy! must try. enjoy your warm-weather getaway!
Those look like the perfect snack!
Thanks, chocolate shavings!
I found that after I read this post, I couldn’t get the idea of homemade crackers out of my head. I put the idea aside, however, until a worthwhile opportunity presented itself. Three days ago I few to Portland, OR from Raleigh, NC and decided the night before to make the cheese crackers I read about on your blog for my no-lunch-included flight (in addition to a yummy homemade sandwich). They were delicious, and were especially enjoyed by the friends I am visiting–who had been meaning to make homemade crackers for a while now, too.
I can’t wait to try your cheese crackers!
🙂 Hope you enjoy these crackers!