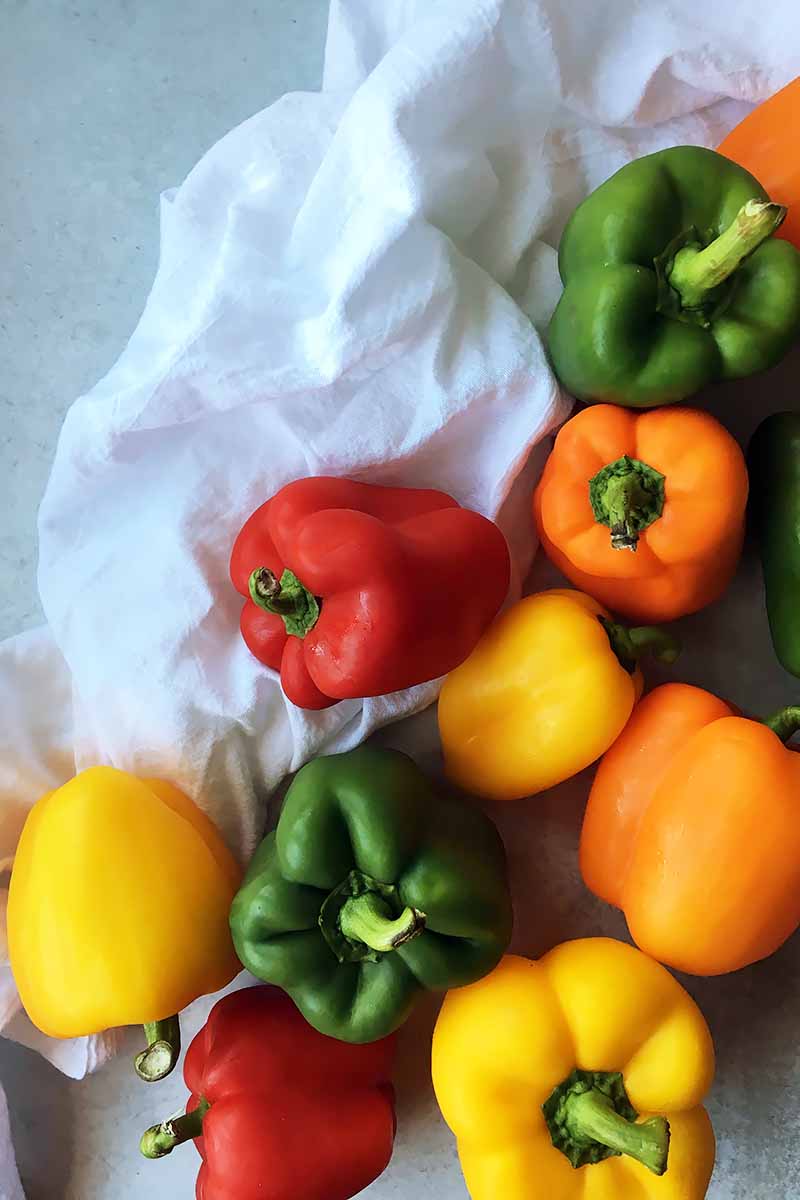
There’s a mountain of yellow, green, orange, and red bell peppers glistening brightly on my kitchen island, all soon to be roasted!

While crunchy raw peppers are a delight to enjoy with a big bowl of hummus, roasted peppers offer even more nuances of flavor and texture.
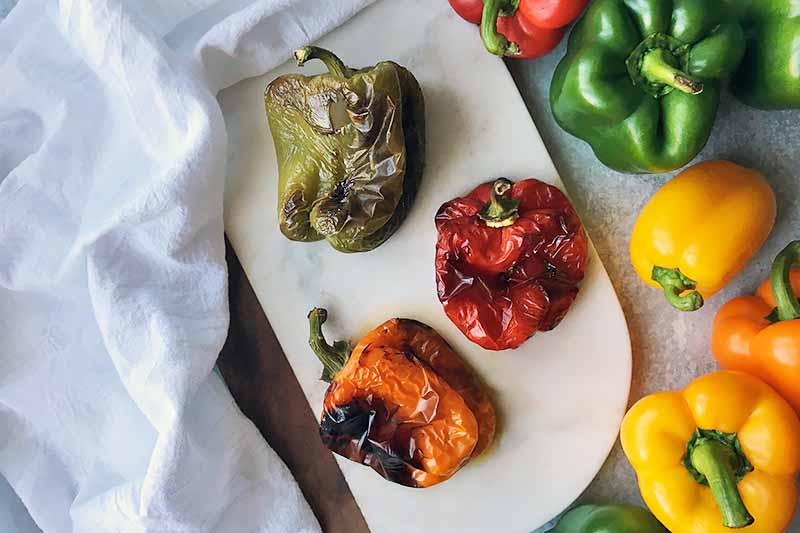
It’s a simple and fun technique to learn, and the results are tasty: crisp-tender vegetables with a very subtle charred taste.
You can enjoy them as your hungry heart desires – the options are pretty much endless: top a homemade pizza, mix them into fresh salads like our roasted vegetable herb salad, layer them in sandwiches and burgers, add them to breakfast scrambles, enchiladas, grain bowls – you name it, you can add a few handfuls of whatever type you roasted.
Want to learn how?
There’s three easy methods to use at home: stovetop, kitchen torch, and oven.
Stovetop Method
With the stovetop method, you roast them directly on the burner of a gas oven while the flame is on.
This will not work if you have an electric oven, since there is no direct flame.
This method will be the most hands on and a little labor intensive, since you will need to continuously rotate the pepper and monitor the flame of the stovetop. But it works like a charm if you don’t own a kitchen torch, and don’t want to turn on your oven.
Kitchen Torch Method
Want immediate results? Love playing with fire? Want to look like a kitchen warrior?
Bring out the blow torch, you fearless chef.
The blow torch method will be the quickest out of all the three, taking just a couple minutes to fully blister the skin.
Just be cautious to not get your hands near the flame – use metal tongs when you need to move the veggies.
Oven Method
Looking to roast more than one piece at a time? The oven method is all yours, since you can roast several of them at once on one baking sheet in the oven.
How many can you roast at once?
However many will fit on a sheet pan while leaving a couple inches of space in between each one, depending on their shapes and sizes. Do not overcrowd them, since this will cause steaming rather than roasting. You want those nicely charred areas to develop!
While some prefer to roast them directly on the oven rack, I’d rather use a sheet pan for extra help with transferring all of the peppers at once. And this way, you won’t have to worry about cleaning any torched skin that sticks to the racks, or any liquids released from them leaking all over your oven.
Keep in mind that you don’t want to overcook them – they tend to release a good amount of water when roasted for an extended length of time, and will become soft and shriveled if you leave them in too long.
Just 20 to 25 minutes is my preferred range of cooking time to properly roast the skin while keeping the flesh firm.
Cooking By the Numbers…
Breaking it down into individual steps in this section, we’ll teach you the process from start to finish, using each of these three cooking techniques.
Apply them in your kitchen to get perfectly roasted peppers that you can use in all of your savory recipes!
And don’t think this is limited to just the bell variety – have some fiery fun with any of your favorite kinds, from jalapenos and other types of chilies to sweet Cubanelles.
This is also a great way to prep all of that fresh produce from your garden. Want to learn more about growing your own peppers at home? Check out these tips on our sister site, Gardener’s Path.
Step 1 – Prep
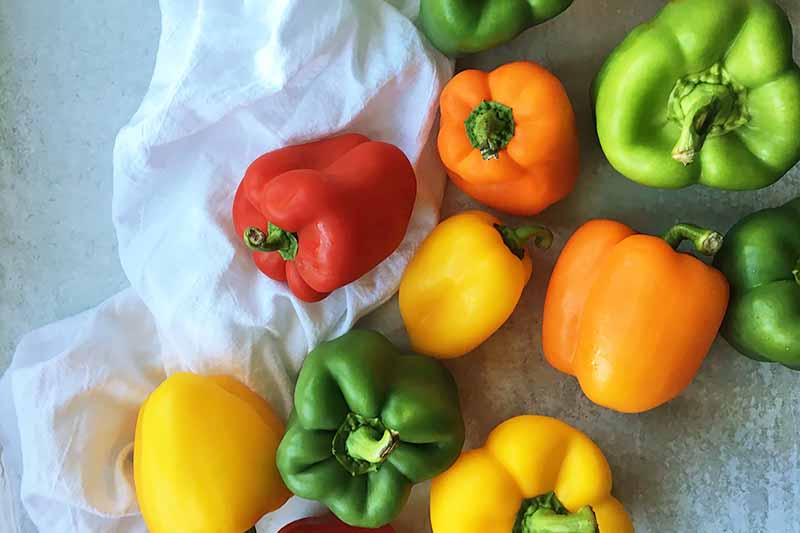
Wash and thoroughly dry each pepper.
An excess of water on the surface will steam, rather than blister, the skin – it will lengthen the amount of time required to get the roasted results you want.
Leave them whole, without cutting off any part. This will keep the whole process clean, and will help you to easily transfer them.
Step 2, Option 1 – Stovetop Method
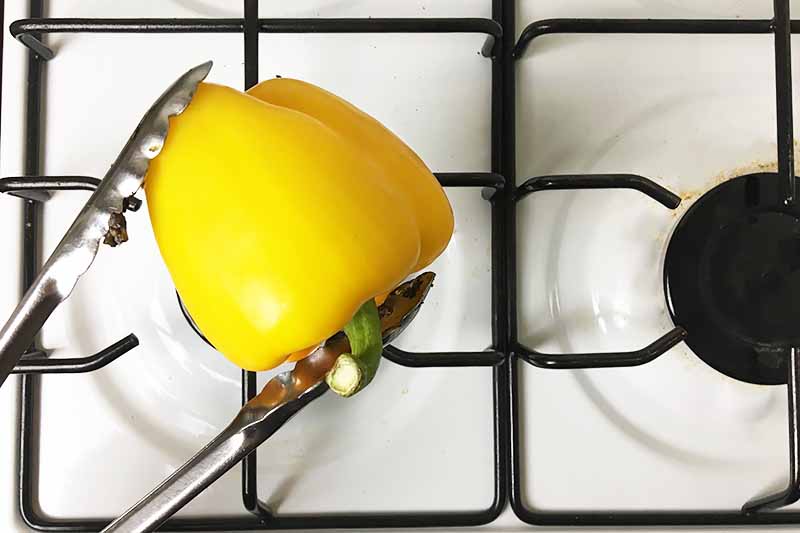
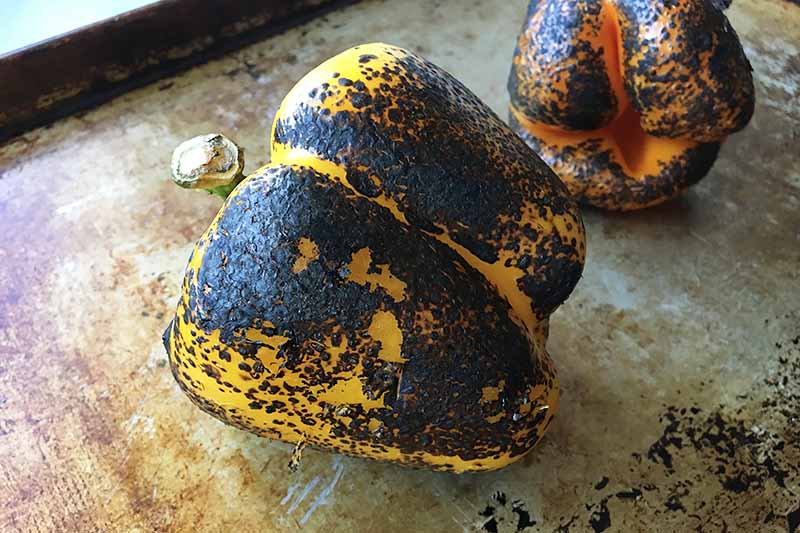
Heat a burner on your gas stovetop to medium-high heat.
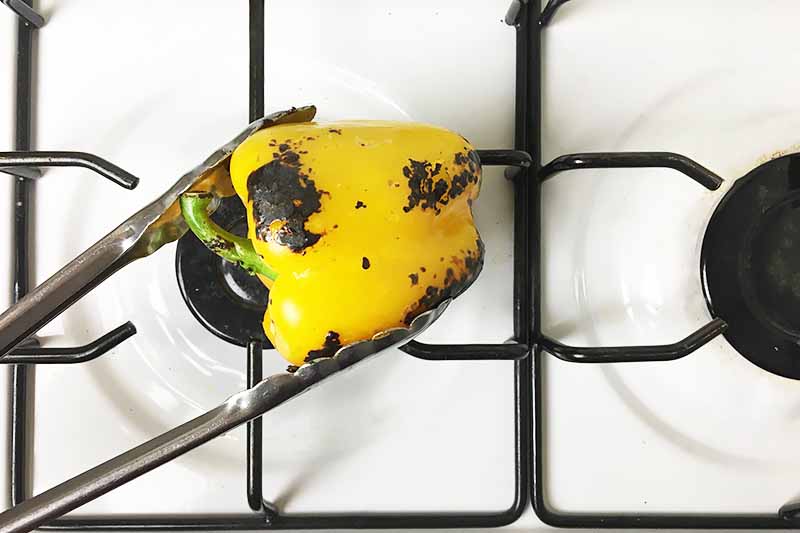
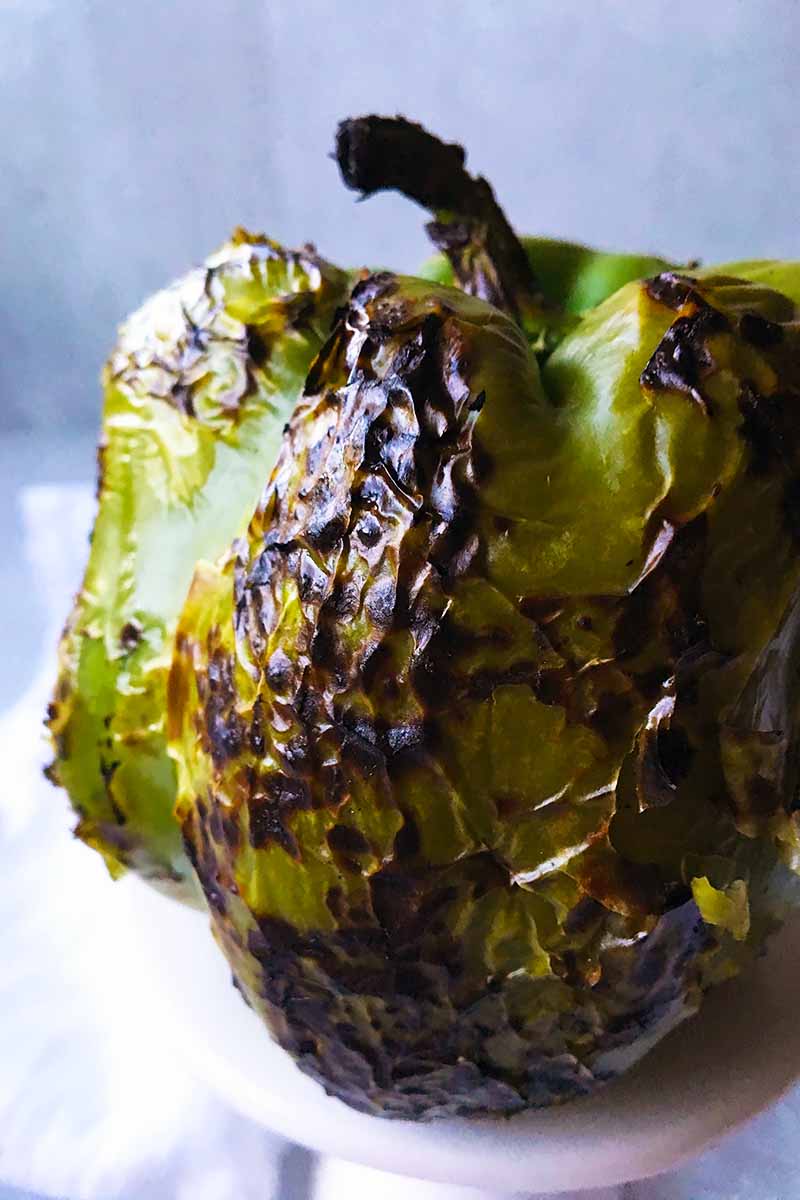
Using heatproof tongs, rotate and hold the pepper over the flames until that section blisters and blackens. Continue to move it to cook each section until the entire surface of the skin is blistered.
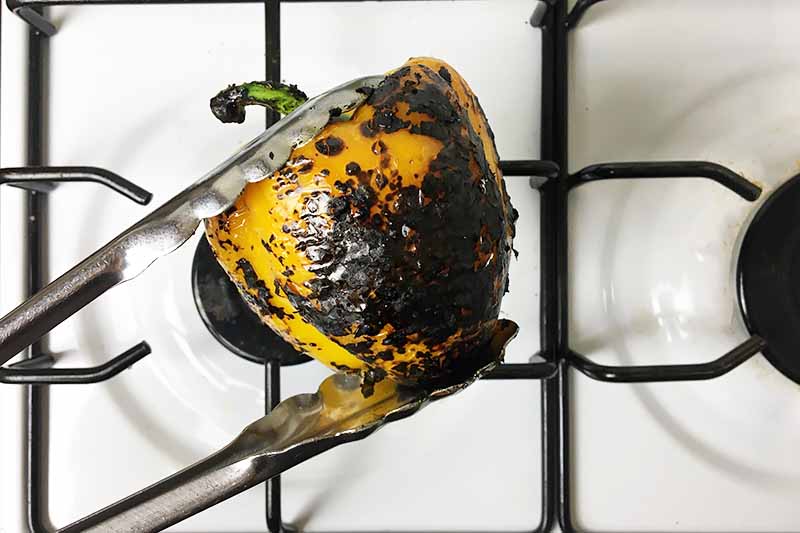
Repeat with the remaining peppers.
Proceed with the following steps.
Step 2, Option 2 – Kitchen Torch Method
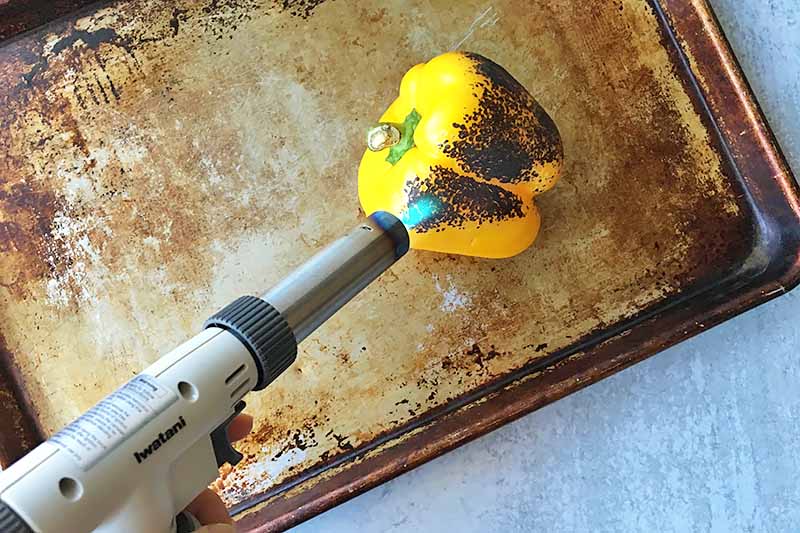
Place the pepper on a heat resistant plate or sheet pan on top of a trivet or cooling rack so that the plate is not directly on your work surface.
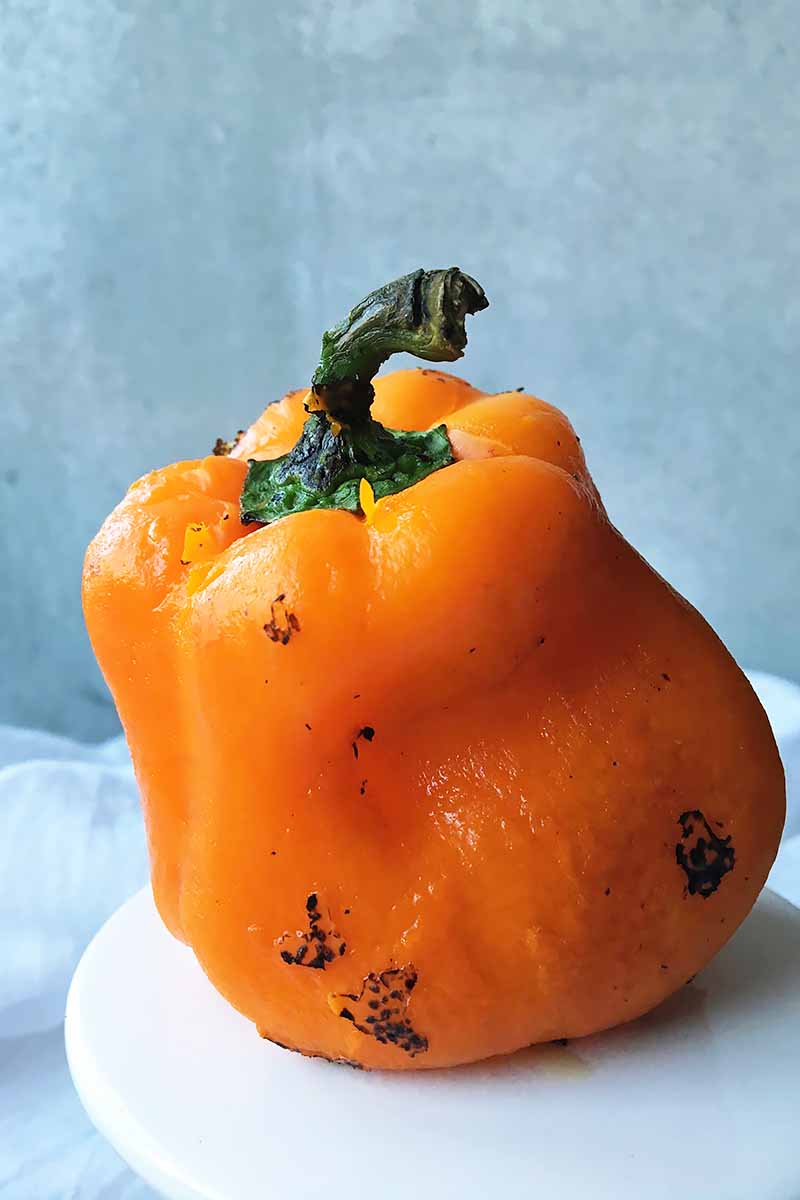
Torch the exposed side until it is blackened and blistered.
Using metal tongs, rotate as needed to torch the remaining skin.
Repeat this process with the other peppers.
Proceed with the following steps.
Step 2, Option 3 – Oven Method
Preheat the oven to 450°F.
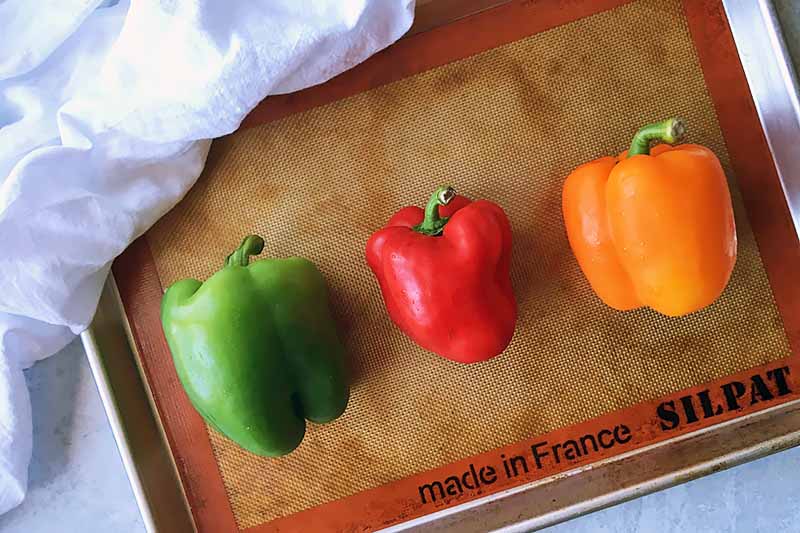
Line a baking sheet with aluminum foil, or a silicone mat.
Lay peppers on their side, leaving about 2 inches of space between each one.
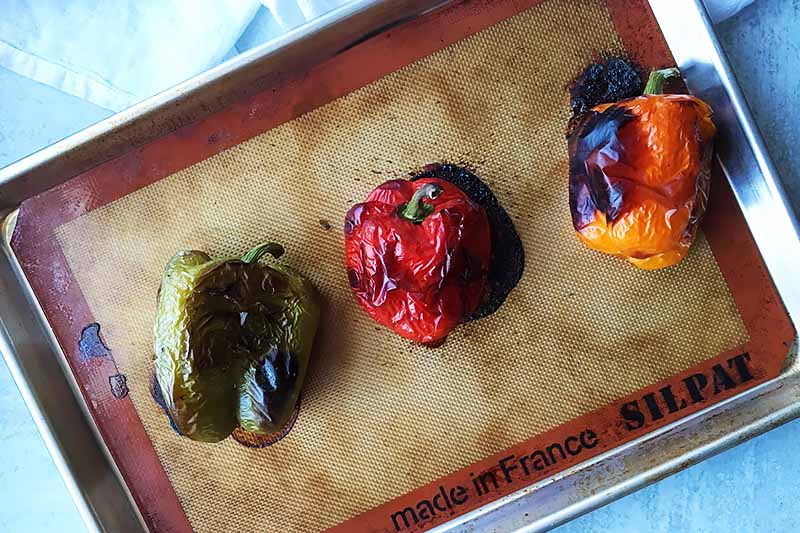
Roast for 20 to 25 minutes, turning them twice during roasting with tongs, until they are wrinkled and evenly charred.
Remove from the oven.
Proceed with the following steps.
Step 3 – Cover and Let Rest
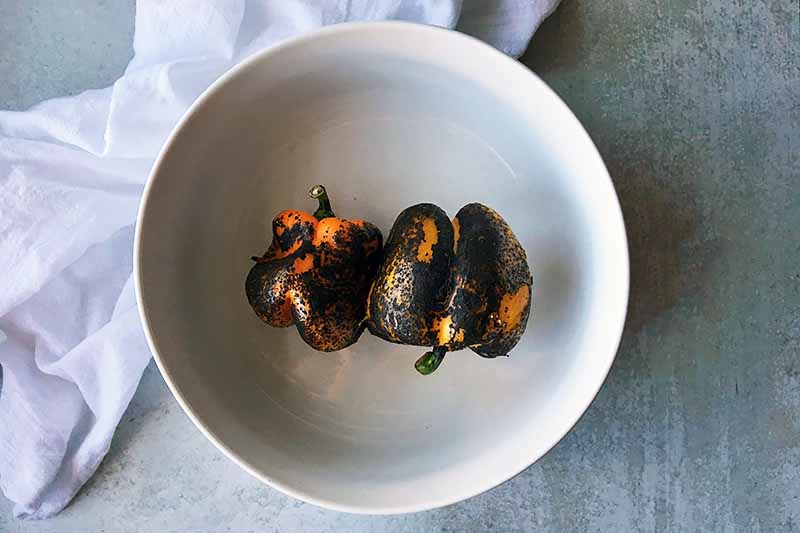
After roasting with any of the three methods, the next step is to immediately place them in a large bowl and cover it tightly with plastic wrap or aluminum foil.
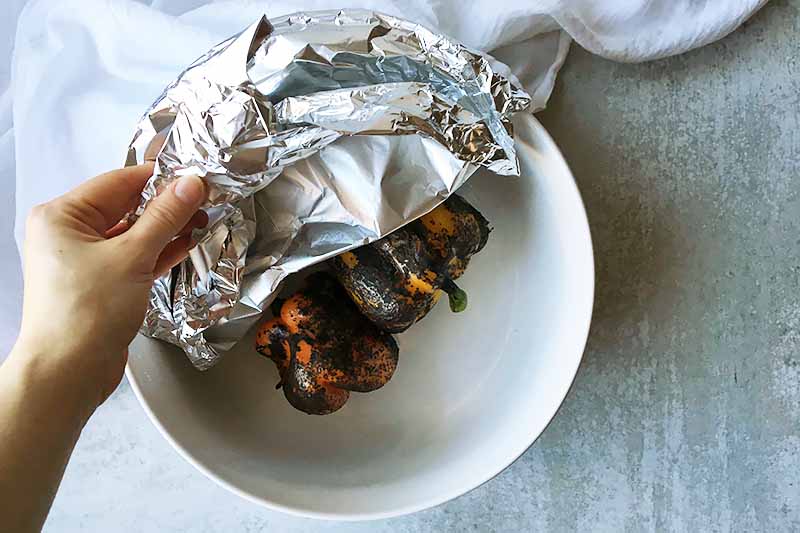
Why so fast? Now is the time when you want to capture all of that steam and heat quickly – it will help to loosen and release the thin, papery layer of skin that needs to be removed.
Leave to steam for about 10 minutes.
Step 4 – Remove the Skin
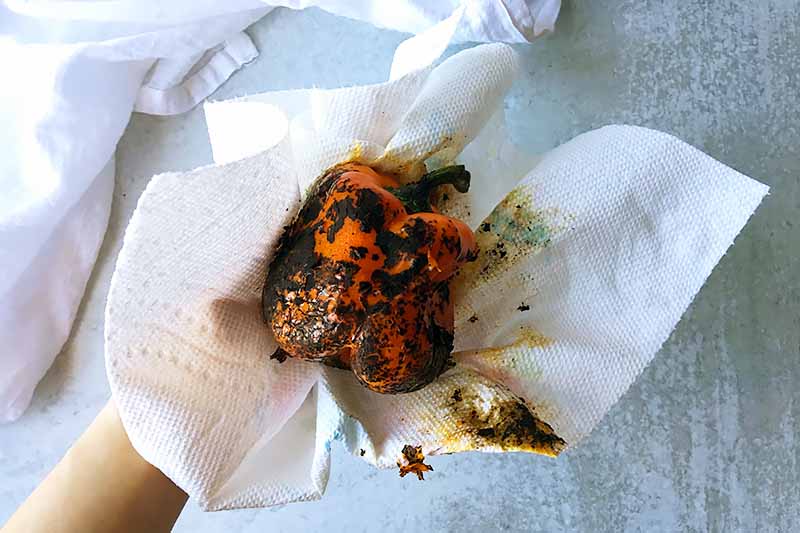
After steaming, remove the blistered skin by gently rubbing the pepper with a paper towel. You can also remove the skin under cold, running water for a more thorough cleaning.
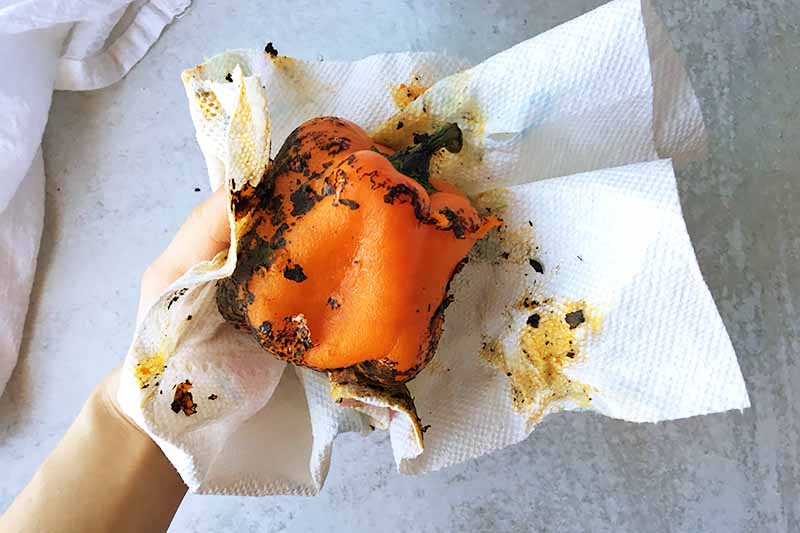
It’s fine if there are some small sections that still have some blistered skin remaining – those will provide little bites of flavor and added texture!
Step 5 – Seed and Chop
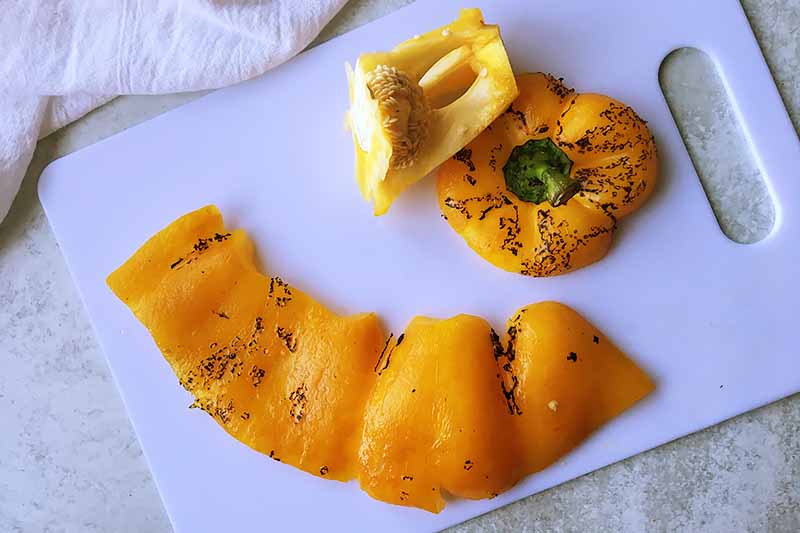
After skinning, cut and remove the stem and seeds, the same way you would normally prep for whatever recipe you are going to use them in. Cut them into squares or strips, or leave them in large chunks.
Step 6 – Store and Enjoy
Use them immediately, or store them in an airtight container in the refrigerator for up to a week, or in the freezer for up to 6 months.
Roasted peppers can also be stored in a jar filled with olive oil in the fridge for a few days. Try flavoring it with your choice of herbs, and add your tasty homemade treat to a meat and cheese platter at your next party for an instant, easy appetizer.
Boom! Roasted!
With these three basic methods to easily roast peppers indoors at home, you can choose what will be best for you.
Stovetop, kitchen torch, or oven, get the tastiest results with any of these methods using your favorite variety.
And once you roast them, I’m sure you’d love some ideas on how to incorporate them in your recipes! Here are some of our favorites for you to try:
- Spicy Portobello Sandwiches
- Cheesy Quiche with Leeks, Artichokes, and Roasted Red Peppers
- Spiralized Sweet Potato Noodles
- Winter Lettuce Salad
I’m so curious to find out what method you’ll like best! What do you think you’ll try first? Maybe you even have another tried and true method you like… Leave a comment below, and let’s chat!
Photos by Nikki Cervone, © Ask the Experts, LLC. ALL RIGHTS RESERVED. See our TOS for more details.
About Nikki Cervone
Nikki Cervone is an ACS Certified Cheese Professional and cheesemonger living in Pittsburgh. Nikki holds an AAS in baking/pastry from Westmoreland County Community College, a BA in Communications from Duquesne University, and an MLA in Gastronomy from Boston University. When she's not nibbling on her favorite cheeses or testing a batch of cupcakes, Nikki enjoys a healthy dose of yoga, wine, hiking, singing in the shower, and chocolate. Lots of chocolate.