We occasionally link to goods offered by vendors to help the reader find relevant products. Some of these may be affiliate based, meaning we earn small commissions (at no additional cost to you) if items are purchased. Here is more about what we do.
While I’m usually more of a pancake kind of girl, the heartiness of these waffles has me thinking twice about where my allegiance lies.
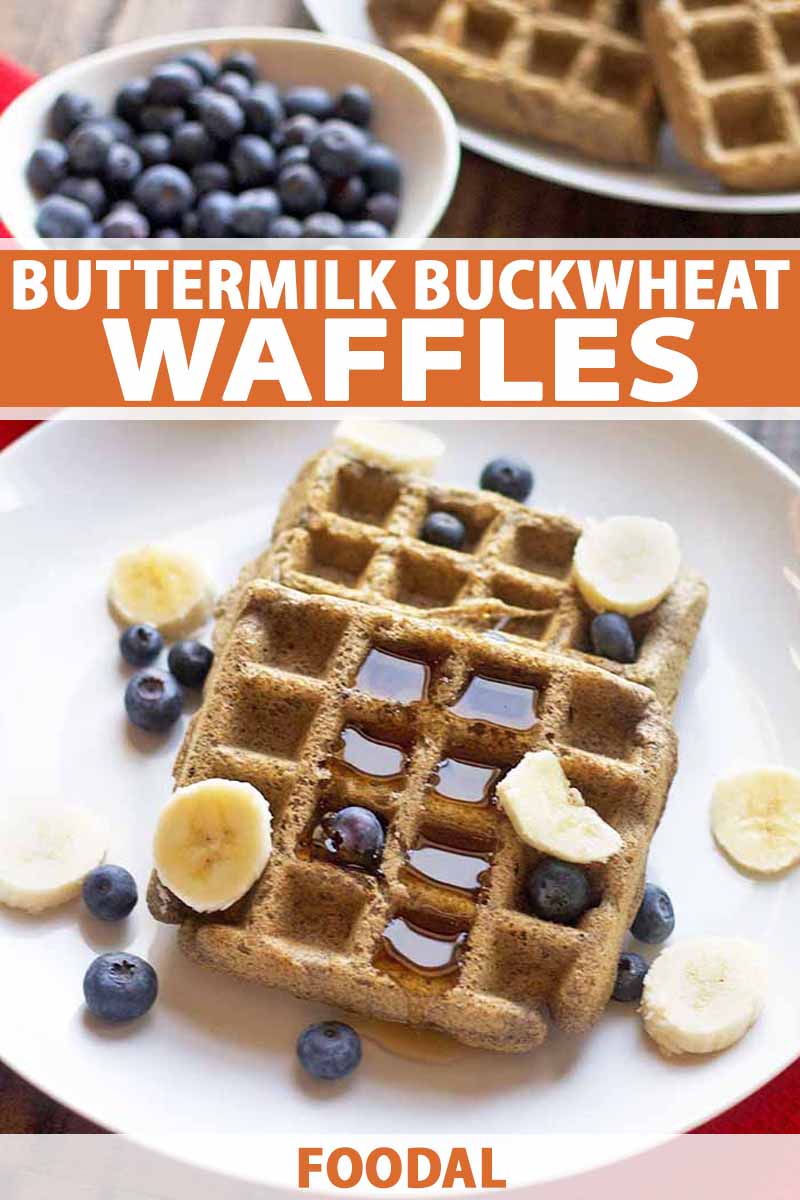
In my opinion, a good waffle must have three key characteristics:
- Crunchy on the outside and fluffy on the inside.
- Just a touch sweet, so you can add fruit and maple syrup without going into a sugar coma.
- Must keep you feeling full until lunch.
After eating my fair share of these, I can assure you that they meet all three criteria.
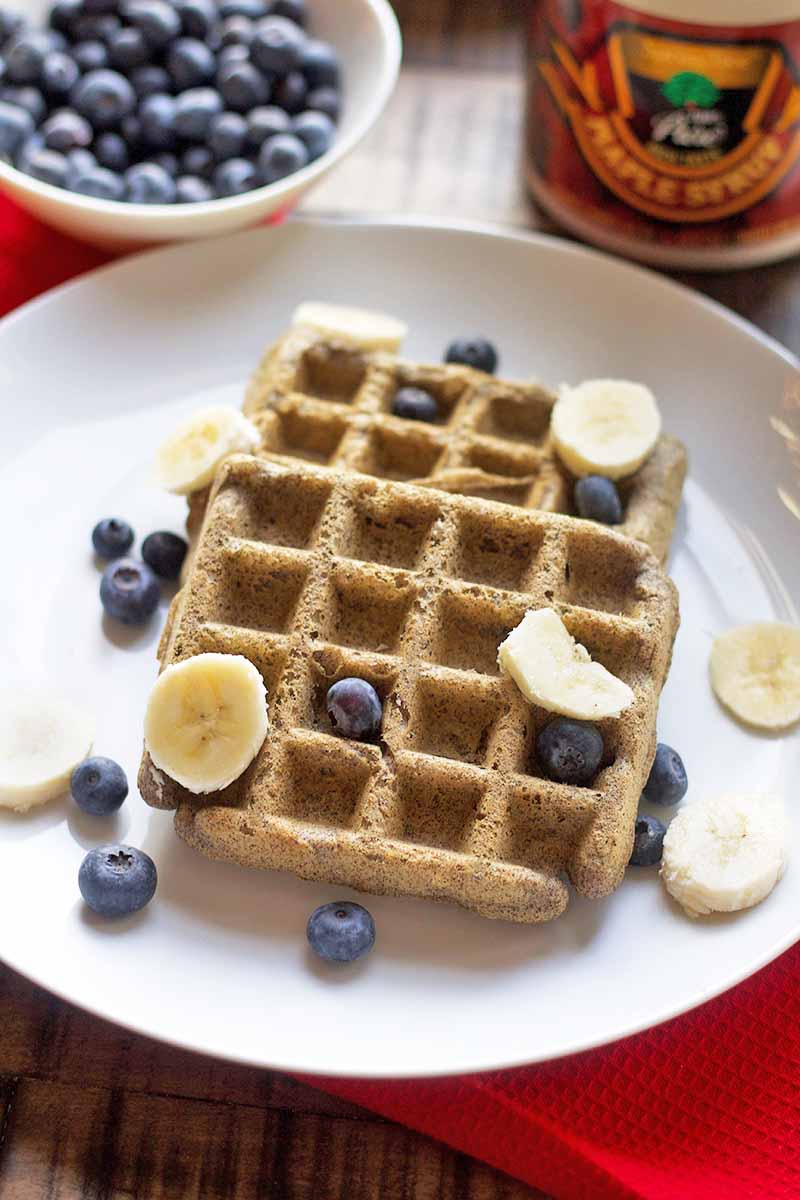
If you’re looking at the recipe and thinking that since there’s only 1 tablespoon of sugar in the whole batch, you can just nix it all together to be a little bit healthier, think again.
The key to that crunchy, brown exterior is sugar. Without any sugar, you’ll end up with a sad, soft waffle.
The other key to a crispy outside? Oil. The fat in oil helps to give waffles that distinctive browned color while keeping the inside moist and fluffy.
Now, let’s talk about toppings.
I was never a huge fan of frozen waffles as a kid. Maybe it was because I was spoiled by my grandpa’s perfect chocolate chip pancakes (made in the shape of Mickey Mouse, no less), but going as far back as I can remember, that yellow box in the freezer just wasn’t tempting.
That is, until I learned about the waffle’s true soulmate: peanut butter. Sure, maple syrup is good and all, but peanut butter has that creamy saltiness going for it that even the best syrup can’t outshine.
As much as I wanted to cover these with my favorite natural, crunchy peanut butter and convince you all to trade in your bottles of maple syrup, I restrained myself and kept true to the traditional pairing for this batch. But no judgement if you decide to add a generous spoonful of peanut butter on top!
Thanks to the heartiness of the buckwheat, these waffles taste so unique. I’m a big fan of this flour for a lot of my recent sweet treats, like chocolate chip cookies and banana coconut cookies.
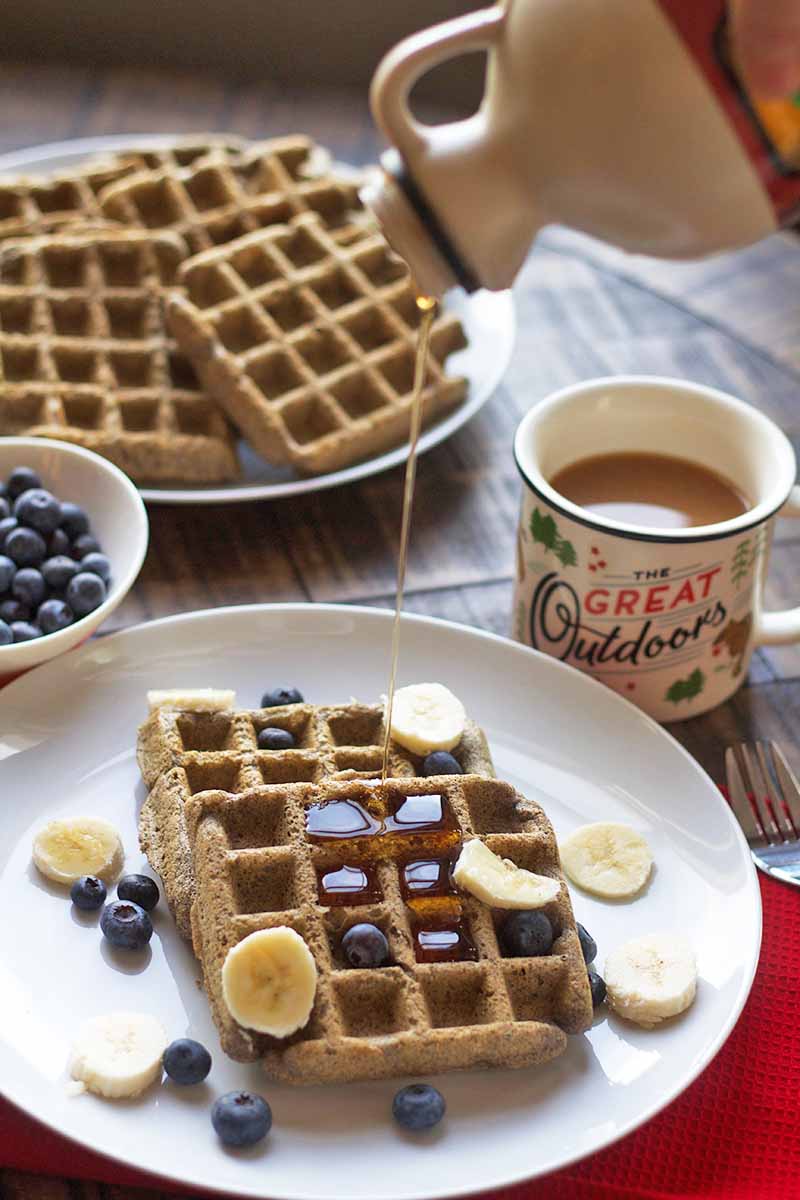
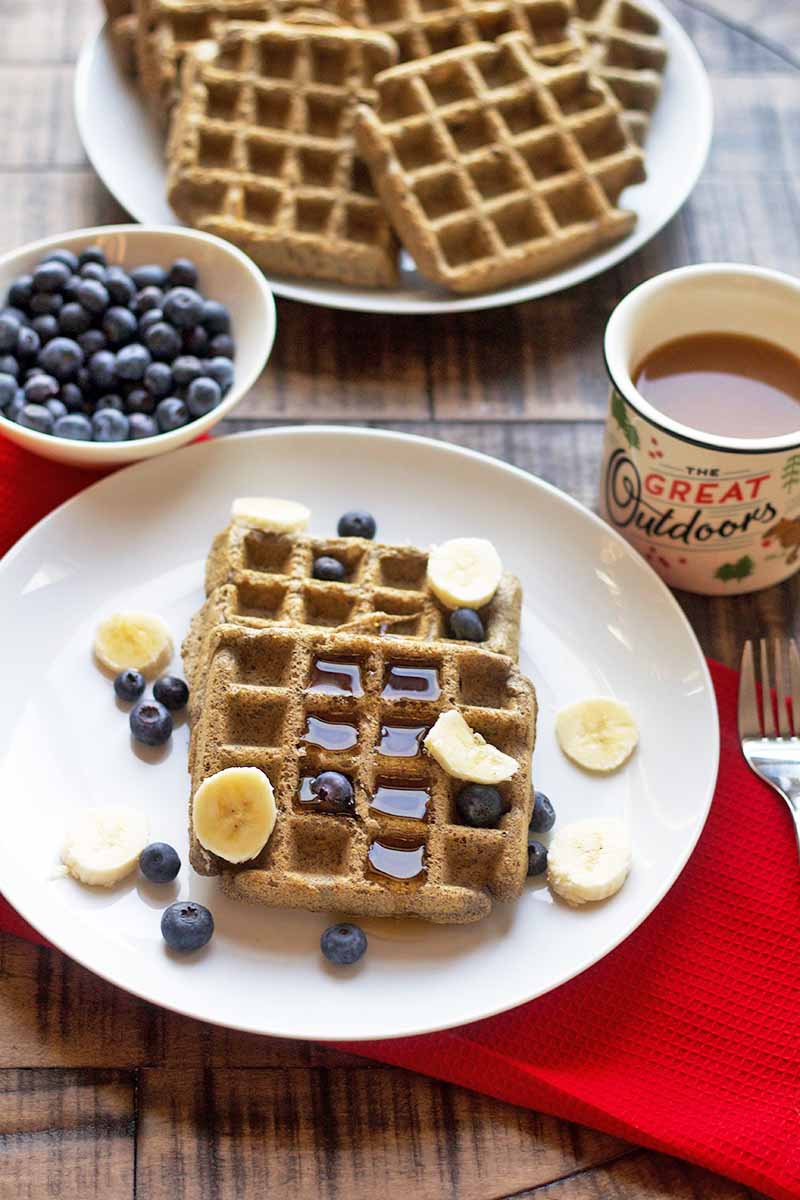
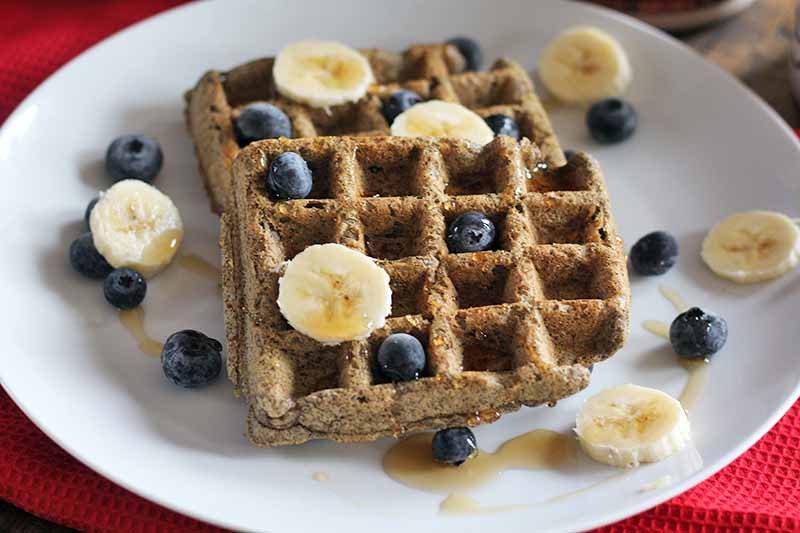
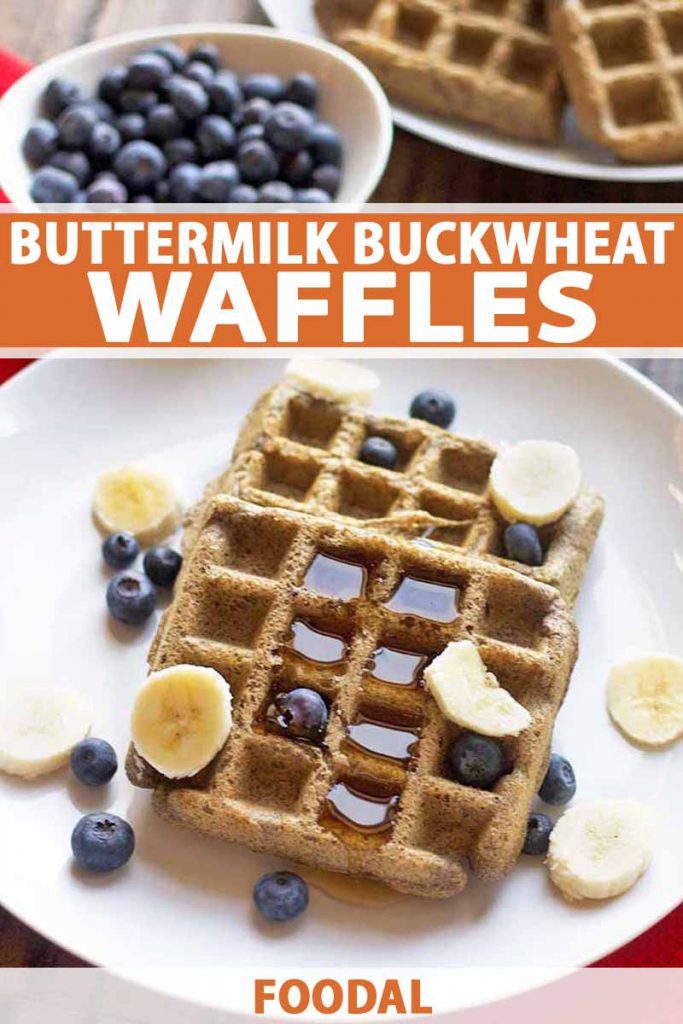
And with only one tablespoon of sugar in the batter, these aren’t too sweet. Instead, they are the perfect vessels for juicy blueberries, banana slices, and pure maple syrup.
These would also be delicious with a homemade berry syrup, or stewed apples in the fall.
New to using buckwheat flour in your cooking and baking? I found a bag at my local grocery store, but you can always buy it online as well.
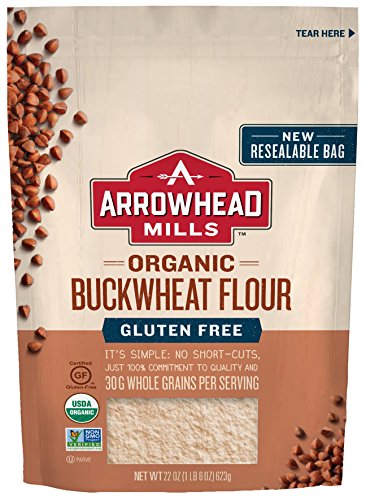
Arrowhead Mills Organic Buckwheat Flour, available via Amazon
As for nutrition, buckwheat is gluten free, high in fiber, and a good source of magnesium and phosphorus. We love using it as a healtheir alternative flour for traditionally naughty baked goods, like cookies and tarts.
Buckwheat flour also contains protein which, along with the fiber, will help keep you nice and full until lunch!
One tip that I learned from my grandpa when making pancakes is to add a splash of almond extract to the batter. I decided to try it with this recipe, and was so glad I did! Just as with pancake batter, the almond extract gives it a little more depth of flavor.
Does a batch of batter make too many for you to enjoy in one sitting? Not a problem! You can freeze any leftovers and simply reheat them in the toaster. For this to work best, freeze them individually for easier reheating. You’ll find a few more tips for doing this later in the article.
Whether you have a square or round Belgian waffle maker, this breakfast is quick to prepare and can make even a weekday morning feel special. After all, who doesn’t want to start their day off with a drizzle of maple syrup on top of something tasty, hearty, and homemade?
Print
Hearty Buttermilk Buckwheat Waffles with Blueberries and Bananas
- Total Time: 25 minutes
- Yield: 4 servings 1x
Description
These hearty buttermilk buckwheat waffles are a nutritious spin on a breakfast classic. Crunchy on the outside and fluffy on the inside, they go perfectly with fruit on top and a drizzle of maple syrup.
Ingredients
- 1 cup buckwheat flour
- 1 tablespoon granulated pure cane sugar
- 1 teaspoon baking powder
- ½ teaspoon baking soda
- ¼ teaspoon salt
- 1 cup buttermilk
- 1 large egg
- 2 tablespoons canola oil
- ½ teaspoon almond extract (optional)
- 1 large banana, sliced
- 1 cup blueberries
- Maple syrup, for serving
- Any additional toppings of choice (optional)
Instructions
- Preheat waffle maker according to manufacturer’s directions, and preheat oven to 175°F. In a large bowl, combine buckwheat flour, raw sugar, baking powder, baking soda, and salt.
- In a separate bowl, combine buttermilk, egg, canola oil, and almond extract. Next, add the liquids to the dry ingredients and mix well.
- Pour batter into waffle maker and cook according to your machine’s directions. As each waffle is finished, you can place it directly on the rack in the preheated oven to get a little crispier and to keep warm.
- Repeat with all of the remaining batter. Serve with blueberries, banana slices, maple syrup, and any additional toppings of choice. Enjoy immediately.
Notes
Waffle size and cook time depends on your appliance – adjust accordingly.
Nutritional information below does not include syrup or optional toppings.
- Prep Time: 10 minutes
- Cook Time: 15 minutes
- Category: Waffles
- Method: Waffle Maker
- Cuisine: Breakfast
Keywords: gluten-free, waffles, blueberry, banana, buckwheat, buttermilk
Cooking By the Numbers…
Step 1 – Preheat Appliances and Measure Ingredients
Preheat oven to 175°F, or its “keep warm” setting, and preheat your waffle maker.
Measure out all of the ingredients.
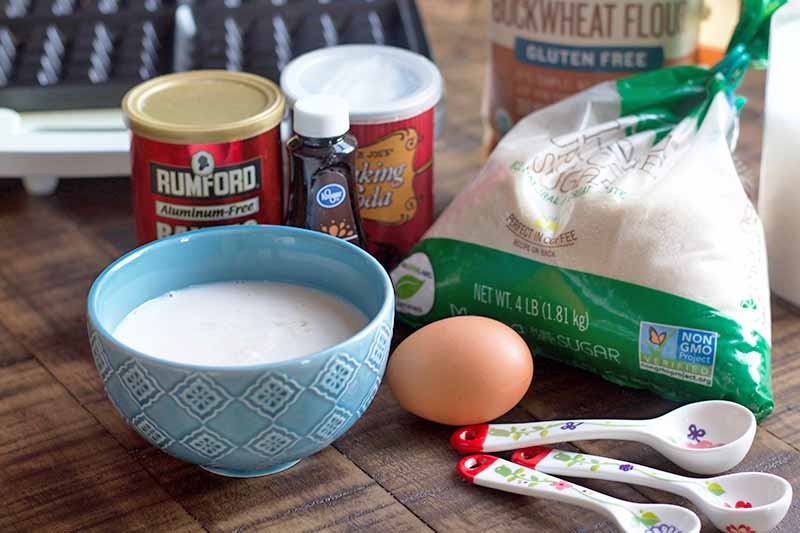
Note: if you don’t have buttermilk, you can make a simple substitute by combining 1 cup of whole milk (or milk alternative) with 1 tablespoon of lemon juice. Let sit for 5 minutes before using.
Step 2 – Mix Dry and Wet Ingredients
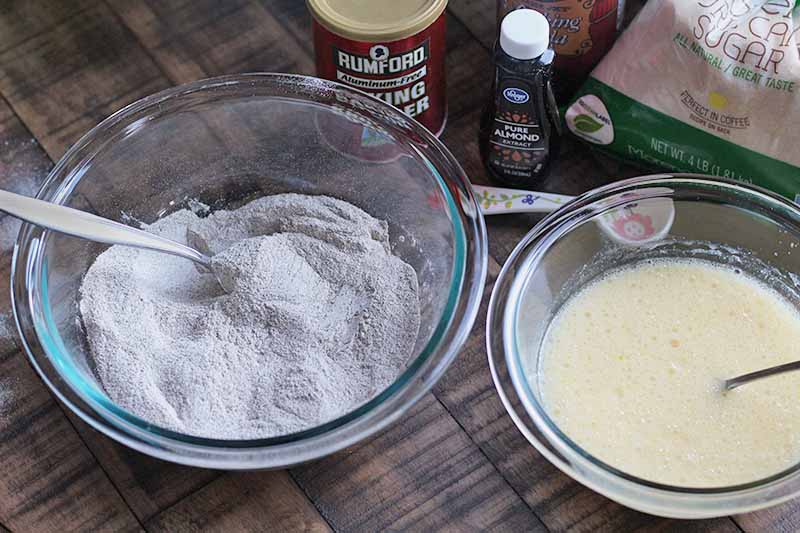
In a medium-sized bowl, combine the buckwheat flour, sugar, baking soda, baking powder, and salt.
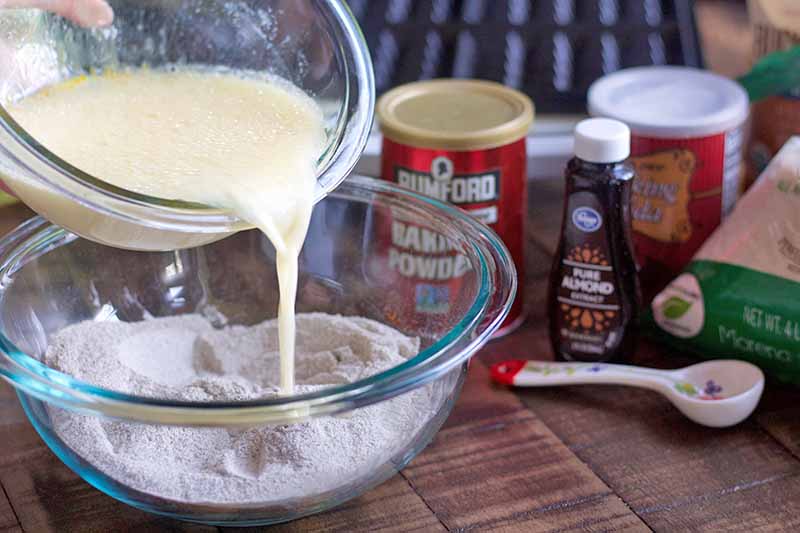
In a separate small mixing bowl, whisk together the buttermilk, egg, canola oil, and almond extract (if using). Set aside.
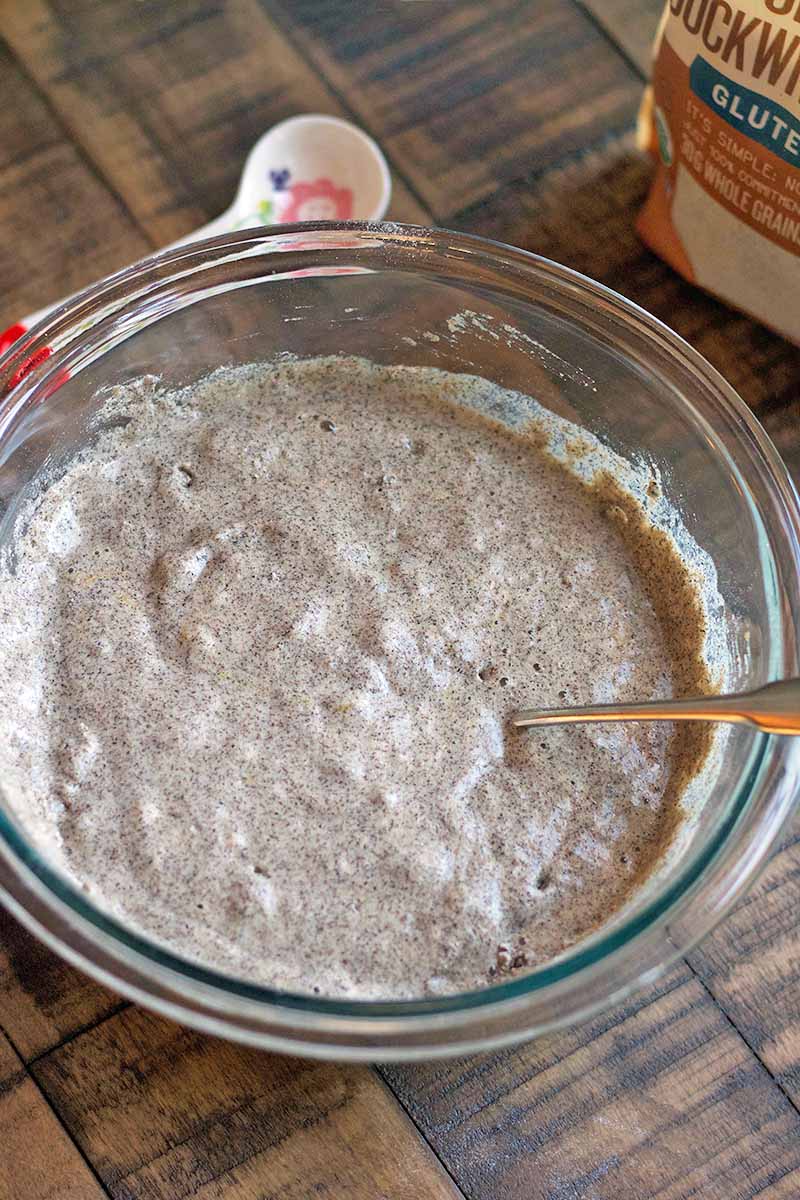
Stir liquid ingredients into the dry, just until combined. It’s okay if a few lumps remain.
Step 3 – Cook and Enjoy
For the best results, you’re going to make these according to your specific waffle maker’s instructions.
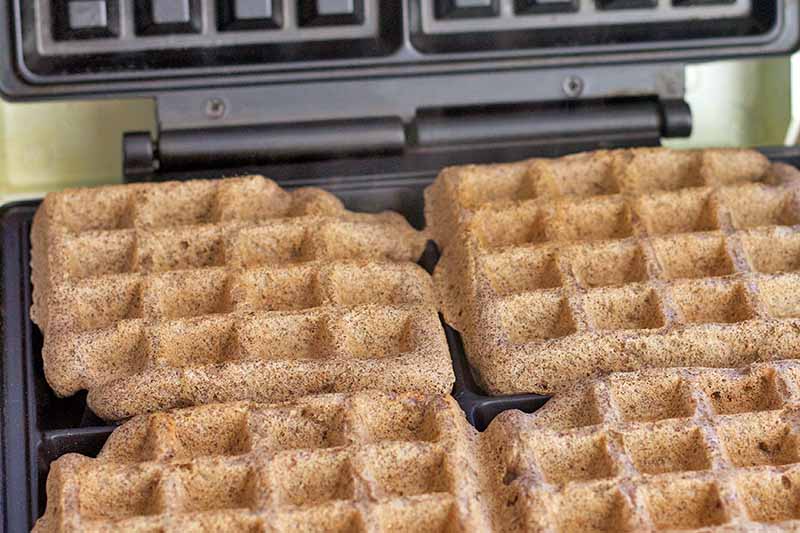
While every model is a little bit different, there are a few universal basics:
First, use a measuring cup to add batter to the waffle maker. This will help to achieve a uniform size, as well as prevent batter from seeping out when you close it. This will generally be 1/4 or 1/3 of a cup at a time, and you can consult the instructions that came with your appliance to find out what works.
When you close the lid, steam will rise from the waffle maker. You’ll know that they are ready when the steam stops.
To keep them warm and crispy while you continue to work through the remaining batter, place the cooked ones in the preheated oven directly on the rack.
Serve with blueberries, banana slices, maple syrup, and any additional toppings of your choice.
Tips for Storing Leftovers
While any leftovers can be stored in the refrigerator for up to five days, the moisture from the fridge may make them a bit soggy. Instead, once they have cooled completely, place on a parchment-lined baking sheet in a single layer and freeze for 6 hours, or until completely frozen.
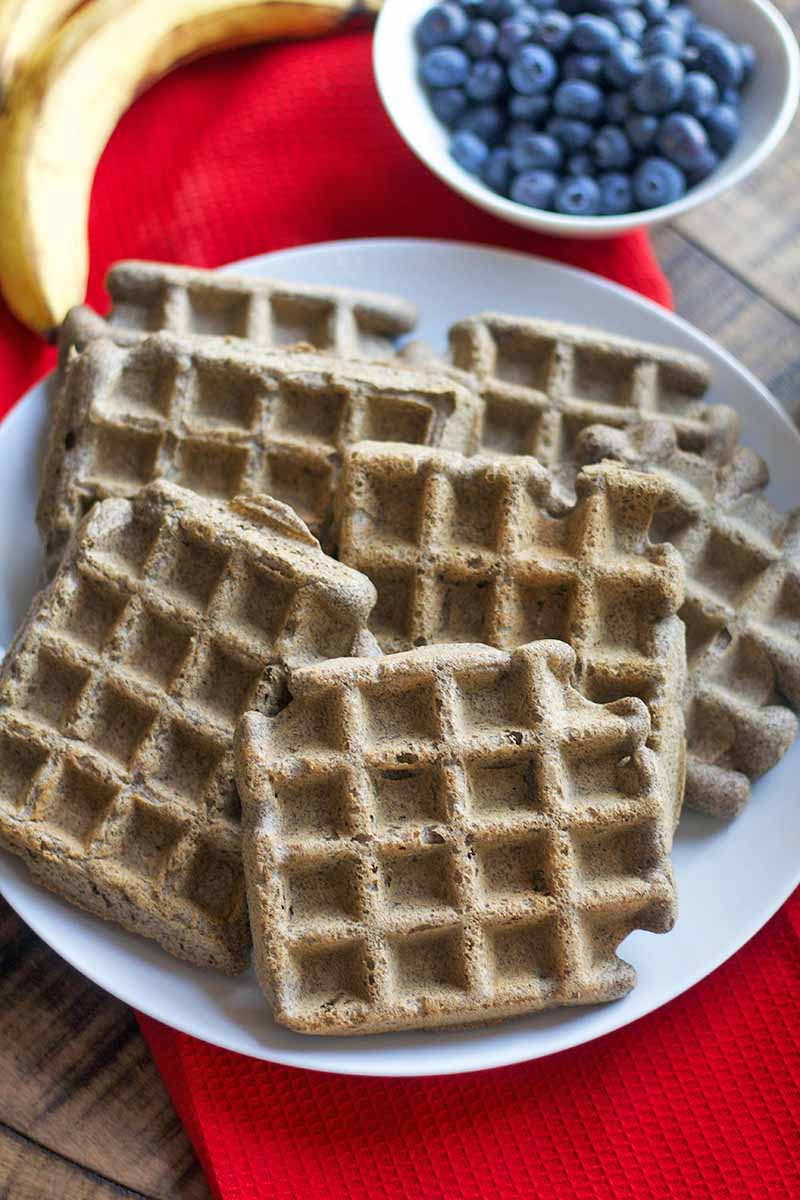
Once frozen, stack them in a resealable freezer bag or container. This can be stored in the freezer for up to 3 months.
To reheat, simply place a frozen waffle in the toaster or the toaster oven on the same setting as you would a slice of toast. Heat, and serve!
Team Waffles vs. Team Pancakes
I have a serious question for you: are you team waffles, or team pancakes?
While pancakes are soft, fluffy, and able to absorb maple syrup to create even softer, sweeter bites, waffles have that crispy exterior with optimal topping storage capacity in each little square.
Waffles are also easier to make, with no flipping required. But pancakes don’t require a special appliance to make them, just a hot stove and a spatula (though an electric griddle can work nicely as well).
Batter-wise, both are made of flour, oil (or butter), egg, milk, a leavening agent, and sugar. The main difference is that waffles need a little extra fat and sugar to give them that nice brown, crispy outside.
As I said before, I’ve always been more of a pancake fan-girl (gluten-free coconut flour pancakes are my absolute favorite!), but after trying these, I’m becoming more open-minded.
Looking for more waffle inspiration? Check out these recipes on Foodal:
- Cornmeal and Honey with Whipped Honey Butter
- Fluffy Belgian Spelt Waffles
- Crispy Homestyle
- Banana Yeast Waffles
What do you think? Let us know if you’re team waffle or team pancake in the comments below. And don’t forget to rate this recipe after giving it a try!
Photos by Kelli McGrane © Ask the Experts, LLC. ALL RIGHTS RESERVED. See our TOS for more details. Originally published by Shanna Mallon on April 28. 2010. Last updated: April 5, 2022 at 19:59 pm.
Nutritional information derived from a database of known generic and branded foods and ingredients and was not compiled by a registered dietitian or submitted for lab testing. It should be viewed as an approximation.
The written contents of this article have been reviewed and verified by a registered dietitian for informational purposes only. This article should not be construed as personalized or professional medical advice. Foodal and Ask the Experts, LLC assume no liability for the use or misuse of the material presented above. Always consult with a medical professional before changing your diet, or using supplements or manufactured or natural medications.
About Kelli McGrane, MS, RD
Kelli McGrane is a Denver-based registered dietitian with a lifelong love of food. She holds undergraduate and master’s degrees in nutrition science from Boston University. As a registered dietitian, she believes in the importance of food to nourish not only your body, but your soul as well. Nutrition is very personal, and you won’t find any food rules here, other than to simply enjoy what you eat.

oh, how i love that you use buckwheat in this recipe! and the photos are absolutely divine <3
Those waffles are too tempting – I had deliciously good fresh waffles recently that got me thinking about a waffle maker… I just need to convince my husband about that idea 🙂
Gorgeous waffles! I absolutely adore the flavor of buckwheat.
The waffles look fabulous but I will have to admire from afar – I cannot justify a waffle maker!
lovely recipe! YUM!
Love the post. Especially when you ended with a great recipe – I’d have to try it sometimes.
A distraction from food & making food is always a paradise for me. Thank you!
This is so funny b/c I’ve been planning a waffle post for about a week now. Must be something in the air…Happy almost weekend 🙂
Wow I’m not really familiar with buckwheat but this looks amazing! What distinguishes buckwheat from regular or whole wheat flour?
I think the greyish-blue color of the buckwheat is whimsical. This looks so tasty!
Jessica, Buckwheat is actually not a grain but from the same family as rhubarb. And it gives things a slightly grayish color that is interesting. Try it!
Allison, I love that you find the color whimsical.
Your waffles look really good.
i have not tried buckwheat yet. you’ve inspired me!
Thank you so much, Alisa!
In the event of silence, insert waffle. 🙂
Tracy, Ha! Why not?