Do you have any treasured family recipes that maybe aren’t really “originals,” or you’re not sure exactly where they came from?
I know I do.
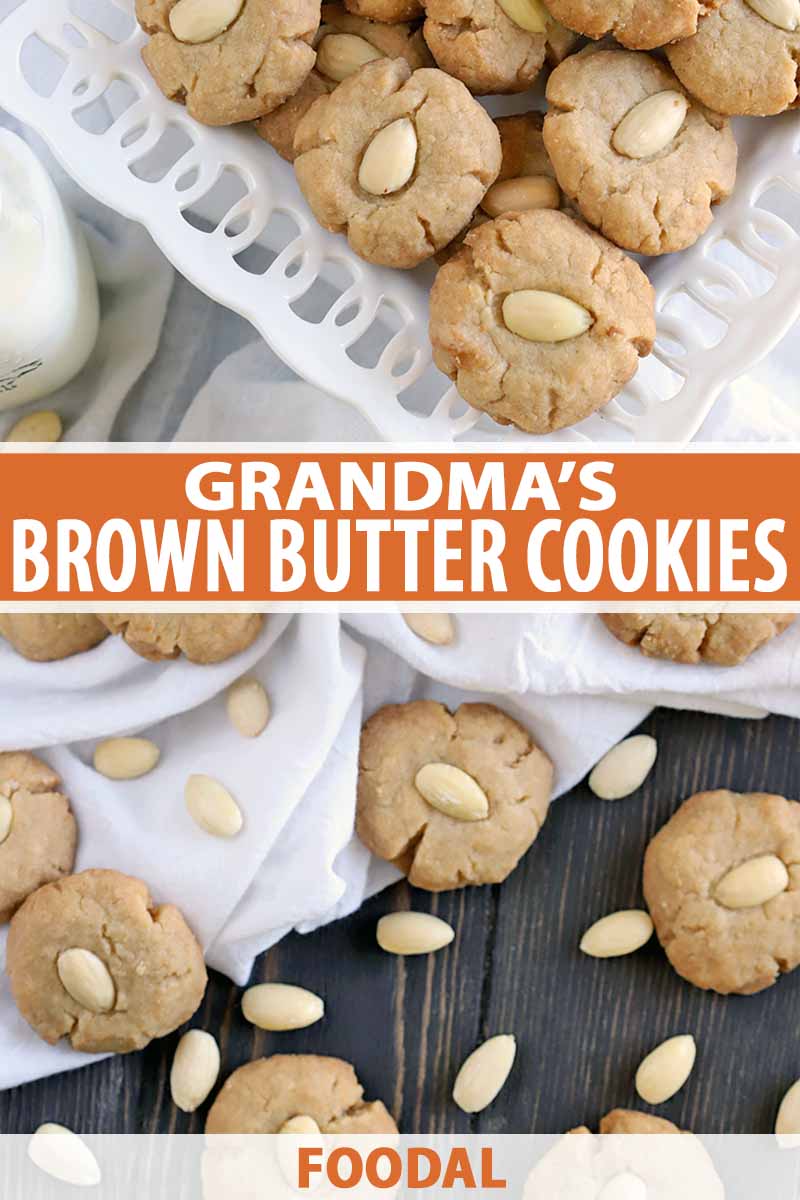
Sometimes I like to go through my Grandma’s recipes, which I’ve organized into two card-sized tins.
And when I do, I find two things:
Stained, cryptic notes in cursive penmanship, and torn clippings – from newspapers, magazines, and boxes of butter or oatmeal from decades ago.
Usually, I have no idea if she tried and liked these torn-out recipes, or if she’d been meaning to make them someday and never got around to it. But I keep them because they were hers, a memento of the things she thought were worth trying in the kitchen.
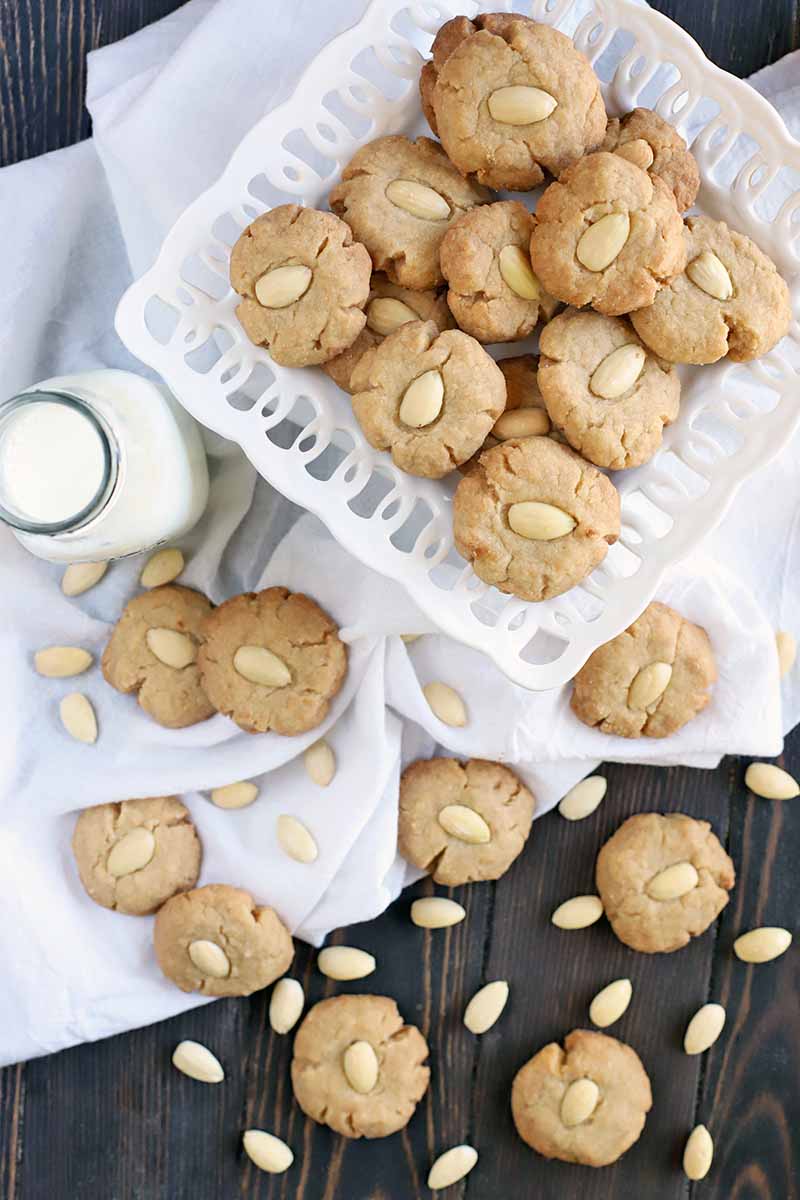
My mom and I carry on this tradition, she with her labeled folders of cut-out recipes, and I with mine. This cookie, from Gourmet magazine circa 1961, was one of those clippings.
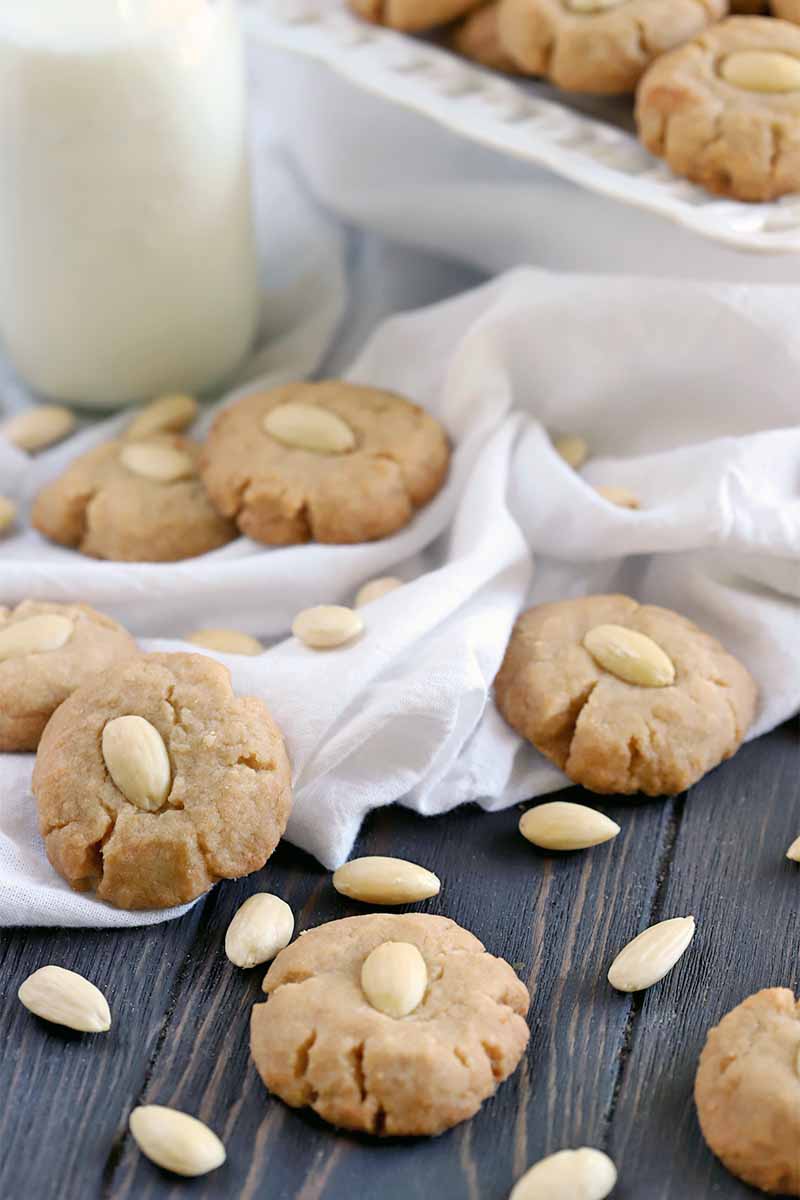
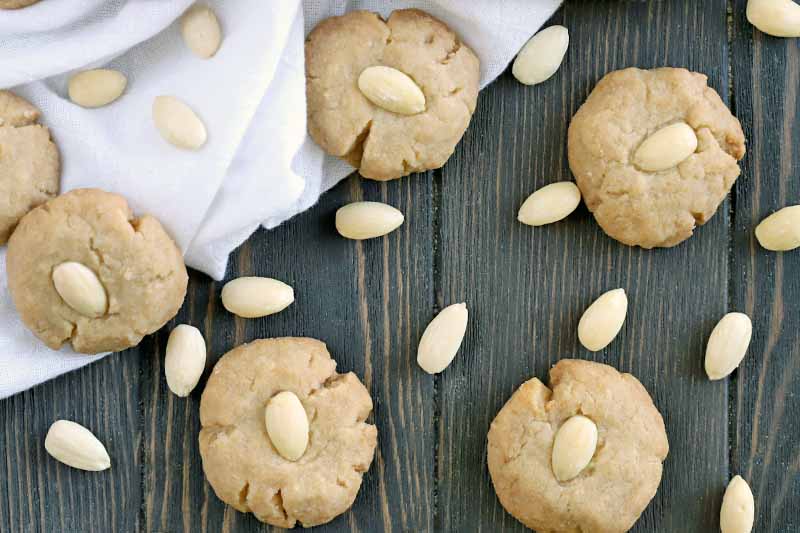
Before I even tried a batch, I knew that I’d like them, both because they are flavored with the complex notes of brown butter and because they’re made with simple ingredients, all things you probably have on hand right now.
It took just one whiff of the browning butter, set in a pot on low heat to slowly melt and darken, for me to love it the way I love twinkling Christmas lights or the look of falling snow, and to be reminded of past holidays enjoyed with loved ones, munching on all our favorite holiday cookies.
As its color deepens, a nutty aroma fills the air, hinting at its rich flavor. And put into cookies, this ingredient turns a simple dough into something magnificent: a crumbly sable texture with layers of subtle sweetness.
You know, in all the nearly seventeen years that I knew my grandma, I can’t remember ever baking anything for her, not on my own, not without her help.
I know I gave her cereal, toast, maybe some cut-up fruit now and then. Especially when she lived with us in that last year, when I slept in the same room with her to make sure she was all right.
But I never cooked for her. And it’s a bitter irony that, now that she’s gone, I’m wondering which cookies she’d want for Christmas, whereas she always knew which I’d prefer.
I will never get a chance to bake for my grandma, but I will bake for you. And, in so doing, it seems to me, she doesn’t feel so far away.
Print
Grandma’s Brown Butter Cookies
- Total Time: 1 hour
- Yield: 18-20 cookies 1x
Description
There’s one thing that makes any cookie better, and it’s the star of Grandma’s Brown Butter Cookies. These soft baked treats will melt in your mouth.
Ingredients
- 1 cup salted butter
- 2/3 cup + 1 Tbsp granulated sugar
- 1 tsp vanilla extract
- 2 1/3 cups all-purpose flour
- 1 tsp baking powder
- 1/4 cup blanched whole almonds
Instructions
- In a heavy saucepan, melt butter over low heat until it browns, about 5-7 minutes. Watch the pan carefully, and swirl occasionally. When the butter is browned and emits a nutty aroma, remove from heat.
- Transfer to a large mixing bowl and stir in sugar and vanilla. Set aside to cool slightly.
- Beat in flour and baking powder with an electric handheld mixer on medium speed to make a smooth dough. Roll spoonfuls of the dough into marble-sized balls and put them 1 inch apart on a parchment paper or Silpat-lined baking sheet.
- Press each ball down slightly with the tines of a fork, and top with half of a blanched almond each. Chill in the refrigerator for 25 minutes.
- In the last 10 minutes of chilling, preheat the oven to 325°F.
- Bake the cookies for 20 minutes, or until the edges are golden brown and cookies are cooked through. Remove them from the baking sheet and cool on a wire rack.
- Prep Time: 10 minutes
- Cook Time: 27 minutes
- Category: Cookies
- Method: Baking
- Cuisine: Dessert
Keywords: holiday baking, cookie, brown butter, almond
Cooking By the Numbers…
Step 1 – Measure All Ingredients
Measure out all of the ingredients on the ingredients list.
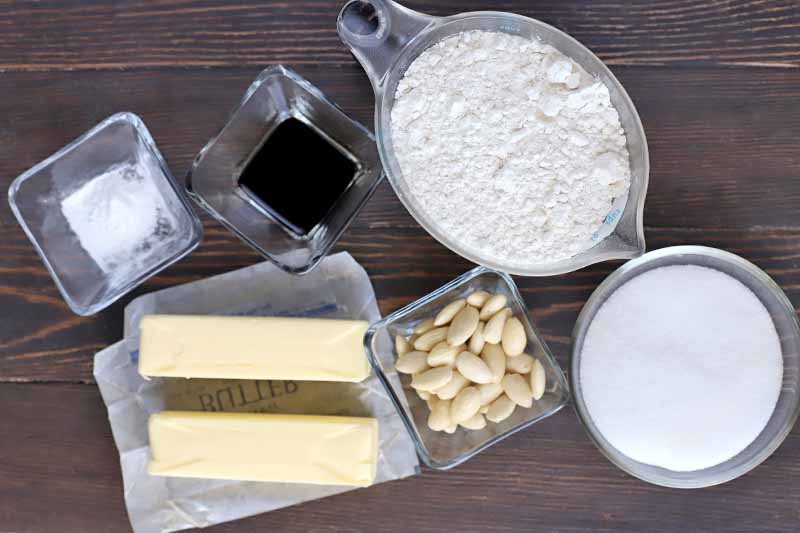
Be sure to set them out in the order they are listed, to make it easier to assemble the recipe step by step.
Line two baking sheets with parchment paper or nonstick silicone mats.
Step 2 – Brown Butter
Add the butter to a heavy saucepan and place it over low heat. Melt the butter, swirling the pan occasionally, until it is browned. This should take about 5-7 minutes.
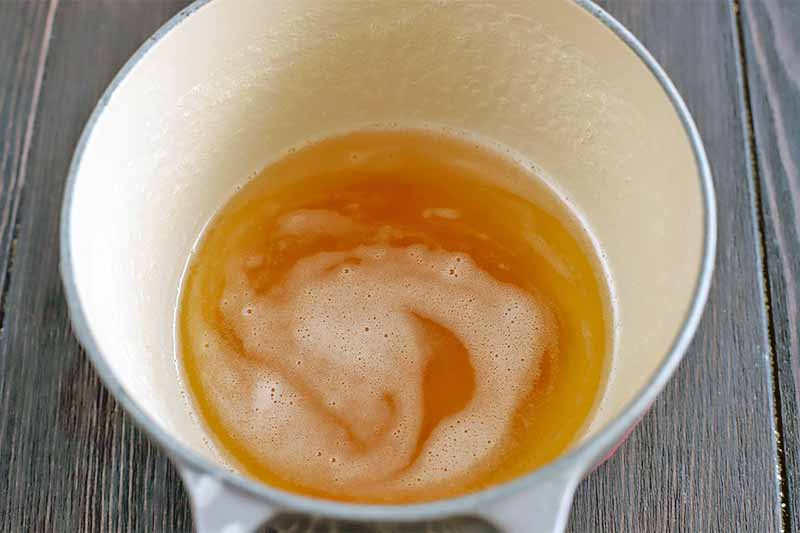
Make sure to keep an eye on the butter so it doesn’t brown too quickly. You don’t want it to get too dark. Nutty browned butter is what we’re looking for, not burned butter!
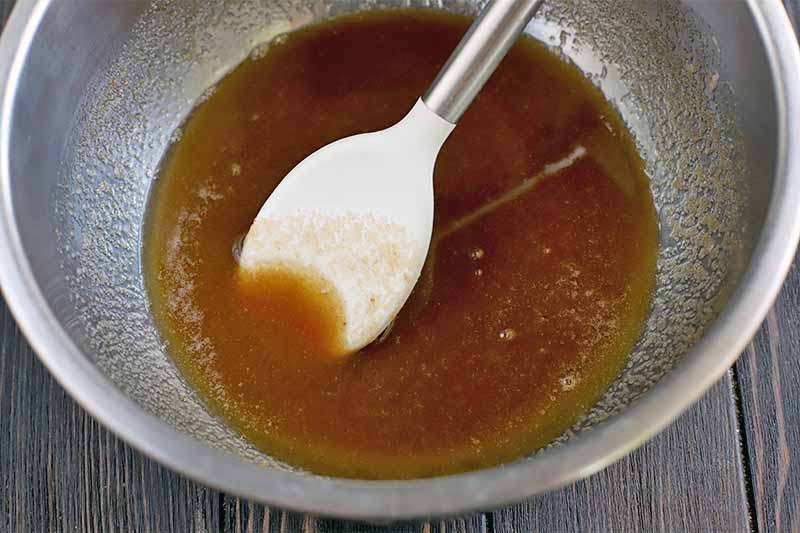
As soon as it reaches this stage, remove from the heat immediately and pour into a large heatproof mixing bowl. Stir in the sugar and vanilla extract. Cool the mixture slightly until only slightly warm, about 10 minutes.
Step 3 – Make Batter and Chill
Beat in the flour and baking powder with a handheld electric mixer until it forms a smooth dough.
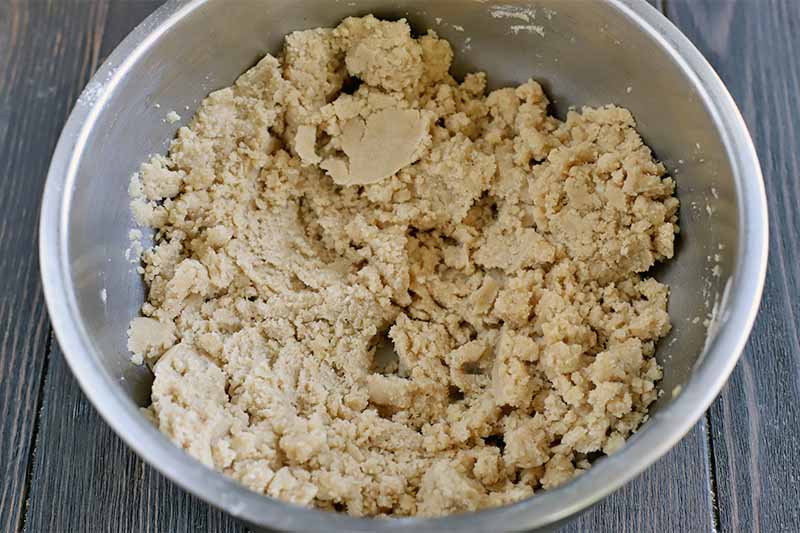
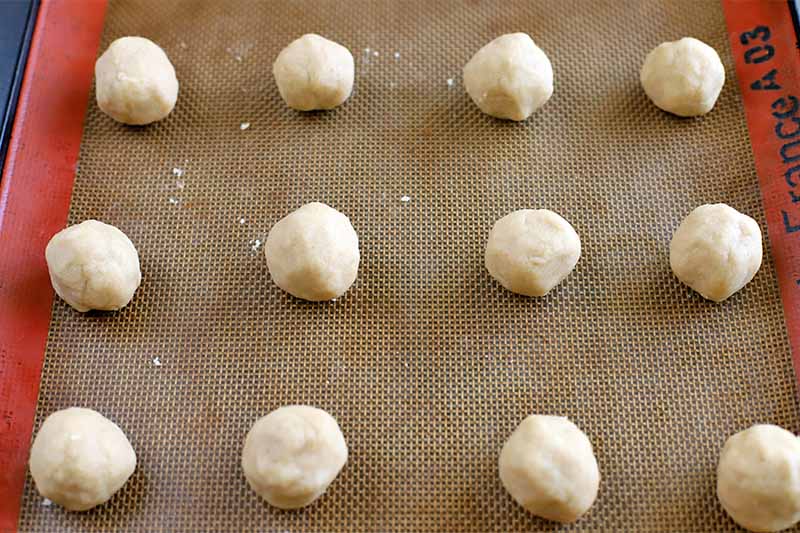
Roll spoonfuls of the dough into balls that are about the size of a large marble. Space them 1 inch apart on the prepared baking sheets.
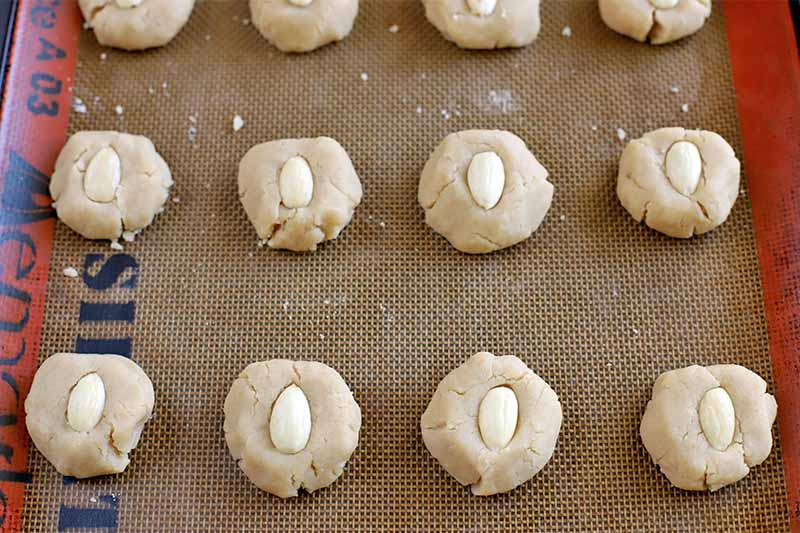
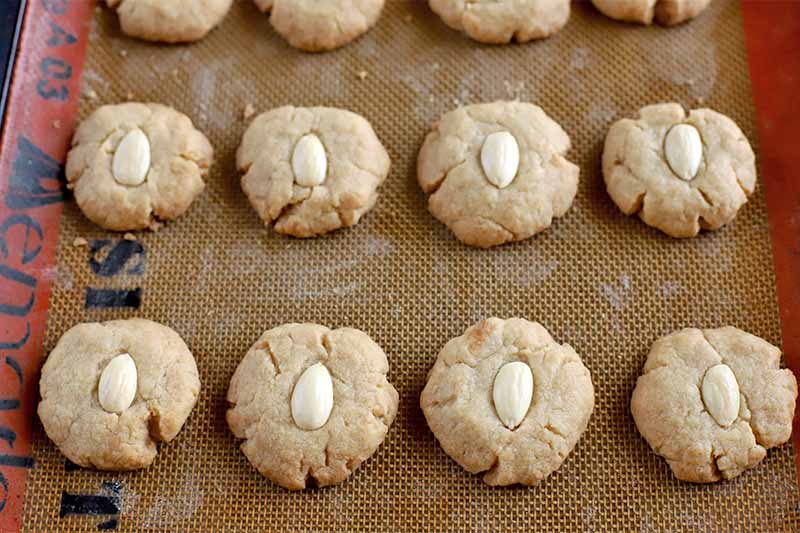
Press each ball down slightly with the prongs of a fork. Top each with half of a blanched almond, pressing them slightly into the dough so they don’t fall off. Chill in the refrigerator for 25 minutes.
In the last 10 minutes or so of chilling, preheat your oven to 325˚F.
Step 4 – Bake
When you’re ready, place both sheet pans in the oven and bake for 20 minutes. Remove from the oven and to a wire rack with a spatula, to cool.
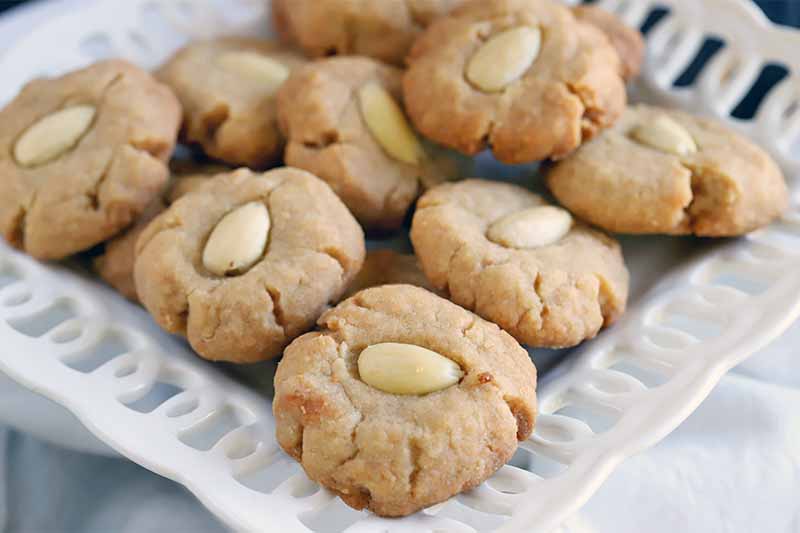
You can freeze these cookies for up to 3 weeks. Defrost them at room temperature for 5-10 minutes before serving.
Only Have Regular Almonds? No Problem.
If you only have regular almonds on hand, it’s no problem at all. You can blanch those almonds yourself by following the simple instructions in our guide. That way you, can hopefully save yourself an extra trip to the store as well.
I was kind of shocked to discover how easy it is to blanch almonds at home, and I’m 100% sold on the process. It’s ridiculously simple, and that way you can just buy whole almonds for use in any recipe that calls for them, rather than blanched whole nuts or slivers.
Who would you bring these cookies to, or would you hoard them all to yourself? Tell us in the comments below, and be sure to come back to rate the recipe once you’ve tried it at home.
Looking for more nutty cookies? Try these:
Photos by Meghan Yager, © Ask the Experts, LLC. ALL RIGHTS RESERVED. See our TOS for more details. Originally published on December 12, 2008. Last updated: December 13, 2022 at 13:20 pm. With additional writing and editing by Meghan Yager and Allison Sidhu.
Nutritional information derived from a database of known generic and branded foods and ingredients and was not compiled by a registered dietitian or submitted for lab testing. It should be viewed as an approximation.
About Shanna Mallon
Shanna Mallon is a freelance writer who holds an MA in writing from DePaul University. Her work has been featured in a variety of media outlets, including The Kitchn, Better Homes & Gardens, Taste of Home, Houzz.com, Foodista, Entrepreneur, and Ragan PR. In 2014, she co-authored The Einkorn Cookbook with her husband, Tim. Today, you can find her digging into food topics and celebrating the everyday grace of eating on her blog, Go Eat Your Bread with Joy. Shanna lives in Nashville, Tennessee, with Tim and their two small kids.



i love this post too! thanks for sharing yet again another grandma recipe.
btw, i am totally loving your pictures lately! are you post editting them, doing anything different?
such a sweet, moving post dear. i know exactly what you mean… i’m going to call my grandma now. tell her i love her.
You’re so kind, Lan. As far as the photos, I spent way too much time last week reading articles about food photography, and the one thing everyone said was use natural light. I’m still experimenting, but since the natural-light thing is hard this time of year when you have a job, I’m also excited about another article that swears a wireless flash works just as well. (Something else to save up for!)
Thanks, Amy—Your comment made me cry!
Molly: Glad you found me! Always nice to meet DePaul alumns. So impressed by your catering, BTW!
what pretty cookies! they look like they’d simply melt in your mouth . yummy!
Such a sweet post Shannalee. I love that things like recipes can connect family across the generations. I’m also smiling because I see from your comments that you are a DePaul alum–so is my grandma (who is now 94)–I have always heard her talk about how she loved it!
Elizabeth! Small world! Tell your grandma she’s supercool, OK? 🙂
I think I’m going to make these right now! So nice to have a recipe that uses only staple ingredients, and I like the idea of trying the browned butter.
In the ingredients list, you say 2 1/2 cups flour, but the directions say 2 1/3. Which is it? I’m just going to do something in between; it probably won’t make too much of a difference.
Thanks! I’ve been looking through your blog trying to decide what to make for a thing at church tomorrow night. Nice to be able to count on you to always have something appealing! (The hard part is narrowing it down!) 🙂
Good call about the typo, Jennifer! So sorry about that! It should be 2 1/3 cups, and I’ve just now corrected the text above. You’re right, though: it probably won’t matter either way. My mom LOVED these (so did I), so I can’t wait to hear how they go over for you!
They were good! I ended up using a little more than 2 1/3 cups of flour, and I baked a small batch first to see how they turned out. They were good but maybe a little crumbly — probably a little too much flour.
So for the next batch, I added a little shortening. (I had used the last of the butter — horrors!) The shortening addition was good; they were more melt-in-your-mouth.
For the last batch, I took inspiration from your earl grey cookies and mixed in part of a chai tea bag and a pinch of cinnamon. Those were really good. I also mixed in a pinch of kosher salt, which gave it a neat quality. It was fun experimenting.
Love your variations! Sounds fantastic!
These are sooooooooo good!! I didn’t have any vanilla (I know! Such a crime!) But I added 1 tsp. ginger and 1 tsp. cinnamon instead, and the result was, I suspect, just as good! Also, I used a white chocolate chip instead of blanched almonds, and I didn’t press them with the fork, with the result that the outside layer was thicker and so soft….it melts in your mouth, and then in the center, crumbly and crunchy! So good. Why is it almost a general rule that grandmas always used the best recipes?
Mariana, I’m so glad you enjoyed them! Excellent substitutions, sounds like. You did my grandma proud. : )
We loved these! Thanks for the share!
★★★★★
This recipe appeared in Gourmet magazine’s Favorite Cookies from the 1960’s and is a winner. If you find, as I do, that after a while the mixture is difficult to form into balls because it hardens slightly as it cools and won’t easily stick together, put it in the microwave for a very short period (10-15 seconds). This will soften up the dough sufficiently to be able to form easily into balls and flatten with a fork. I found no discernible difference in taste or texture when I treated the dough this way. Still yummy but way easier to work with.
★★★★