Life is so sweet, knowing that you can enjoy all kinds of delicious cookies year-round as sugary celebrations to partake in during the holidays.

Heart-shaped ones for Valentine’s Day, gingerbread men for Christmas, pumpkin chocolate chip mounds for Halloween…
And for Easter? No exception – there will be cookies. Because the happy hoard of dyed eggs, colorful candies, chocolates, and breads just aren’t enough.

You could make a beautiful batch of flower-shaped cookies, but let’s have a little more sugary fun this season! As an edible ode to one of my favorite Easter candies growing up, these cookies are inspired by marshmallow Peeps.
I’ve always been obsessed with marshmallows, from piling them high in my hot chocolate to eating marshmallow fluff and grape jelly sandwiches for my packed school lunches as a kid.

My sugar craze naturally extended to Easter, and all its cavity-laden goodies presented in a woven basket.
Somehow, the Easter Bunny knew exactly what I wanted – chocolate Cadbury eggs, a handful of jelly beans, and an overwhelming amount of Peeps – both the bunnies and chicks.

It’s still a mystery how my teeth haven’t rotted and fallen out by now. But I’ll carry on eating all my sweets until they do!
Celebrate Easter with me by making a batch or two of these sugar cut-outs. Grab a few boxes of Peeps for creative inspiration (or for a snack – you know you can’t resist nibbling on one or two), and let’s get that sugar rush going!
Print
Peeps Easter Bunny Sugar Cookies
- Total Time: 5 hours 10 minutes
- Yield: 20-24 cookies 1x
Description
Peeps-inspired bunny cookies will be your new Easter favorite to make every year. We cover sweet and tender vanilla sugar cookies with colorful sanding sugar, and pipe on cute eyes and noses.
Ingredients
- 1 batch sugar cookie dough for 20–24 cookies
- 1/2 cup all-purpose flour, for dusting
- 1 batch royal icing
- Assorted food colorings
- 1 cup sanding sugar, assorted colors
- 1/2 cup coarsely chopped dark chocolate, melted
Instructions
For the Cookies:
- Prepare one batch of sugar cookie dough. Form into a large disc and wrap in plastic wrap. Refrigerate for one hour.
- Preheat the oven to 325°F.
- Remove the dough from the refrigerator and place on a lightly floured flat work surface. With a rolling pin, spread and flatten out the dough until it is about 1/4 inch thick.
- Using a bunny-shaped cookie cutter dipped in flour, cut out shapes from the dough. Re-roll the dough once and cut again. Discard any excess.
- Transfer the cookie dough cut-outs to two sheet pans lined with parchment paper or silicone mats. Place the pans in the refrigerator for 20 minutes to chill.
- Remove from the refrigerator and immediately bake for 8-10 minutes. They will still be pale white and soft to the touch. Remove from oven. Let the cookies stand for 1 minute, then transfer them to wire racks to cool completely.
For the Decorations:
- Prepare one batch of royal icing to a flood consistency.
- Add your desired food coloring and stir to combine. Place in a piping bag fitted with a #2 tip.
- Pour the colored sanding sugar in a shallow bowl or plate.
- Outline and fill each cookie with the flood consistency icing. Quickly dip the entire surface of one cookie in the sanding sugar. Repeat with the remaining cookies. Place on a large, flat surface.
- For the bunnies’ eyes and noses, pour the melted chocolate in a piping bag fitted with a small round tip (#2 or #4). Pipe two eyes and a nose on each cookie.
- Let the cookies set at room temperature until the icing and chocolate are completely set and hardened, about 3 hours.
Notes
We recommend using Foodal’s recipes for classic sugar cookies and royal icing!
- Prep Time: 5 hours
- Cook Time: 10 minutes
- Category: Cookies
- Method: Baking
- Cuisine: Baked Goods
Keywords: royal icing, cookies, Easter recipes, sugar cookie
Cooking by the Numbers…
Step 1 – Make and Chill the Dough
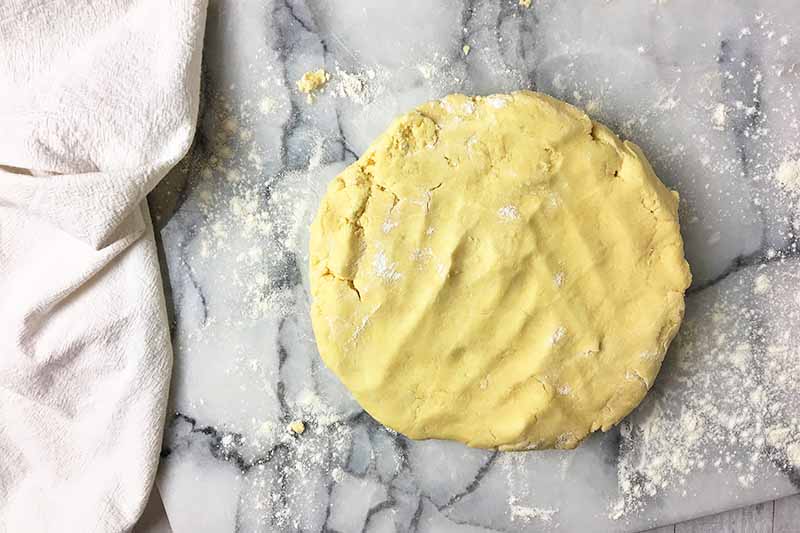
Follow our recipe to make a classic sugar cookie cut-out dough. Be sure to not overmix the dough to keep the cookies soft and tender.
Once you have mixed the dough, form it into a flat, compact disc by hand and wrap it in cellophane. Place it in the fridge for at least one hour to fully chill it.
This process helps to re-harden the butter, which makes it much easier to roll and cut the dough for the next step.
Step 2 – Roll and Cut
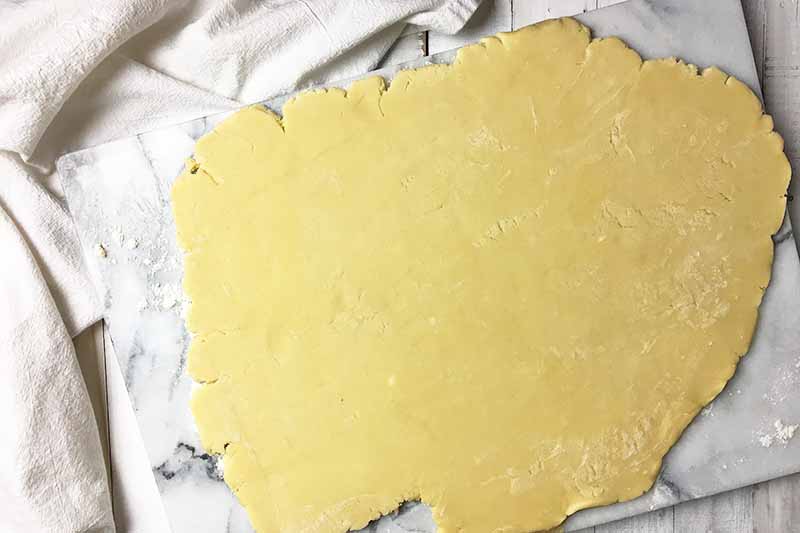
Preheat the oven to 325°F.
Place the chilled dough on a lightly floured work surface. With a rolling pin, roll out the dough to an even layer about 1/4 inch thick.
If you prefer a thinner cookie, roll it out to about 1/8 inch thick.
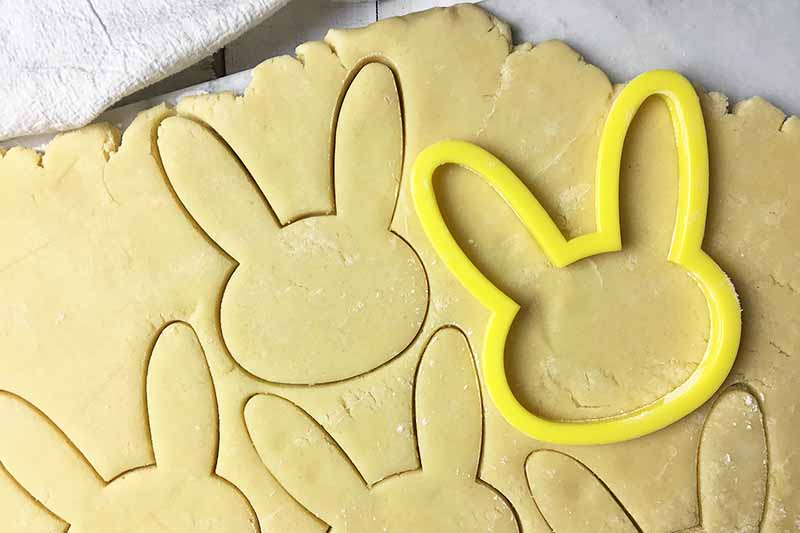
You may need to lightly flour the top of the sugar cookie dough to keep it from sticking to the rolling pin.
Step 3 – Bake
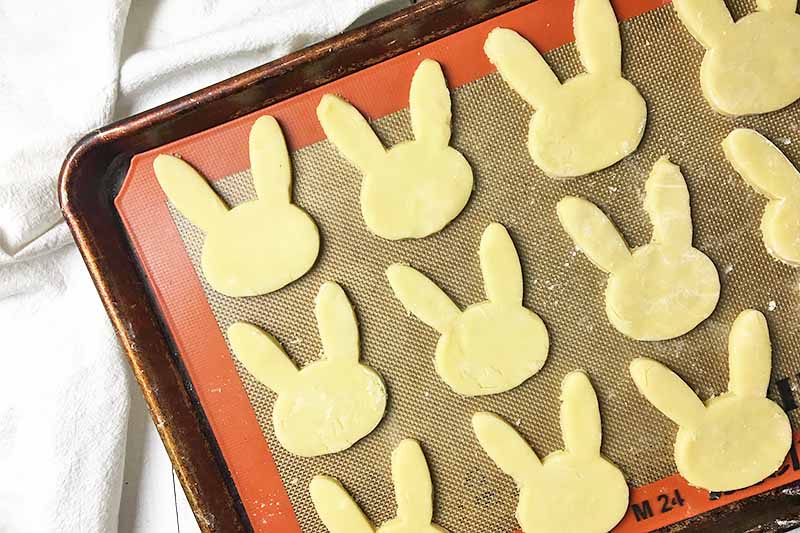
Place the cut-outs on two sheet pans lined with parchment paper or silicone mats, leaving about 1/2 inch of space between each to allow room for any spreading.
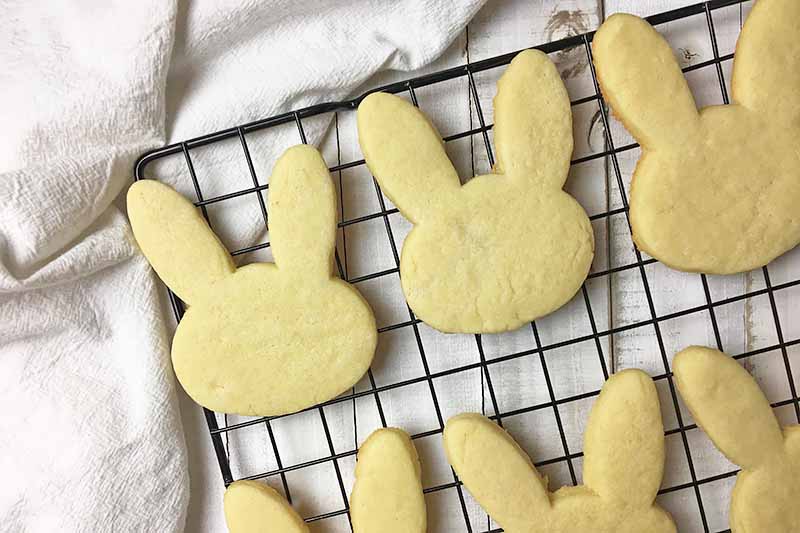
Bake for 8-10 minutes. The cookies will still look very white and puffy on top. Remove from the oven and let cool on the pan for just one minute before removing and letting cool completely on a cooling rack.
Step 4 – Prepare the Royal Icing

Follow our tutorial to make the perfect royal icing – you’ll need the flood consistency.
The flood consistency is going to be used for both the outline and fill on each cookie. Use food coloring to match the colors of your favorite Peeps: yellow, blue, pink, purple – all adorable!
Place in a separate piping bag fitted with a #2 tip.
Step 5 – Outline and Fill

Pipe the outline and fill each cookie with an even amount of flood consistency icing.
Step 6 – Apply Sanding Sugar
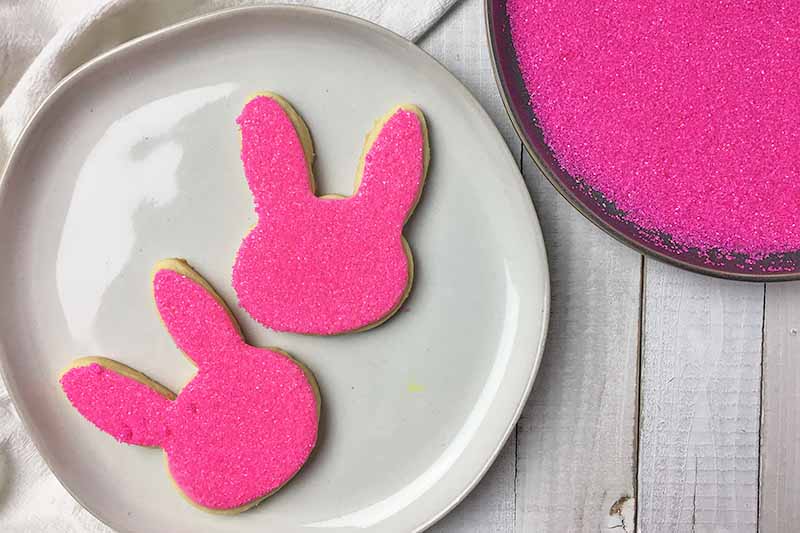
Place the sanding sugar in a shallow bowl or plate. Before the royal icing hardens, quickly dip the entire iced surface of the cookie in the sanding sugar, pressing down gently to ensure the sugar sticks to the icing.
Place on a large, flat surface. Repeat with the other cookies.
Step 7 – Pipe the Eyes and Noses

Pour the melted dark chocolate in a piping bag fitted with a small round tip; a size #2 or #4 will be fine. Pipe eyes and a nose on the face of each bunny, in a similar style to the Peeps marshmallow bunnies.
It’s simple – just three dots!
Step 8 – Set

Allow the royal icing to set completely before serving. This will take some time, about 3 hours. You can use a fan to speed up the drying process.

Once the royal icing feels and looks dry and hardened, serve the cookies. Enjoy!
A New Treat to Put in Your Easter Baskets
I’d say that these Peeps-inspired Easter bunny cookies should share a spot next to the jellybeans and chocolates in your Easter baskets this year!
The sweet and tender vanilla sugar cookies are cute and festive – the perfect treat to enjoy as part of your springtime holiday celebration.

Who’s in love with these cookies? Will you decorate them like Peeps, or will you use one of my other decorating methods with royal icing – maybe polka dots? Or rosette transfers?
Comment below with what you decide, and let us know if you need any other decorating tips!
Got the baking bug? Here are even more delicious Easter desserts for you to make:
Photos by Nikki Cervone, © Ask the Experts, LLC. ALL RIGHTS RESERVED. See our TOS for more details. Originally published in a different version on April 23, 2011. Last updated: April 5, 2022 at 13:39 pm.
Nutritional information derived from a database of known generic and branded foods and ingredients and was not compiled by a registered dietitian or submitted for lab testing. It should be viewed as an approximation.
About Nikki Cervone
Nikki Cervone is an ACS Certified Cheese Professional and cheesemonger living in Pittsburgh. Nikki holds an AAS in baking/pastry from Westmoreland County Community College, a BA in Communications from Duquesne University, and an MLA in Gastronomy from Boston University. When she's not nibbling on her favorite cheeses or testing a batch of cupcakes, Nikki enjoys a healthy dose of yoga, wine, hiking, singing in the shower, and chocolate. Lots of chocolate.


These cookies are adorable, and a perfect activity with the kids. Thanks for sharing. I’ll be featuring your post on my Easter roundup.
Thanks so much, Rhonda! Please send us the link when you do.