If something crispy and golden-brown on the outside, yet creamy and tender on the inside, sounds like your kind of comfort food, you might want to settle in for this edible escapade.
We’re going on a falafel adventure! Join me, won’t you?
Falafel’s ability to be easily packed into a pita and drizzled with creamy sauces makes it a celebrated international street food you can take on the go. Maybe you’re completely unfamiliar with these spiced chickpea patties, or maybe falafel is already your friend. Regardless of your relationship, I’m happy you’re here.
If you’re in the boat of never having experienced the wonder of falafel before, let’s get you up to speed. This dish is known to be “generically Middle Eastern” by some, though the debate over its true origins can be quite complex.
Instead of taking you through the culinary chronicles of the garbanzo bean, let’s simply focus on flavor here. In its most humble form, falafel is a typically fried mixture of chickpeas, herbs, and spices.
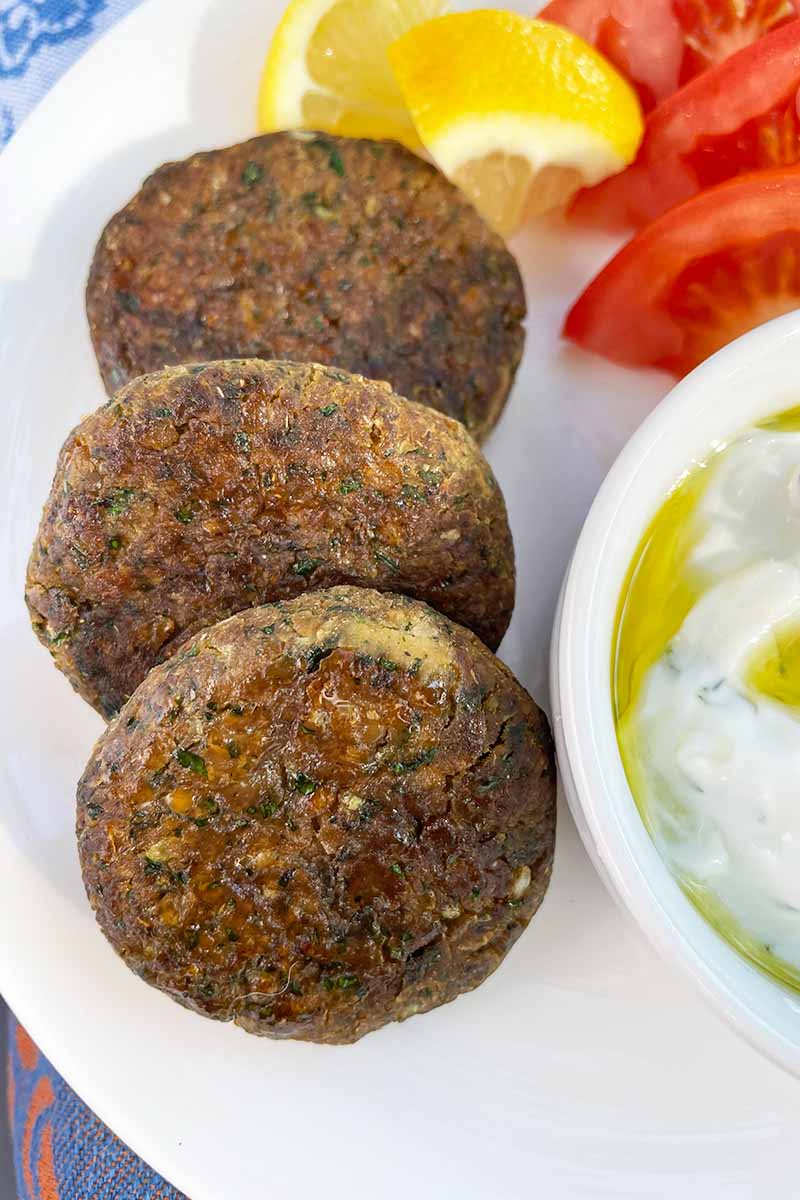
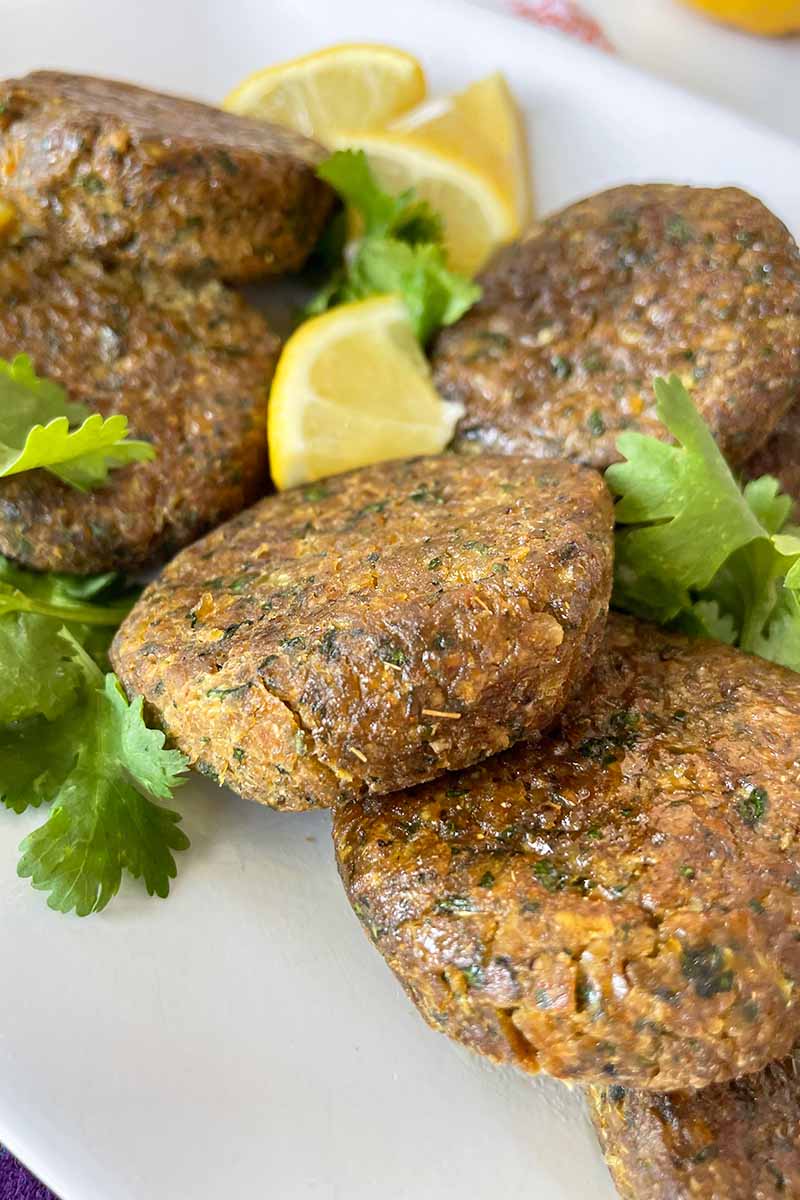
The exterior shell is crunchy, while the core is fragrant, fluffy, and flowing with warm nuances of cumin and coriander.
They are not only vegetarian, but vegan. And when made with chickpea flour instead of wheat flour as we’ve done here, they’re also gluten-free. That’s quite a triple threat, if you ask me.
Often referred to as gram, besan, cici, or garbanzo bean flour, this ingredient is made from ground, dried legumes and boasts a slightly sweet, rich flavor. It’s glorious for gluten-free baking and is a fabulous source of fiber.
This recipe takes full advantage of the powerhouse flour, which pairs perfectly here with a standby pantry staple – canned chickpeas.
If you’re going the more traditional route of using dried, soaked chickpeas instead to make your homemade falafel, an overnight soak is required. But with our recipe, you can get your falafel fix in a hurry.
Without the chickpea flour, the patties wouldn’t hold up properly. But when the two join forces, the result is a perfectly crispy-on-the-outside, creamy-on-the-inside fritters that are packed with flavor.
Onion and garlic provide savory undertones, while earthy dried spices like smoky cumin, citrusy coriander, and paprika bring warmth.
In my opinion, there are two foods that can never get enough bright, tart lemon: seafood, and falafel. Instead of the added moisture that lemon juice would bring, I call on the zest of the citrus to add a tart pop of acidity to every bite.
Fistfuls of grassy, fresh herbs are a must to liven up the chickpea’s nuttiness. Parsley and cilantro lend an herbaceous flavor and give the interior of your falafel that signature green hue. Up the quantity if you like, or you could even swap in some dill if that’s what you have on hand.
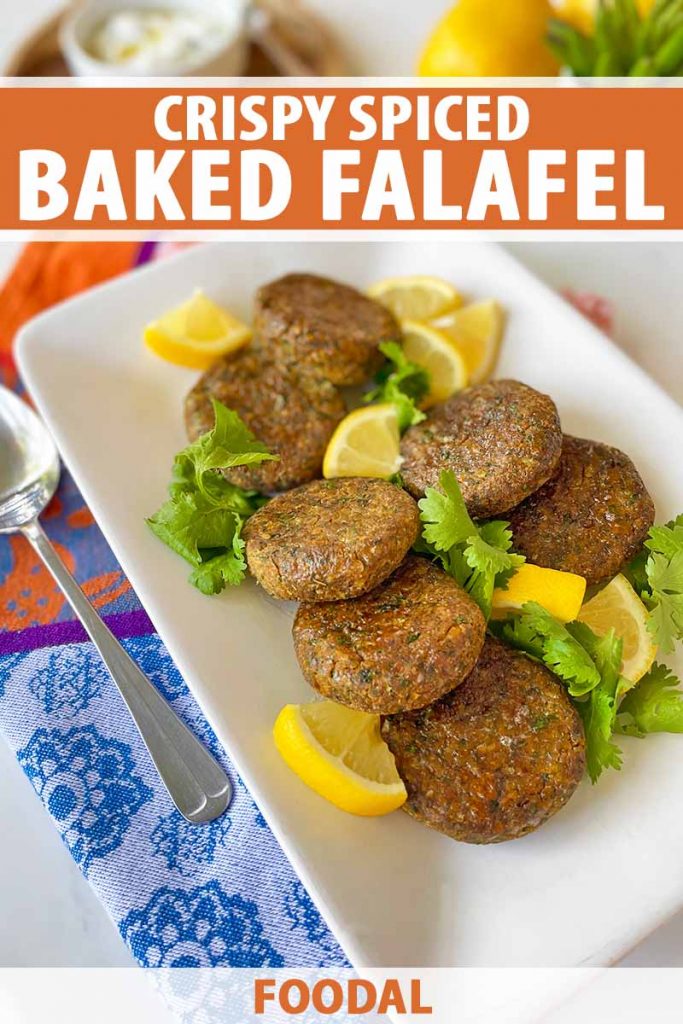
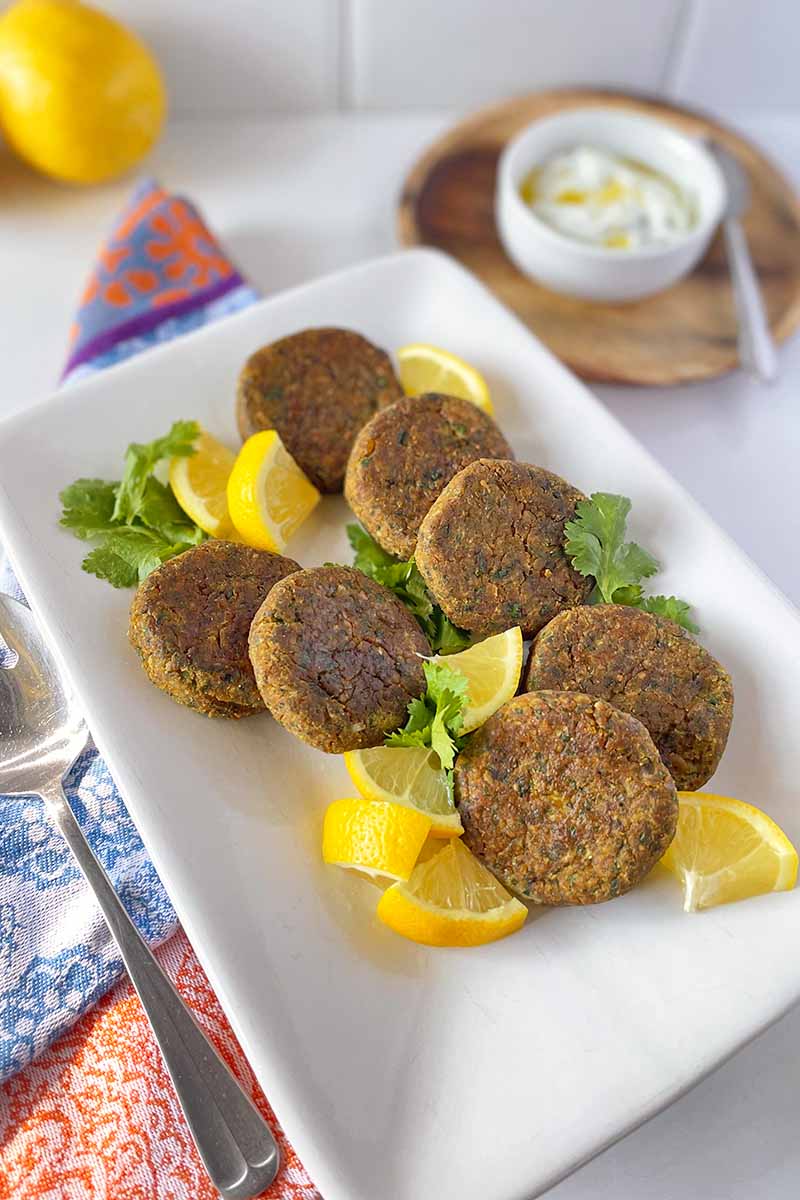
These light, airy patties have one stark difference from those you’d likely find at a local restaurant: they’re baked, not fried. Ours contain significantly less fat without sacrificing that gorgeous, golden-brown texture.
Between the protein and nutrient-rich garbanzos, fresh herbs and aromatics, and healthier cooking method, I’d say this has been one successful journey.
Print
Crispy Baked Falafel
- Total Time: 40 minutes
- Yield: 2-4 servings (12 patties) 1x
Description
Baked, not fried, until gloriously golden-brown, these crispy falafel patties are perfumed with coriander and laced with lemon zest.
Ingredients
- 1 15-ounce can chickpeas, rinsed and drained (about 2 cups)
- 1 small yellow onion, chopped (about 1/2 cup)
- 2 cloves garlic, minced
- 1/2 cup chopped fresh parsley
- 1/2 cup chopped cilantro (or dill)
- Zest of 1 lemon
- 1/4 cup chickpea flour
- 1 teaspoon coarse salt
- 1/2 teaspoon freshly ground black pepper
- 1 teaspoon ground cumin
- 1/2 teaspoon smoked paprika
- 1/2 teaspoon ground coriander
- Pinch cayenne pepper
- 1/8 teaspoon baking soda
Instructions
- Preheat the oven to 400˚F and line a baking sheet with parchment paper.
- In the bowl of a food processor, pulse the chickpeas until they’re broken down into large pieces. Add the onion, garlic, fresh herbs, and lemon zest. Sprinkle the chickpea flour over the top and pulse until thoroughly blended.
- Add the salt, pepper, cumin, paprika, coriander, cayenne, and baking soda. Scraping down the sides as necessary, pulse until you have a finely chopped mixture that still has some texture.
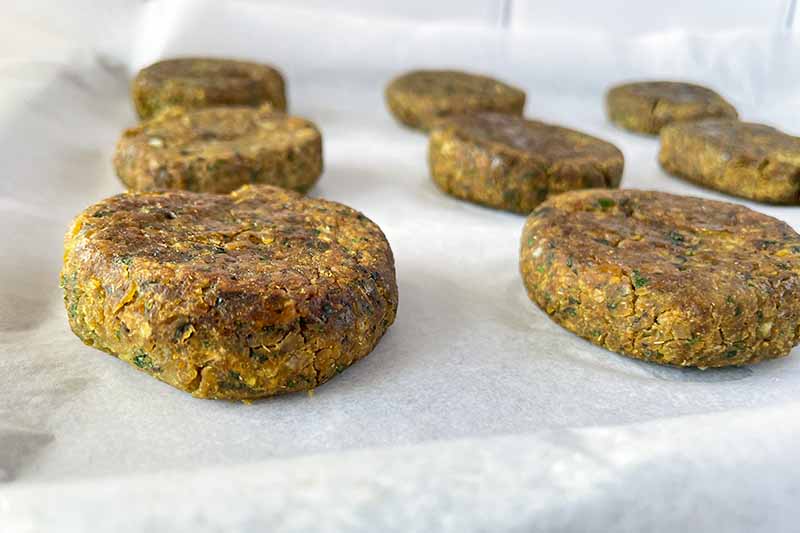
- Using about 2 tablespoons as your guideline and pressing the mixture together as you go to make sure everything adheres, shape into equal-sized balls. Flatten to form patties, and arrange on the prepared baking sheet.
- Bake for 15-20 minutes, flipping halfway through, until golden-brown and crispy.
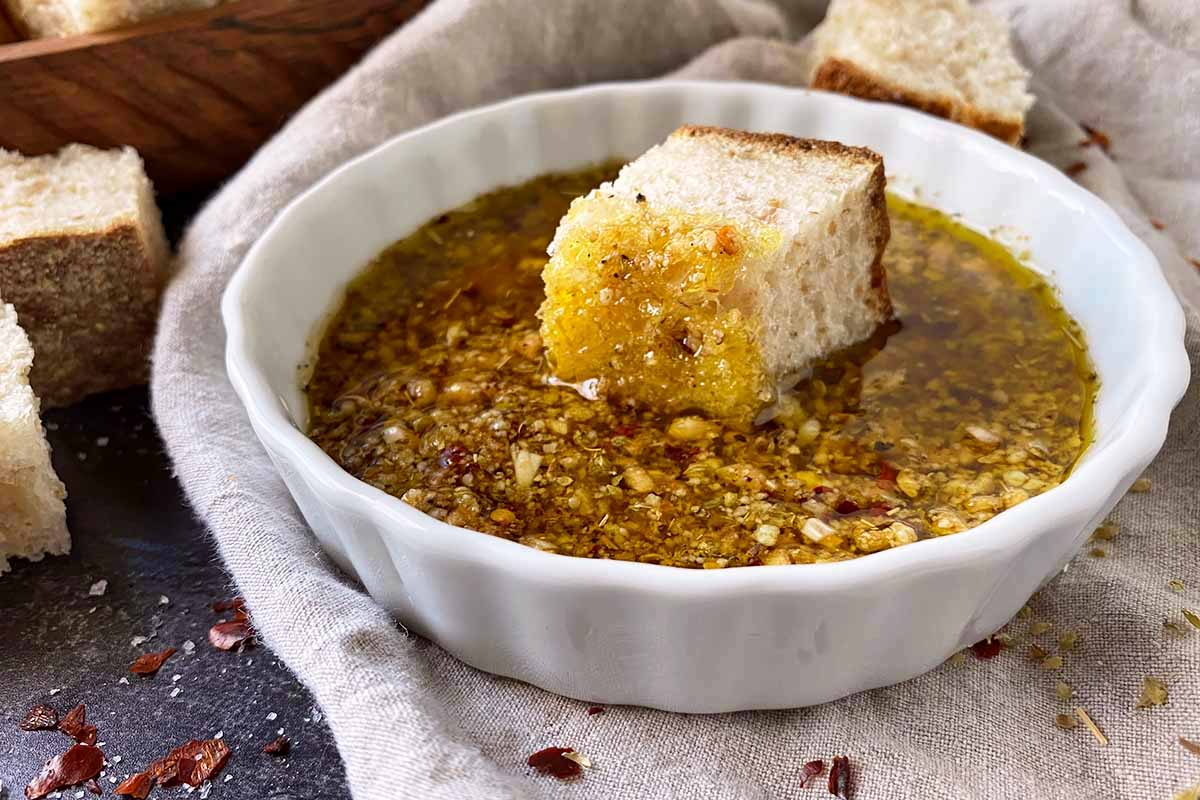
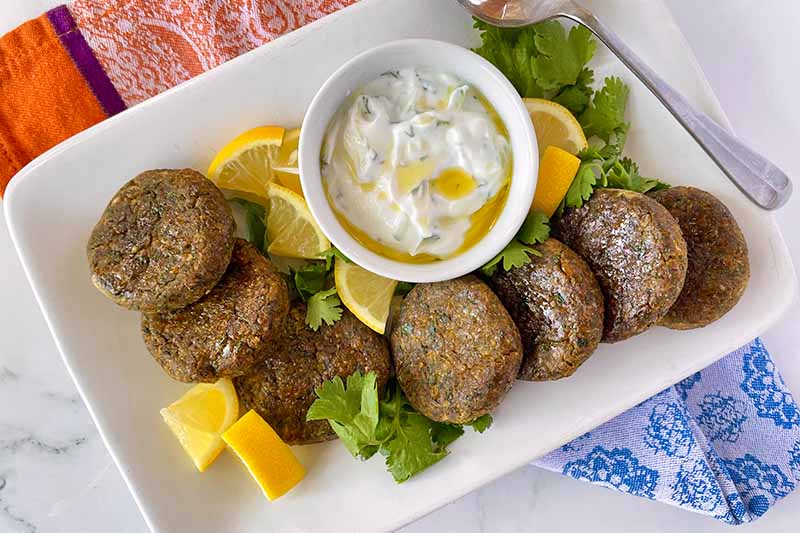
- Serve hot with tahini and lemon wedges. Store in an airtight container in the fridge for up to 5 days.
- Prep Time: 20 minutes
- Cook Time: 20 minutes
- Category: Beans
- Cuisine: Vegan
Cooking By the Numbers…
Step 1 – Gather, Prep, and Measure Ingredients
Preheat the oven to 400˚F and line a baking sheet with parchment paper.
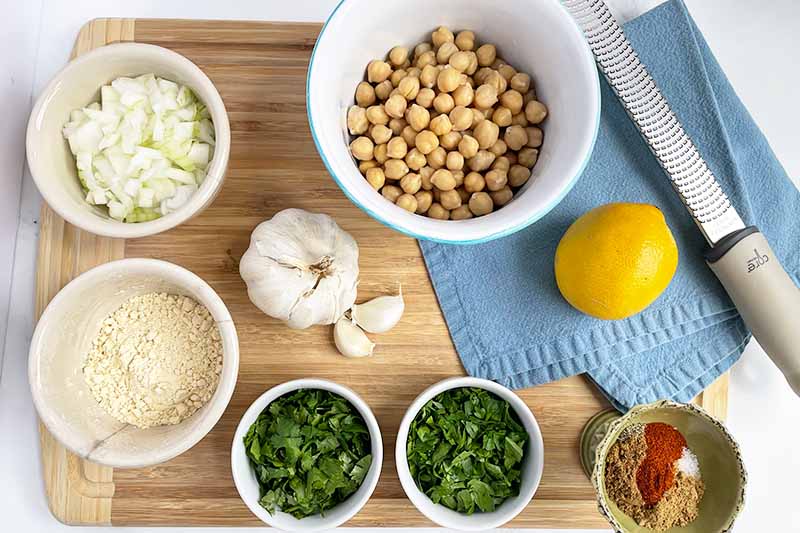
Rinse and drain the chickpeas in a colander.
Although many recipes recommend using dried chickpeas, this recipe utilizes canned legumes combined with chickpea flour so the patties won’t be too wet to bake properly. If you have dried garbanzo beans on hand and would prefer to use those, sub 1 cup dried and soaked overnight for the canned chickpeas and omit the flour.
Roughly chop the onion, parsley, and cilantro, keeping in mind these will get broken down further in the food processor. Mince the garlic.
Zest the lemon, making sure to get only the colorful rind and not the bitter pith.
Measure the chickpea flour, salt, pepper, cumin, paprika, coriander, cayenne pepper, and baking soda.
Step 2 – Make the Mixture
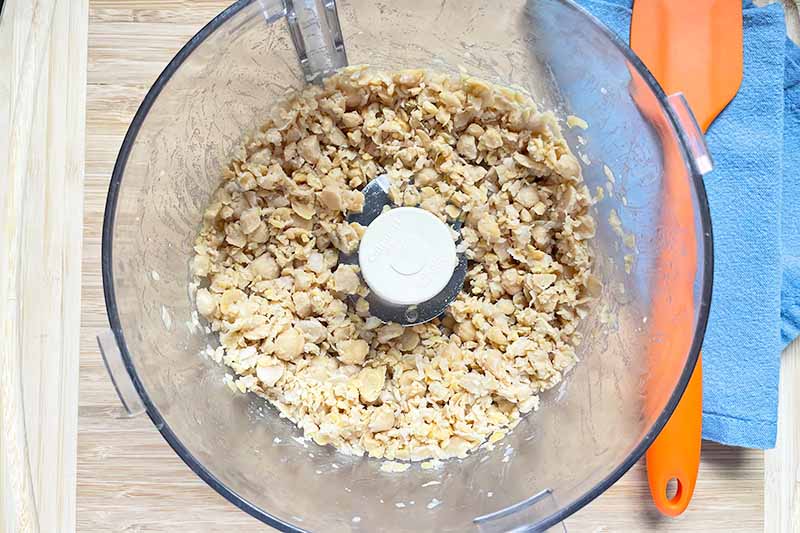
Start by adding the rinsed and drained legumes to the bowl of a food processor. Pulse until they’re broken down into large pieces. Pulsing the chickpeas first, instead of adding all of the ingredients at once, ensures that the legumes break down evenly.
Add the onion, garlic, fresh herbs, and lemon zest. Sprinkle the chickpea flour evenly over the top to prevent clumping. Pulse until the mixture is thoroughly blended, scraping down the sides as needed.
Add the salt, pepper, cumin, paprika, coriander, cayenne, and baking soda. Pulse until the mixture is finely chopped and well-combined, without becoming a paste. You want to see bits of herbs and lemon zest running throughout the patty.
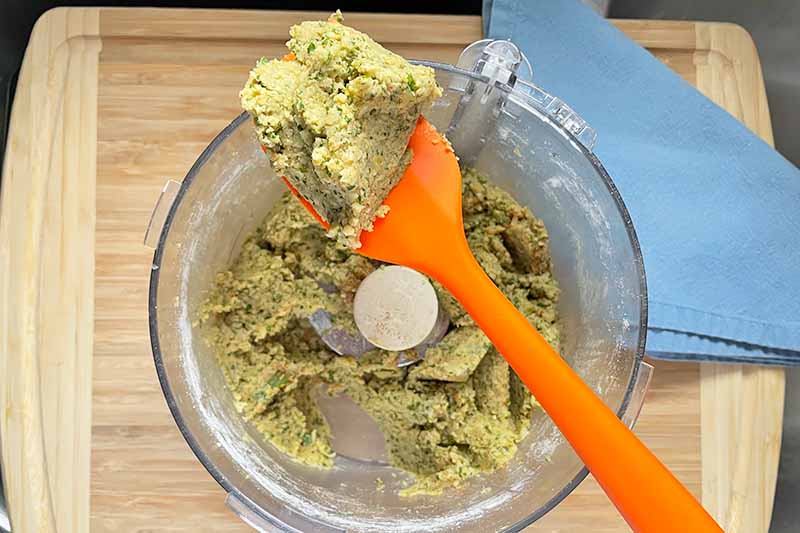
If the mixture looks a bit too wet to form with your hands, you can pulse in more flour. Add 1 tablespoon at a time.
Step 3 – Form the Patties
Using about 2 generous tablespoons as your guideline, scoop a portion of the mixture into your hands. The consistency will be soft and a tiny bit wet, but very easy to handle and form.
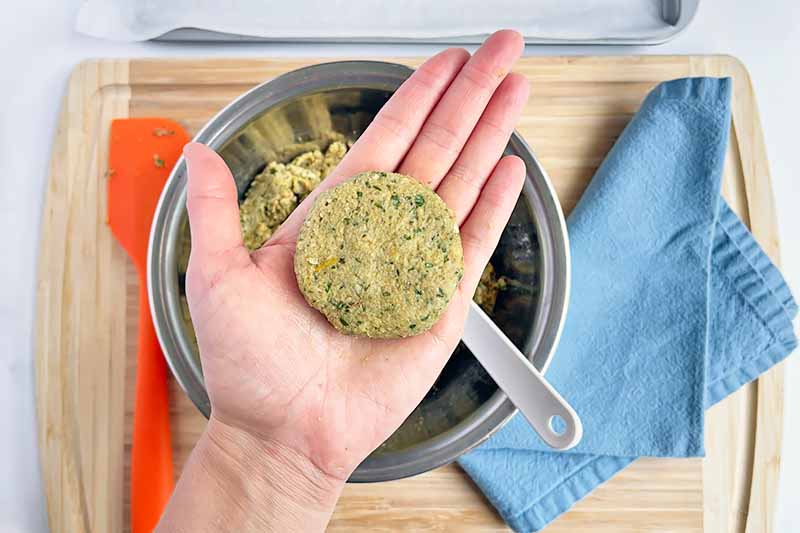
Roll and press the mixture together as you form it to make sure everything adheres. Shape into equal-sized balls and then flatten and neatly form them into patties, just as you might with burger meat or crab cakes.
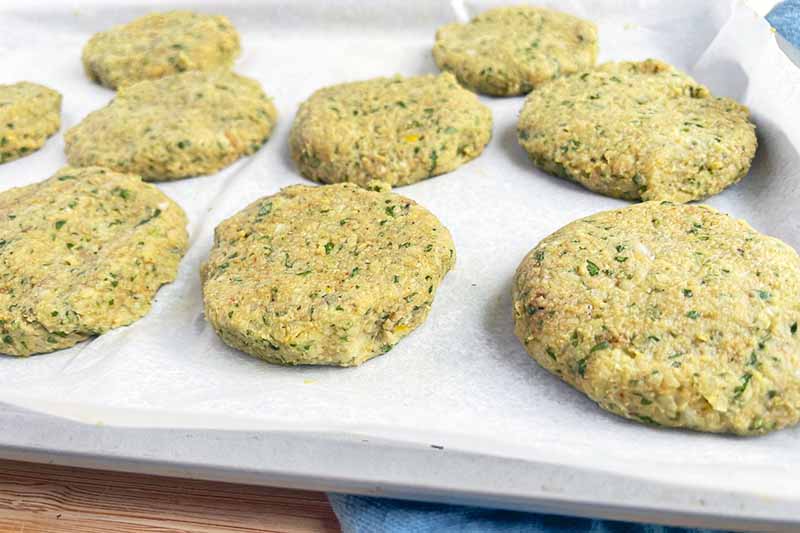
Arrange the patties on the prepared baking sheet with a little space in between each.
Step 4 – Bake and Serve
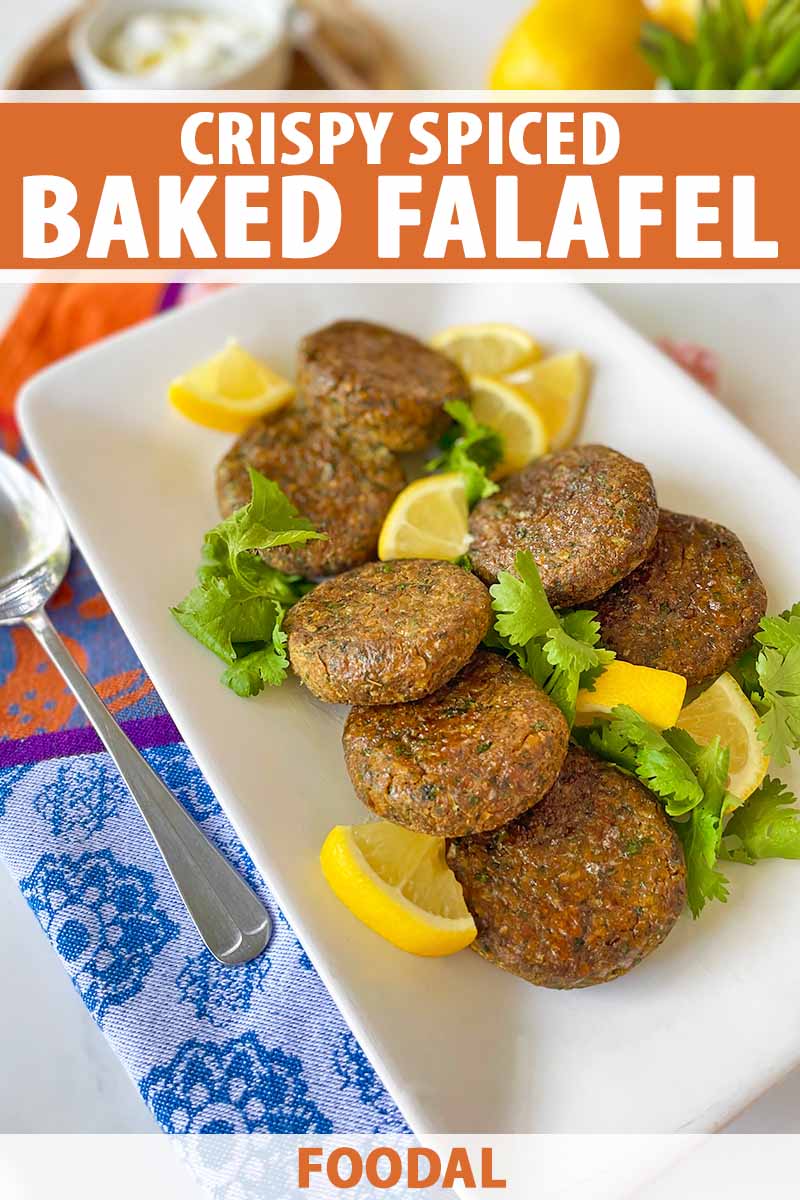
Bake the falafel for 15 to 20 minutes, flipping halfway through, until golden-brown and crispy.
If you’d rather, you can also deep fry the falafel with one of our recommended oils for deep frying, or cook them using an air fryer set to 350˚F for about 20 minutes.
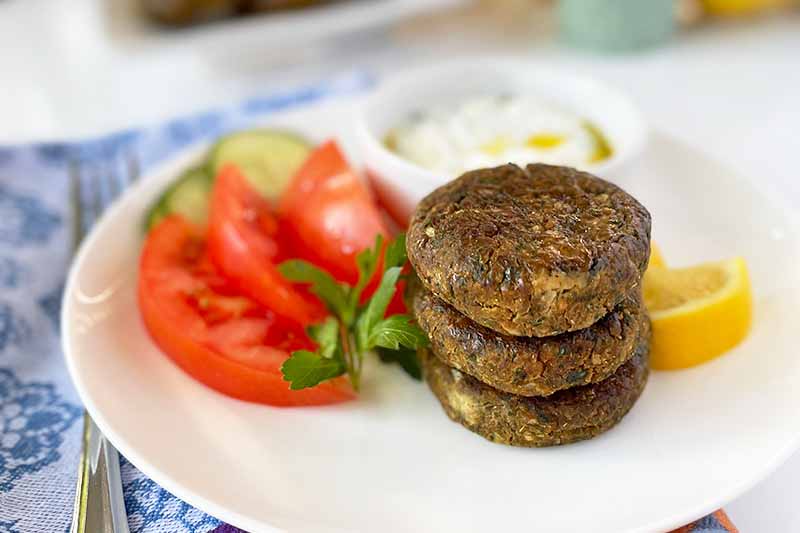
Serve hot with tzatziki or tahini sauce and lemon wedges, stuff into a pita with hummus, or enjoy on top of a Greek salad.
Store leftover falafel in an airtight container in the fridge for up to 5 days.
Secret Weapon Revealed
Even though the ingredient list only calls for a pinch, don’t underestimate the power of baking soda.
We know that the leavening agent allows yummy baked goods to rise and become light and fluffy, so how does it help our falafel? Instead of dense, tough fritters, that dash of baking soda helps to produce patties that are spongy and soft.
And there’s nothin’ like a bouncy falafel ball.
I like to swipe mine through creamy hummus and add a mountain of quick-pickled beets and turnips for tang. How do you dress yours?
Share your favorite falafel enhancements in the comments below! And don’t forget to give this recipe a five-star rating if you loved it.
Still got a craving for chickpeas? Give those legumes a little more love by trying out these recipes next:
- Smoky and Spicy Roasted Chickpeas
- Chickpea Flour Chocolate Chip Cookies
- Spicy Sweet Potato and Tatsoi Soup with Chickpeas
Photos by Fanny Slater, © Ask the Experts, LLC. ALL RIGHTS RESERVED. See our TOS for more details. Originally published by Sarah Hagstrom on June 28, 2015. Last updated on June 8, 2022.
Nutritional information derived from a database of known generic and branded foods and ingredients and was not compiled by a registered dietitian or submitted for lab testing. It should be viewed as an approximation.
About Fanny Slater
Fanny Slater is a home-taught food enthusiast based in Wilmington, North Carolina who won the “Rachael Ray Show” Great American Cookbook Competition in 2014, and published her cookbook “Orange, Lavender & Figs” in 2016. Fanny is a food and beverage writer, recipe developer, and social media influencer. She was a co-host on the Food Network series “Kitchen Sink,” was featured on Cooking Channel’s longtime popular series “The Best Thing I Ever Ate,” and continues to appear regularly on the “Rachael Ray Show.”