You are craving something beefy and succulent for dinner, an unapologetically carnal creation… and we have it right here!
Brace yourselves for one of the meatiest meals you’ll ever have, an unforgettable main dish experience.
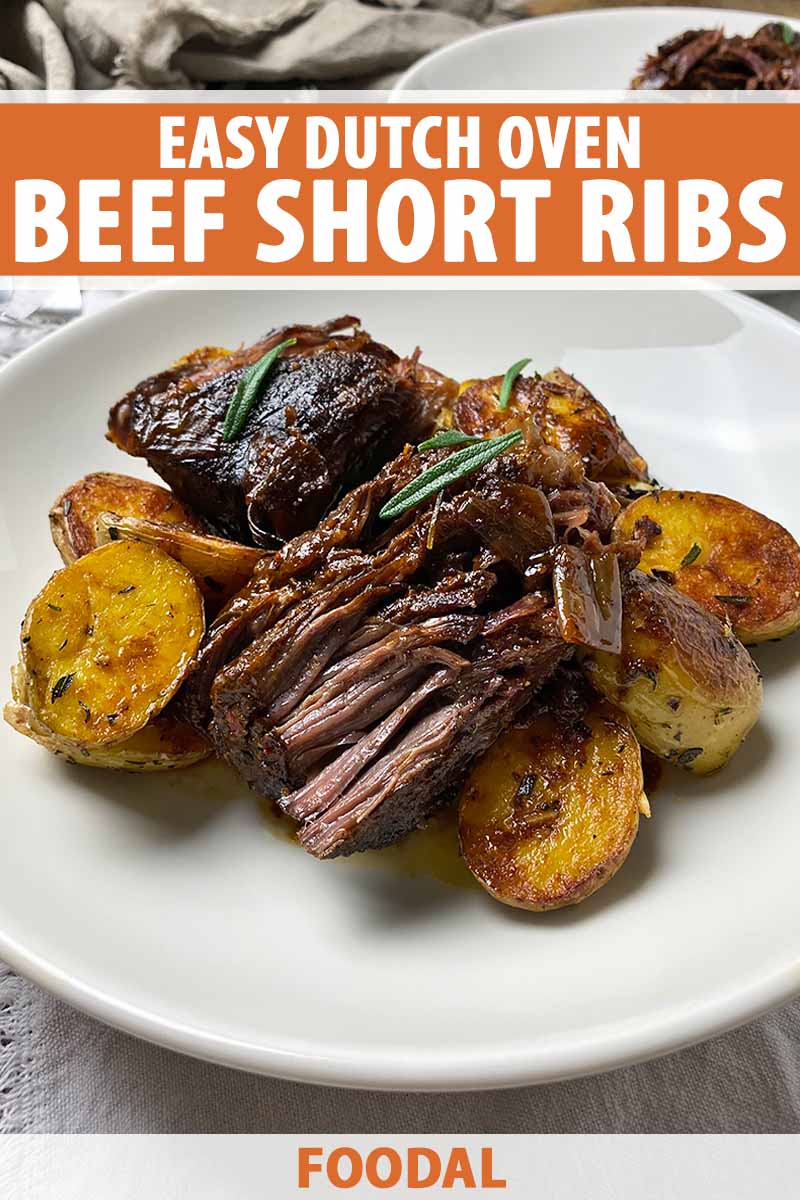
Downright delicious and delectable, these outrageously savory bone-in short ribs are worth waiting for.
We link to vendors to help you find relevant products. If you buy from one of our links, we may earn a commission.
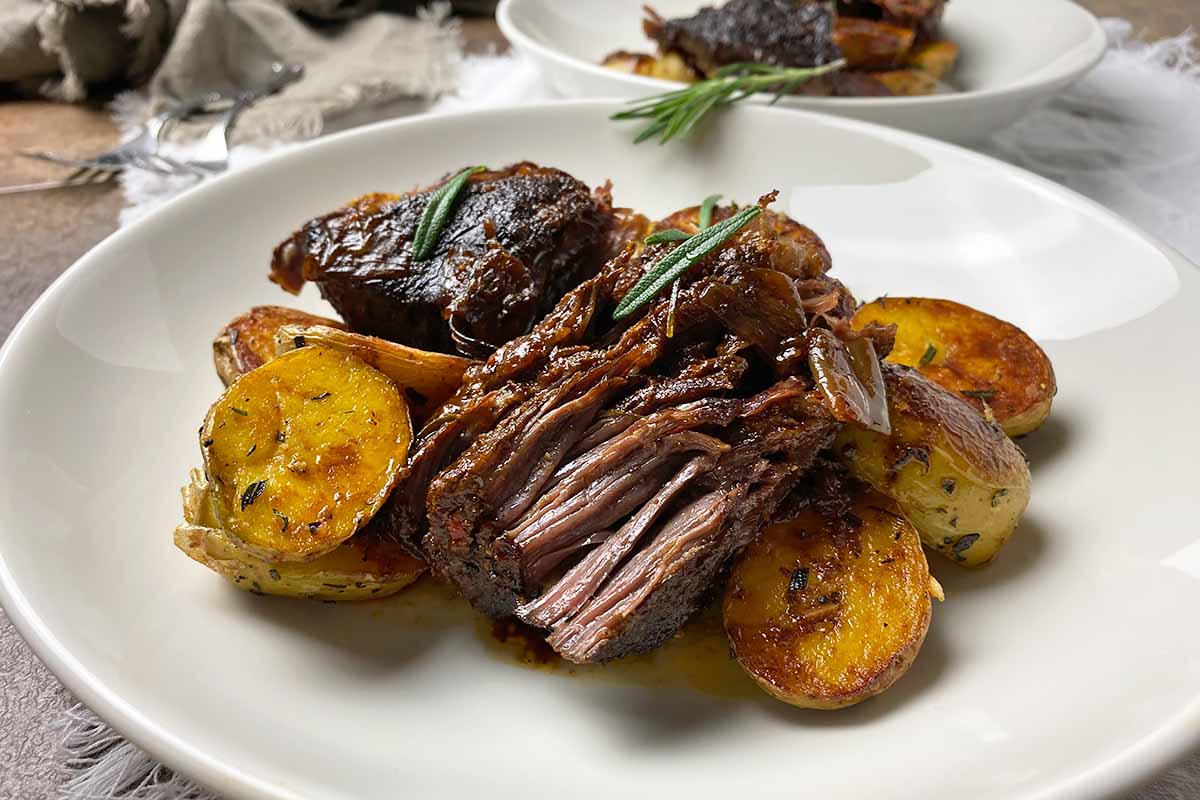
Slowly braised for hours and hours in a Dutch oven, they are tender beyond belief and effortlessly fall off the bone.
Is it weird to use the term “melt-in-your-mouth” to describe meat? I mean, that’s typically reserved for desserts, like cookies and ganache… but with this slow-cooked preparation, I can’t think of a more perfect phrase!
There are no secrets or tricks here – it’s common knowledge that if you let tougher cuts of meat, like short ribs, cook at a low temperature for a long about of time, you’ll be generously rewarded with a soft, tender, juicy, flavorful end result.
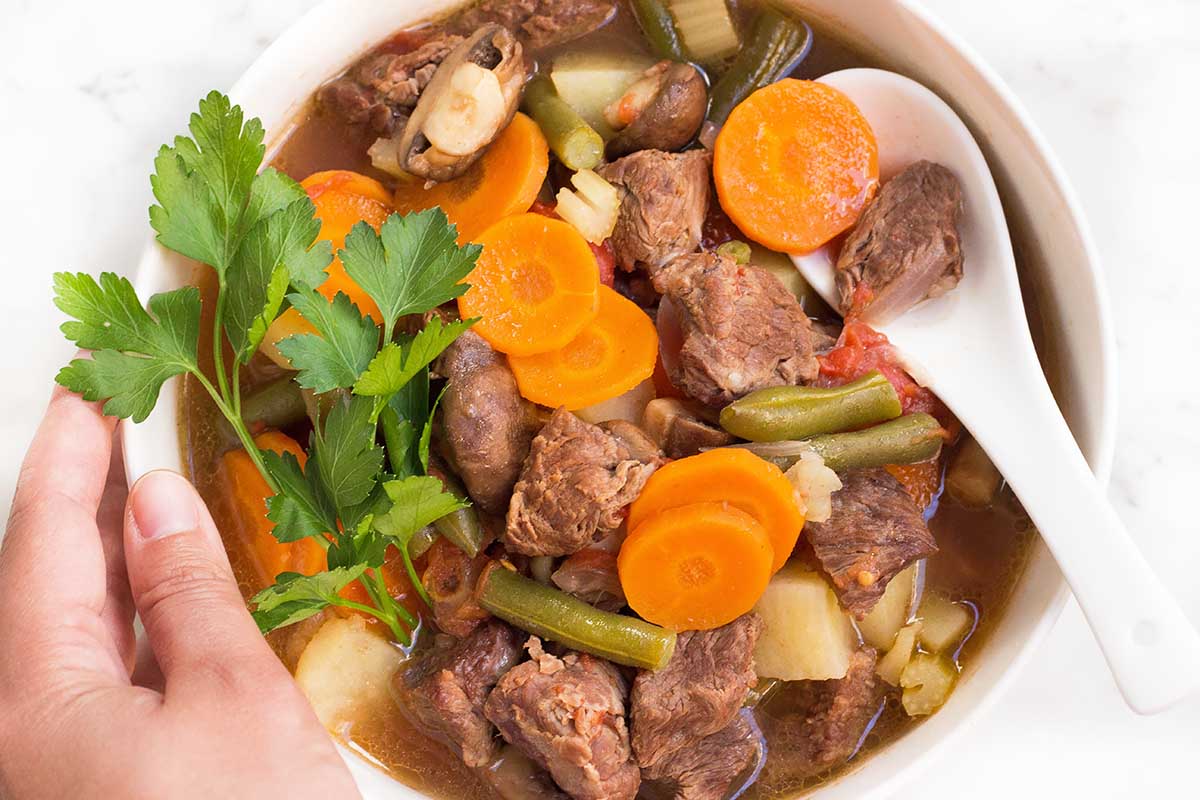
It’s how your favorite BBQ joint makes the best rack of ribs, or how a precisely prepared standing roast at the holidays is an impressive tradition, or how a big bowlful of your mom’s super savory beef stew is one of the most comforting meals to enjoy with the family.
Unless you own a pressure cooker to help speed up the process, the textural success of certain beef-based recipes requires time.
And lots of it.
All this time spent simmering in a Dutch oven gives you the opportunity to really develop the flavors!
Bone-in cuts on their own provide a deeply meaty start for you to build even more dynamic tastes and aromas with a lineup of additional ingredients.
In this recipe, we lightly coat the meat in a simple dry rub before searing to create a deeply browned crust. We then introduce onion, garlic, tomato paste, as well as some fresh rosemary.
Balsamic vinegar, soy sauce, and beef stock mix together to create an alcohol-free liquidy lounge for the ribs to simmer in throughout the braising process.
A four-hour braise allows you ample time to figure out sides to cook…
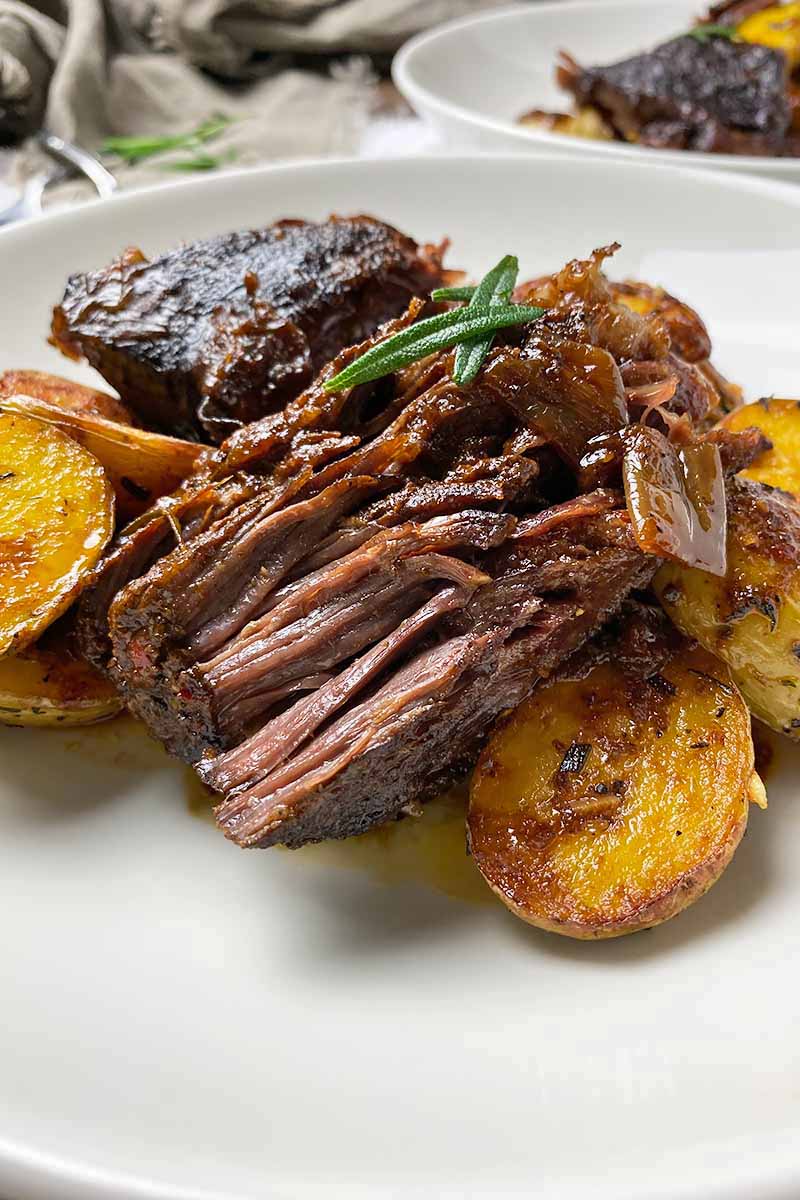
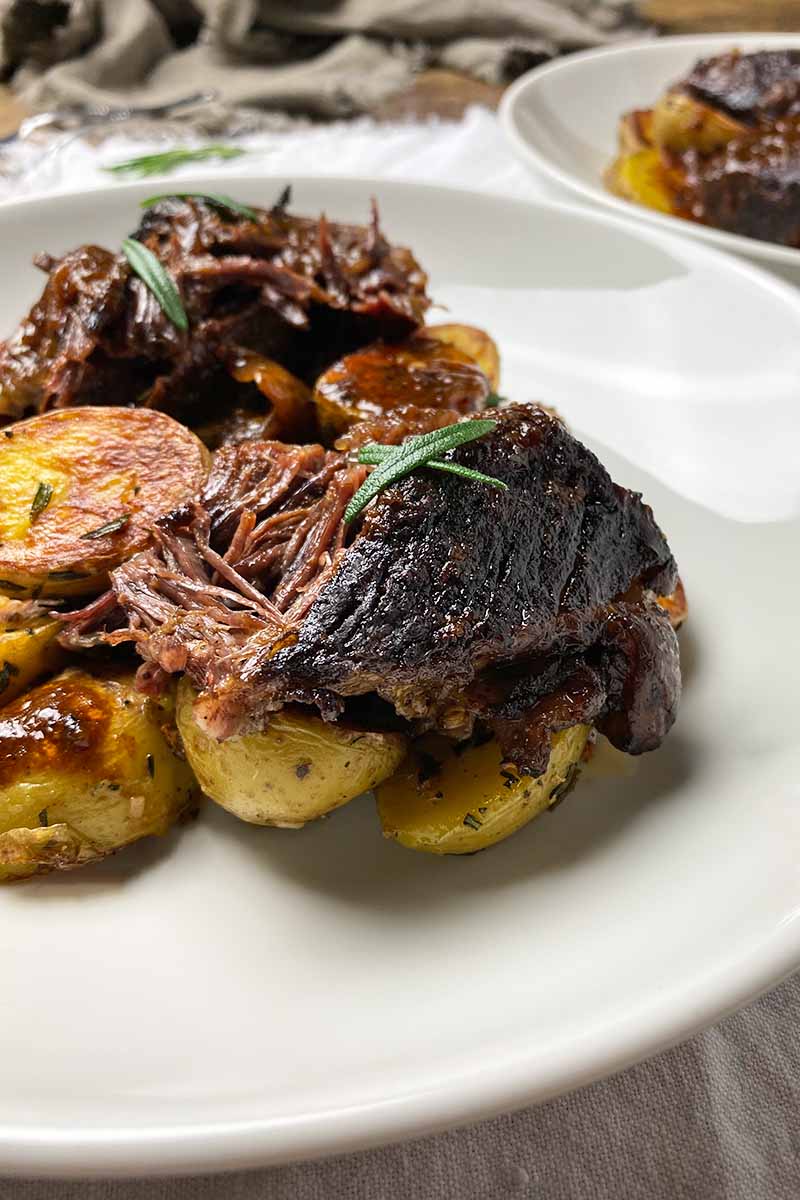
Complete the meat-and-potatoes theme by making our stovetop rosemary potatoes – a most welcome choice, since your oven will already be full and busy for a while.
But good things come to those who wait. Especially when a divine dinner is on the way!
Print
Dutch Oven Short Ribs
- Total Time: 4 hours, 30 minutes
- Yield: 4 servings 1x
Description
For an unforgettable meat course, cook Dutch oven bone-in short ribs. Braised for hours in an aromatic liquid, they are incredibly tender.
Ingredients
- 1/8 cup salt, plus more to taste
- 1/2 tablespoon freshly cracked black peppercorns
- 1/2 tablespoon garlic powder
- 1/2 tablespoon onion powder
- 1/2 teaspoon crushed red pepper flakes
- 3 tablespoons olive oil, divided
- 2 1/2 – 3 pounds bone-in beef short ribs
- 1 large yellow onion, roughly chopped
- 4 large cloves garlic, crushed
- 2 tablespoons tomato paste
- 1 tablespoon all-purpose flour
- 1/2 cup balsamic vinegar
- 1/4 cup soy sauce
- 2 cups beef stock
- 2 sprigs fresh rosemary
Instructions
- Position your oven rack in the middle of the oven and preheat to 305°F. Set out a Dutch oven that is at least 5 1/2 quarts in size.
- Whisk together the salt, black pepper, garlic powder, onion powder, and crushed red pepper flakes in a small bowl. Pat the short ribs dry with a paper towel, and evenly sprinkle all sides of the short ribs with the dry seasoning mix. You may not need to use all of the mix.
- Heat 2 tablespoons oil in the Dutch oven over medium-high heat. Working in two batches if necessary, sear the beef until browned, about 2 to 3 minutes per side. Transfer to a platter and set aside.
- Lower the heat to medium and immediately add the onion and garlic, as well as the remaining 1 tablespoon oil. Saute, stirring constantly with a sturdy spoon or spatula, until very lightly caramelized, about 1-2 minutes. If the onion is sticking and browning too quickly, add about 1 tablespoon of water and stir.
- Stir in the tomato paste until evenly distributed. Sprinkle the flour evenly over the onions and stir constantly until completely combined and lightly cooked, about 1-2 minutes.
- Whisk in the balsamic vinegar and soy sauce to deglaze the bottom while scraping up any browned bits. Whisk in the beef stock, add the rosemary, and bring to a boil, stirring constantly. Turn off the heat and place the short ribs back into the pot in a single layer. They will protrude slightly from the liquid.
- Place a lid on the pot and transfer to the oven. Braise for about 4 hours, flipping the ribs over once about midway through cooking, until the short ribs are very tender. Discard the rosemary, remove the meat from the bones in large pieces, and serve hot with some of the braising liquid.
- Prep Time: 20 minutes
- Cook Time: 4 hours, 10 minutes
- Category: Beef
- Method: Braising
- Cuisine: Meat
Cooking by the Numbers…
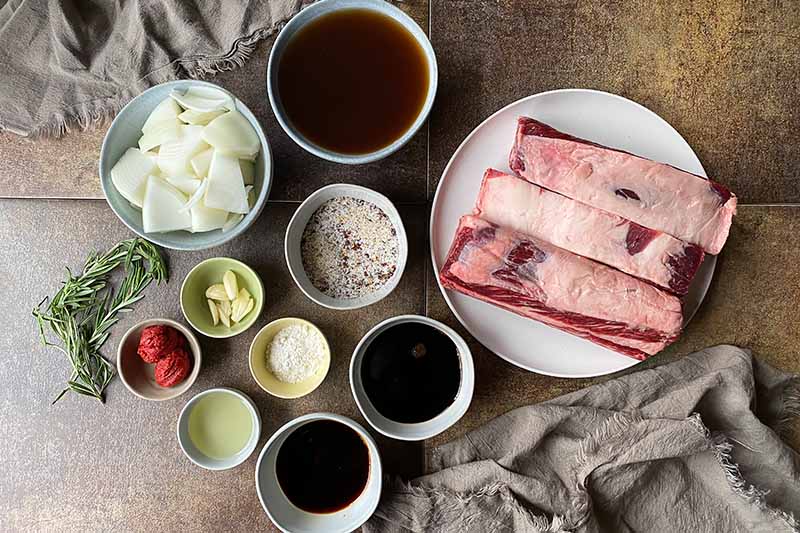
Step 1 – Prep and Measure Ingredients
Preheat your oven to 305°F with the rack positioned in the middle. Braising the meat in the very center will ensure the most even cooking.
Set out a Dutch oven. Use an option that is at least 5 1/2 quarts in size, preferably one with a wide base so you can fit all of the meat in one even layer.
We used Made In’s Enameled Cast Iron Dutch Oven, with its stellar heat retention and circulation. Make your purchase of this essential cooking vessel directly on the Made In website!
Measure out the salt, garlic powder, onion powder, and red pepper flakes. Freshly crack the black pepper – you can review all of our recommended mills in our guide! Whisk together all of these ingredients in a small bowl. This will be your dry seasoning mix.
Measure out the olive oil, tomato paste, flour, balsamic vinegar, soy sauce, and beef stock. You can be a store-bought stock, or learn how to make your own soup stocks from scratch.
Roughly chop one large yellow onion, and crush 4 cloves garlic. Use a garlic press as a quick and convenient way of prepping the cloves.
Set out two sprigs of fresh rosemary.
Set out your bone-in beef short ribs. You can choose to use larger cuts of ribs, or smaller, individual portions. Be aware that the beef will shrink significantly in size, as it will cook for a long period of time.
If you are choosing the larger short ribs, make sure they are still small enough to fit in your Dutch oven. Talk to your butcher if you need to customize the size slightly.
Remove any excess moisture by patting the meat dry with paper towels.
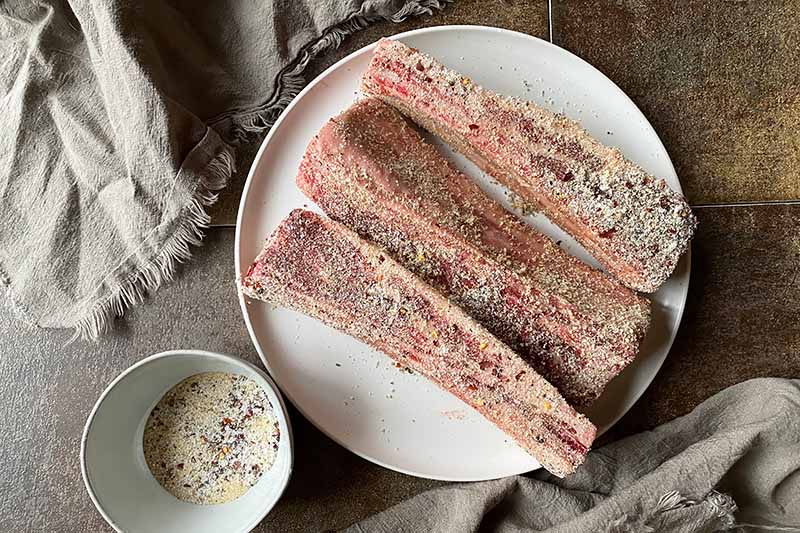
Step 2 – Season and Sear the Meat
Heat 2 tablespoons of oil in your Dutch oven over medium-high heat. Reserve the remaining oil for sauteing the onions and garlic.
With an enameled Dutch oven, you should gradually raise the heat level on the stovetop – this will prevent the finish from potentially cracking.
While the oil is heating, season the beef by evenly sprinkling the dry seasoning mix on all sides. Gently press down on the seasonings with your fingers so they stick to the meat.
You may not need to use all of the mix – if there was any cross contamination, dispose of any remaining mix.
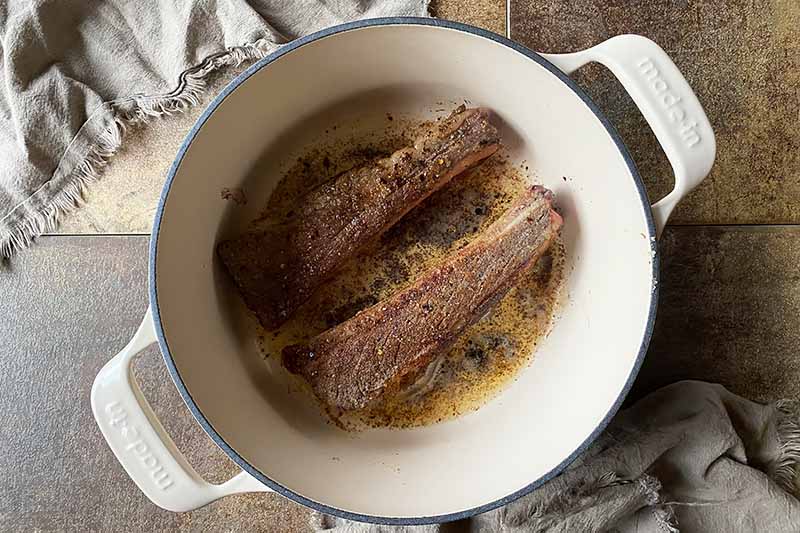
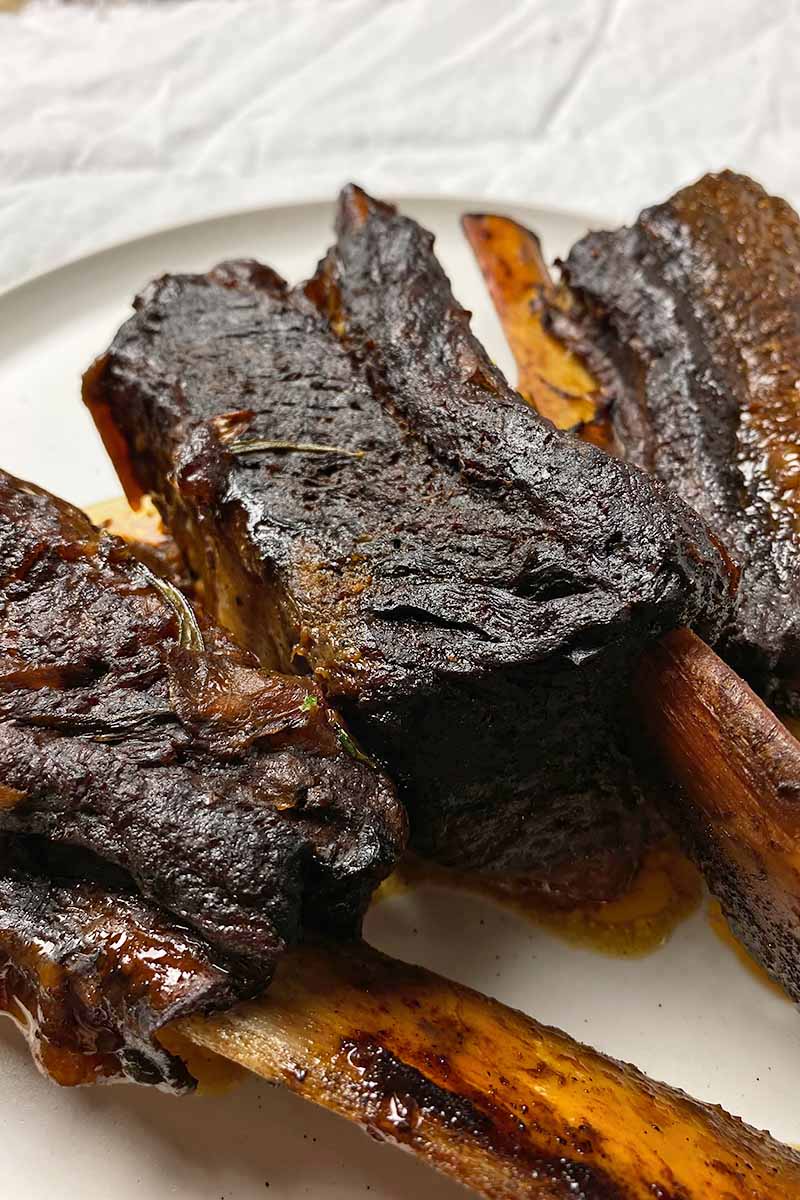
Working in two batches if necessary, sear the beef in one single layer until browned. This will take about 2 to 3 minutes per side. Use your tongs to keep a steady hold on each piece as you flip.
Adding the meat all at once in a single batch will result in steaming, eliminating the opportunity to get a browned, caramelized crust on the exterior. For the perfect sear, void overcrowding the pan and be sure to add just half at a time.
Transfer the pieces to a large plate or platter and repeat with the remaining meat. Set the plate aside for now while you continue cooking in the next few steps.
Step 3 – Caramelize the Onions and Garlic
Lower the heat to medium and immediately add the onions and garlic to the pot, as well as the remaining oil.
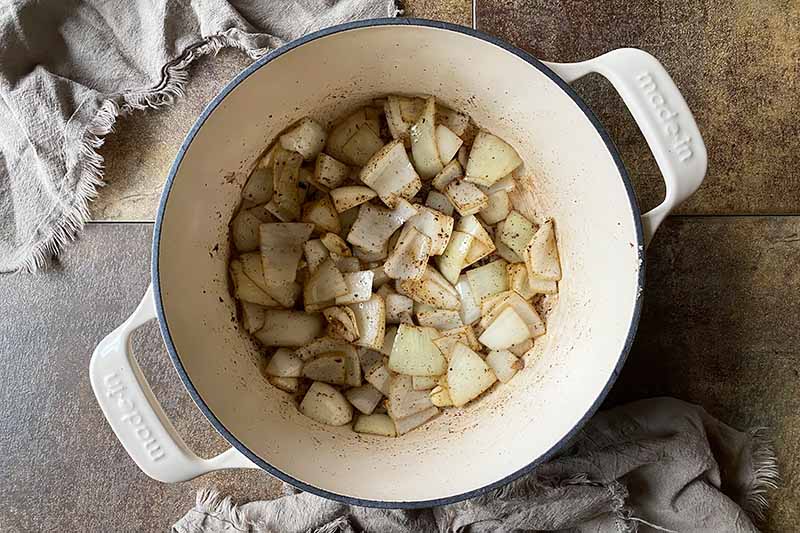
Saute, stirring constantly with a sturdy spoon or spatula, until very lightly caramelized. This will only take about 1 or 2 minutes.
You aren’t trying to completely soften the onions – just give them some color. They will continue cooking thoroughly during the rest of the braising process.
We love the browned bits of meat leftover from searing! But there is a potential risk of burning as you continue cooking. If the fond on the bottom of the pot is getting too brown, add about one tablespoon of water and stir to deglaze. You can also lower the heat a little more as needed.
Step 4 – Add the Tomato Paste and Flour
Add the tomato paste to the onion mixture and stir well, just until it’s evenly distributed.
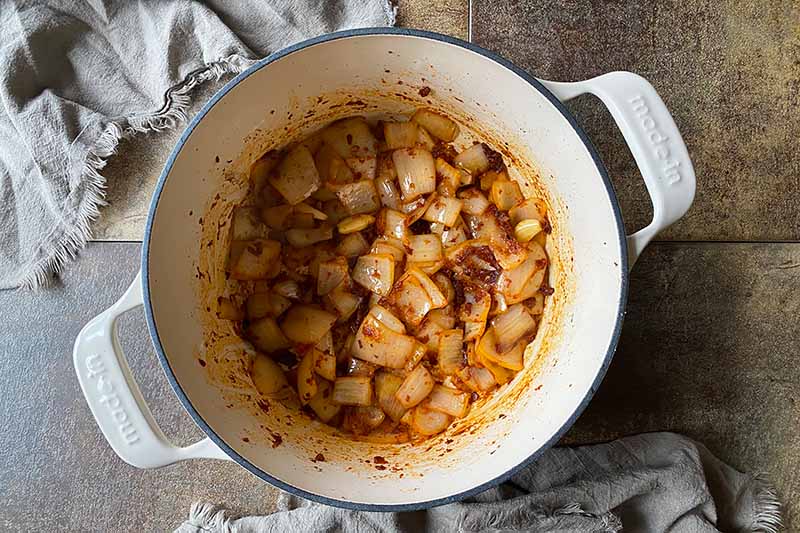
Sprinkle the flour over the onions. To prevent any clumping, sprinkle the flour lightly and evenly over the vegetables.
Stir constantly until completely combined with no white streaks left, for about 1 to 2 minutes.
Step 5 – Whisk in Liquid Ingredients and Rosemary
Pour the balsamic vinegar and soy sauce into the pot, stirring constantly to deglaze the pan by scraping up any browned bits on the bottom.
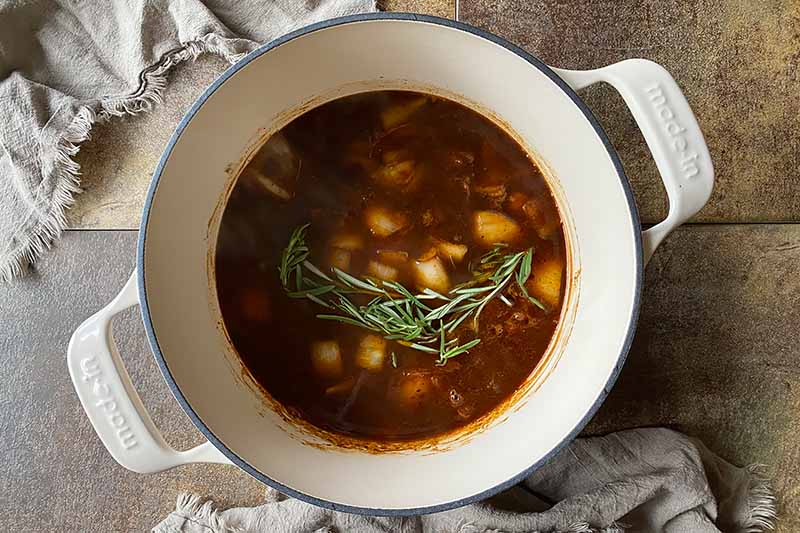
Use a sturdy whisk for this step.
Add the stock, whisking constantly to distribute the vegetable mixture throughout the liquid. Stir in the two sprigs of rosemary.
As you continue whisking, bring the liquid to a boil. Once it reaches a boil, immediately turn off the heat.
Step 6 – Return Beef to Pot and Braise
Using your tongs, gently place the seared meat back into the pot in a single layer, as well as any liquids that collected on the plate. The liquid in the pot should nearly cover the meat.
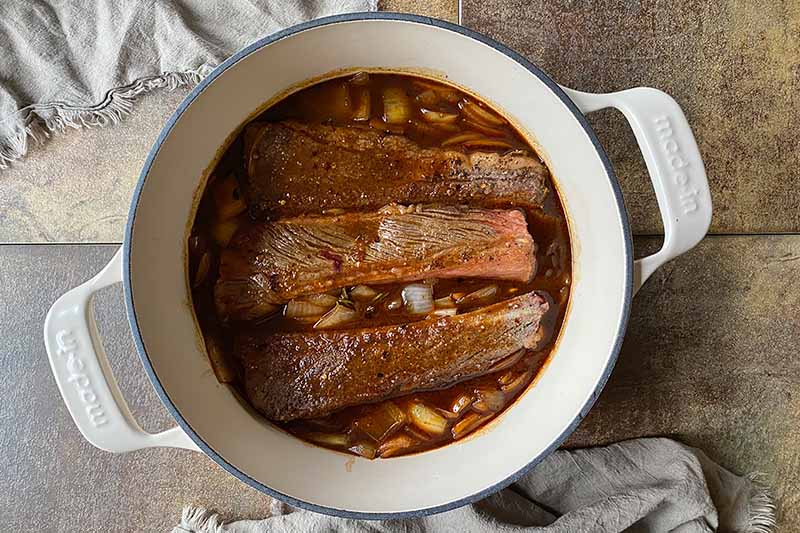
Cover the Dutch oven with the lid and transfer it to the preheat oven.
Braise for about 4 hours, or until very tender. About midway through cooking, flip the short ribs so they cook evenly in the liquid on the other side.
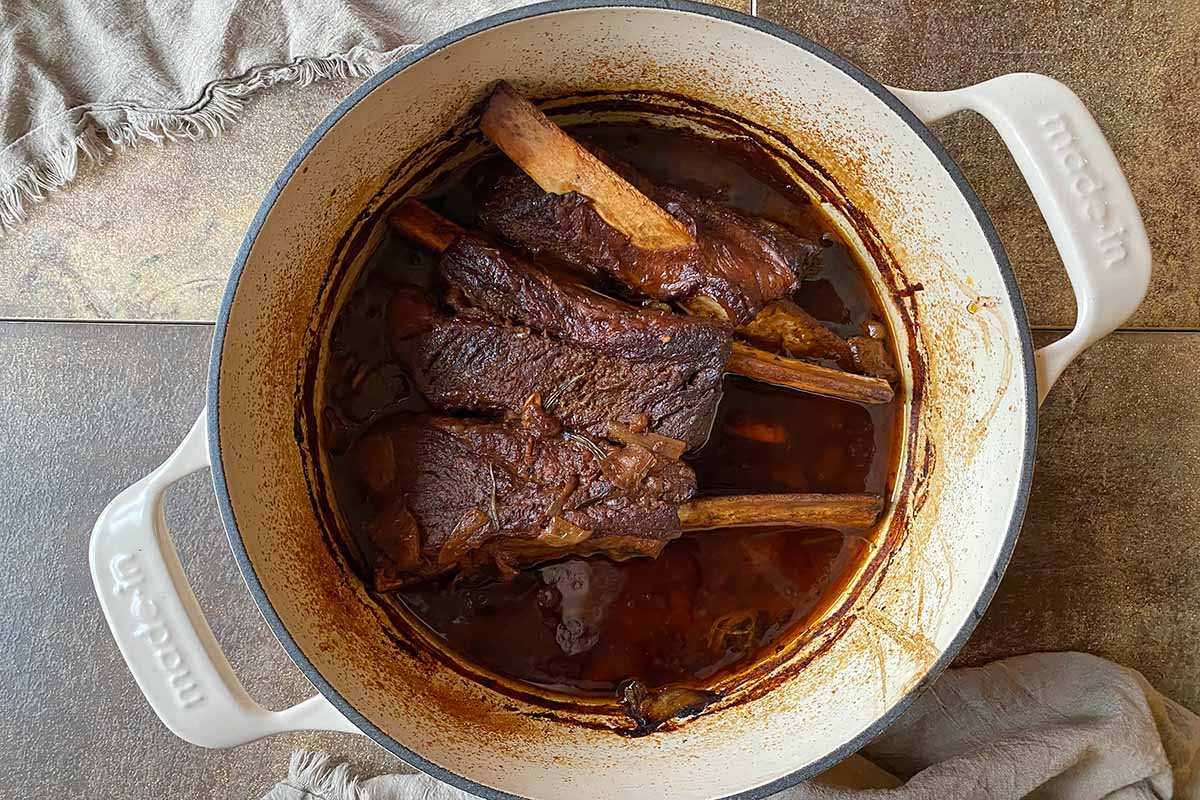
Depending on the heat distribution, the total cooking time may take less or more time in your pot and oven at home. Check the meat after 3 1/2 hours by piercing a piece with a fork – if the fork easily slides through, the short ribs are ready. If it’s still a little tough, continue cooking and check again in another 30 minutes.
Step 7 – Serve
Remove the pot from the oven, and let it sit for about 5 minutes with the lid off to cool just slightly. Dispose of the rosemary.
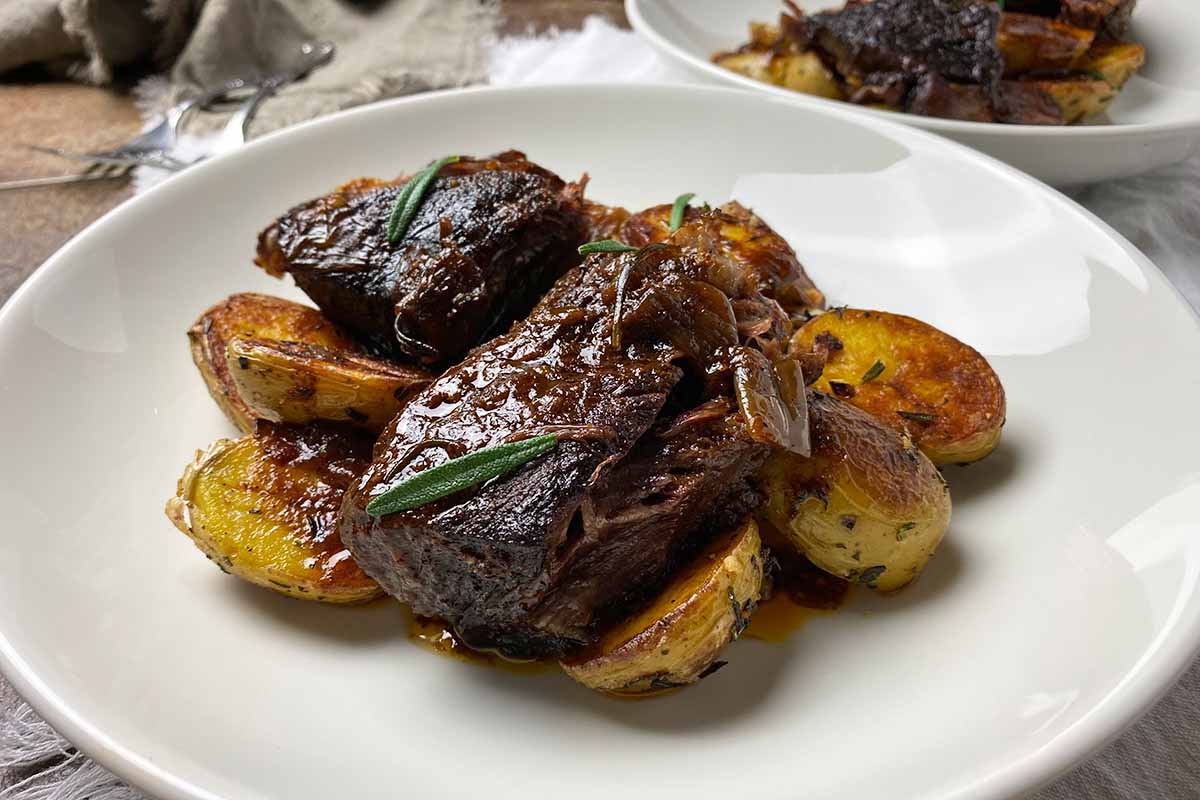
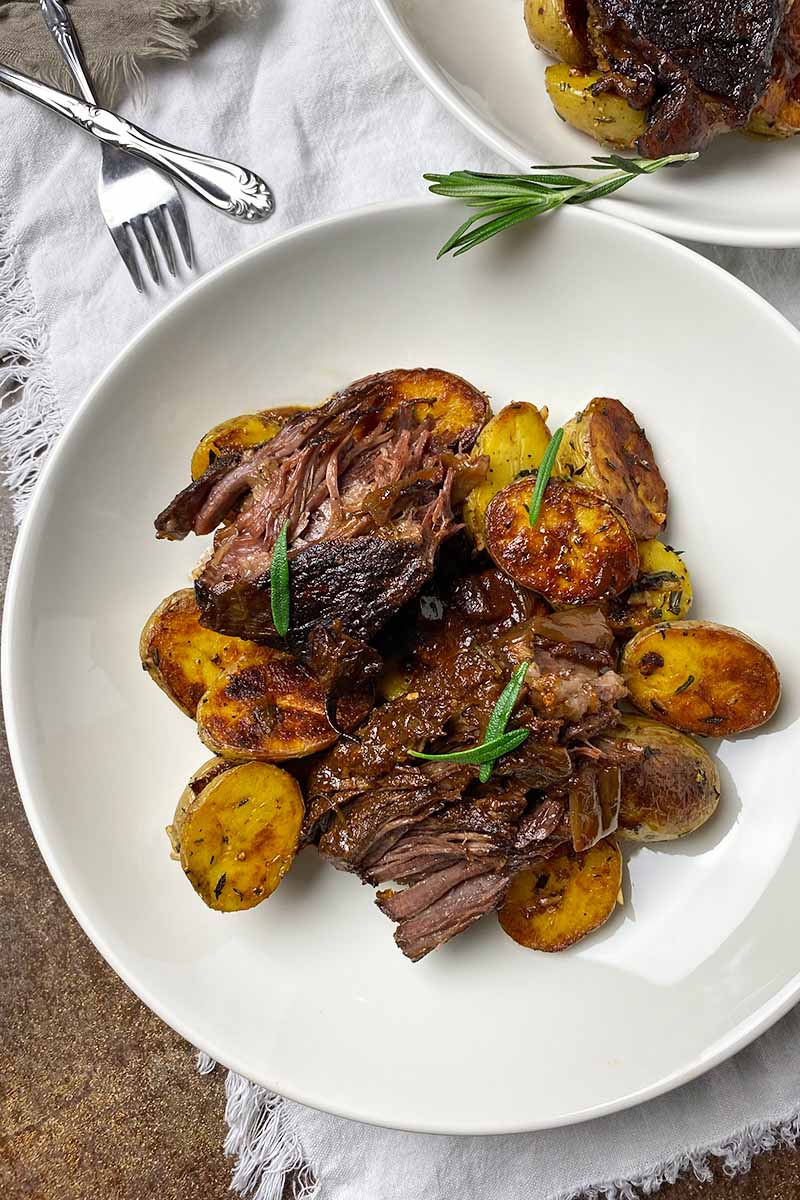
Serve in bowls with your preferred side dishes, pouring some of the braising liquid over the beef.
Serve while it’s still hot and steamy!
Face the Fats
You’ll immediately notice a thick layer of viscous fat separated from the rest of the braising liquid when you have finished cooking and you’re removing the short ribs to serve.
Bone-in short ribs are a very fatty cut of meat, and given hours and hours to slowly cook, there will be a lot of fat rendered from this cut.
Before serving, first remove the short ribs from the braising liquid. Then, vigorously whisk the fat back into the liquid to combine.
If you don’t want to consume this fat, or if you want to remove it before storing any leftovers, transfer the braising liquid to a large airtight container and refrigerate for about 1 to 2 hours. The fat will eventually congeal at the top as the temperature lowers.
You can then use a spoon to easily scrape off the solidified fat from the rest of the sauce. Dispose of it in your trash can, as it may clog your garbage disposal.
Do you prefer bone-in or boneless short ribs? What’s your favorite cooking method for this cool cut of meat? Leave a comment below!
Balsamic vinegar provides the tangy zing that brings our recipe to an over-the-top level of flavor without the need to introduce alcohol. Here are even more recipes featuring this bold condiment:
Photos by Nikki Cervone, © Ask the Experts, LLC. ALL RIGHTS RESERVED. See our TOS for more details. Originally published by Lorna Kring October 11, 2015. Last updated on January 1, 2024.
Nutritional information derived from a database of known generic and branded foods and ingredients and was not compiled by a registered dietitian or submitted for lab testing. It should be viewed as an approximation.
About Nikki Cervone
Nikki Cervone is an ACS Certified Cheese Professional and cheesemonger living in Pittsburgh. Nikki holds an AAS in baking/pastry from Westmoreland County Community College, a BA in Communications from Duquesne University, and an MLA in Gastronomy from Boston University. When she's not nibbling on her favorite cheeses or testing a batch of cupcakes, Nikki enjoys a healthy dose of yoga, wine, hiking, singing in the shower, and chocolate. Lots of chocolate.
I’m in the process of cooking and I believe you made a mistake in the oven temperature. You noted 305* I believe you meant for 350*. I checked out other recipes done in Dutch oven and they all said 350.