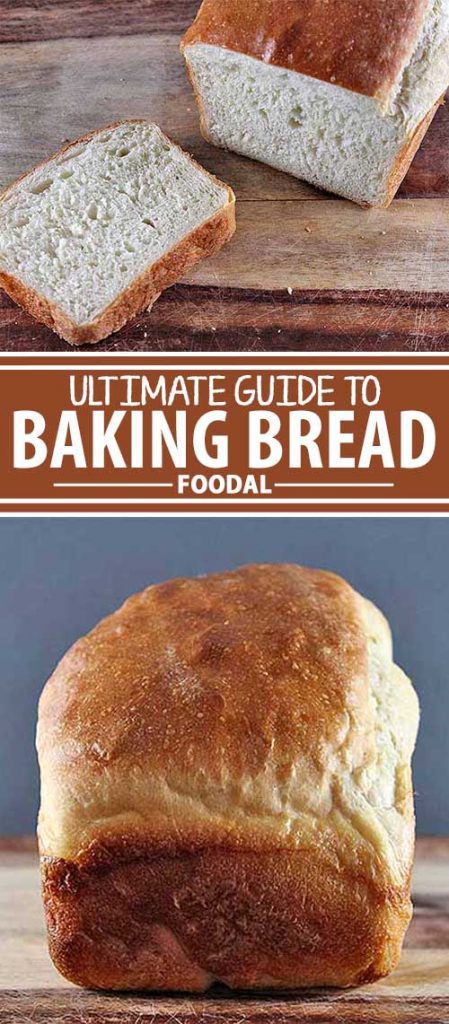
Breadmaking can be a daunting craft, but the rewards are unbelievably sweet.

There is no feeling more wonderful than working smooth dough between your fingers, feeling it slowly transform as it gains strength and grows.
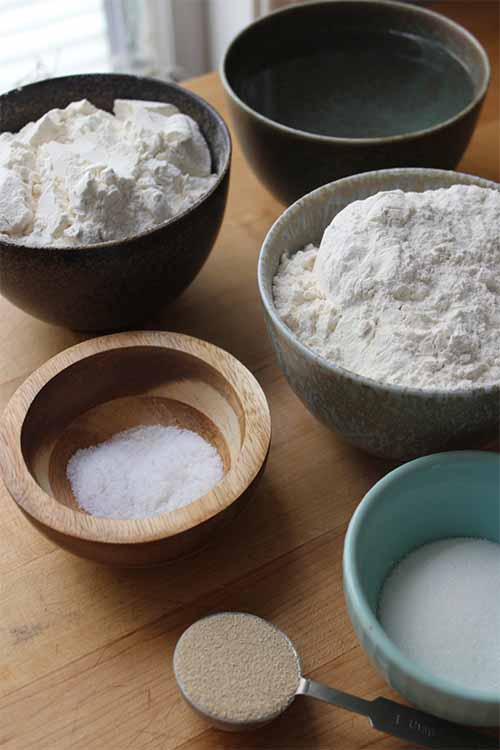
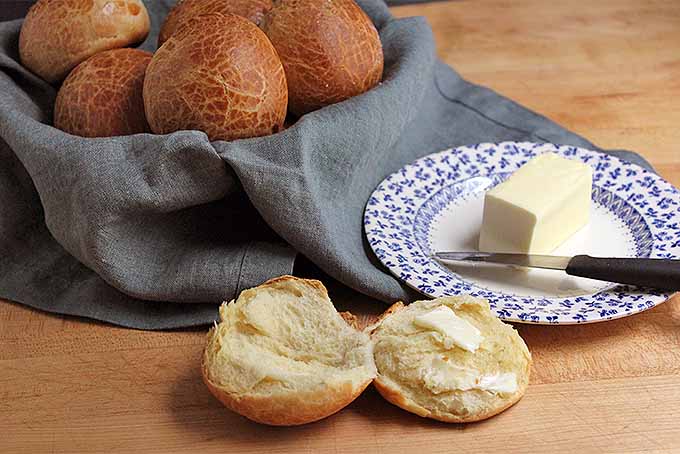
To transform four basic ingredients – flour, water, salt, and yeast – into the food that has been the core of the human diet for thousands of years is nothing short of miraculous!
Not everyone shares quite the level of bread obsession that I have (I even have a tattoo of wheat on the back of my arm), but I truly believe that everyone should feel empowered to give bread baking a try.
That’s why I’m here to break down the craft, so that you can start in your very own kitchen – today!
Bread is unique in that it is simultaneously so simple that anyone can make it, and so complex that you can continue learning for a lifetime.
It’s helpful to start by doing a little bit of reading – the process will be much less intimidating if you understand the roles of yeast and gluten from the beginning. But the only way to really learn is to get your hands down in the dough.
It won’t take long before you get the feel for the process and are ready to mix things up. Thankfully we’ve got plenty of fun recipes for you to try when it’s time to expand your repertoire!
Before You Start
First, learn the basics of how to equip your kitchen for baking bread, from the tools you need now to the luxury items that can stand to wait.
Have you ever wondered how to differentiate instant, active dry, fresh, or natural leavening? We’ve broken down the differences, and even made a helpful comparison chart so you’ll never get them mixed up again. Check out our guide to yeast.
It’s the thing everyone’s talking about, but what does it actually do? Learn more about gluten, the magical protein that’s got people everywhere up in arms.
While kneading by hand is a great way to get a workout, and a relaxing method for getting to know your dough, sometimes a mixer proves necessary.
Working butter into brioche is hardly a task worth attempting without the aid of a sturdy dough hook. Our guide to the best mixers on the market today can help.
Feeling It Out
Nothing beats the complex flavors of slow fermentation, especially when leavened with the yeasts found naturally in the air. These kinds of breads are not only tasty, but also are potentially healthy! They are a type of fermented food item that may help aid a healthy gut microbiome.
Learn how to make crusty breads like your favorite artisan bakery from the comfort of your own home.
What gives brioche its tender crumb, and how does challah manage such a soft crust? Learn about the magic that happens when butter, eggs, or sugar are added to bread’s basic four ingredients in our piece on enriched dough.

You’re getting your hands dirty – but are you hurting or helping your dough? We break down the purpose of kneading so that you can cater your technique to the needs of your dough.
The options are endless when it comes to shaping your bread – the only limit is your own creativity. Read about a few basic shaping techniques that can set you up to make the most beautiful loaves in town.
Starting with the Basics
Keep it simple at the beginning and you will soon hone your craft, and feel ready to branch out into a variety of delicious shapes and styles.
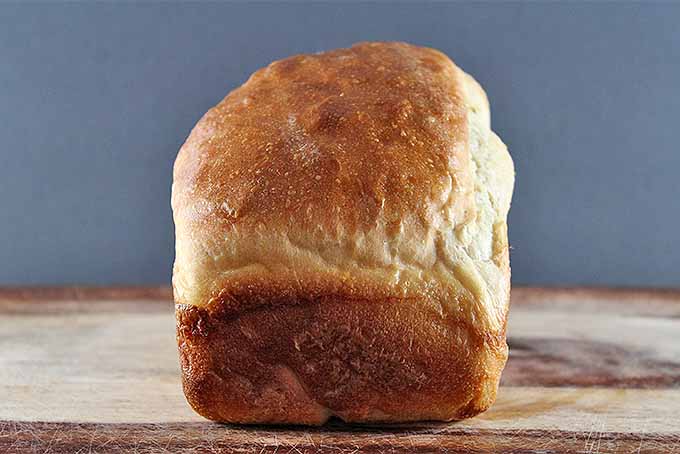
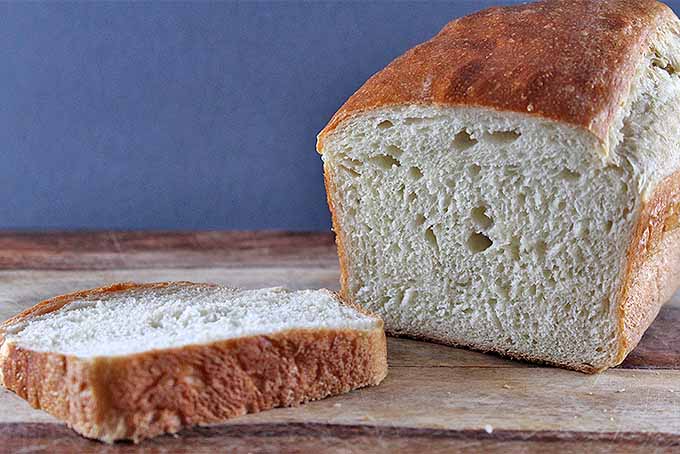
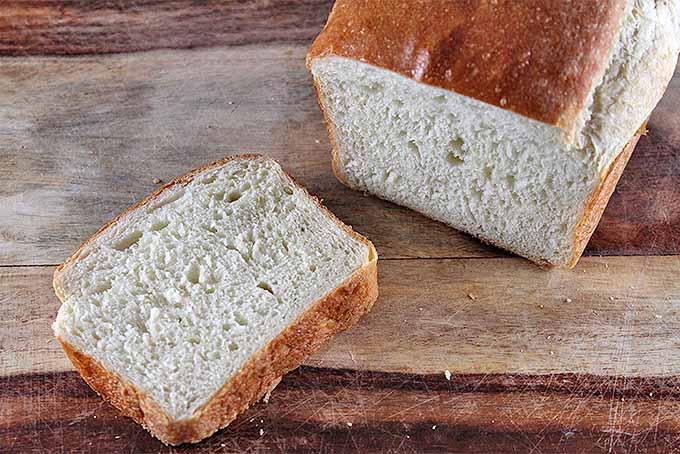
This basic bread recipe is perfect for making sandwich loaves and dinner rolls, or adding all kinds of flavors, sweet or tart, salty, herbal or savory.
It’s great for those new to bread making, and those who’ve been baking for years.
As a starter loaf, it offers plenty of ways to expand your creativity.
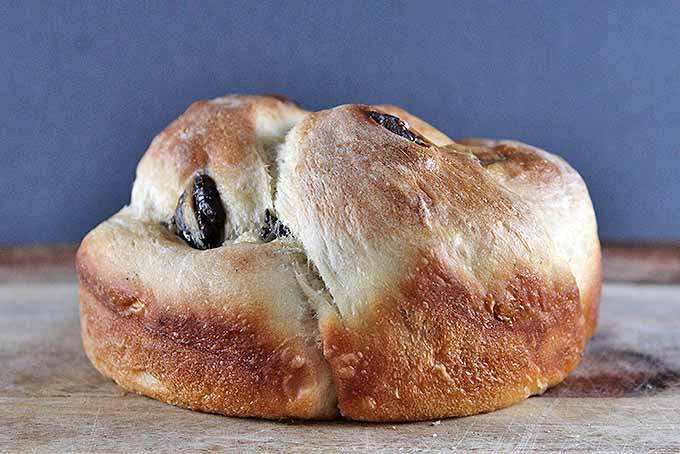
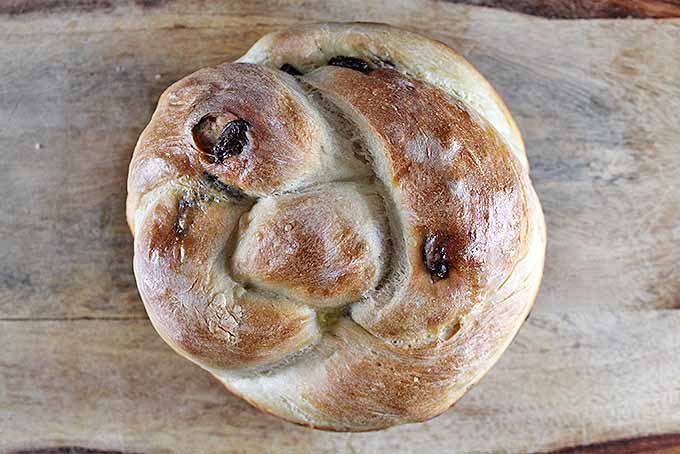
Try substituting one cup of flour with whole grain varieties like whole wheat, spelt, barley, rye, or semolina to mix things up. Knead in roasted garlic, raisins, nuts, or your favorite add-ins.
The simple recipe is delicious with some spices added, like you’ll find in our Twisted Cinnamon and Cardamom Loaf.
The Recipe

| Servings | Prep Time |
| 1 loaf | 25 minutes |
| Cook Time | Passive Time |
| 25 minutes | 1.5 hours |
|
|
|
|
Learn everything you need to know about baking bread, all in one place. From gluten and yeast to enriched doughs, Foodal has it covered - plus our favorite basic bread recipe to get you started.
|
- 4 cups all purpose flour
- 2 tablespoons sugar
- 2 teaspoons salt
- 1 tablespoon instant yeast
- 2 cups water around 100°F
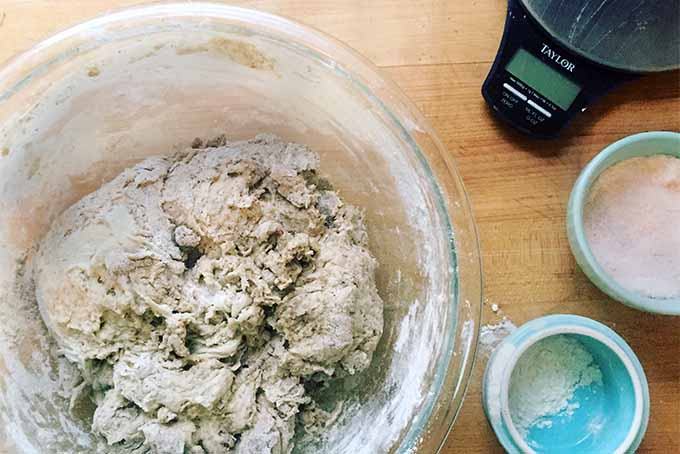
- Mix together the flour, sugar, salt, and yeast. Form a small well in the center of the dry ingredients and pour in the water.
- Using a bowl scraper or clean hands, pull the flour mixture into the water and slowly work the ingredients together. Once the water is incorporated and the flour has formed a shaggy dough, turn it out onto a clean counter.
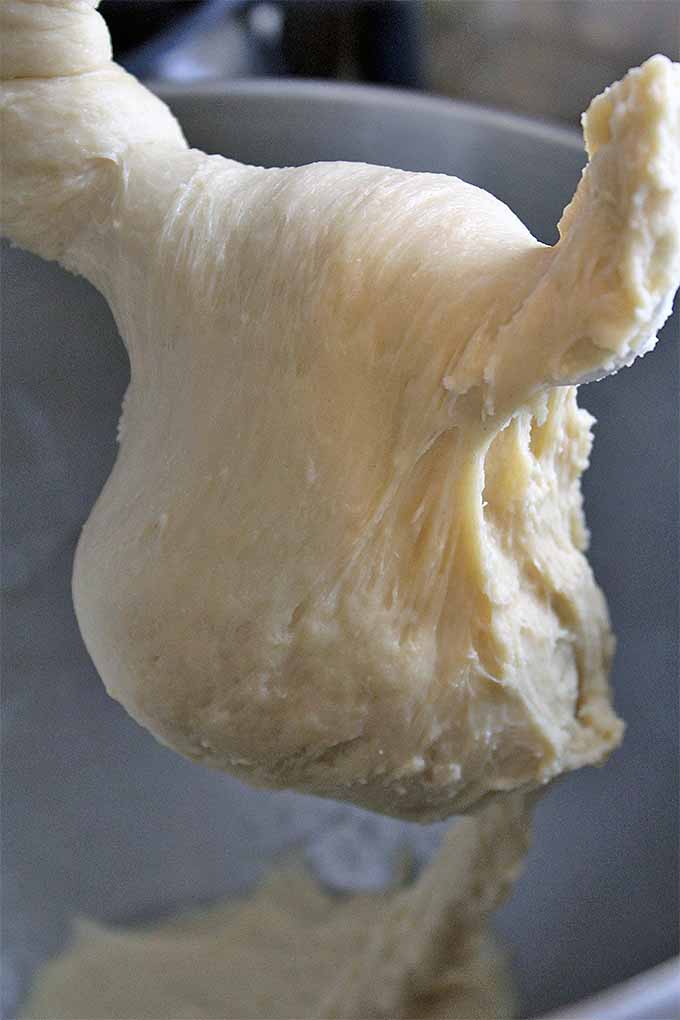
- Knead the dough for 10 minutes, until it forms a smooth ball and you can perform a successful windowpane test.
- Place the dough in a large, oiled bowl, covered with a damp towel. Allow to rest at room temperature for an hour, or until doubled in size.
- Shape the dough into your desired form.
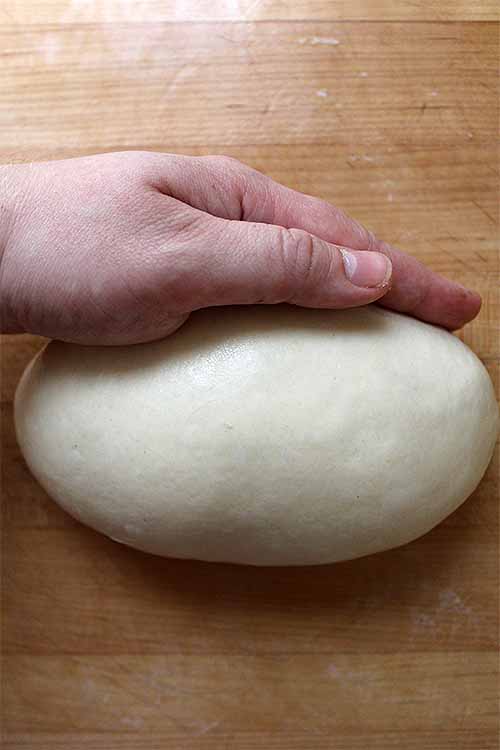
- Let proof at room temperature until you can touch the top lightly and it springs slowly back into place.
- Bake at 375°F for 25 minutes, or until the inside of the bread reaches 180°F.
Nutritional Information*
Cooking by the Numbers…
Step One – Mix
In a large bowl or the bowl of a stand mixer, whisk together the flour, sugar, salt, and yeast until well combined. Form a well in the center of the dry ingredients to pour in the water.
The water should be around 100°F. It needs to be warm enough to activate the yeast, but not so hot as to kill it. Since your body temperature is around 98°F, the water will feel just the slightest bit warm to the touch.
Step Two – Combine
Using a bowl scraper or your clean hands, slowly pull the flour mixture into the water to work the ingredients together. As the water soaks into the flour, it will form a shaggy dough.
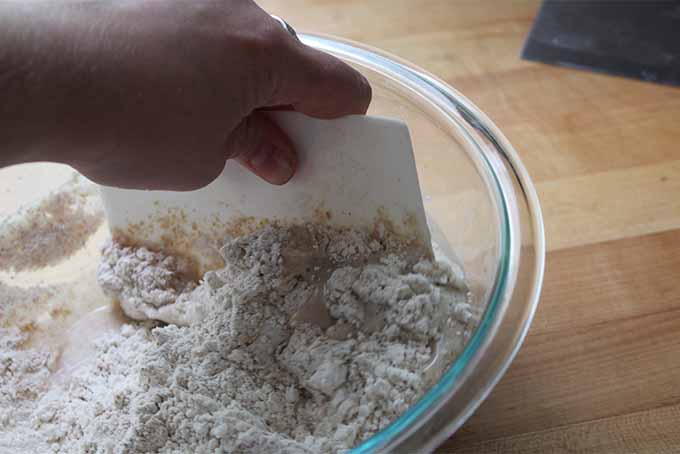
Alternatively, you can mix them together with the dough hook attachment on a stand mixer.
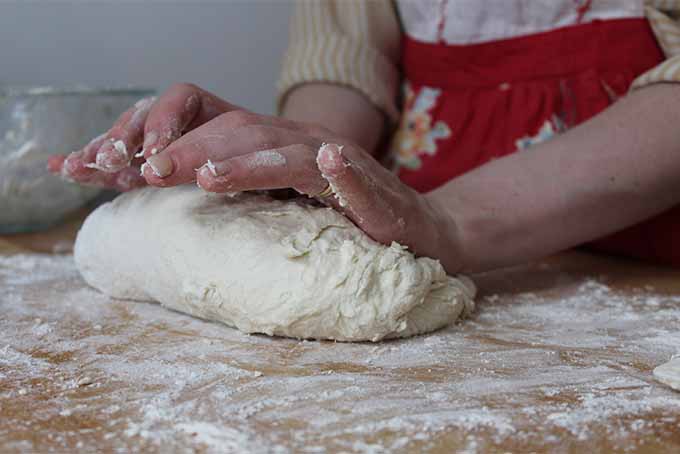
Step Three – Knead
If mixing by hand, turn the shaggy dough onto a clean counter and knead for 10 minutes, until it forms a smooth ball. If it feels very sticky, you can add a little bit of flour at a time.
If you are using a stand mixer, mix on medium speed for 7 minutes.
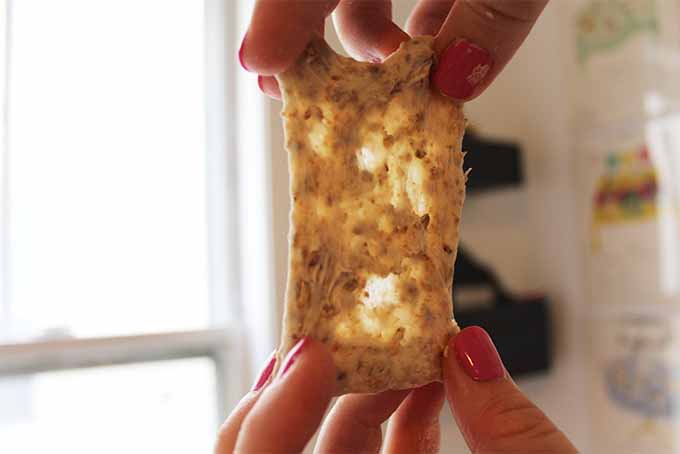
When the dough is well kneaded, you should be able to successfully perform a windowpane test.
As instructed in the posts referenced above, and others in our baking category, you should be able to stretch a small piece of dough between your fingers to form a translucent “windowpane.” This is how you know it’s ready.
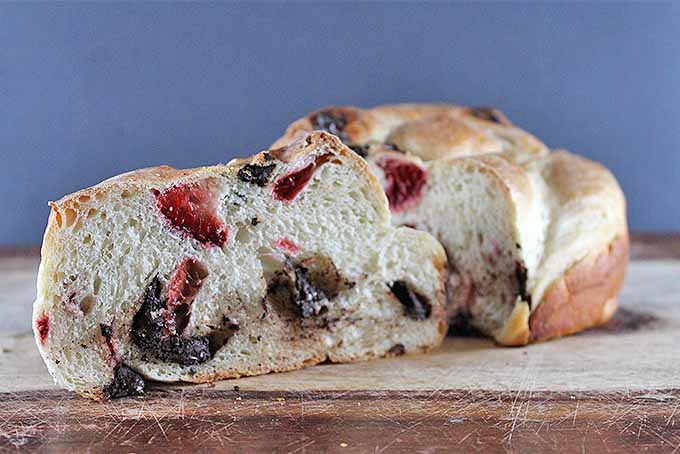
If you’d like to mix in some extra ingredients, add them in the last minute of kneading.
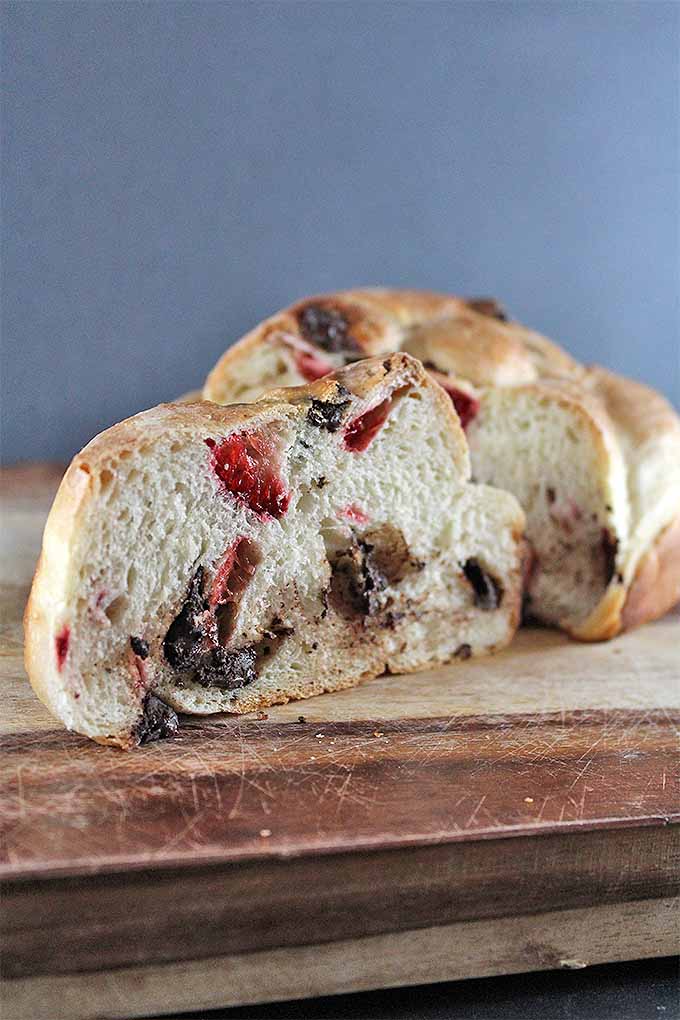
I love adding chocolate and freeze-dried strawberries for a nice combination of sweet and tart. Candied almonds are another favorite of mine.
Step Four – Rest
Place the dough in an oiled bowl and cover with a damp towel. Let the dough rest at room temperature for about an hour, until it doubles in size.
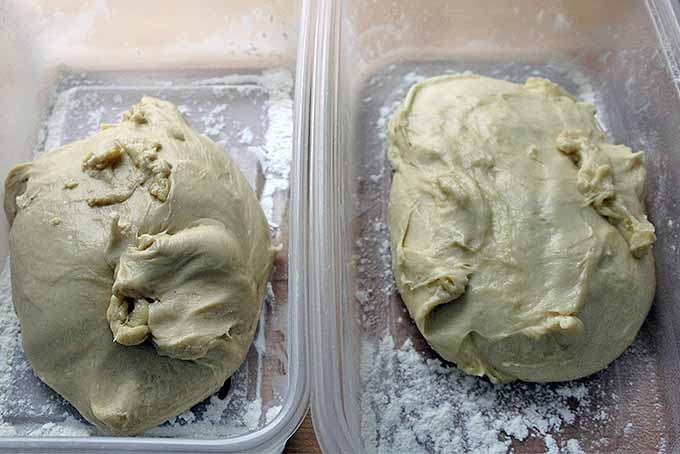
If it doubles in less than an hour, punch the air out and let it rest for the full hour.
Step Five – Shape
Shape into whatever configurations and designs you’d like.
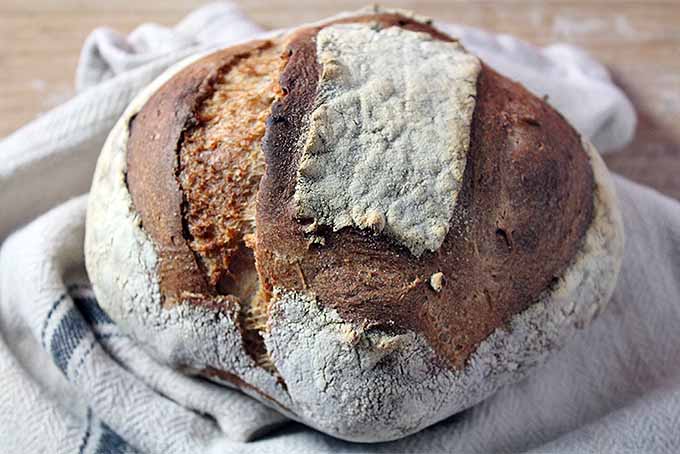
Whether a sandwich loaf, a braid, or a basic boule (round), this dough has boundless options!
Step Six – Proof
Let proof at room temperature until it shows the signs that it is ready for the oven. When you touch the surface of the dough with the tip of your finger, the indentation should slowly return to place.
While your loaf is proofing, preheat the oven to 375°F.
Step Seven – Bake
When the loaves are fully proofed, bake for 25 minutes. The crust will take on a light brown hue, and when you tap the top of a loaf it will sound hollow.
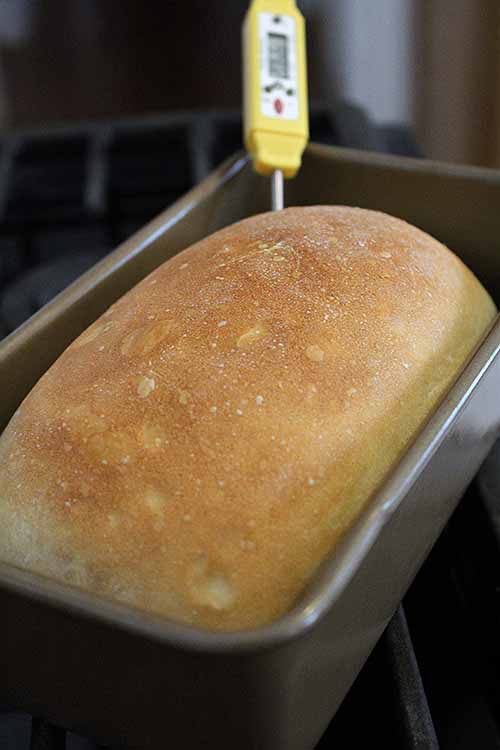
Using a thermometer, take the temperature of the inside of the bread. When done, it will read between 180 and 200°F.
Let cool for at least 10 minutes before slicing.
Mixing It Up
From sandwich loaves to cinnamon rolls, doughnuts, hand pies, and more, this dough will quickly become the most useful in your repertoire. So many tasty treats start with our basic brioche recipe.

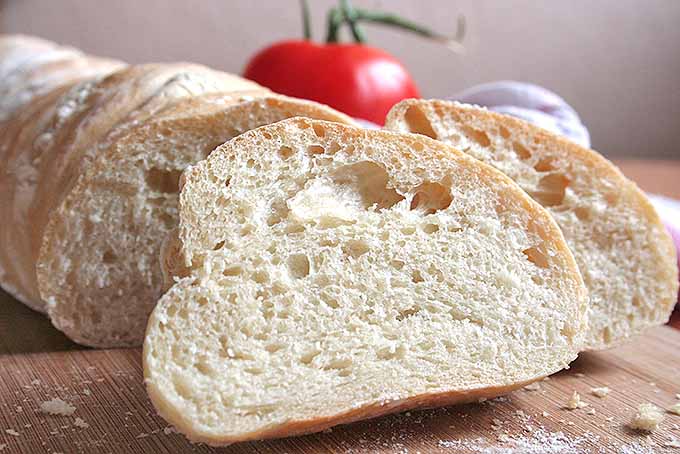
Rustic Pain Paillasse – Get the Recipe Now
A quick knead and a simple shape, followed by a long refrigerated rest – you’ll be amazed at how much flavor this simple technique is able to evoke.
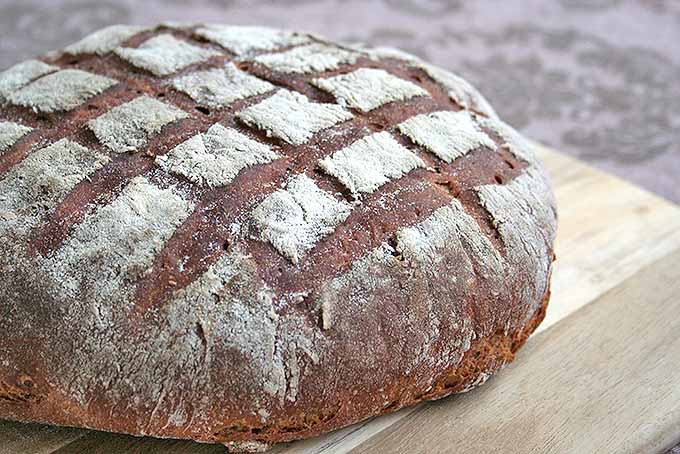
European Dark Rye Bread – Get the Recipe Now
This hearty loaf of dark rye packs loads of flavor and nutrients, too. Plus, the shorter rise time means it can be mixed and baked all in the same day.
Looking for even more bread recipes? Check out everything that’s currently available in the bread category of our recipe catalog as well as all of our baking tips.
Deliciousness Awaits
You’re well on your way to becoming the next master bread maker. Did you ever think it would be that easy?
Let us know whatever lingering questions you are dying to have answered. Share them in the comments below!
Photos by Kendall Vanderslice, © Ask the Experts, LLC. ALL RIGHTS RESERVED. See our TOS for more details.
*Nutritional information derived from a database of known generic and branded foods and ingredients and was not compiled by a registered dietitian or submitted for lab testing. It should be viewed as an approximation.
About Kendall Vanderslice
Kendall’s love of food has taken her around the world. From baking muffins on a ship in West Africa and milking cows with Tanzanian Maasai, to hunting down the finest apfelstrudel in Austria, she continually seeks to understand the global impact of food. Kendall holds a BA in Anthropology from Wheaton College and an MLA in Gastronomy from Boston University, and has worked in the pastry departments of many of Boston’s top kitchens. Based in Somerville, Massachusetts, Kendall helps to run a small community supported bread bakery and writes about the intersection of food, faith, and culture on her personal blog, A Vanderslice of the Sweet Life.


I have waited many years for you! This is the most wonderful site. I love that not only are steps clearly explained but that you give little tips that make a really big difference. LOVE IT !!!! Thank You.
Hi! It’s a wonderfully easy recipe but it took me close to 1 hr for a whole wheat loaf with the same measurements. Can you help me with the exact amount of time needed for this bread?
Thanks for your question Ginia. Do you mean you substituted whole wheat flour, and your bread took an entire hour to bake? Generally speaking, whole grain flours can not be substituted equally in recipes that call for all-purpose, since whole wheat can absorb a lot more liquid, and does not rise as readily. Many bakers will often use half whole grain and half refined flour in their recipes (plus additional liquid) for a healthier final product that’s also more satisfying in terms of texture and flavor. You’ll also want to be more gentle when you’re working and shaping the dough, and you will need to avoid over-proofing as well. Check out our article on baking with whole grains for more tips.
Hi, I understand substituting only half of whole grains and all purpose. I am looking for recipes with only whole grains. Is having great texture and flavor possible with only whole grains? I have chronic pancreatitis so I have to avoid all purpose flours, or anything processed. So I am hoping I can bake with whole grains only. Can you help me with this?
Achieving great texture and flavor is definitely possible, Cathrine! Our guide to baking with whole grains can help you to get started. Please feel free to reach out with any more specific questions that you may have. Many of the recipes in our collection are made only with whole grains as well.
I used 2 cups white and 2 cups wholemeal baking flour and baked for 40 min on 200 degrees thinking wholemeal would take longer but it came out hard as a rock. It was still edible and tasted good but not light and fluffy. I’m very new to bread making as I’m sure you can tell. I am not sure why it was so hard. I am thinking it may be because I over proofed it. As there was no time given for the proofing only a prodding finger I did this after 30 min and then another 20 and think it was ready at 30 min because after 50 min the indent would just stay there. But I thought over proofing made it sink… The other reason it was rock like could have been that I cooked it too long. I wish there was a simple one way to make bread. I’ve only had 2 recipes come out fluffy, and when I tried one a second time it came out like a rock. I guess it’s all in the learning process and I need to read all your links.
P.S don’t buy bread in plastic single use bags. Homemade or bakery bread should be put in paper, cloth, or beeswax. I do reuse a couple plastic bread bags from the un-super-market and wrap that around my bread in its cloth bag. These will last a year or more!
Hi Nikky,
There could be a few basic things going on here. First, I assume you mean you baked at 200°C, which is nearly 400°F – that would typically be a little high for baking bread. Do you have an oven thermometer? Check out our article on understanding your oven– if yours runs hot, it could be even higher.
Next, if you used the recipe in this article and substituted half of the all-purpose flour with whole grain flour without making any other adjustments, that would also result in a harder texture since whole grain flour absorbs more moisture. And finally, you are correct that if the dough has been over-proofed, it won’t bounce back. Done correctly, an indentation that you make with your finger should bounce back about half way.
For more tips, you might like to start with our articles on baking with whole grains, and everything you need to know about yeast. My top tip for beginning bread bakers is to use a recipe as it is designed, without making any substitutions. Wishing you the best of luck in your future bread baking endeavors!