We occasionally link to goods offered by vendors to help the reader find relevant products. Some of these may be affiliate based, meaning we earn small commissions (at no additional cost to you) if items are purchased. Here is more about what we do.
We are all pretty familiar with the traditional buttermilk biscuits. But these biscuits take the flavor that you love to a whole new level.

Do you like to make sourdough bread, or maybe you have some sourdough starter sitting in your refrigerator, just begging to be used?
Recently, I started getting into making my own sourdough starter from scratch. It seems to be all the rage lately, and practically everyone I follow on Instagram seems to be doing it right now.
Since it seems like I’m a bit late to the game, I’ve been doing everything I can to hop on board quickly.

And in the process, I’ve actually found that there is so much more you can do with a starter than simply baking loaves of (delicious) bread. And with many of these recipes, if you have excess starter on hand or if you’re simply short on time, you don’t have to go through all the time and prep required to proof and bake perfect loaves from scratch each time if you don’t want to.
Instead, sourdough starter can be used to make things like pancakes, waffles, and even desserts like cakes.
I bet you never knew that, did you? All of this came as a huge surprise to me!
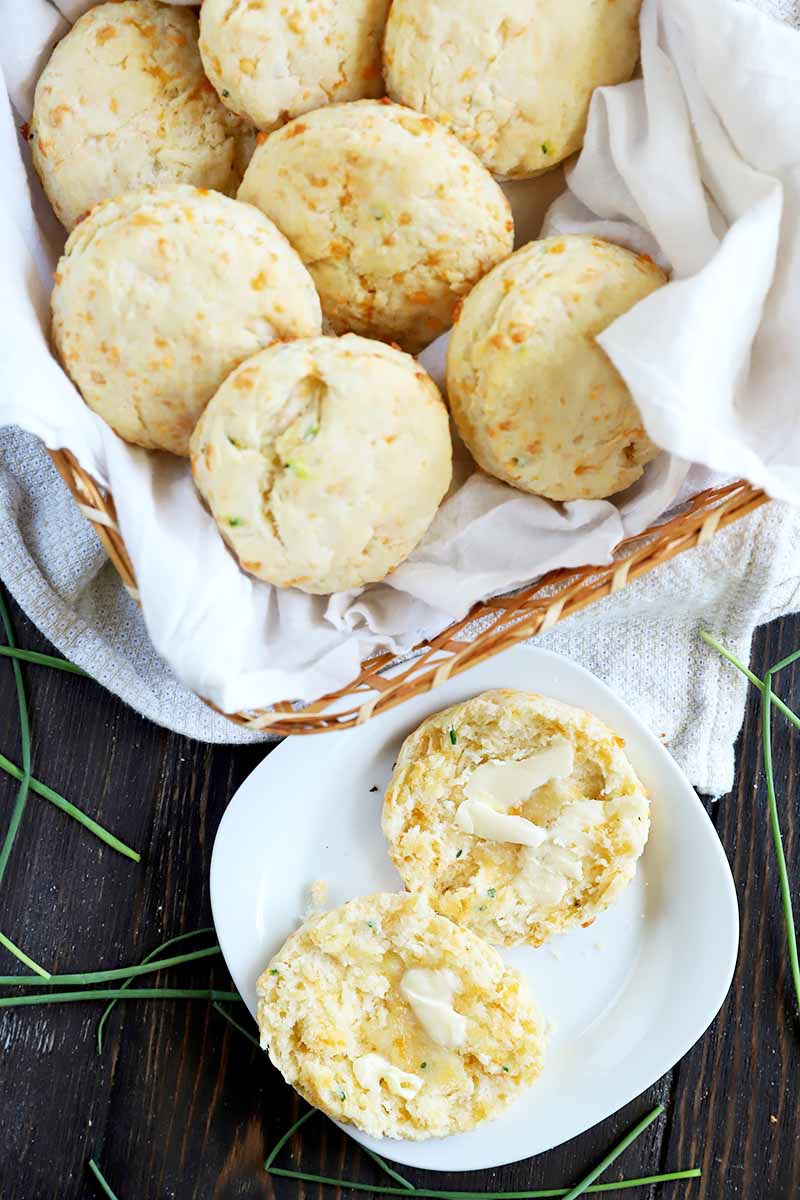
My favorite so far is definitely these biscuits, which are so different than your traditional buttermilk style. They are packed with oniony chives and cheddar cheese, which gives these amazing baked pieces of heaven even more flavor on top of those tangy, buttery notes.
It does take a bit of time to make a simple starter from scratch, but it’s pretty darn easy to do. Once you have that starter going, you can use it and tend to it, and keep it going for a lifetime if you want to.
I’ve even heard of families passing down their sourdough starters from generation to generation, which is pretty dang cool, isn’t it?
Note that you can also buy starter online to skip the time that it takes to make it from scratch. Just in case you don’t want to put in the time it takes to tend to the starter-making process from the very beginning, here’s one option that’s available on Amazon.
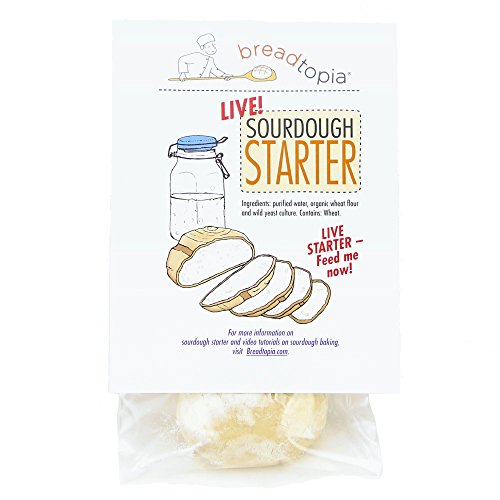
Breadtopia Live Sourdough Starter, Available on Amazon
These biscuits are everything that biscuits should be. They are moist and tender on the inside, crispy and flaky on the outside. They are so simple to make, and the dough comes together all in one bowl.
The dough itself is super easy to handle and it rolls out like a dream, so you really won’t feel like you are putting a lot of work into it. The dough is nice and soft, and it rolls out easily, in mere seconds.

Pop these babies in the oven, and in just a little while, you will have a whole batch of fresh, buttery goodies to indulge in. The little pops of cheese and oniony chives not only lend delicious flavor, they also provide fun pops of color throughout.
Pretty to look at and tasty to eat? That’s a win if you ask me!
Just make sure you get the best version by eating them warm, straight out of the oven. And don’t forget the extra butter, to slather on both of the warm and flaky halves!
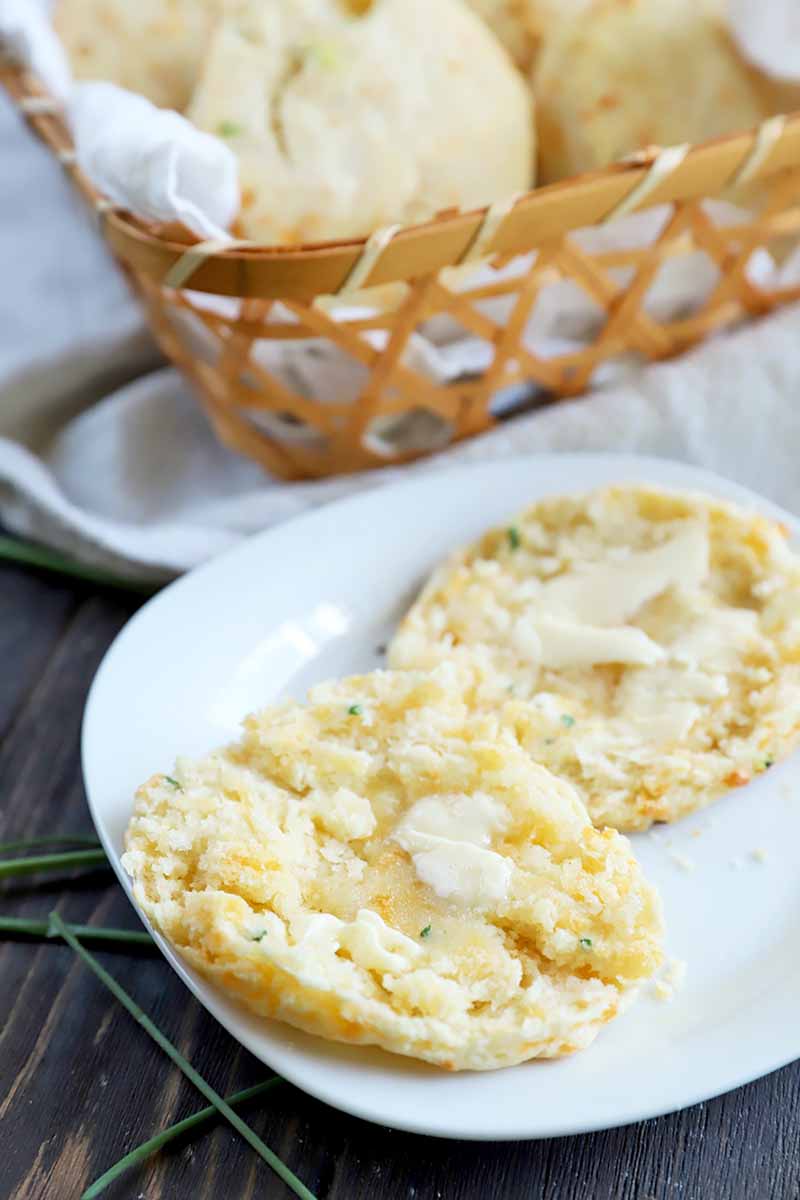
They’re fantastic on their own, but I also have used them on top of chicken stew and tomato cobbler, and just served my last batch as the base for biscuits and gravy for brunch, which was so amazing.
No matter how you serve them, these are pure perfection.
Print
Sourdough Biscuits with Cheese and Chives
- Total Time: 25 minutes
- Yield: 8 biscuits 1x
Description
Easy to make, deliciously flaky sourdough biscuits with cheese and chives are a great way to use up your sourdough starter.
Ingredients
- 1 cup all-purpose flour
- 1/8 teaspoon salt
- 1/2 teaspoon baking soda
- 2 teaspoons baking powder
- 2 teaspoons fresh chopped chives
- 3/4 cup shredded sharp cheddar cheese
- 6 tablespoons salted butter, chilled and cubed
- 1 cup unfed sourdough starter, chilled
Instructions
- Preheat oven to 425˚F.
- In a medium bowl, whisk together flour, salt, baking soda, baking powder, chives, and cheese.
- Cut in butter using a pastry cutter or your fingers, until mixture resembles coarse crumbs. The mixture should have pea-sized lumps.
- Stir in sourdough starter, until most of the flour is incorporated. Use your hands to knead the mixture a few times in the bowl until it comes together.
- Turn out dough onto a clean, lightly floured work surface. Roll dough out until it is about 3/4 of an inch thick. Cut biscuits into 2 ½ to 3-inch rounds.
- Reroll any scraps and cut out the remaining rounds.
- Place on an ungreased baking sheet spaced about 1 inch apart.
- Bake for 12-15 minutes, until edges are lightly browned.
- Cool on the pan for about 10 minutes before serving warm. Allow leftovers to cool completely on a wire rack and store in an airtight container.
- Prep Time: 10 minutes
- Cook Time: 15 minutes
- Category: Biscuit
- Method: Baking
- Cuisine: Baked Goods
Keywords: biscuit, sourdough, starter, chive, butter, cheddar, cheese
Cooking By the Numbers…
Step 1 – Chop Chives, Cube Butter, and Measure Remaining Ingredients
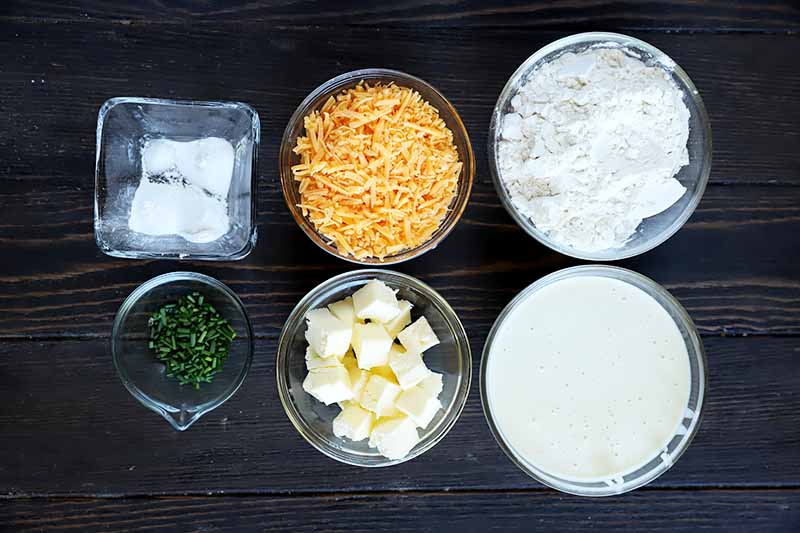
Chop enough chives until you have two teaspoons total.
Cube six tablespoons of salted butter. Place in a bowl in the refrigerator until you’re ready to use, to keep the butter cold.
Preheat your oven to 425˚F.
Step 2 – Make Dough
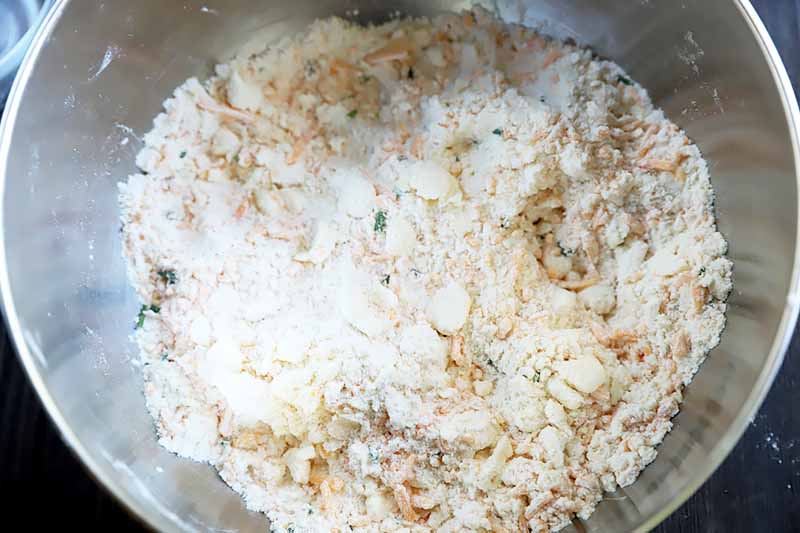
Add the flour, salt, baking soda, baking powder, chives, and cheese to a medium-sized bowl. Whisk to combine.
Add the butter to the mixture, cutting it in with a pastry cutter or your fingers. The mixture should resemble coarse crumbs, and any remaining butter lumps should be the size of peas.
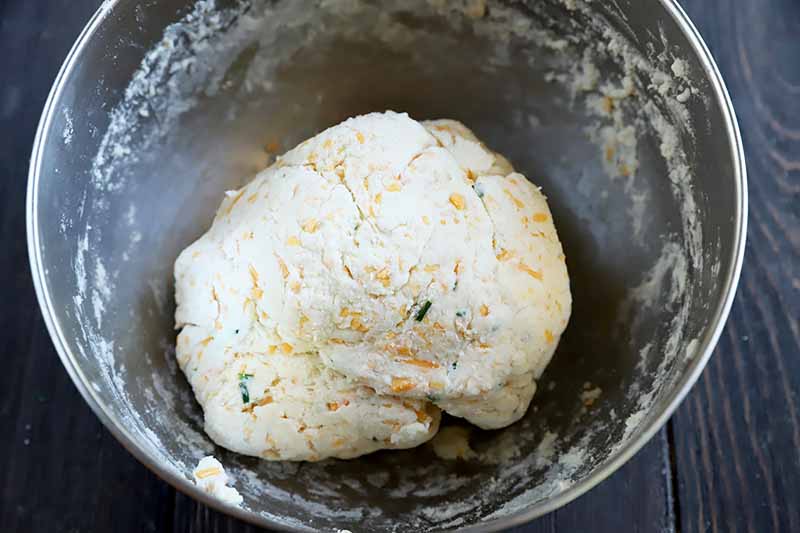
Stir in the sourdough starter until most of the flour is incorporated. Use your hands to bring the mixture together completely, kneading it a few times in the bowl.
Step 3 – Cut Dough
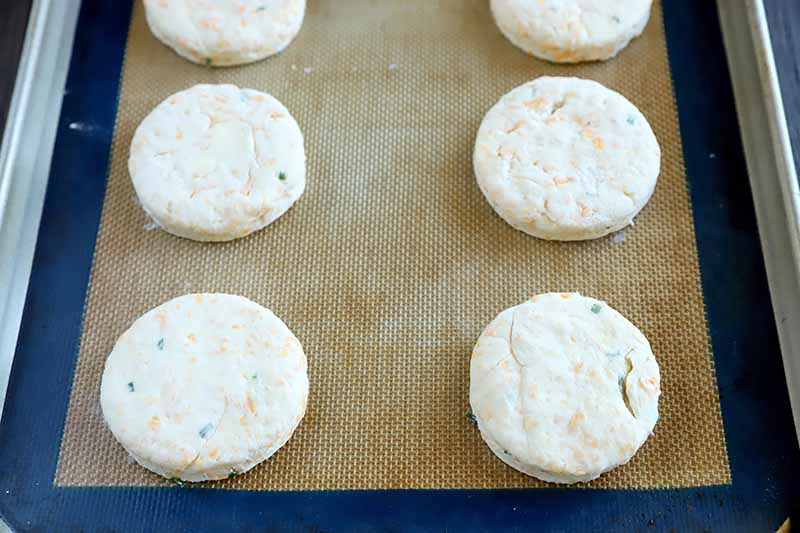
Turn the dough out onto a flat, lightly floured surface. Roll it out to be about 3/4 of an inch thick.
Cut out 2 1/2 to 3-inch rounds with a biscuit cutter.
Re-roll any leftover scraps and cut out the remaining rounds. Be sure to only re-roll the scraps once, since overworking the dough will result in baked goods with a tough texture.
Step 4 – Bake

Place the rounds on an ungreased baking sheet. They have plenty of butter in them to prevent sticking. Be sure to space them 1 inch apart.
Bake for 12 to 15 minutes. The edges should be browned. Allow them to cool on the pan for 10 minutes before serving warm.
Cool any leftovers to room temperature before storing in an airtight container.
Don’t Overwork the Dough
The key to making sure these stay light and fluffy is not overworking the dough when you roll it out.
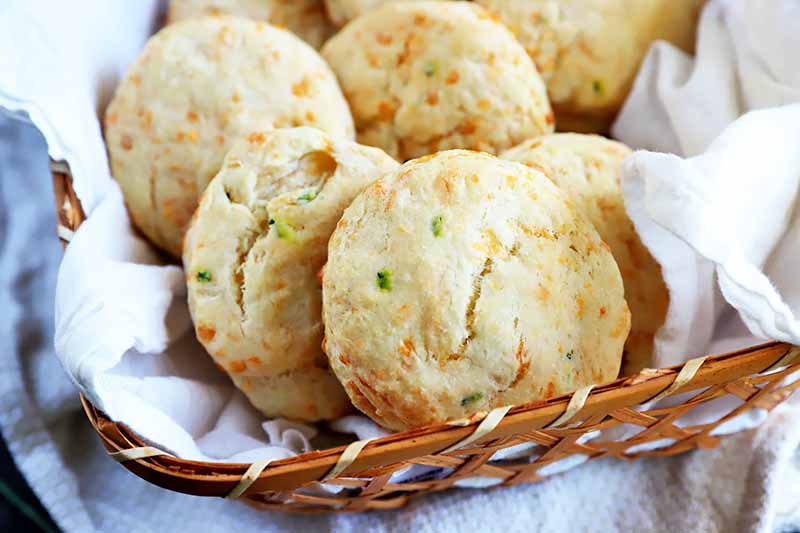
The dough rolls out easily, and it might be hard to stop fiddling with it, but you’ll just need to restrain yourself. Work through it quickly while you cut them out.
When you re-roll the scraps to make more rounds, be sure that you only do this once. If you keep working with the dough or manipulating and rolling it too much, that batch made with the excess will become tough.
And nobody likes a tough biscuit!
Got the baking bug? Here are some more biscuit recipes from Foodal to try out next:
How will you enjoy these, and what will you serve them with? Tell us in the comments below, and be sure to come back to rate the recipe after you’ve tried it!
Photos by Meghan Yager, © Ask the Experts, LLC. ALL RIGHTS RESERVED. See our TOS for more details.
Nutritional information derived from a database of known generic and branded foods and ingredients and was not compiled by a registered dietitian or submitted for lab testing. It should be viewed as an approximation.
About Meghan Yager
Meghan Yager is a food addict turned food and travel writer with a love for creating uncomplicated, gourmet recipes and devouring anything the world serves up. As the author of the food and travel blog Cake 'n Knife, Meghan focuses on unique foodie experiences from around the world to right at home in your own kitchen.




These are so YUMMY! Thank you for sharing this!
★★★★★
These biscuits were super simple and delicious!
★★★★★