A few weeks ago, sitting at our weekly dinner with my husband Tim and his brother Nate, I quizzed them about their favorite Christmas memories. I asked, “What were some of your favorite Christmas foods?”
I like asking them together about their childhoods because, in the way that your best friend remembers things about that summer road trip that you forgot, the two of them round out each other’s stories.
Tim said pasta. Nate tried to think.
But before long, they were telling me about the piles of cookies their mom made every year, from melt-in-your-mouth snowflake cookies to kolachkys (a favorite in my childhood, as well) to what Tim referred to as “color cookies,” something I’d never heard of before.
“You remember them, Nate, the ones that had food coloring in them? Red and blue and gold and green?”
As kids, they hadn’t liked the color cookies best, not compared to the classic chocolate chip or cut-outs or other treats.
But, still, thinking about them now reminds them of their mom, a woman I like to hear about often – I am sad to say I never got to meet her.
Sometimes while I’m talking to the two of them, I wish their mom could see who her sons became: two of the kindest, most faithful, thoughtful men I’ve known.
So, in memory of their mom this holiday season, we decided to make our own einkorn flour version of them this week with natural food coloring.
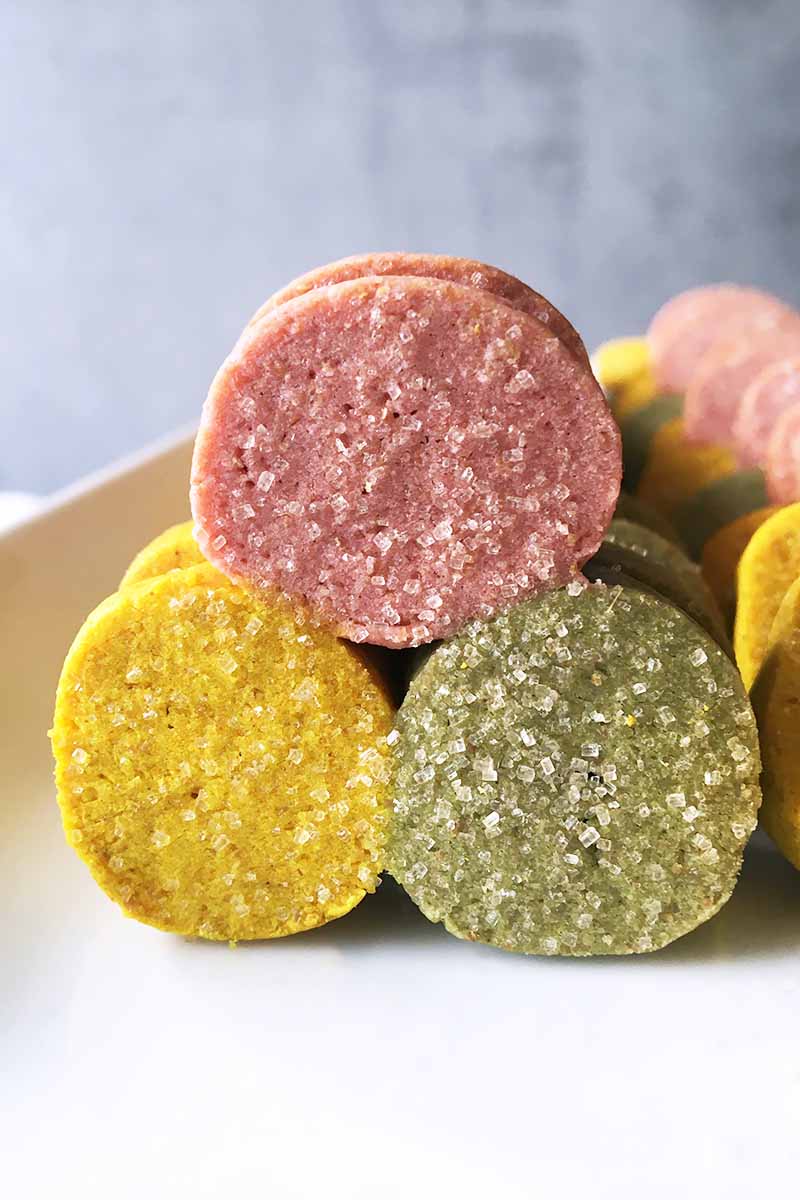
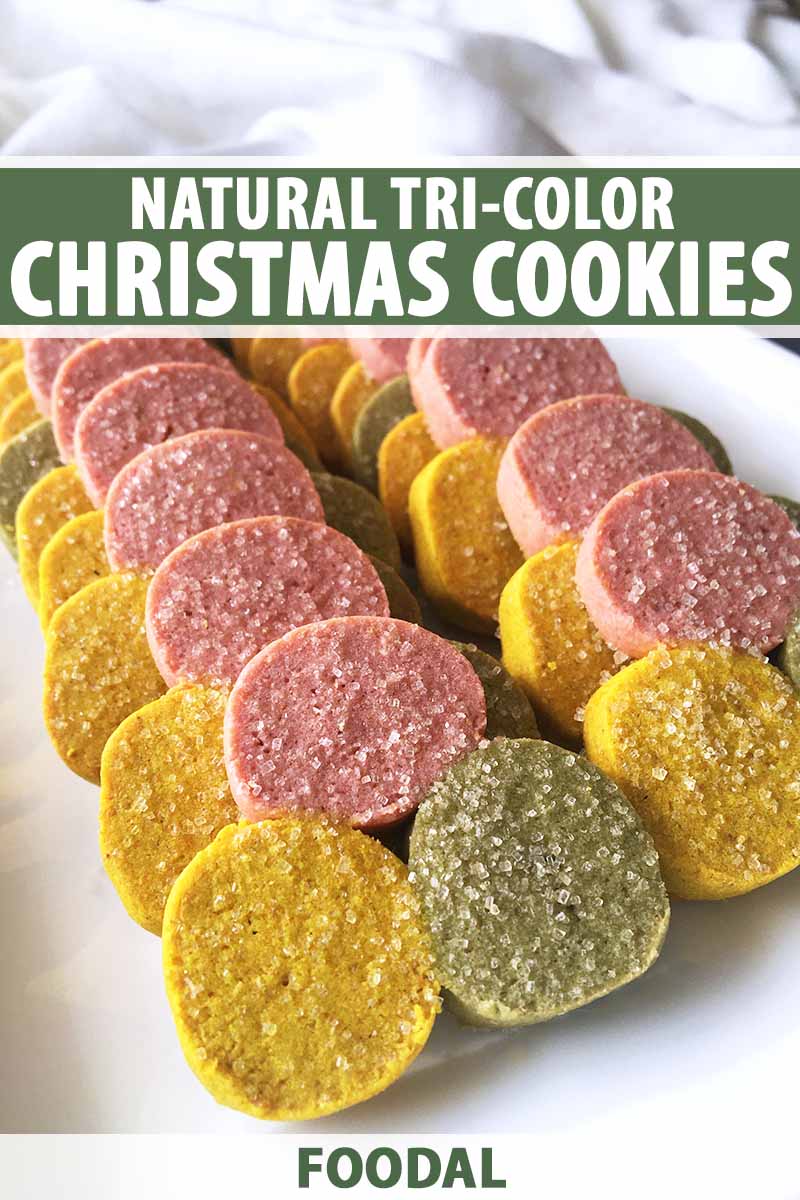
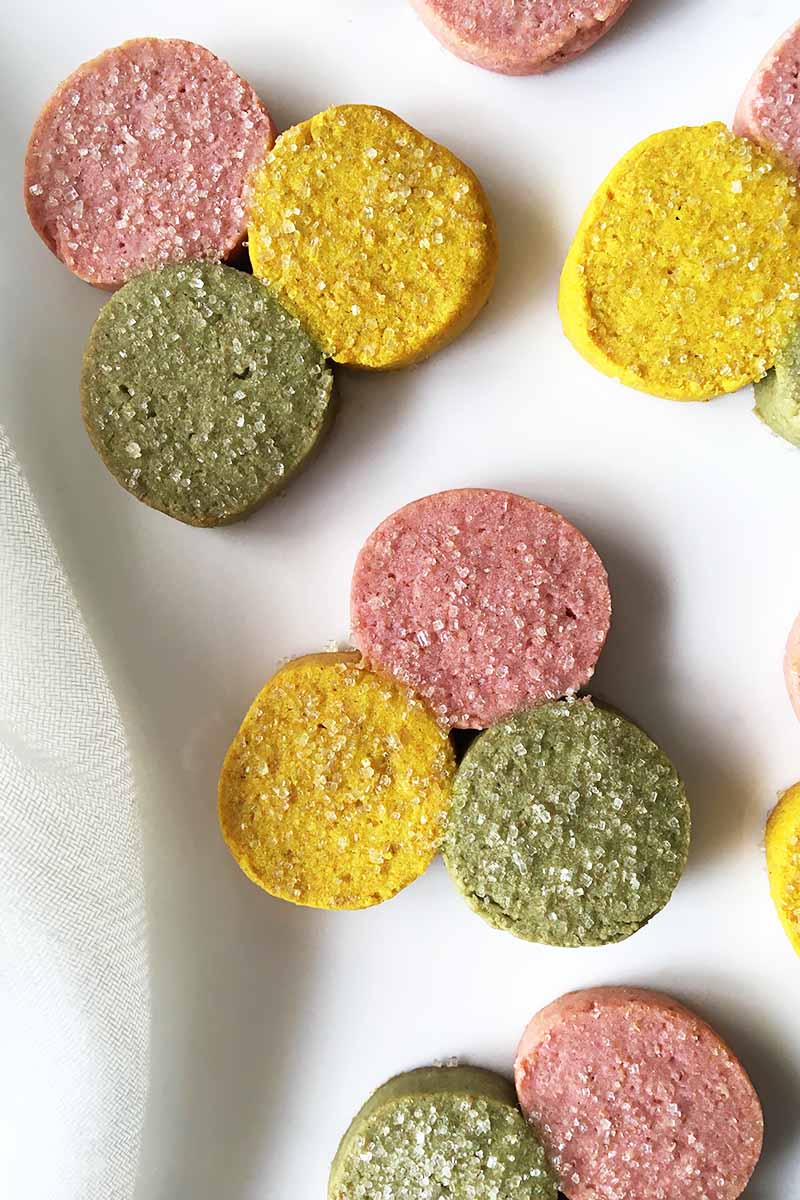
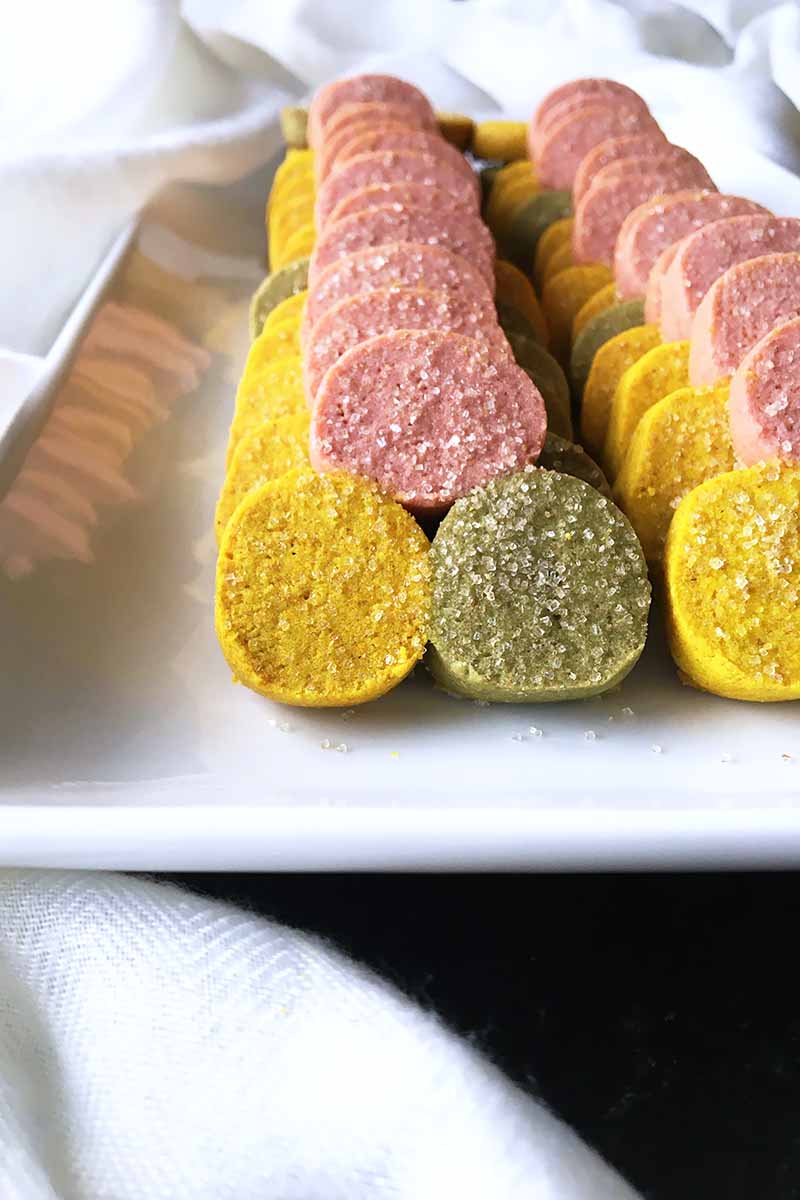
We chose to use ingredients with naturally deep pigments: turmeric powder for a golden yellow color, matcha powder for an evergreen shade, and beet juice for a perfect pink hue.
We went to the grocery store, gearing up for our holiday travels: snacks, last-minute gift cards, ingredients for the cookies, and probably our tenth pound of butter this month.
Tomorrow, we’re piling in the car again with Nate, the kids, our presents, our suitcases, and tins full of these cookies. We’re launching into what will be one of three long drives that we’re taking over the next week, caravanning from family to family and back home again.
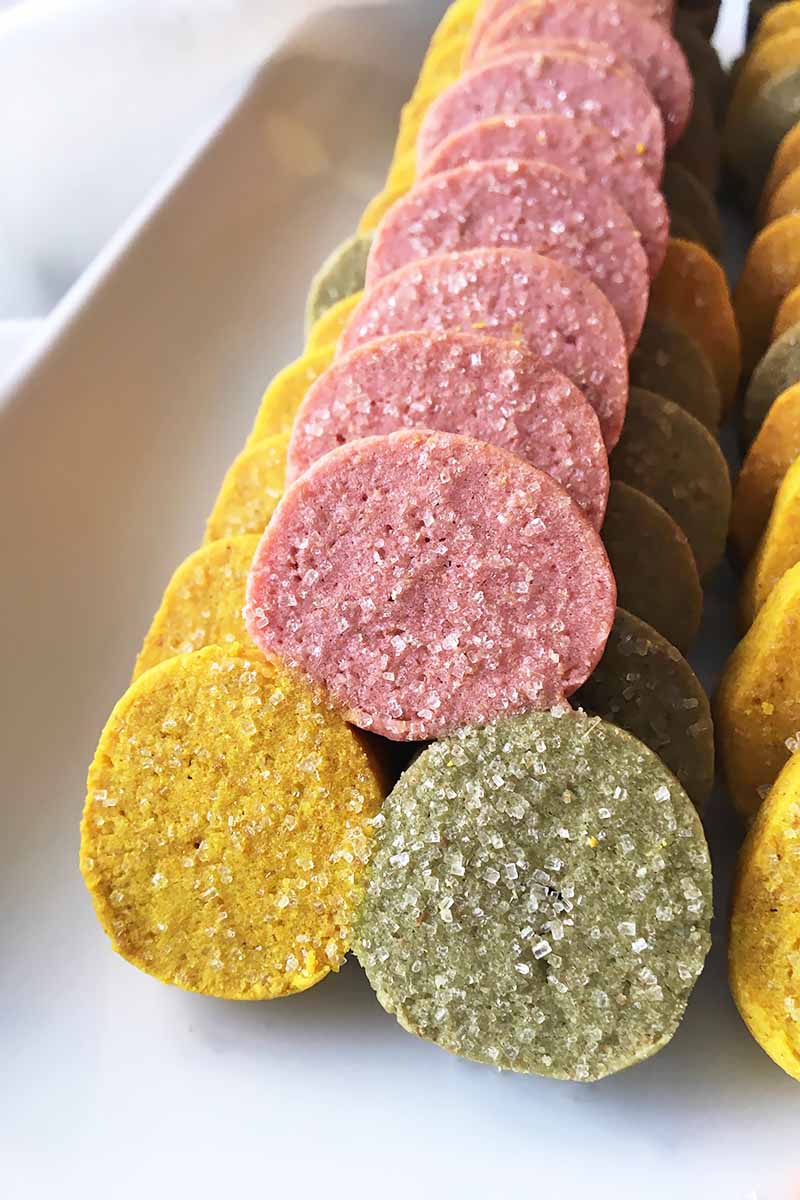
For us, we love it. Our Christmas celebrations always center on family. And cookies.
Print
Natural Tri-Color Christmas Cookies
- Total Time: 2 hours, 45 minutes
- Yield: 4 dozen cookies 1x
Description
It’s the most wonderful time of the year, especially with a plate of tri-color einkorn Christmas cookies made with natural food coloring.
Ingredients
- 2 cups plus 1 tablespoon all-purpose einkorn flour, divided
- 3 tablespoons cornstarch
- 1/4 teaspoon sea salt
- 3/4 cup (1 1/2 sticks) chilled, cubed butter
- 1/3 cup honey
- 3 large egg yolks
- 1 large egg white
- 1 tablespoon ground turmeric
- 1 tablespoon matcha green tea powder
- 1 tablespoon beet juice
- 3 tablespoons organic granulated sugar or turbinado sugar
Instructions
- In the bowl of a stand mixer fitted with the paddle attachment, mix together 2 cups of einkorn flour with the cornstarch, and sea salt. Add the cubed butter and mix at low speed until there are small, pea-sized pieces of butter throughout the mixture. Add the honey and the egg yolks. Mix at low speed until a dough forms.
- With your hands, shape the dough into a ball. Divide the dough equally into 3 small discs. Cover with plastic wrap until you need it. You will work with one at a time.
- In the same bowl of the stand mixer with the paddle attachment (or kneading with your hands), mix the turmeric into one of the discs of dough. Cover with plastic wrap and set aside on the counter as you work with the remaining discs.
- Repeat the mixing process with the second disc of dough and the matcha powder.
- Repeat the mixing process with the third disc of dough and the beet juice, adding an additional tablespoon of flour so the dough isn’t too soft from the additional liquid.
- On a clean, flat surface, roll out each disc into logs that are about 12 1/2 inches long and about 1/2 inch in diameter.
- Place one log on a large cutting board. With a pastry brush, brush a very thin layer of egg white on the side of one of the logs. Gently press the side of a second log into the side of the log that is coated with egg white. Brush a very thin layer of egg white on the top of both logs. Gently press the third log on top of the other two logs, creating a triangular shape. Re-shape the logs if necessary to maintain their round shapes. Cover the dough in plastic wrap, and transfer to the refrigerator to chill for 1-2 hours, until very cold and completely firm.
- Preheat the oven to 350°F. Line two clean baking sheets with parchment paper or silicone mats. Remove the dough from the refrigerator and cut into slices about 1/4 inch thick. Place on the prepared baking sheets with some space in between each, and return to the refrigerator to chill for 30 minutes.
- Sprinkle the top of the cookies with the sugar. Bake for 12-15 minutes, or until the edges just start to turn golden.
- Remove from the oven, and let cool for 5 minutes on the baking sheet before transferring to cooling racks to cool completely.
- Prep Time: 2 hours, 30 minutes
- Cook Time: 15 minutes
- Category: Cookies
- Method: Baking
- Cuisine: Dessert
Keywords: einkorn flour, turmeric, matcha powder, beet juice, Christmas, cookie
Cooking by the Numbers…
Step 1 – Prep
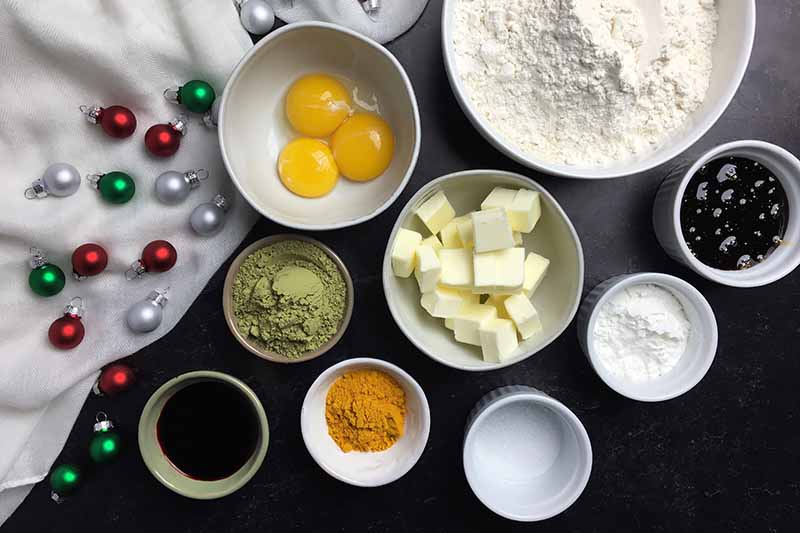
Line two baking sheets with parchment paper or silicone mats.
Measure out the einkorn flour, cornstarch, salt, honey, turmeric, matcha green tea powder, beet juice, and sugar.
Cut the cold unsalted butter into cubes.
Separate three egg yolks from the whites. Save one white to use for brushing in a later step.
But what to do with the other 2 whites? You can use them to make a variety of recipes: macaroons, meringues, and muffins!
Step 2 – Make the Dough
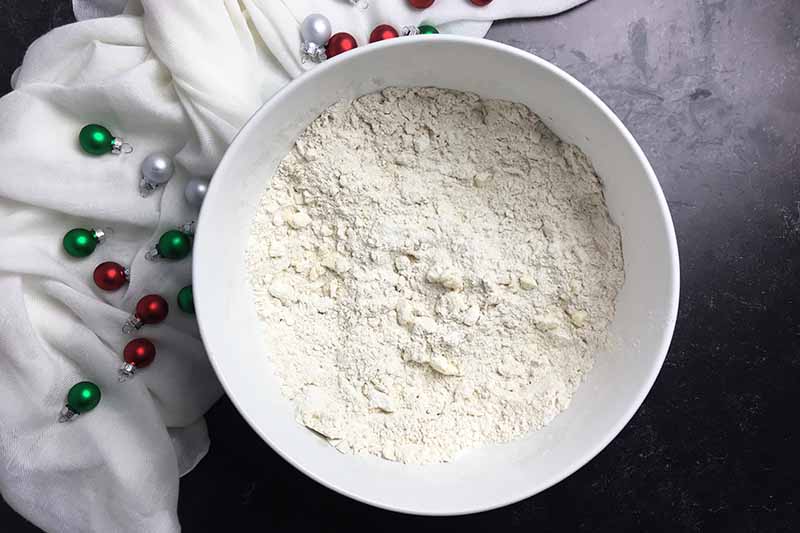
In the bowl of a stand mixer fitted with the paddle attachment, mix together 2 cups of the einkorn flour, the cornstarch, and the sea salt. Add the cubed butter, and cut into the flour at low speed until there are small, pea-sized pieces throughout the mixture.
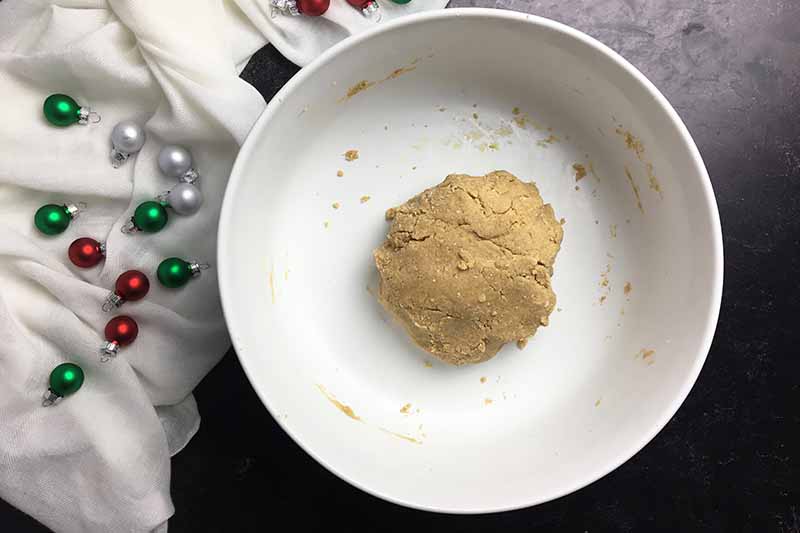
Add the honey and egg yolks. Mix at low speed until a soft dough forms.
Step 3 – Divide the Dough
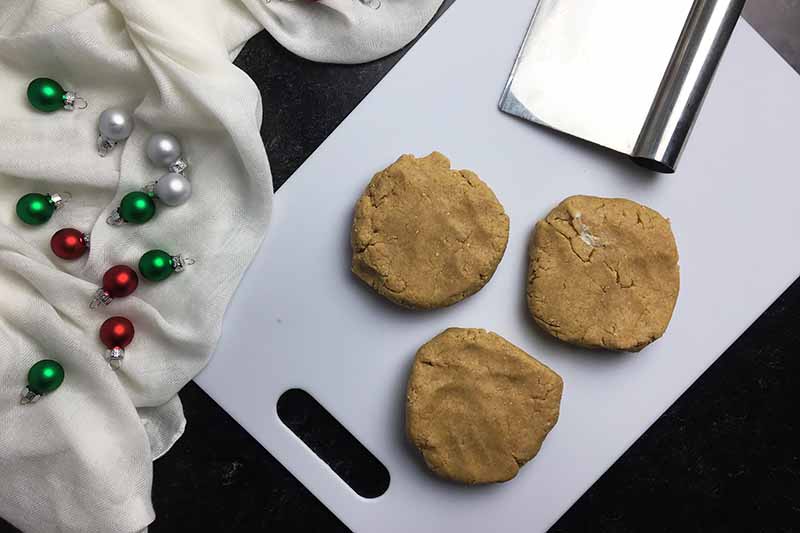
Remove the dough from the bowl and place on a clean counter. Shape the dough into a ball. Divide the dough equally into 3 discs. Cover each in plastic wrap, since you will work with one piece at a time.
Step 4 – Add Yellow Color
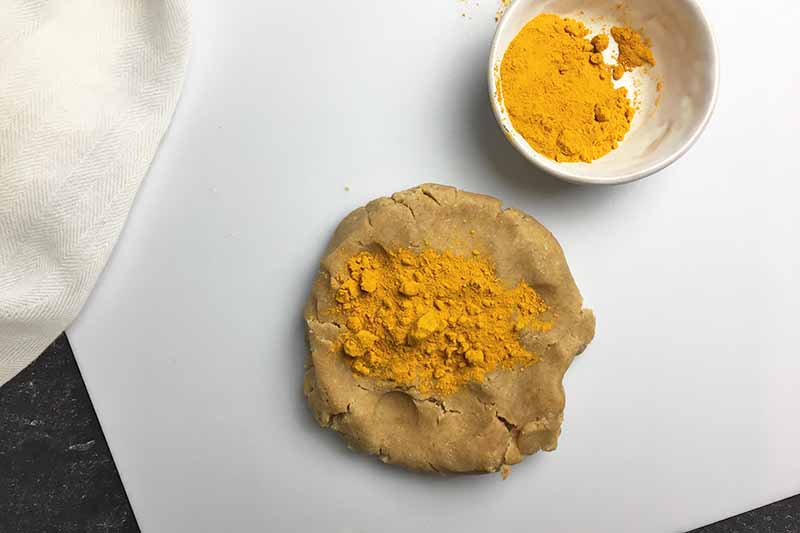
In the same bowl of the stand mixer with the paddle attachment (or you can also choose to knead with your hands), mix the turmeric into one of the discs of dough on low speed until it is evenly tinted yellow.
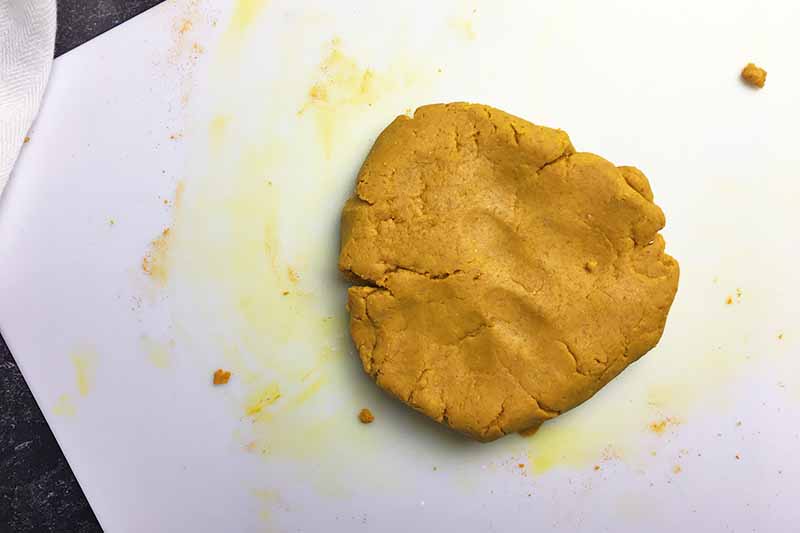
Remove from the bowl. Roll into a rough log, cover with plastic wrap, and set aside on the counter as you work with the remaining discs.
Step 5 – Add Green Color
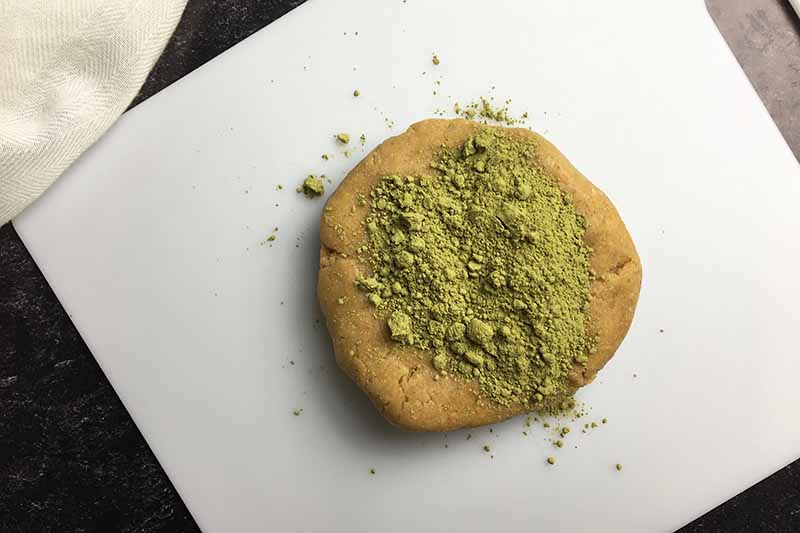
Repeat the mixing process with the second disc of dough and the matcha green tea powder, mixing until the dough is evenly tinted green. You don’t need to worry about cleaning the bowl and paddle after each color. Any small amount of leftover dough or natural dye ingredients will not affect the other dough’s colors.
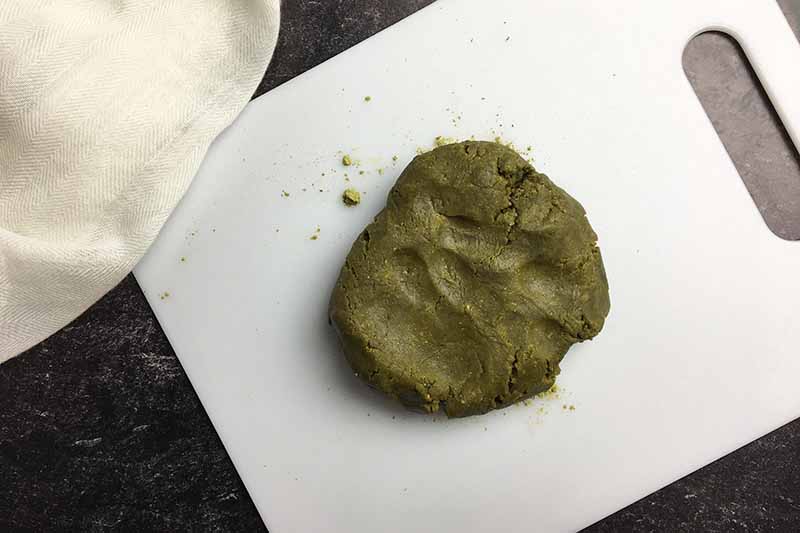
Remove from the bowl. Roll into a rough log, cover with plastic wrap, and set aside on the counter as you work with the last disc.
Step 6 – Add Pink Color
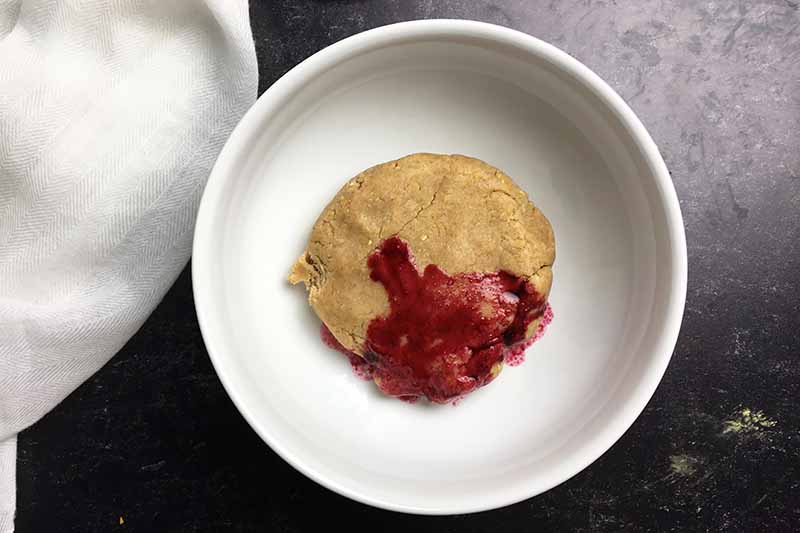
Repeat the mixing process with the third disc of dough and the beet juice.
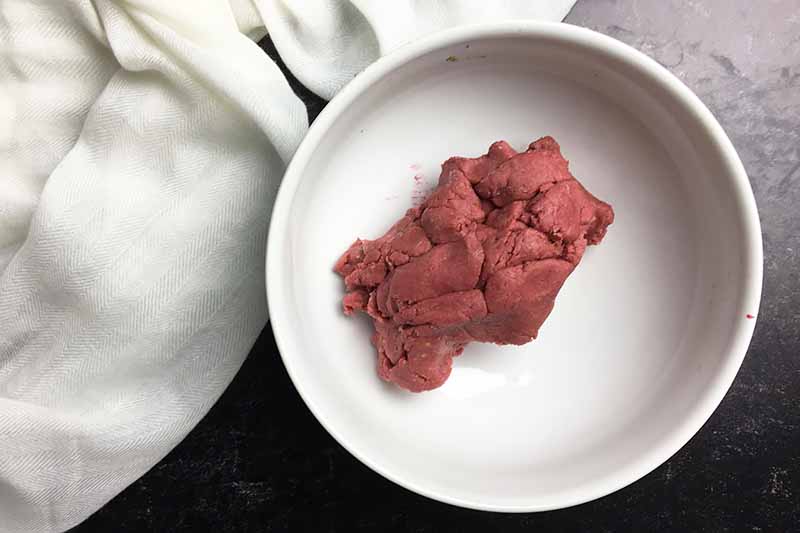
The beet juice will add more liquid to the dough, which will soften it. Add an additional tablespoon of the flour to the mixture in order to re-stiffen the dough.
Step 7 – Shape and Build
On a clean, flat surface, roll out each rough log of colored dough into a thin log that is about 12 1/2 inches long and about 1/2 inch wide.
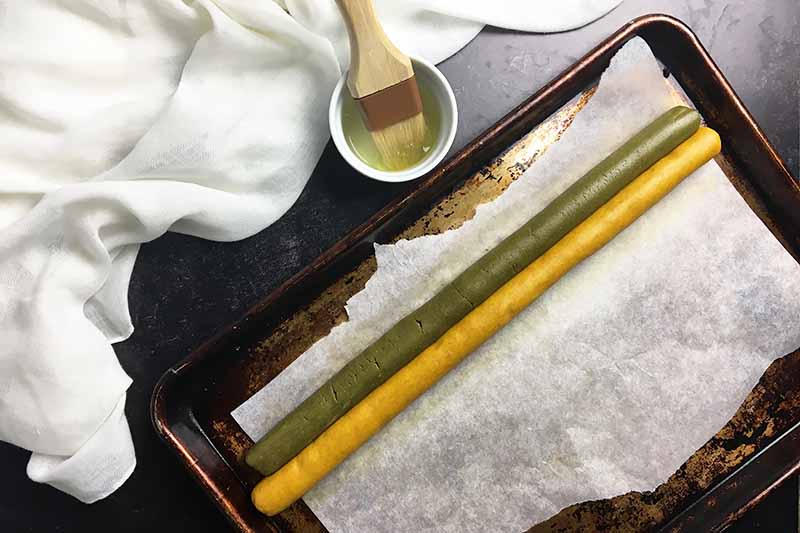
Place one log on a large cutting board, baking sheet, or platter. As long as the board is long enough for the logs, you’re good!
With a pastry brush, brush a very thin layer of egg whites along the side of one of the logs. Gently press together the side of a second log with the side of the log with the egg whites on it, so they stick together.
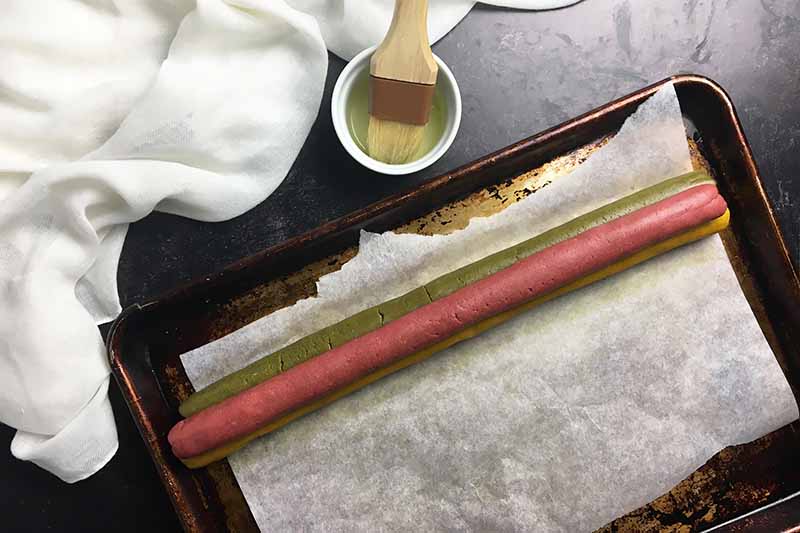
Brush a very thin layer of egg white on the top of both conjoined logs. Gently press the third log on top of the other two logs, creating a triangular shape. Re-shape the logs if necessary to maintain their round shapes.
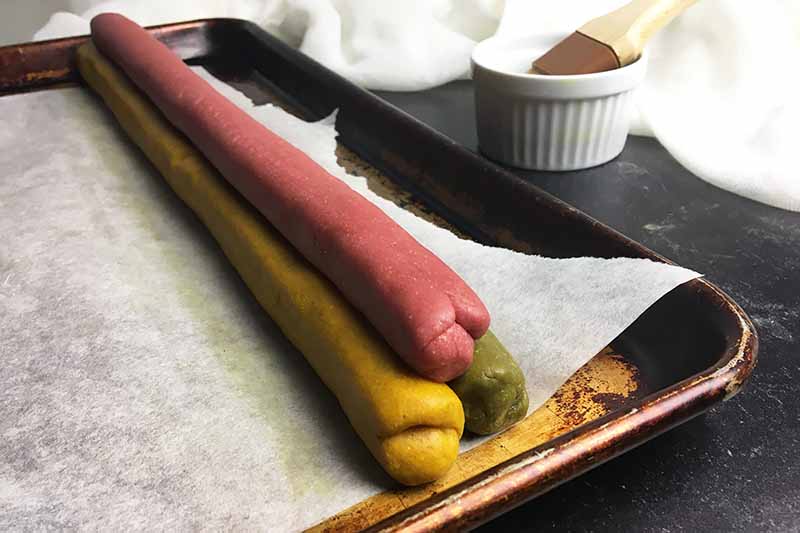
Cover the dough in plastic wrap, and transfer to the refrigerator to chill for 1-2 hours, until very cold and completely firm.
Step 8 – Cut
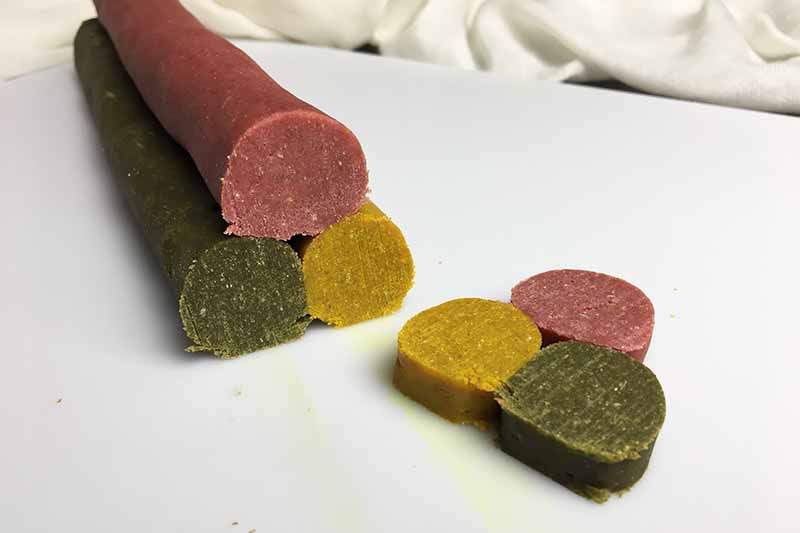
After chilling, preheat your oven to 350°F. Remove from the refrigerator and cut into slices about 1/4 inch thick. This is why I like to assemble the logs on a cutting board –it’s an easy transition from shaping to chilling to cutting.
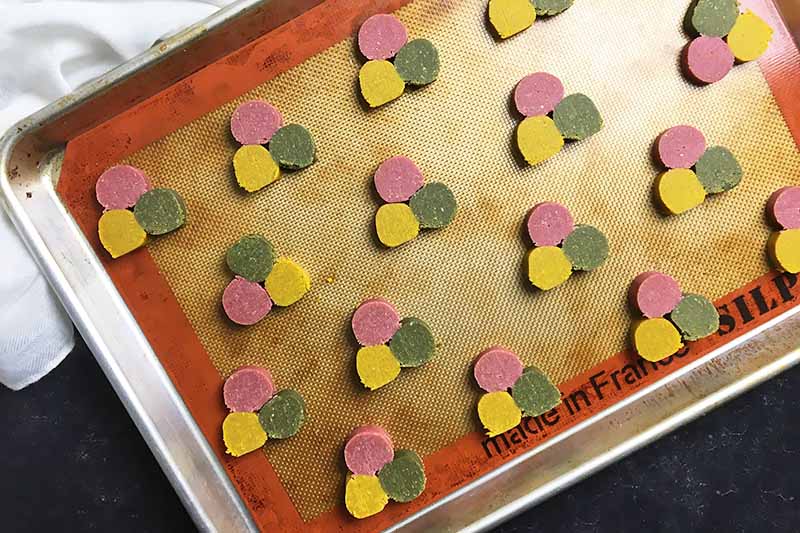
Place on the prepared baking sheets, leaving about an inch of space between each (they won’t spread), and refrigerate for an additional 30 minutes – this extra chilling step helps to keep the cookies’ shapes while they bake.
Step 9 – Bake
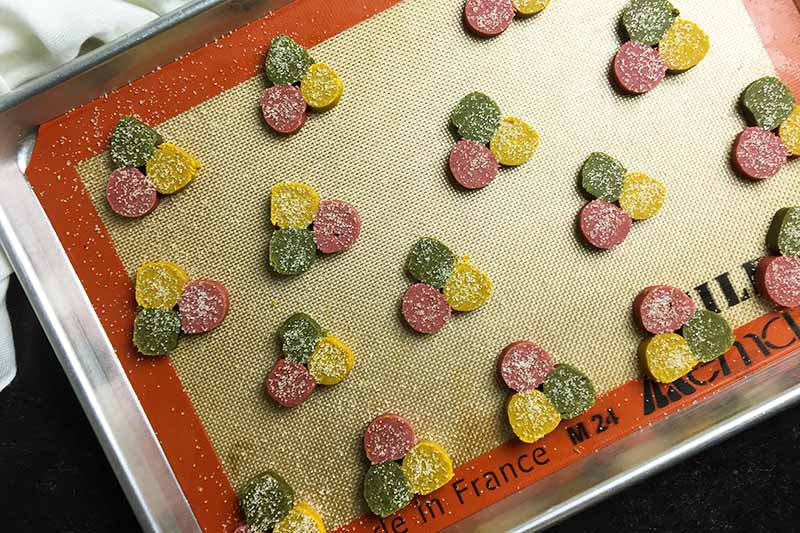
Remove from the refrigerator. Sprinkle the top of the cookies with the organic granulated or turbinado sugar and bake for 12 to 15 minutes, or until the edges just start to turn golden.
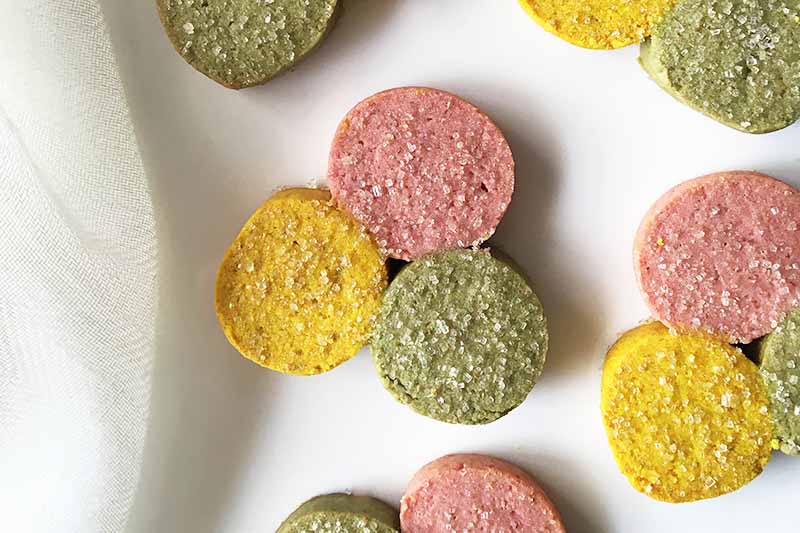
Remove from the oven, and let cool for 5 minutes on the baking sheet before transferring to cooling racks to cool completely.
What If I Want to Use Artificial Food Coloring?
’Tis the season to decorate your desserts as you wish!
The turmeric and the matcha do add a distinct flavor, which makes for an excellent tea cookie. However, some might like a more neutral taste, for which you could use more traditional food coloring instead.
If you’d rather have that bright vibrancy you typically get from artificial food dyes, you can use that option, no problem.
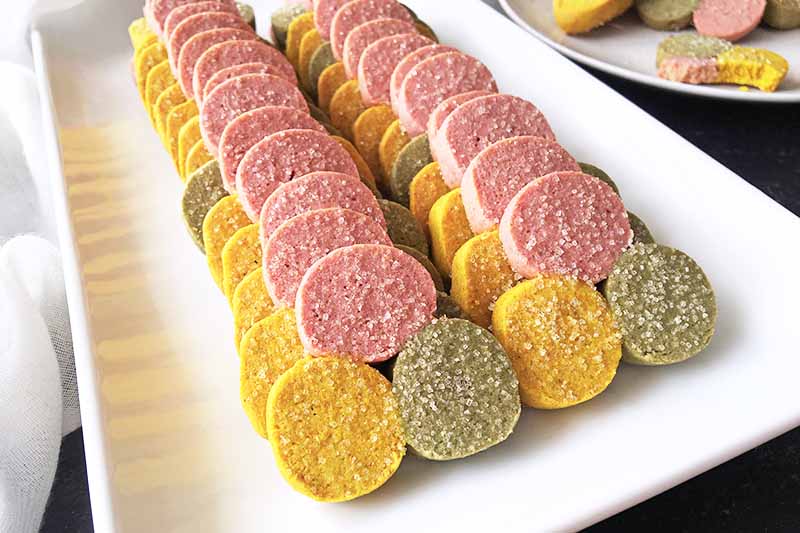
You definitely will not need to use as much – start with a couple drops of each at a time, and make any necessary adjustments from there.
But if you’ve never tried DIY food coloring, I still suggest that you try our suggested alternatives, at least once. Matcha powder, ground turmeric, and beet juice create naturally beautiful colors! And it’s a great opportunity to repurpose potential food waste.
How festive are you feeling? If you need more ideas for holiday baking, choose any of our favorites to make next:
Photos by Nikki Cervone, © Ask the Experts, LLC. ALL RIGHTS RESERVED. See our TOS for more details. Originally published on December 22, 2013. Last updated on December 10, 2019. With additional writing and editing by Nikki Cervone.
Nutritional information derived from a database of known generic and branded foods and ingredients and was not compiled by a registered dietitian or submitted for lab testing. It should be viewed as an approximation.
About Shanna Mallon
Shanna Mallon is a freelance writer who holds an MA in writing from DePaul University. Her work has been featured in a variety of media outlets, including The Kitchn, Better Homes & Gardens, Taste of Home, Houzz.com, Foodista, Entrepreneur, and Ragan PR. In 2014, she co-authored The Einkorn Cookbook with her husband, Tim. Today, you can find her digging into food topics and celebrating the everyday grace of eating on her blog, Go Eat Your Bread with Joy. Shanna lives in Nashville, Tennessee, with Tim and their two small kids.

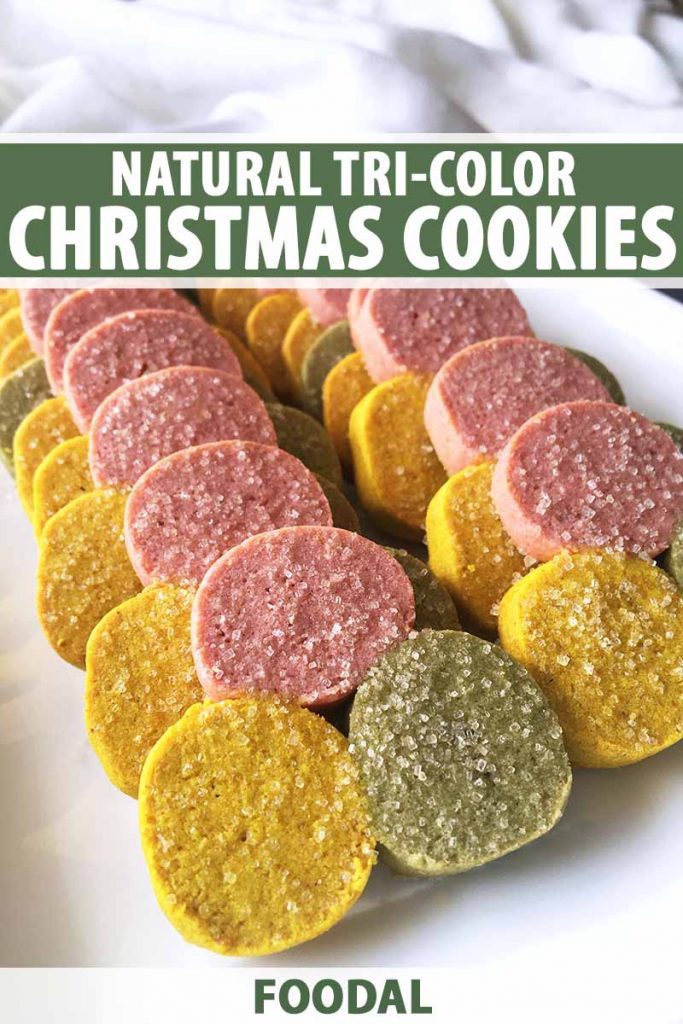



Christmas is always such a busy time of year that it’s hard not to get swept away in the madness and very easy to stop enjoying it. That’s why it’s so important to take a moment to pause and really appreciate family traditions, like a tree (I am completely with you on the tree, by the way!) or these cookies. They look gorgeous and that they’re inspired by a family recipe with lots of happy memories makes them all the more special.
Hope that you both have a great Christmas! x
I love how you dyed them Shanna, so natural! Have a wonderful holiday season both of you!
I like the idea of special cookies. Mine are my sister’s sugar cookies, and the heath bar cookies that I make for Murdo are slowly becoming a tradition. Merry, merry Christmas to you and your family! I hope we are still on for coffee later this week? I want to hear all about this new camera. 🙂
Haha. I knew you wouldn’t use food coloring. You’re so good that way!
Merry Christmas to you and Doug!
These are sooooo pretty! I love the colours you used 🙂
Thanks, Katrina! Merry Christmas!
So pretty! Hope you and Tim have a wonderful Christmas!
Thank you, Marie! Happiest of Christmases to you guys, too! ; )
Shanna! Our Saturday evenings sound somewhat similar, as I was dolloping out onto chips and handing them to Zach while he drove. A fiesta in the car. 🙂
Love that. Merry Christmas to you guys! Hope you’re having a beautiful one in Wisconsin!
What a neat thing it is that you guys live so close to Tim’s brother Nate. I love that.
Merry Christmas, friend.
Merry Christmas! I hope you have a wonderful holiday season. Thank you for your beautiful writing and recipes this year. I look forward to seeing what the new year brings!
Thank you so much, Allison. Merry Christmas to you, too, and thank you, as ever, for your kind words. We appreciate them so much.
I’m excited to try this. These cookies weren’t only Christmas treats when I was growing up. I’ve been wanting to make some!