A sad yet inevitable disadvantage when you’re a professional pastry cook is constantly having to make things you can’t eat. Aside from scraps and recipe testing, mostly everything you make is meant for someone else.
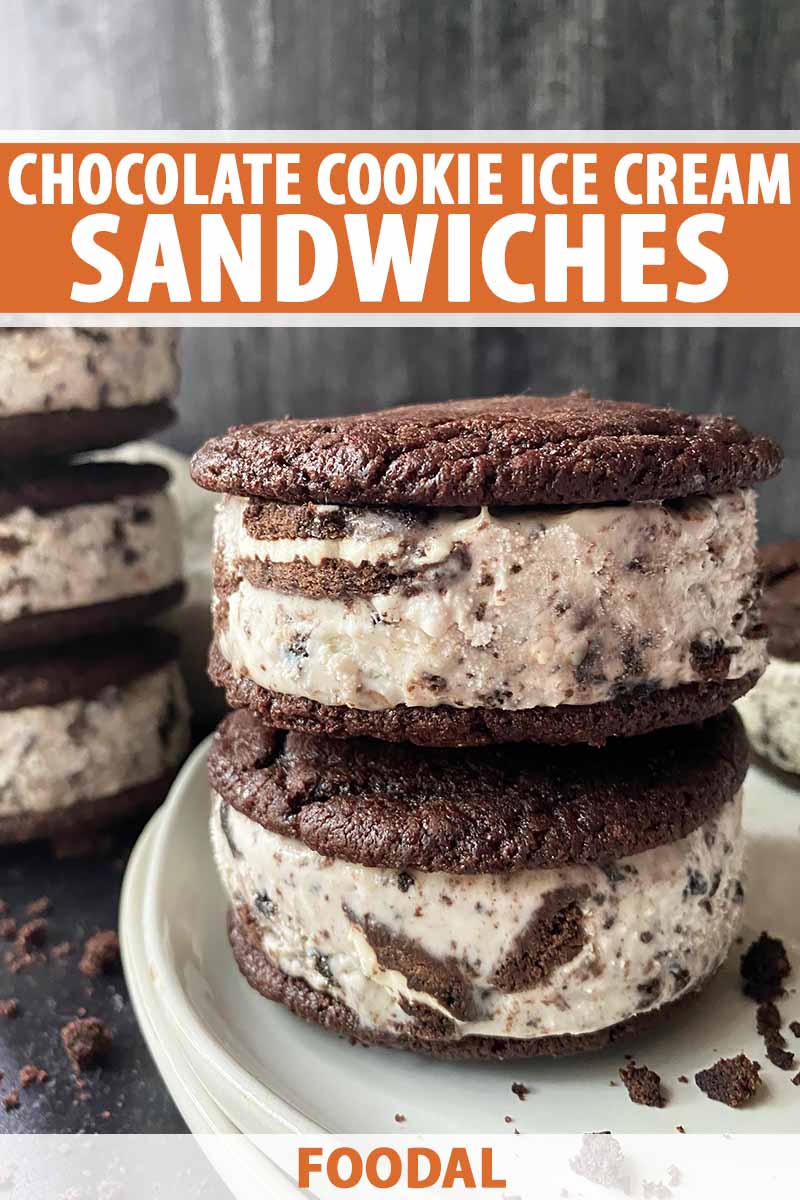
It’s the worst when ice cream is involved.
And I love that stuff, so you can imagine the personal struggle I faced when I was a pastry extern at a resort hotel one summer – the season for enjoying all kinds of frozen delights!
Shift after shift, day after day, week after week, I would make dozens upon dozens of from-scratch ice cream cookie sandwiches: HUGE chocolate chip cookies with fat scoops of silky vanilla or chocolate frozen custard.
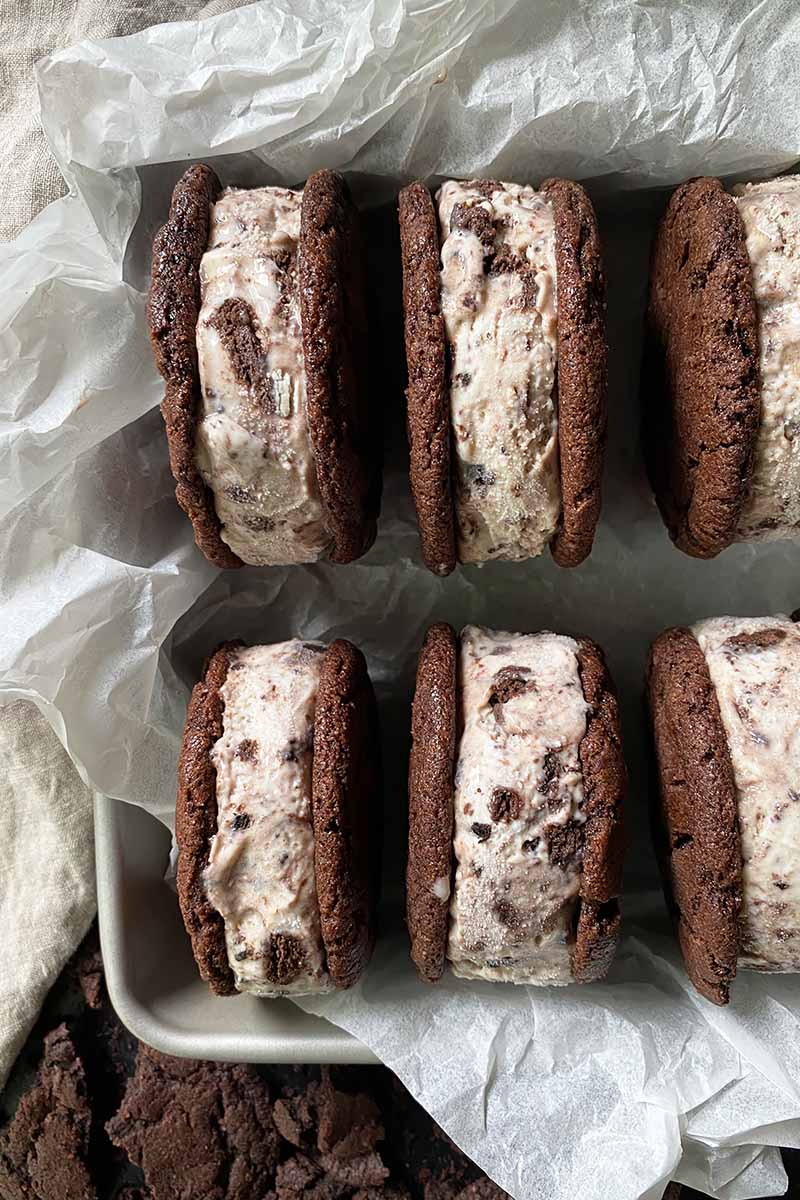
Look, of course it was a pleasure to serve all of the happy families, lounging by the poolside on a sunny day while on summer vacation, enjoying every morsel of the handcrafted frozen treats while I worked in a hot, stuffy kitchen.
But you can’t blame me for feeling just a hint of jealousy.
Sure, I could easily have paid for one of the sandwiches I made. But where’s the joy in that?
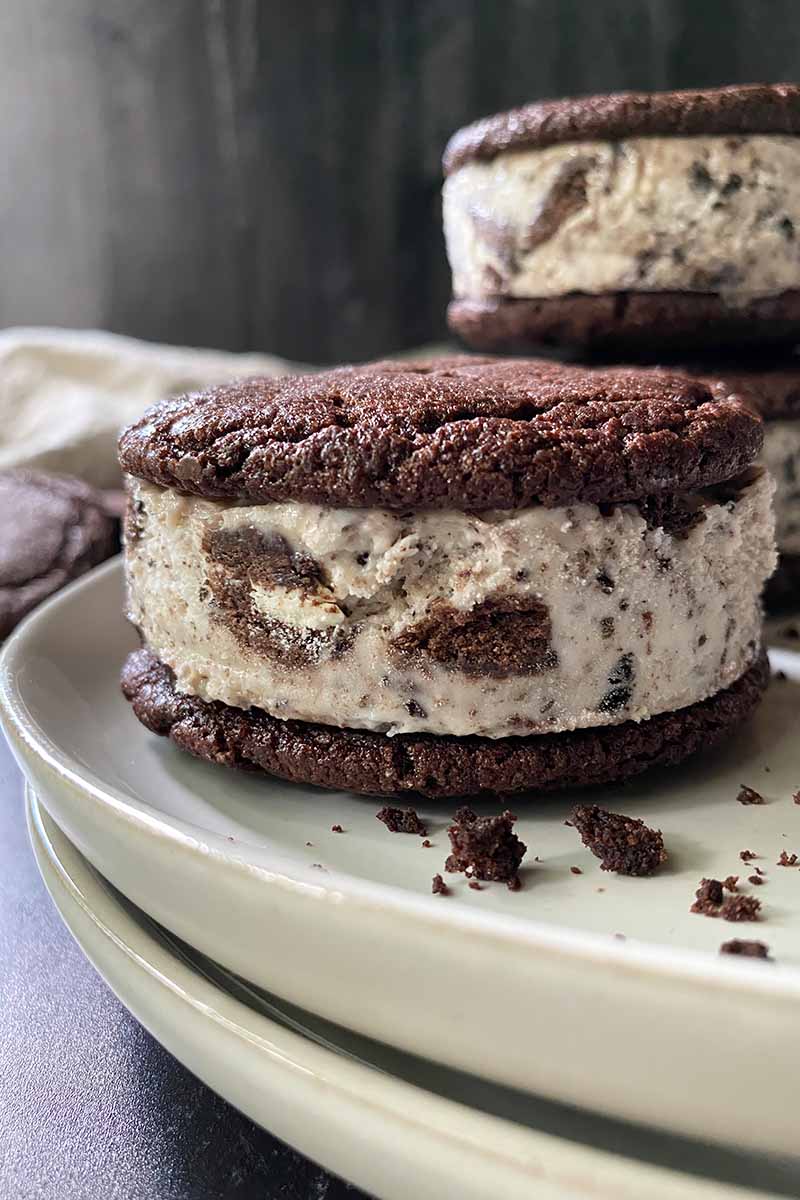
Or I could have just snatched a slowly melting sandwich from the hands of an unsuspecting eight-year-old distracted by something in the sky. But that wouldn’t have looked too promising on my externship transcript.
Miss Nicole Cervone miserably failed her summer externship by making child cry at pool.
There’s a better solution that doesn’t involve stealing from an innocent kid who’s just trying to enjoy what’s left of his summer vacay:
Homemade chocolate cookie sandwiches filled with ice cream!
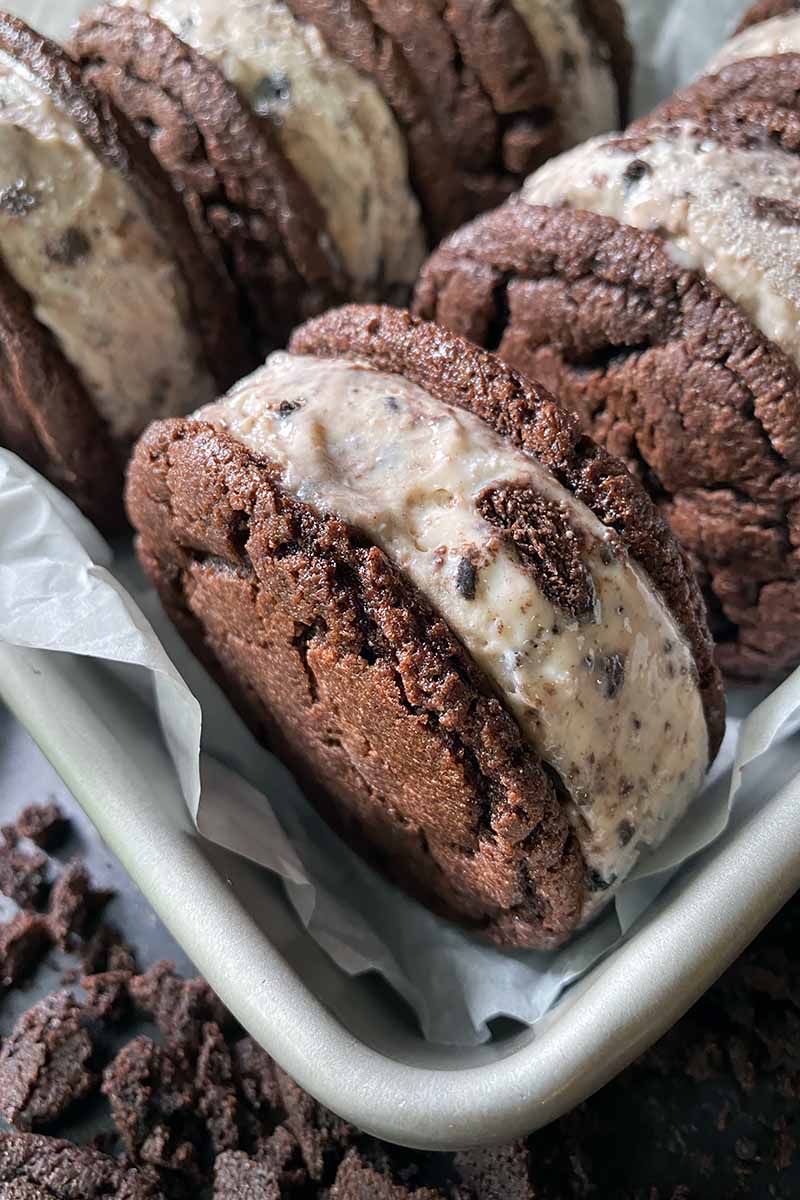
As long as you keep a hefty stash of ice cream in your freezer (like me), and you have an endless supply of butter and sugar (like me) in your fridge and pantry, and you constantly crave chocolate (like me), you are just a few steps closer to frozen bliss!
You’ll love the soft and chewy chocolate cookies. They’re the perfect decadent base and top for the filling – firm enough to hold their shape, yet still wonderfully soft and chewy so you can sink your teeth into them with very little resistance.
Choose whatever ice cream or gelato has been your most recent guilty pleasure. Store-bought options are completely acceptable (I used a cookies and cream version for my last batch!), but we have a wide lineup of amazing homemade recipes for you to try, like boozy rum raisin and cherry chocolate chip.
And we don’t skimp on vegan options, as well! Our vegan chocolate ice cream is all yours.
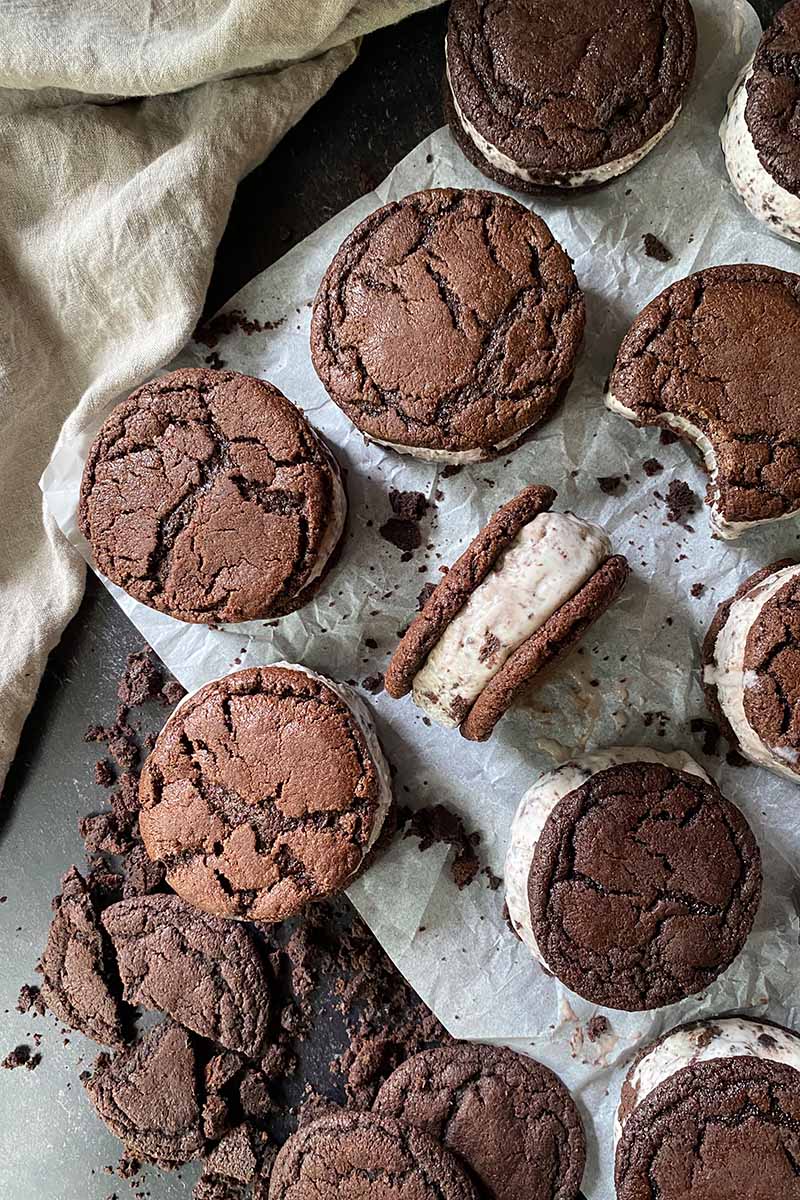
Don’t get to baking just yet, though! Be sure to check out our Cooking by the Numbers section below for a couple different techniques to assemble the sandwiches.
Now YOU can act like you’re on vacay, with a frozen treat in your hand! You don’t have to give any of them away, but these really are best when shared with your family and friends.
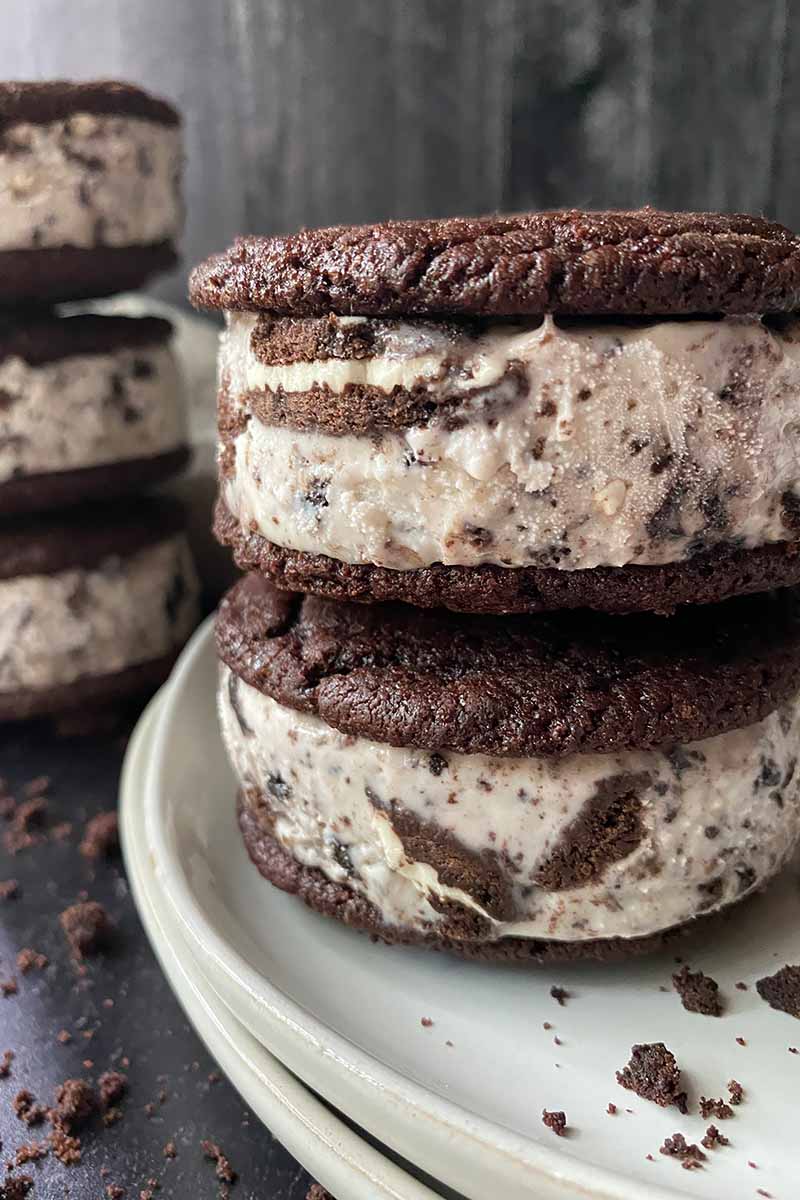
And since I consider us to be great friends, save one for me, please!
Print
Homemade Chocolate Cookie Ice Cream Sandwiches
- Total Time: 3 hours
- Yield: 10 sandwiches 1x
Description
Love ice cream sandwiches? Try our homemade version with soft and chewy chocolate cookies. They’re easily customized with your favorite ice cream.
Ingredients
- 1 1/4 cups all-purpose flour
- 1 1/4 cups granulated sugar
- 1/2 cup unsweetened cocoa powder
- 1 teaspoon baking soda
- 1/4 teaspoon baking powder
- 1/2 teaspoon salt
- 1/2 cup plus 2 tablespoons (1 1/4 sticks) unsalted butter, softened
- 1 large egg
- 2 quarts ice cream, your choice of flavor
Instructions
- Line two baking sheets with parchment paper or silicone mats. Set aside.
- In the bowl of a stand mixer, whisk together by hand the flour, sugar, cocoa powder, baking soda, baking powder, and salt. Transfer to the stand mixer fitted with a paddle attachment.
- With the mixer on low speed, add the softened butter until just incorporated, about 30 seconds. Add the egg and continue mixing on low speed until a thick dough forms, another 30 seconds. Do not overmix.
- Scoop out mounds of dough measuring 2 tablespoons each and gently roll by hand into even balls. Place 10 balls on each prepared baking sheet, setting them approximately 2 inches apart from each other.
- Refrigerate the dough uncovered for about 20-25 minutes, until completely hardened. While the dough is chilling, preheat the oven to 375°F.
- Once chilled, bake the cookies for 10-12 minutes. They will still be very soft, but will continue to set out of the oven. Cool the cookies on the sheets for 5 minutes before transferring to cooling racks to cool completely.
- Place the cookies with the bottoms facing up in two rows on a clean work surface. Place large scoops of ice cream measuring about 3/4 cup each on one row of cookies, making sure they are about the same diameter as the cookie. Top the ice cream with the remaining row of cookies, pressing down slightly to make a cohesive sandwich.
- Place the sandwiches on a baking sheet lined with parchment paper and freeze until firm, for about one hour. Individually wrap each sandwich with plastic wrap and store in the freezer until ready to serve.
- Prep Time: 50 minutes
- Cook Time: 10 minutes
- Category: Ice Cream
- Method: Baking
- Cuisine: Frozen Dessert
Keywords: ice cream sandwich, chocolate, cookie
Cooking by the Numbers…
Step 1 – Prep and Measure Ingredients
Line two baking sheets with parchment paper or silicone mats. Set aside.
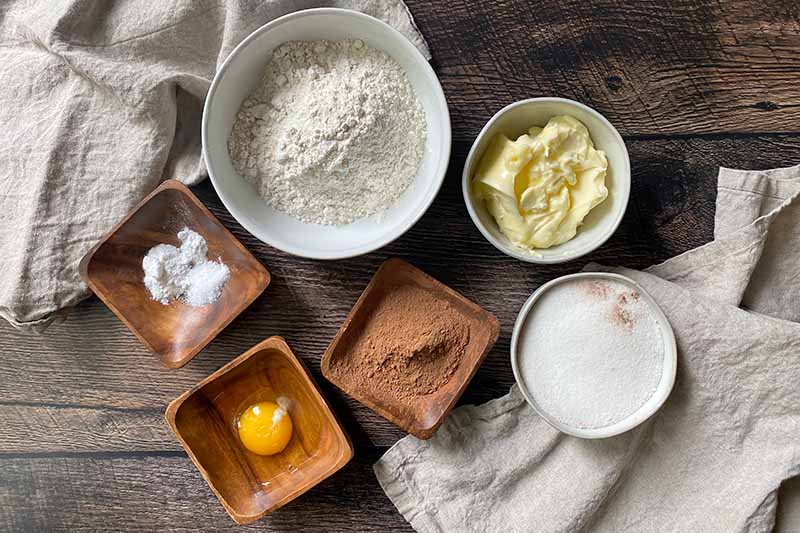
Measure all of the ingredients for the cookie dough. Soften the butter, and crack the egg into a separate bowl.
Step 2 – Make the Dough
Before mixing the butter and sugar into the dry ingredients, I recommend whisking together the flour, sugar, cocoa powder, baking soda, salt, and baking powder. This step evenly incorporates all of the dry ingredients and eliminates any lumps.
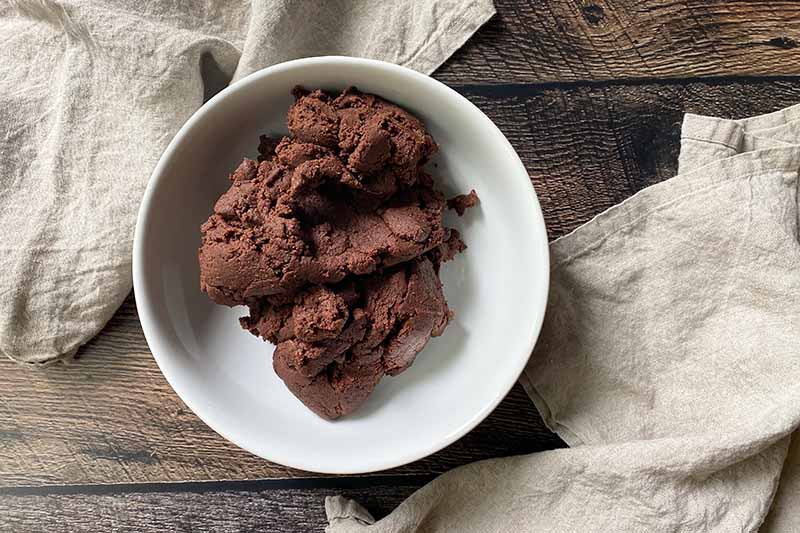
Transfer the bowl of whisked dry ingredients to the stand mixer fitted with the paddle attachment.
With the mixer on low speed, add the softened butter and continue mixing until it’s just incorporated. Add the egg and continue mixing on low speed until a thick dough forms.
Do not overmix! Once you add the egg, you only need about 30 seconds for the dough to form.
Step 3 – Form into Mounds and Chill
Scoop out mounds of dough measuring 2 tablespoons each. Gently roll each one by hand into an even ball. Place 10 rounds on each prepared baking sheet, setting them approximately two inches apart from each other.
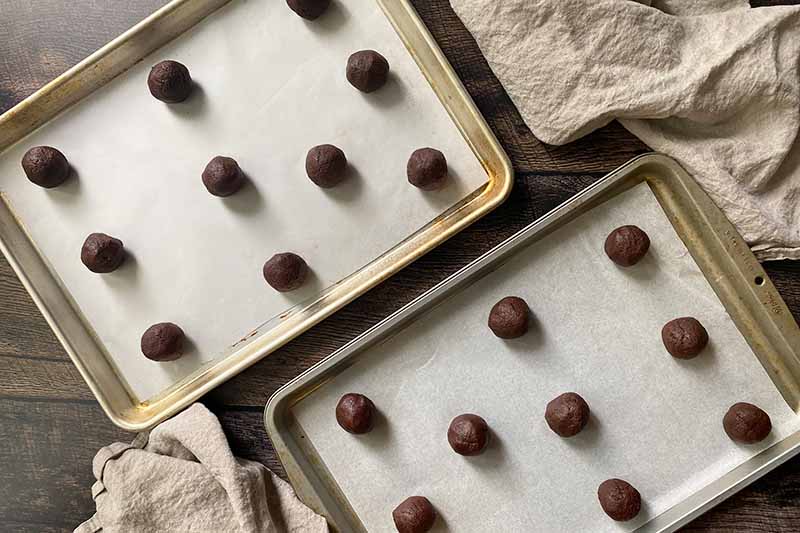
The final yield is 10 sandwiches total – 2 cookies per sandwich with a 3-inch diameter. You can choose to go smaller or bigger with the amount of dough in each mound, but note that this will alter the final yield and baking time.
Smaller mounds of dough will bake for 8-10 minutes, and larger mounds will bake for 12-14 minutes. I would advise baking for less time rather than more, depending on your oven. I love being able to easily sink my teeth into the cookies without having to struggle with firmer, overbaked layers.
Refrigerate the dough uncovered for about 20-25 minutes, or until completely hardened. Chilling will prevent the cookies from spreading excessively while they are baking.
While the dough is chilling, preheat the oven to 375°F.
Step 4 – Bake and Cool
Bake for 10-12 minutes. The cookies will still be very soft, but will continue to set after you take them out of the oven. Don’t be tempted to bake them longer!
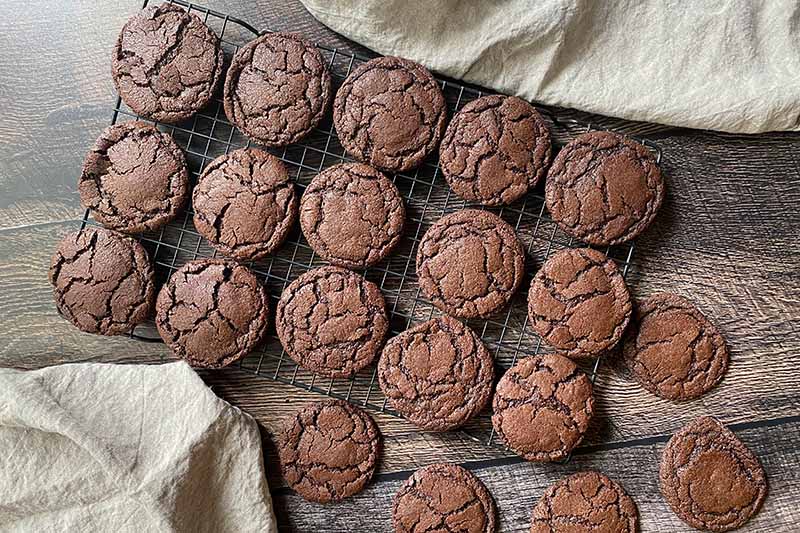
Let the cookies cool on the baking sheets for 5 minutes before transferring them to cooling racks to cool completely.
Step 5 – Prep the Ice Cream
For easier scooping, set out the ice cream for about 10 minutes to slightly soften.
Bonus Prep: Want to take your presentation to the next level? Love a look that’s clean and streamlined?
Put away the scoop! Instead of scooping, use a cookie cutter to create perfectly portioned circles.
Here’s the process:
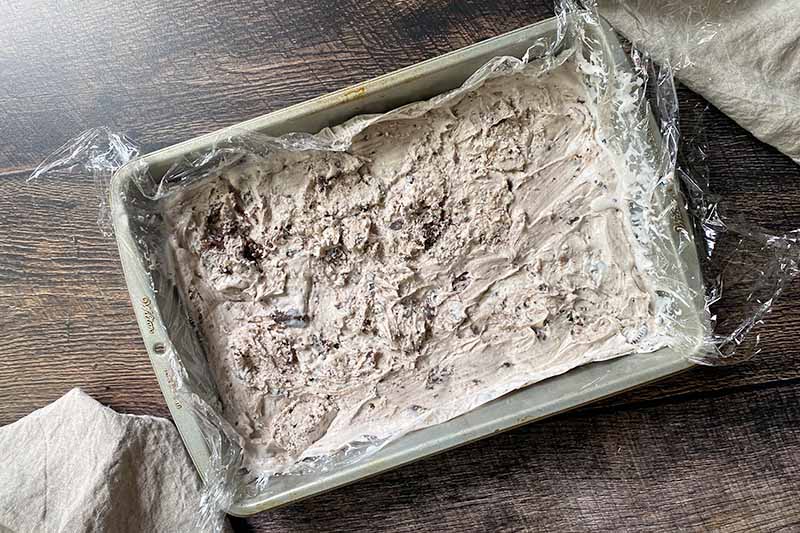
Line a 9-by-13-inch baking pan with wax paper or plastic wrap. Spread the softened base in the pan an even layer. Cover the top with another layer of wax paper or plastic wrap. Freeze for about an hour, until completely firm.
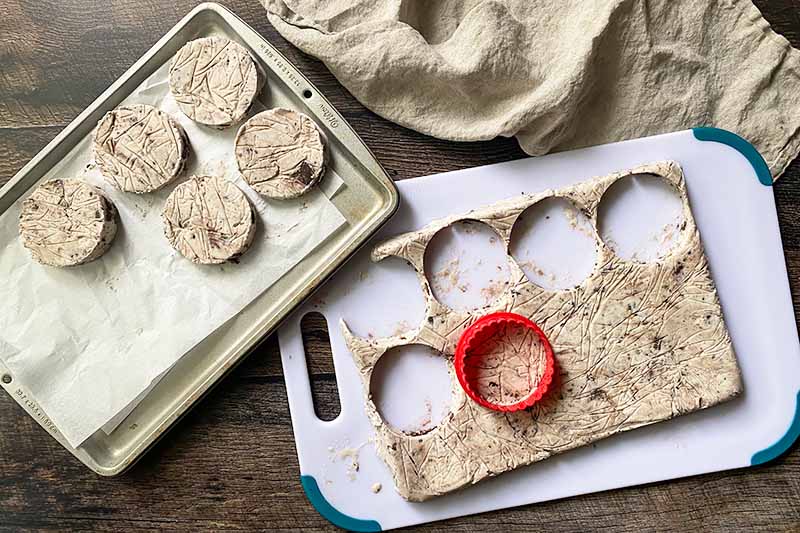
When ready to assemble in Step 6, carefully overturn the pan on a cutting board to release it, and remove the wrap on top.
Using a circular cookie cutter (metal works best) that is the same size as the cookies in diameter, work quickly to cut out 10 circles, dipping the cutter in warm water between each one. You may need to combine some of the scraps to complete the tenth circle.
Step 6 – Assemble
Place the cookies with the bottoms facing up in two rows of 10 (or however many you would like to work with at one time) on a clean work surface.
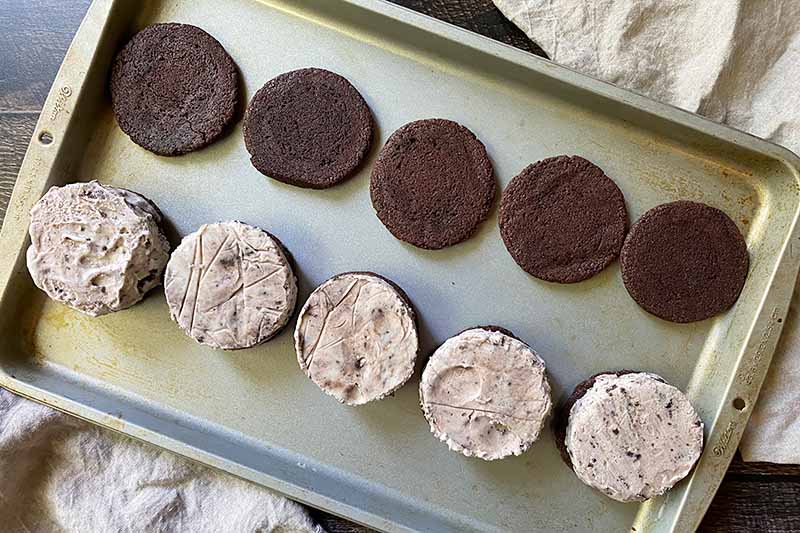
Place large scoops that have the same diameter as the cookie (or the pre-portioned shapes) on one row of cookies. You’ll use about 3/4 cup of ice cream per sandwich.
Top with the remaining row of cookies, pressing down slightly to make a cohesive sandwich.
Step 7 – Set and Serve
Place the sandwiches on a baking sheet lined with parchment paper and freeze uncovered until firm, about an hour.
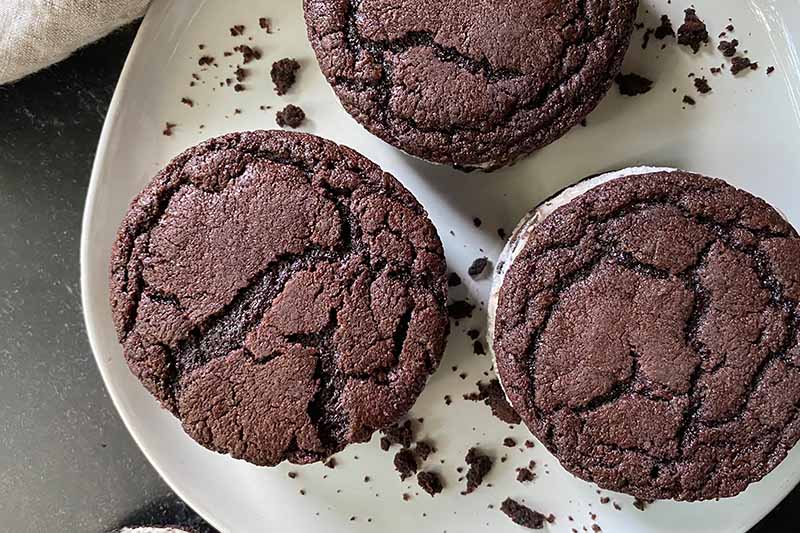
Once firm, individually wrap each sandwich with plastic wrap and store in the freezer until ready to serve.
I recommend letting the sandwiches sit for about 5 minutes on the counter before unwrapping and eating, to slightly soften everything.
Customize All You Want!
The bright blue summer sky is the limit when it comes to trying new recipes and flavor combinations for these frozen sandwiches.
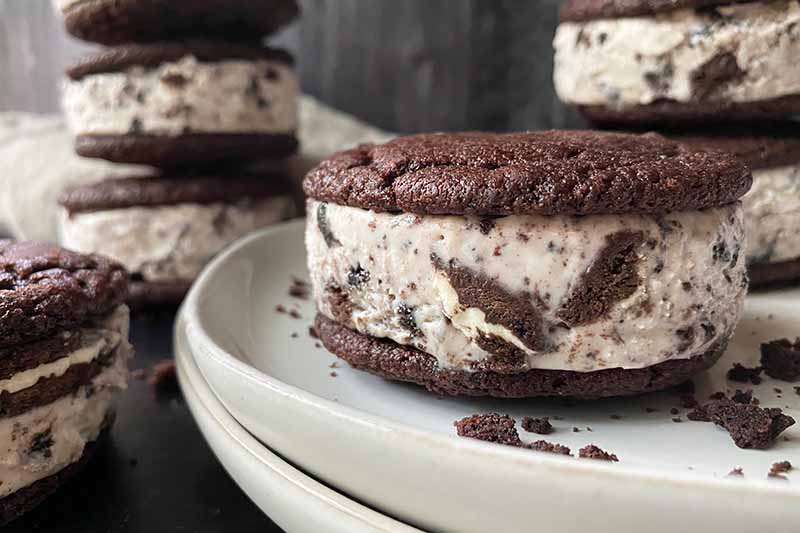
Start with the cookies! You can stick with classics like chocolate chip or snickerdoodle. But I’d be pretty excited for bolder options like pecan cowboy or spicy Mexican hot chocolate.
And your ice cream choices are pretty endless, as well! Try fruity summer flavors like peach or strawberry to keep you in that sunny kind of mood.
Here are a few fun suggested pairings that would be amazing from our collection of desserts:
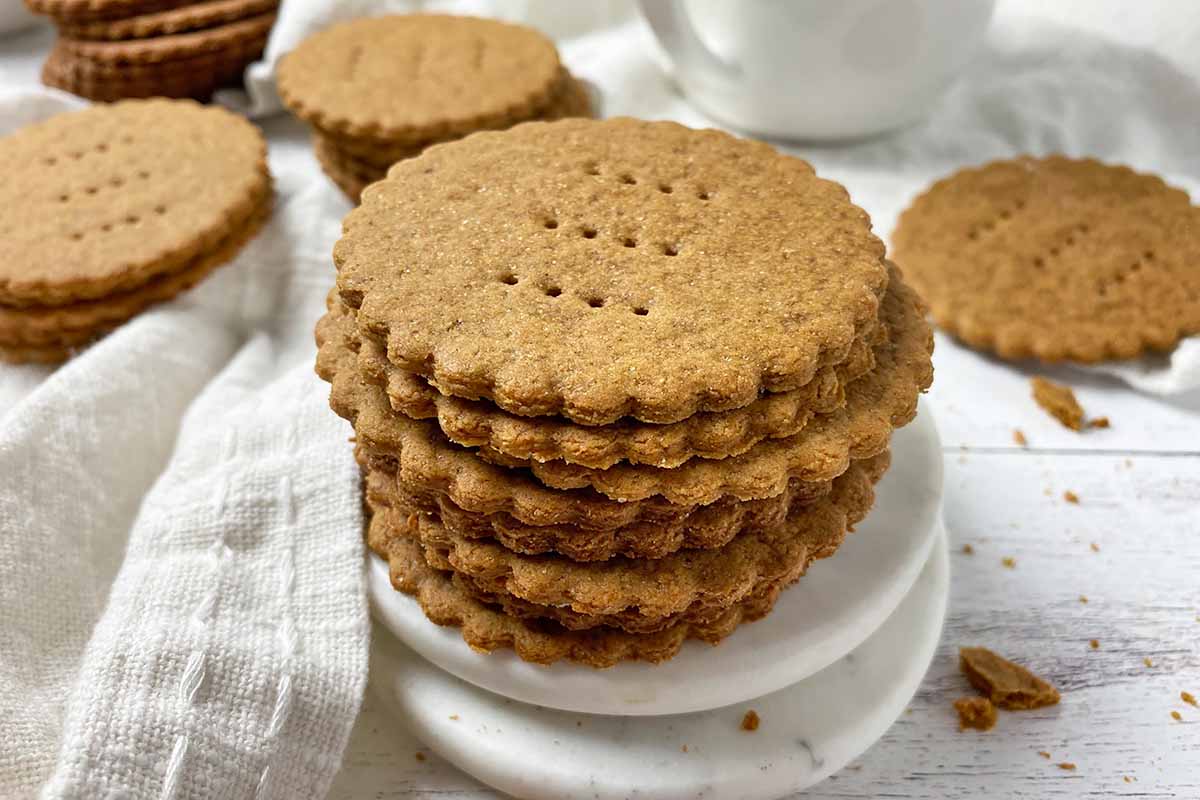
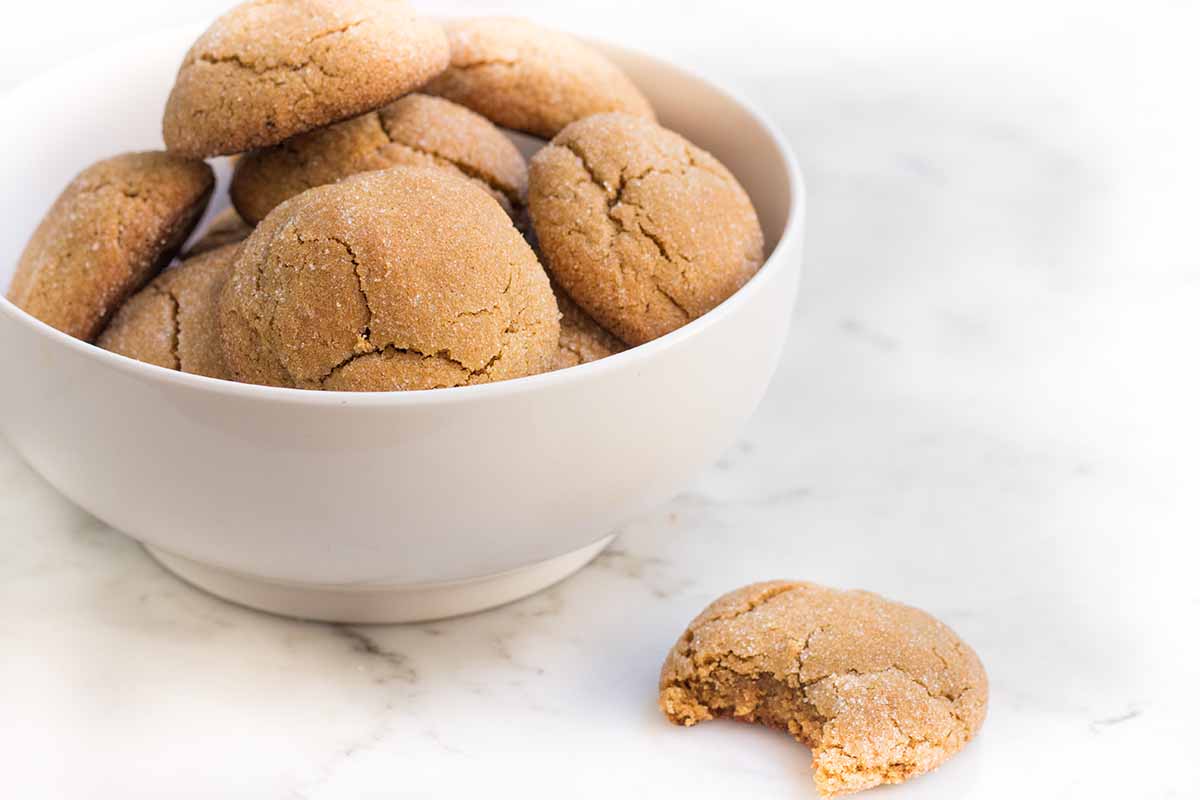
- Ginger Molasses Cookies with Pumpkin Spice Ice Cream
- Vegan Peanut Butter Cookies with Vegan Vanilla Bean Ice Cream
- Soft and Chewy Sugar Cookies with Rhubarb Swirl Ice Cream
What will you try first? Do you have any of your own favorite flavor combinations? Give me your best ideas in the comment section below. The more (dessert) the merrier!
Photos by Nikki Cervone, © Ask the Experts, LLC. ALL RIGHTS RESERVED. See our TOS for more details. Originally published by Shanna Mallon on February 24, 2011. Last updated on June 12, 2021.
Nutritional information derived from a database of known generic and branded foods and ingredients and was not compiled by a registered dietitian or submitted for lab testing. It should be viewed as an approximation.
About Nikki Cervone
Nikki Cervone is an ACS Certified Cheese Professional and cheesemonger living in Pittsburgh. Nikki holds an AAS in baking/pastry from Westmoreland County Community College, a BA in Communications from Duquesne University, and an MLA in Gastronomy from Boston University. When she's not nibbling on her favorite cheeses or testing a batch of cupcakes, Nikki enjoys a healthy dose of yoga, wine, hiking, singing in the shower, and chocolate. Lots of chocolate.

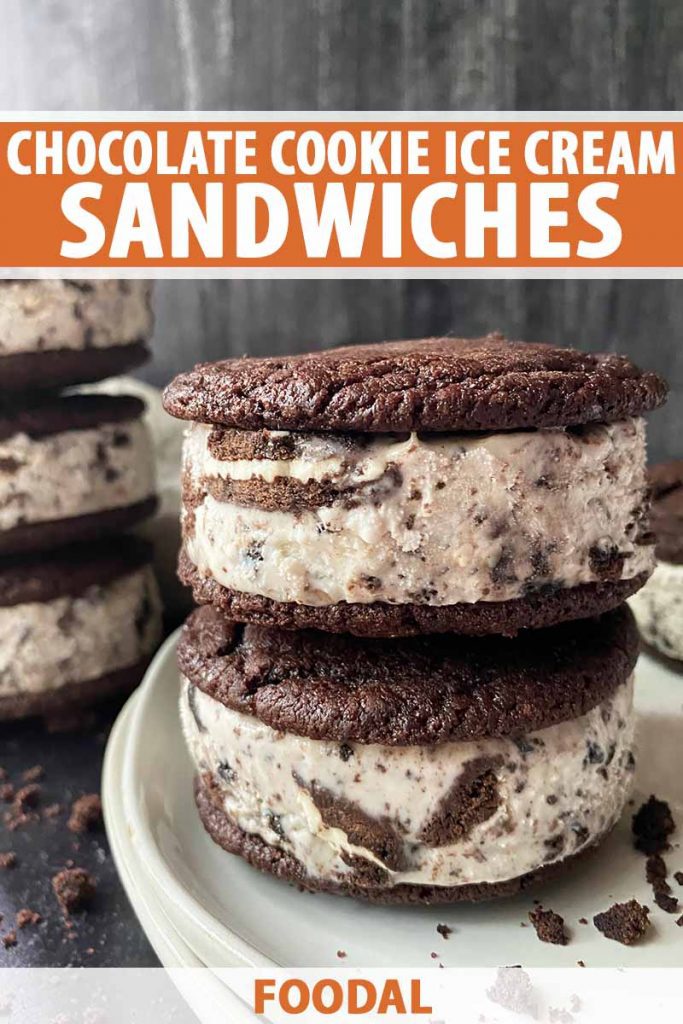

I’m smitten with these ice cream cookie sammies!
I’m swooning over these pictures. And hey, you know what the nice thing about the South is? You can eat ice cream sandwiches there in February with much more legitimacy than you could in Chicago. Yay for that!
Ok, I want all of these cookies. In my mouth. Right now.
I don’t bake much, but those look great. I think I will have to make those later this spring. Thanks for the recipe.
These were great. I want more. Now. Please?
These look fantastic, the baby wants a whole bunch of these, thanks for recipe
Oh, these are like a hug on a plate, and exactly what I need right now with my husband away for two weeks and me fretting about writing and house moves… Thank you : )
Yum. I love the idea of a chewy chocolate cookie.
Oh how I love ice cream sandwiches! These look divine.
Those cookies look sooo good!
Currently under the grayness called Seattle, these little things bring me hope for summer. Thank you!!
These cookies are so wrong. I want to eat my screen.