We occasionally link to goods offered by vendors to help the reader find relevant products. Some of these may be affiliate based, meaning we earn small commissions (at no additional cost to you) if items are purchased. Here is more about what we do.
Sometimes, a classic birthday cake just won’t cut it.

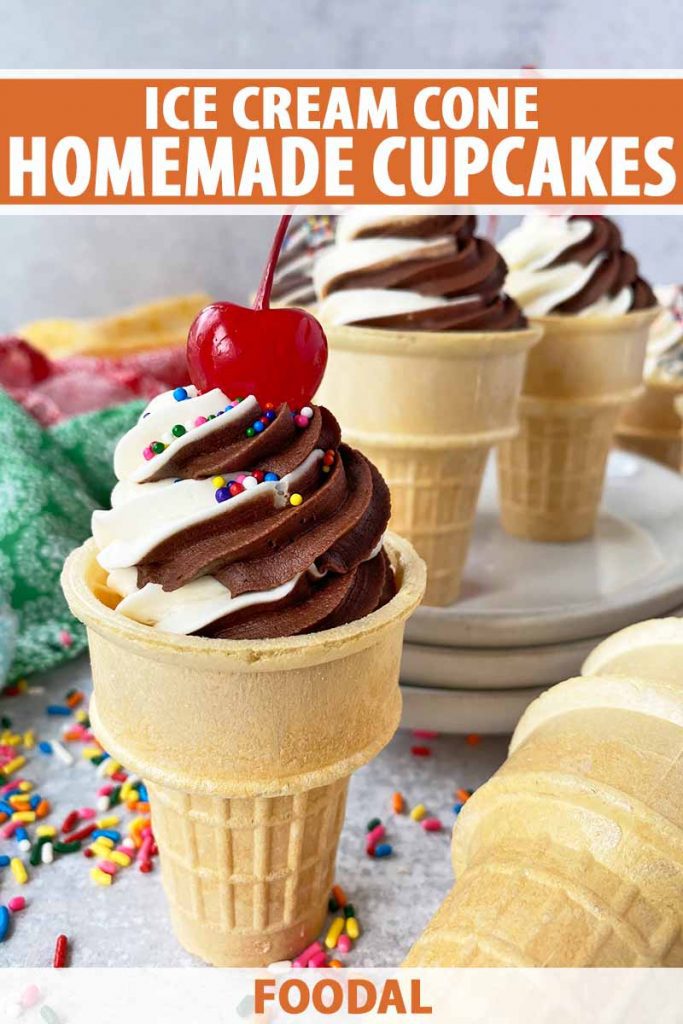
Here’s a fun alternative to the traditional multi-tiered treat: ice cream cone cupcakes!
Perfect for your child’s birthday party, everyone (not just the kiddos!) will have so much fun with these treats.
Each cupcake playfully mimics ice cream in a cone – and holding one of these mini delights will make you giggle with glee!
You can say bye-bye to cupcake liners and hello to zero waste. Because you bake the batter inside an ice cream cone, every part of these cupcakes is completely edible.
It’s a neat treat, in every sense of the phrase.
While you may be rejoicing over not having to worry about the unnecessary cleanup of carelessly tossed away liners littering your table and floors, tossed there by sugar-crazed kids, I’m celebrating something else about this cool dessert:
The endless opportunities for customization!

Consider all the different kinds of ice cream flavors and toppings that you can choose from, and get creative with this concept.
For the base, use one of Foodal’s favorite cake batters:
We also have the frosting covered:
While I would love to go on and on and on about the many ideas swirling around in my brain (like cookies and cream, salted caramel, strawberry, cookie dough, double chocolate…), I’ll offer just a few exciting options here to inspire you to think of even more ways to decorate these and make them your own:
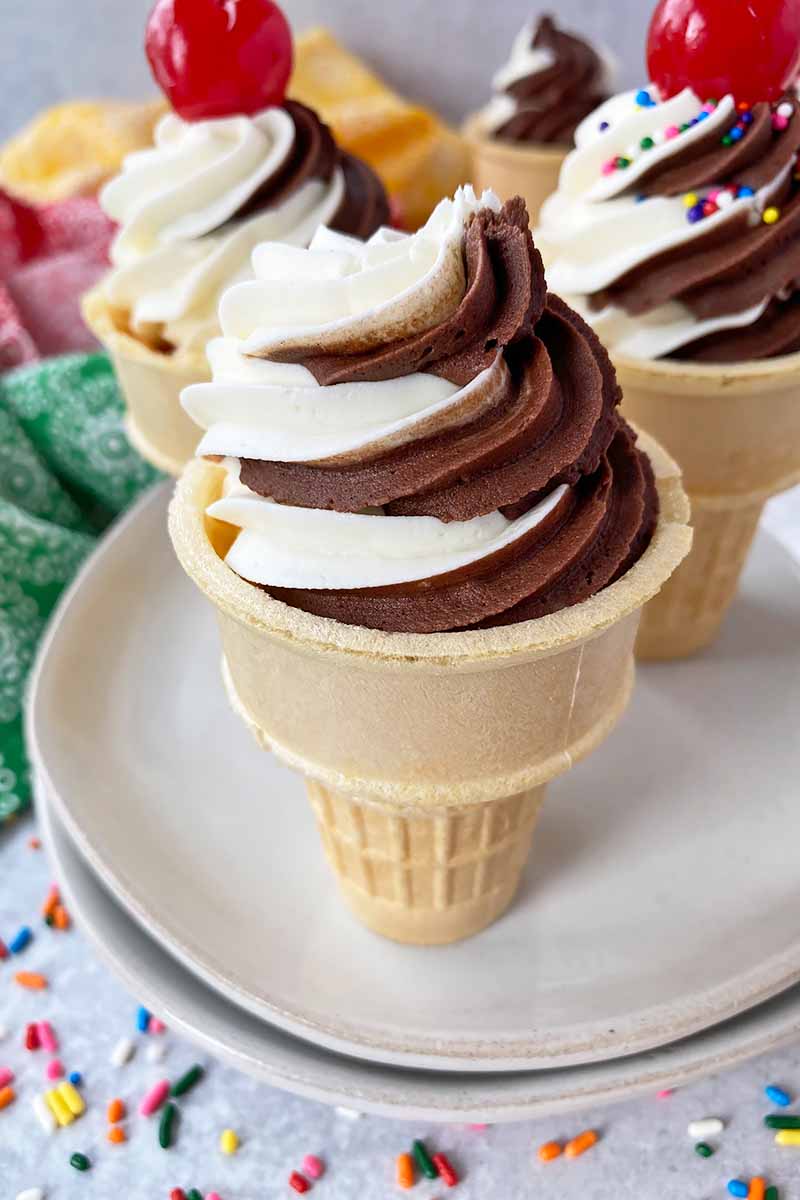
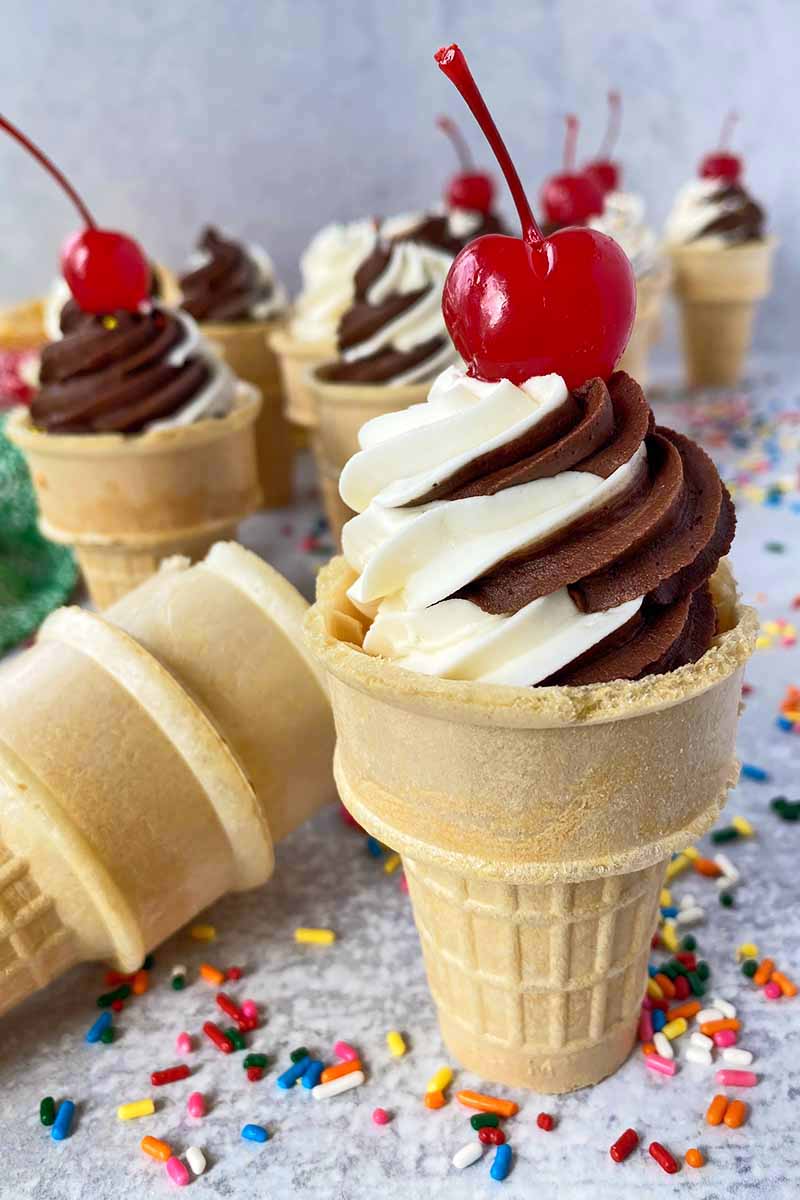
Soft-Serve
Using a piping bag and a star tip, you can recreate the mesmerizing soft-serve-style swirl of vanilla or chocolate ice cream – or both!
Ice Cream Scoops
Use a cookie scoop to place mounds of frosting on top of the cupcake to mimic scoops of ice cream.
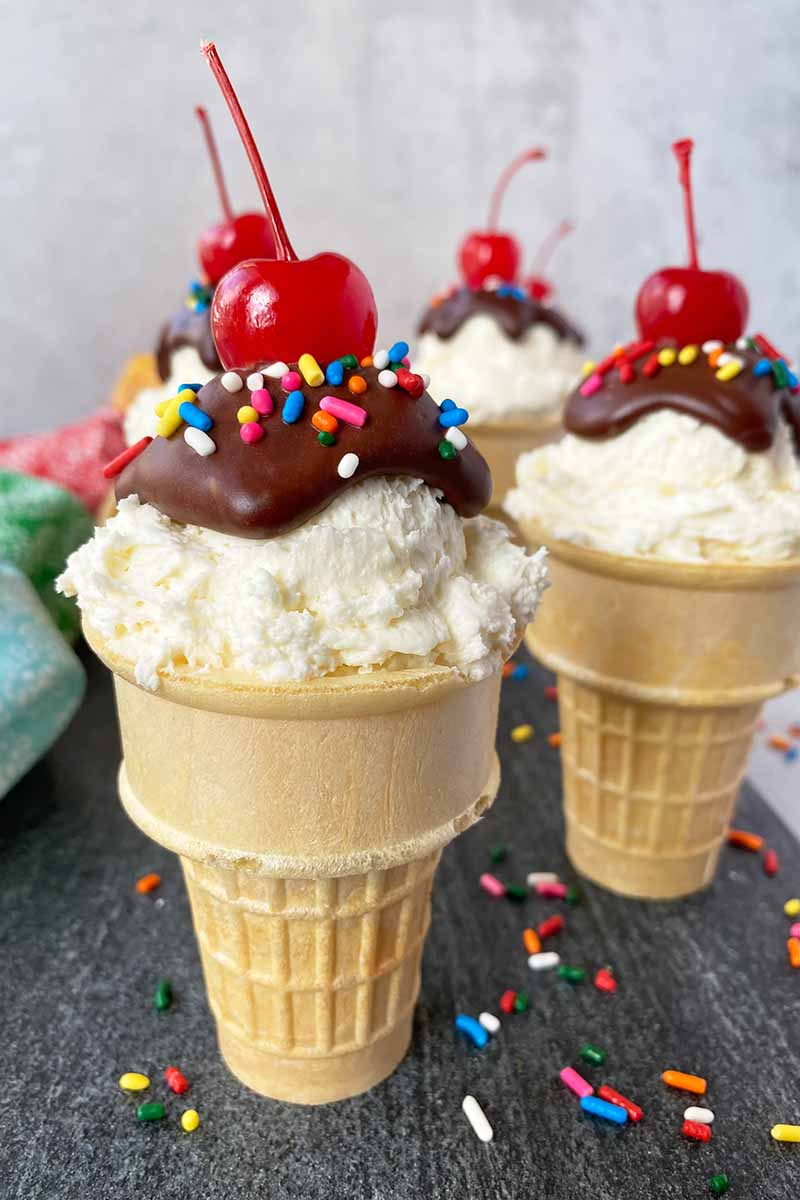
Old-Fashioned Banana Split
Bake vanilla cupcakes and top with pink frosting, finely chopped nuts, a drizzle of thick ganache, half a maraschino cherry, and a dried banana chip.
Chocolate Mint
It’s a hit or miss pick, but I’m in favor of letting this classic flavor shine bright! Bake chocolate cupcakes and decorate them with green frosting mixed with a couple drops of mint extract and finely chopped chocolate. Garnish with a dollop of whipped cream, more finely chopped chocolate, and a fresh mint leaf.
You can make and decorate them ahead of time for the party so the kids can enjoy them right away while the birthday boy or girl opens their presents, or choose to have the kids decorate their own.
As long as you plan and prep ahead of time so you’ll have all the frosting and toppings arranged at each place setting with a pre-baked cupcake, the kids will have an easy time decorating them.
Let the adults get in on the fun – set up stations for them, too! No one should miss out on this playful cupcake idea.
Print
Ice Cream Cone Cupcakes
- Total Time: 2 hours
- Yield: 24 cupcakes 1x
Description
They may look like ice cream in cones, but take another look. These tiny treats are actually cupcakes topped with swirls of buttercream.
Ingredients
- 24 flat-bottomed ice cream cones
- 1 batch cake batter for two 8-inch cake rounds
- Double batch buttercream frosting, about 8 cups
- Assorted sprinkles and garnishes
Instructions
For the Cupcakes:
- Preheat the oven to 350°F. Place an empty ice cream cone upright in the cavity of two 12-cup muffin pans.
- Prepare the cake batter according to the recipe instructions.
- Evenly divide the batter into the ice cream cones, filling each cone a little more than half of the way full. There should be about a 1/2-inch clearance between the batter and the top of the cone to give enough space for the cake to rise.
- Bake for 20 to 25 minutes, or until a toothpick inserted in the center comes out clean or with a few moist crumbs attached. Carefully remove the pans from the oven. Let cool for 10 minutes in the pans before transferring to cooling racks to cool completely.
For Decorating:
- Prepare the frosting according to the recipe instructions.
- To decorate soft-serve-style: Place the frosting in a piping bag fitted with a large star tip. Pipe two full swirls of frosting on top of the cupcake.
- To decorate scoop-style: With a mini cookie scoop, scoop out the frosting and place directly on top of the cake.
- Top with sprinkles and other garnishes. Serve immediately.
- Prep Time: 1 hour
- Cook Time: 20 minutes
- Category: Cupcakes
- Method: Baking
- Cuisine: Dessert
Cooking by the Numbers…
Step 1 – Prep
Preheat the oven to 350°F. Place an empty ice cream cone upright in each cavity of two 12-cup muffin pans.
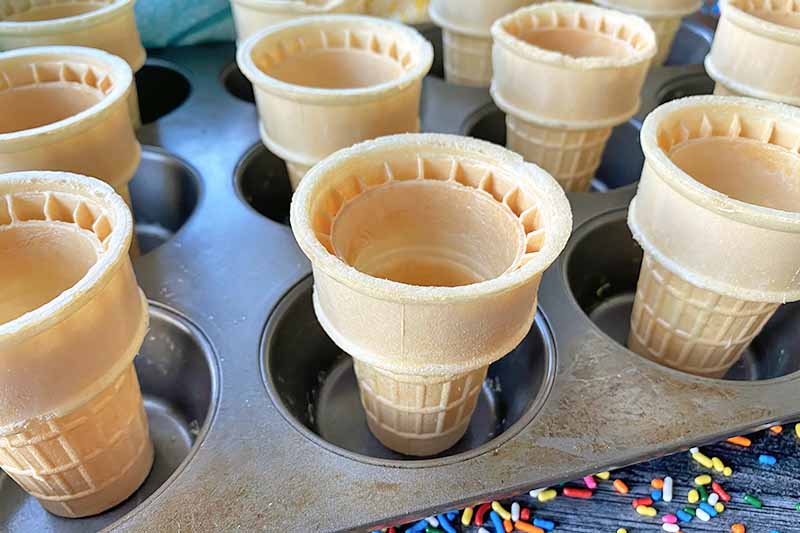
I recommend buying more ice cream cones than what is required for the recipe. The total yield is 24 cupcakes, but it could be more or less with the batter you are choosing to use, and some of the cones may be broken in the packaging.
Are balance and grace not your strengths? If you are concerned about the ice cream cones moving or falling over in the cavities, you can place balls of foil at the base of each cone to secure them in place.
This is not necessary, as the batter will weigh down the cones – but it’s a reliable failsafe!
Measure out the ingredients needed for both the cake batter and frosting.
Step 2 – Make the Batter
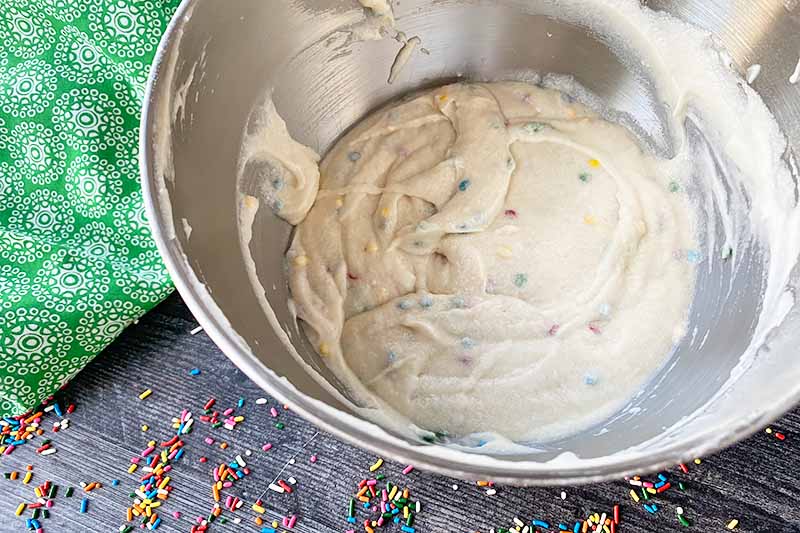
Prepare the cake batter according to the instructions in the recipe that you’ve selected. A typical batter for two 8-inch cake rounds will yield 24 cupcakes for this particular recipe.
Step 3 – Portion and Bake
Carefully pour the batter in the ice cream cones, filling each just a little more than half of the way full. You can use a mini cookie scoop to make portioning cleaner and easier.
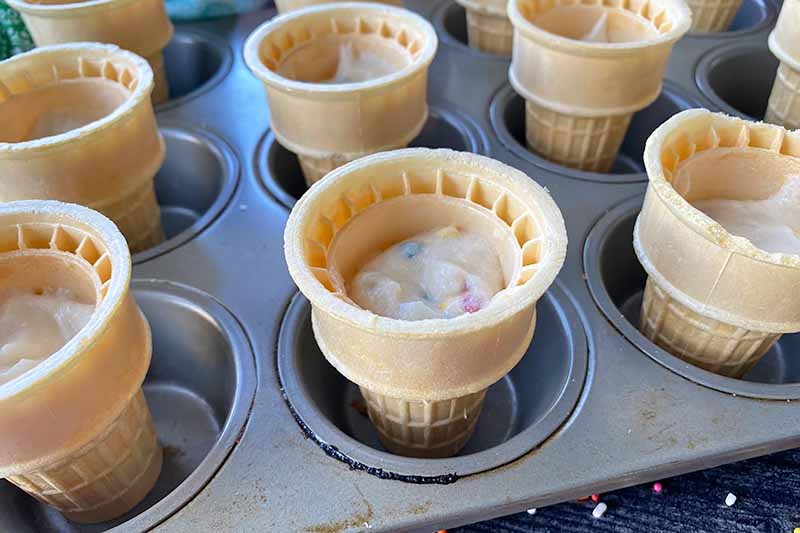
Leave about a 1/2-inch clearance between the batter and the top of the cone (more space than you think you’ll need!) to give the cake enough space to rise.
Different batters will not rise in the same way. You don’t want to make the mistake of overfilling the cones, because the batter will overflow out of the cone, making a sad and gloopy mess!
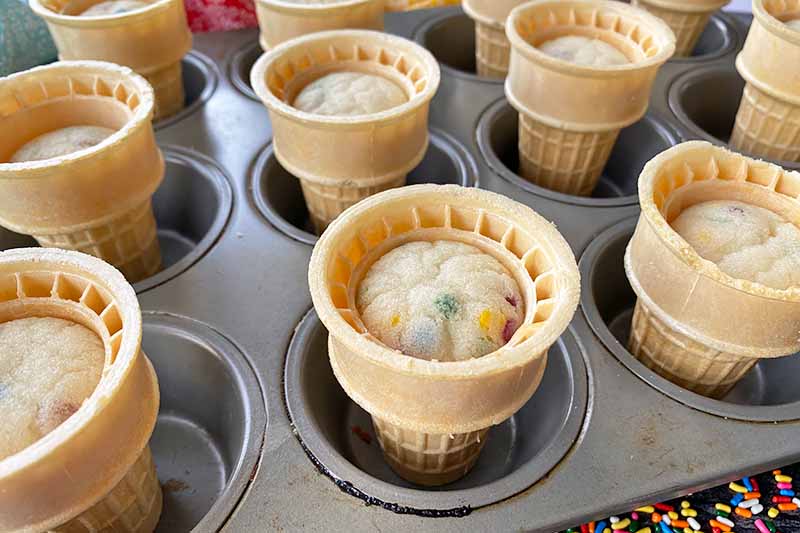
Transfer the pans to the oven. Bake for 20 to 25 minutes, or until the tops of the cupcakes look dry and a toothpick inserted into the center comes out clean with just a few moist crumbs clinging to it.
Remove from the oven and let cool for 10 minutes in the pan. Transfer the cupcakes to cooling racks to cool completely.
Step 4 – Make the Frosting
Prepare the frosting according to the instructions in your choice of recipe. It is best to have about 8 cups of frosting. You’ll need more than what you would expect to get that characteristic height for the swirls and scoops!
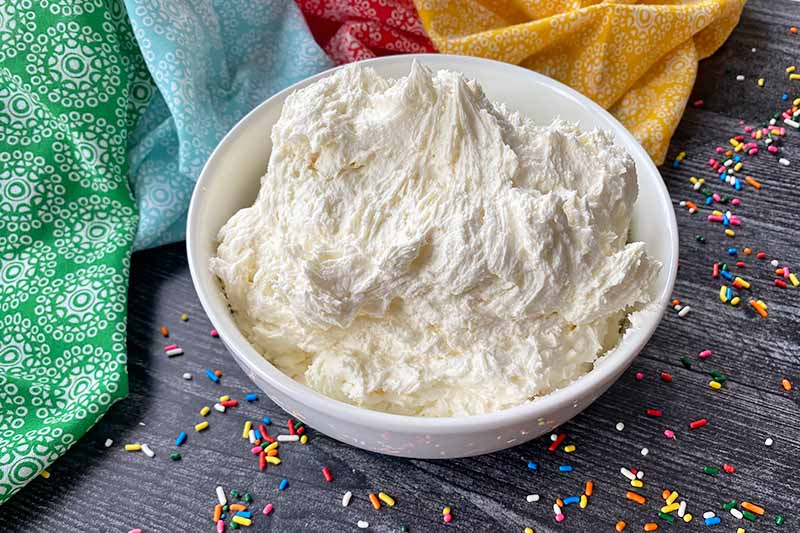
Frosting is at the optimal texture and temperature for decorating as soon as it is made. If you are prepping ahead of time, cover the frosting and store it in the refrigerator. Allow it to come to room temperature about 20 minutes before decorating to soften it.
Step 5 – Decorate
You can choose to decorate your cupcakes in a variety of ways, depending on the final look you want for the ice cream.
To decorate scoop-style:
This is a very easy and simple method that will still achieve the perfect ice cream look! With a mini cookie scoop, scoop out the frosting and place it directly on top of the cake. I like to scoop mine with a little extra frosting that extends outside the scoop to mimic the base that you would typically see with a real scoop of ice cream.
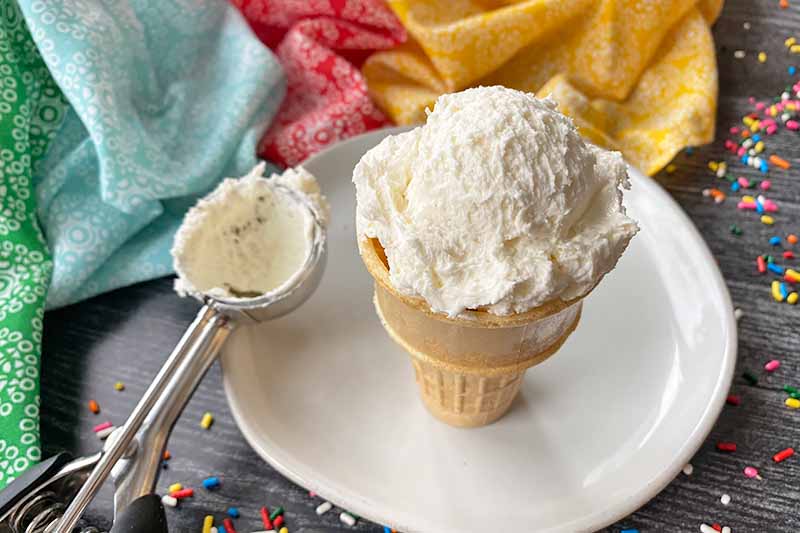
Top with sprinkles and your choice of garnishes before serving.
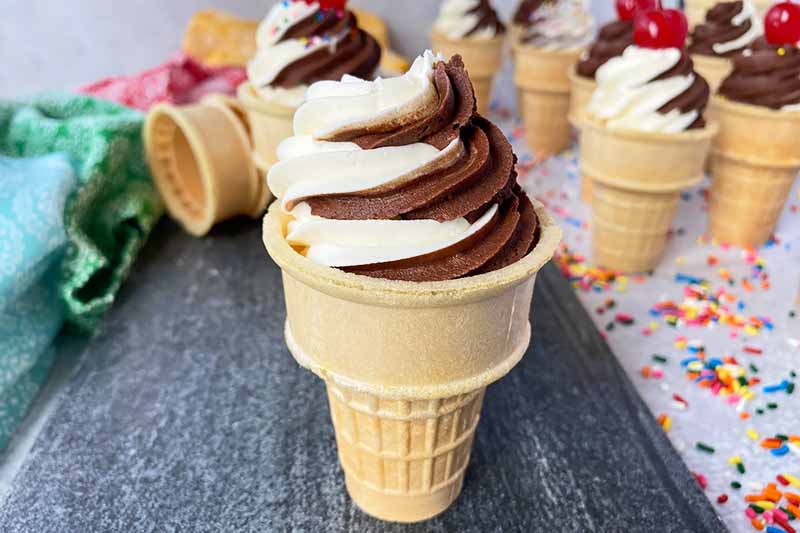
To decorate soft-serve-style:
This method is slightly more advanced. Place the frosting in a piping bag fitted with a large star tip. Pipe two full swirls of frosting on top of each cupcake.

For a multi-flavored chocolate and vanilla swirl look, divide your vanilla buttercream in half in two separate bowls. Mix about 1/8 cup of cocoa powder into half of the vanilla buttercream.
Place the chocolate buttercream and vanilla buttercream in two small separate piping bags and cut off the tips. Place the piping bags cut side down inside a larger piping bag fitted with a large star tip.
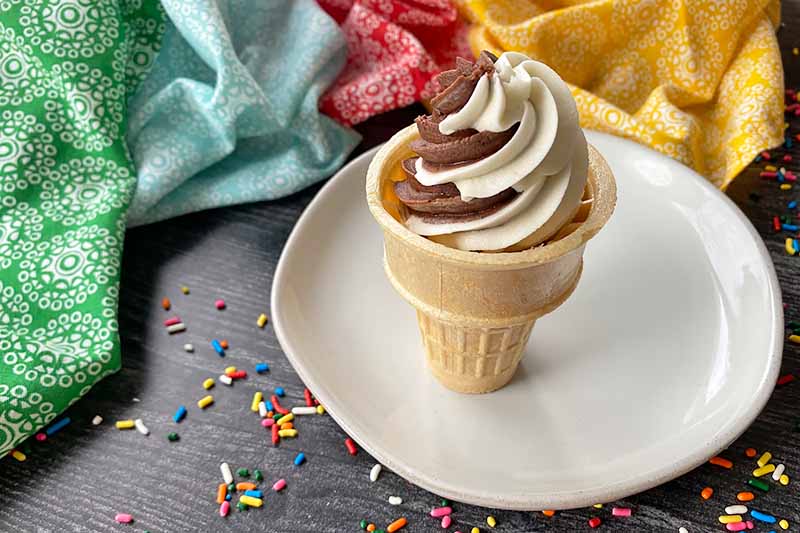
When you squeeze the larger piping bag, you will get a swirl of both these flavors, just like you’d see in the classic soft-serve mix.
Top with your desired sprinkles and garnishes, and serve!
Follow a Special Diet? Ice Cream Is Still Served!
If you are concerned that these treats can’t be enjoyed by anyone following a gluten-free, egg-free, dairy-free, or a nut-free diet, don’t you worry!
You can find a variety of special diet-friendly ice cream cones, like this organic vegan option that’s available in packages of 12 on Amazon, or this gluten-free option, also available in 12-packs from Amazon.
And Foodal has plenty of recipes for alternative homemade desserts that you can use to bake these. Scroll through our cake recipes and dessert recipes to find the right one to fit your dietary needs.
I hope this recipe for ice cream cone cupcakes will inspire you to try something fun at the next birthday party you host!
What delightful flavor combos will you try first? Do you have any cool ideas for the decorations? We can chat in the comment section below – let’s keep feeding this sugar craze!
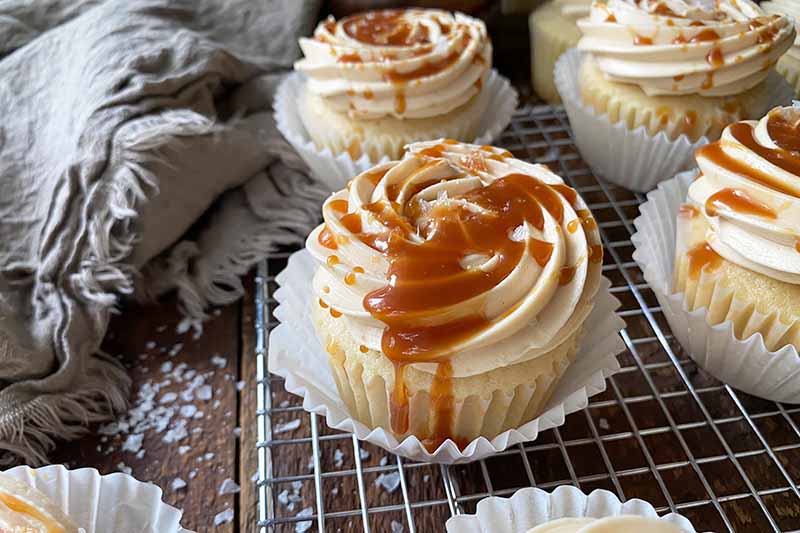
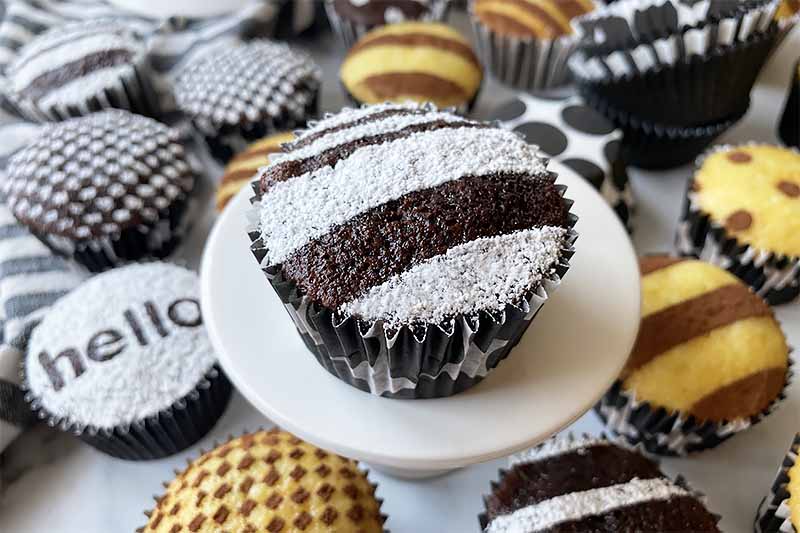
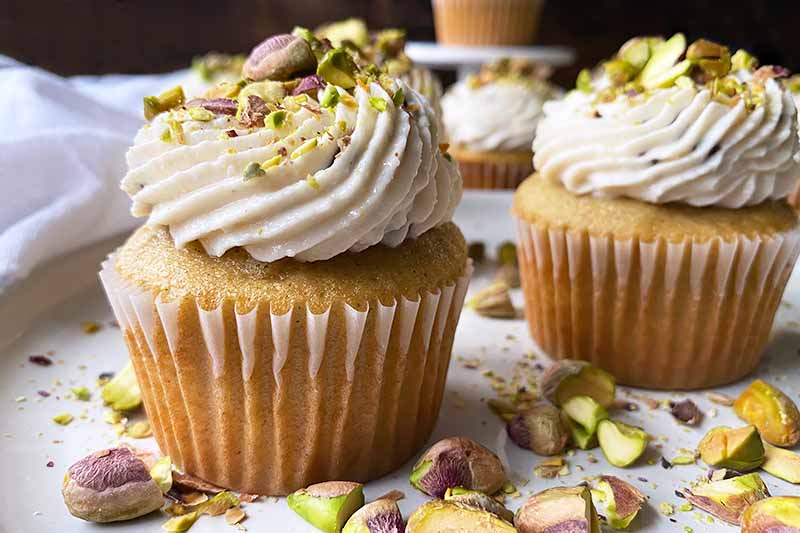
For more dessert ideas with a cute twist, you’ll love these cupcakes:
Photos by Nikki Cervone, © Ask the Experts, LLC. ALL RIGHTS RESERVED. See our TOS for more details. Originally published on September 13 2012. Last updated on March 14, 2022.
Nutritional information derived from a database of known generic and branded foods and ingredients and was not compiled by a registered dietitian or submitted for lab testing. It should be viewed as an approximation.
About Nikki Cervone
Nikki Cervone is an ACS Certified Cheese Professional and cheesemonger living in Pittsburgh. Nikki holds an AAS in baking/pastry from Westmoreland County Community College, a BA in Communications from Duquesne University, and an MLA in Gastronomy from Boston University. When she's not nibbling on her favorite cheeses or testing a batch of cupcakes, Nikki enjoys a healthy dose of yoga, wine, hiking, singing in the shower, and chocolate. Lots of chocolate.