Every time we work in the kitchen, we produce waste.
While some of it should be thrown away, many food scraps actually still have some utility, if we give them a chance.
Many items that we prepare – whether fruits, vegetables, or other kinds of leftovers or food scraps – end up in the trash long before they have been utilized to their fullest extent.
To be less wasteful and make the most of your food purchases, we have compiled 11 smart tips on how to reuse many types of scraps that you’re probably throwing away.
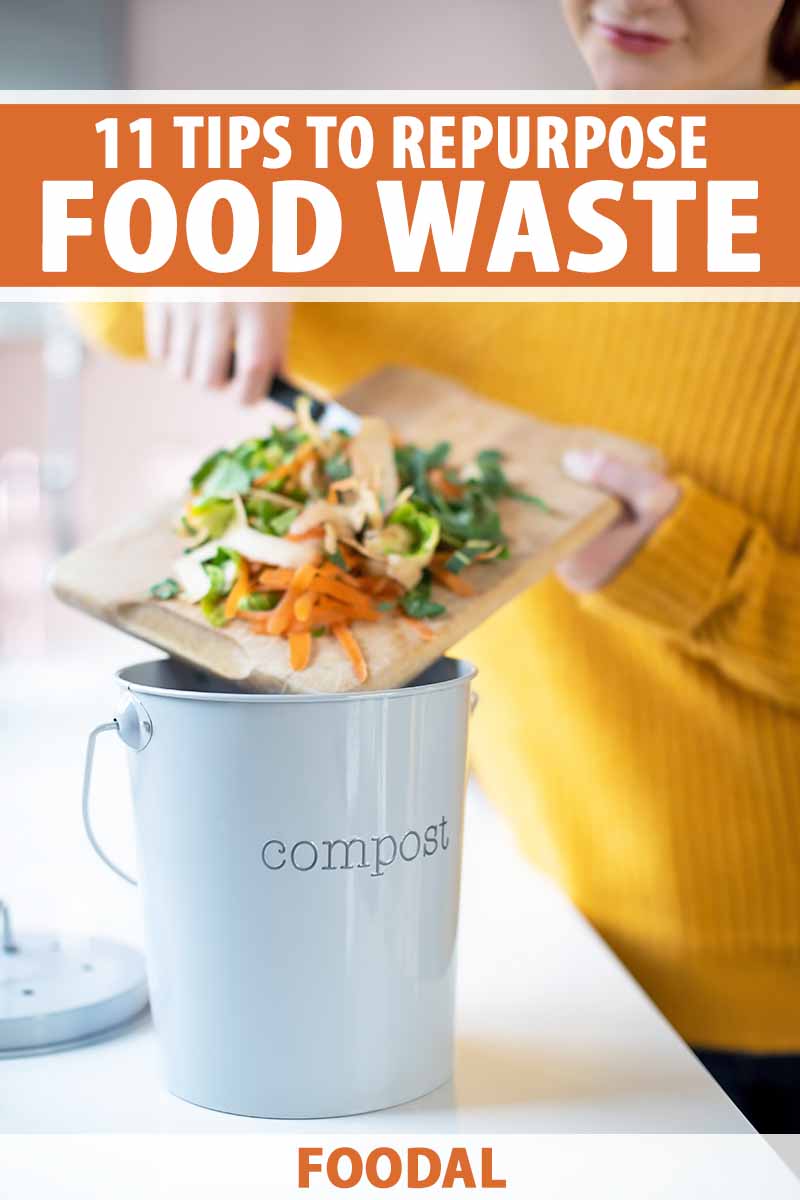
Let’s take a look at the unexplored potential of citrus peels, leftover cake, coffee grounds, and more!
11 Tips to Reduce and Repurpose Food Waste at Home
1. Add Skins for Flavor or Texture
As long as you buy organic fruits or vegetables whose skins have not been treated or sprayed with chemicals before or after harvesting, you can use those peels and rinds for a variety of purposes.
The best examples here are citrus fruits:
Maybe your recipe only calls for the juice of an orange. Instead of throwing the remainder of the fruit away after you squeeze it, you can grate or peel the entire fruit before you slice it, and store the aromatic skins in the fridge or freezer for another dish.

Orange Pound Cake with Glaze – Get the Recipe Now
The same tip applies to lemon and lime zest. The peels of these fruits are just too precious to toss in the trash! And there are many ways for you to incorporate the peels and zest into your cooking to make full use of them.
You can make homemade candied peels, marmalade, or infused water, and jazz up the menu with other recipes like our coconut sugar lemon curd, jalapeno-lime marinated chicken, and moist orange pound cake.
It’s not just the skins of citrus fruits that are suitable for reuse. Just think about all the skins you’re left with when peeling potatoes. Utilizing the peels in creative ways works great for them, as well.
Why not make a fancy crunchy snack or crispy garnish out of the “waste” products of potatoes?
Instead of throwing those peels away, here is an easy way to turn them into homemade oven-baked potato chips, which you can eat as a healthy snack or use as a crispy topping for mashed potatoes:
- Preheat the oven to 400°F (200°C).
- Thoroughly scrub the skins of the potatoes to remove any dirt, and wash and dry them well. Peel off the skins using a vegetable peeler.
- Place the peels in a large mixing bowl and toss to coat with a drizzle of olive oil and a sprinkle of freshly cracked salt and pepper. If you like, add some red chili flakes or chopped fresh herbs for a flavorful twist.
- Line a baking sheet with parchment paper or a silicone mat, and spread the skins on it in a single layer.
- Bake for 15 to 20 minutes until golden brown and crispy, tossing halfway through cooking to brown evenly.
It’s important to not use green skins or spots where eyes are growing, since these contain higher concentrations of solanine, a chemical compound that may be toxic to humans in large quantities.
2. Banish Rust on Stainless Steel
Let’s go right back to those potato skins!
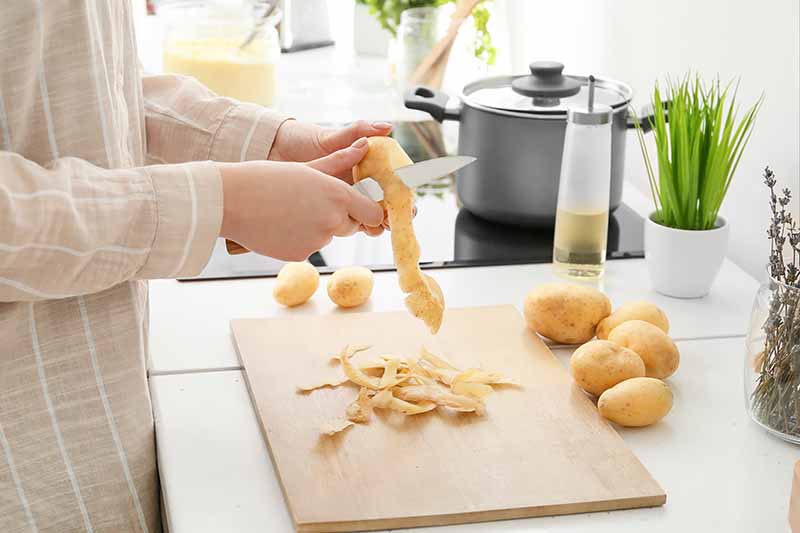
Not only can these be turned into crunchy crisps, they may also help to naturally get rid of rust on stainless steel appliances.
The high level of oxalic acid in potato skin can be strong enough to remove rust stains.
But don’t think you can start scrubbing your kitchen with some loose peels! For the safest and most effective cleaning solution, follow these steps:
- Place in a bowl and soak the skins in just enough water to cover the peels for about 25 to 30 minutes.
- Strain the peels from the water bath. Dispose of the peels.
- Combine 1-2 tablespoons of the water with 1-2 teaspoons of baking soda in a separate bowl to form a loose paste.
- Rub the paste over the rusted area of your stainless steel product or appliance.
- Let sit for 25-30 minutes. Then scrub, wash, rinse, and dry completely.
If this unique cleaning hack didn’t fully remove the rust, review our seven tips for cleaning stainless steel to eliminate anything remaining.
3. Care for Your Skin
You can also use several types of kitchen leftovers to create natural skincare products.
Coffee grounds are not just useful for compost – they also make a great exfoliator for your body, face, or hands.
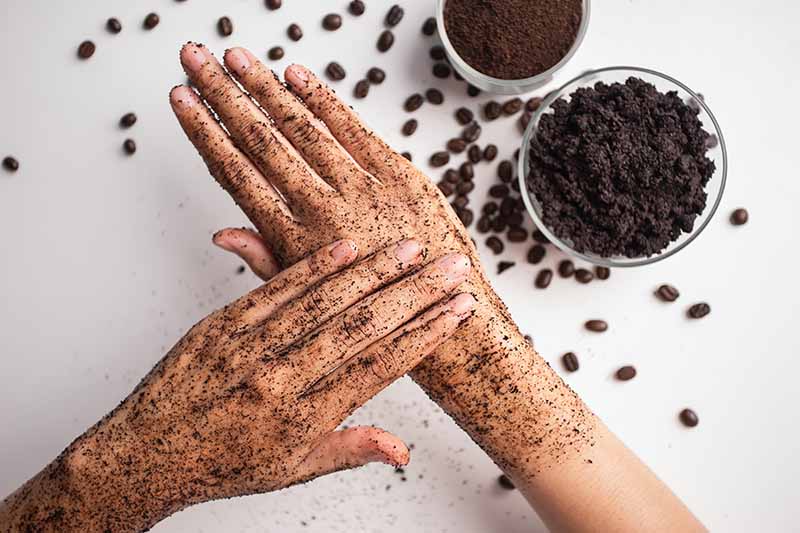
A wonderful body scrub can be made at home by mixing some coffee grounds into unscented shower gel. Spread the mixture gently over your body, paying extra attention to rough spots like elbows, knees, and feet, then rinse well.
This is best used with organic, plain coffee – you don’t want to apply any artificially flavored options containing additional ingredients that may cause irritation to your skin.
Herbs and citrus are great for adding some natural aroma to skincare products, and they really provide a wonderful scent.
Add some rosemary, lavender, mint, orange peels, or even a few rose petals grown organically in your own garden for an exquisite touch of perfume in your favorite unscented hand cream or shower gel.
Also, if you have some cucumber left over, profit from its moisture and put some slices on your face for a refreshing and naturally hydrating mask. Though it’s common to use these just over the eyes, they work well on any dry spots on the face or body.
And you don’t have to cut up a fresh cucumber – any peels or leftover ends work as well, making this a great way to use up those kitchen scraps.
Another nice effect can be achieved with chilled leftover tea bags.
Black tea in particular is the perfect choice here, as it contains tannins and alkaloids that have antibacterial, antiviral, and anti-inflammatory effects. This is helpful for stressed eyes, and may also be used as a compress.
Save the bags after brewing a cup with plain water – and no additional ingredients like sugar, honey, or milk – and put them in the fridge for 2-3 hours inside a clean and sanitized airtight container, until they are chilled.
Whenever you feel like you need a little break, lean back, put the bags onto your closed eyes, and relax for a few minutes.
You will want to use a separate bag for each eye to prevent cross-contamination.
If you have sensitive skin, note that you may want to avoid any of these suggestions. You can also test a small area of your skin first and analyze your reaction.
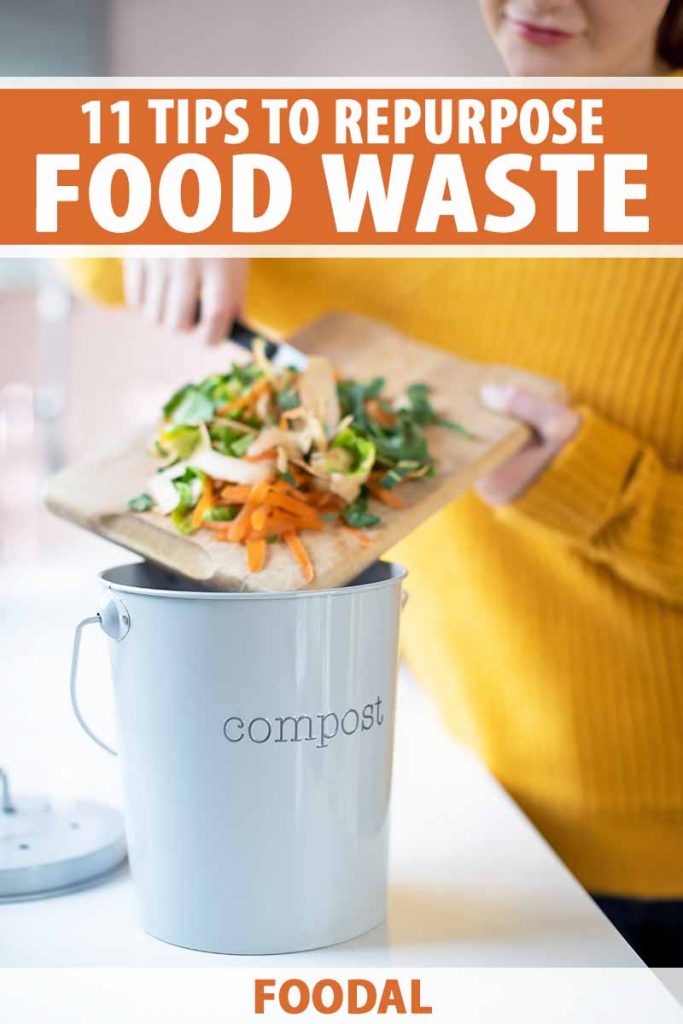
4. Create Compost
The expensive fertilizers and compost materials that you can buy at nurseries and garden centers, manmade or otherwise, are not my first choice for an all-natural and inexpensive method of feeding my garden.
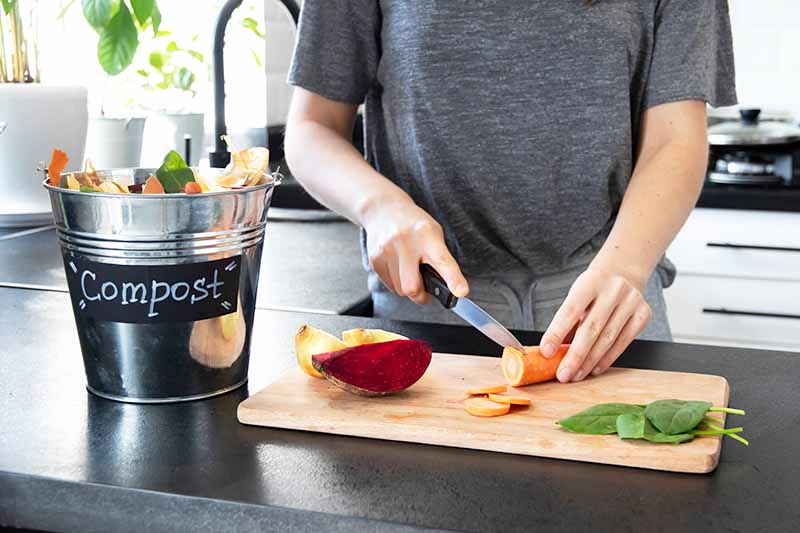
Instead, I like to use things I already have at home to feed my plants with my own kitchen compost!
Once you establish a compost bin, you’ll be able to turn a multitude of scraps into plant feed, reducing your waste and making a small yet positive personal impact on the environment.
It’s true that this is one recipe you won’t benefit from directly, but your garden needs to eat, too!
From coffee grounds to corn husks and banana peels, from juicer pulp to eggshells, you’ll be able to give a new purpose to many leftover food items and scraps.
For more information on getting started with kitchen composting, you can read all about it in our Kitchen Composting 101 article.
Although maintaining homemade compost might sound quite tedious at first, the procedure is worth it, and you’ll soon develop a rhythm in your process.
5. Decalcify Naturally
Lemons are wonderful for cleaning, especially when it comes to fighting calcification and hard water spots. Their natural acidity is helpful for chemical-free cleaning purposes.

When a recipe does not require the juice of a whole lemon, turn the remainder of your sour citrus fruit into this little kitchen helper. I prefer this method to using chemical decalcifying agents, because it’s a 100% natural option.
For example, since I use my kettle for boiling water every single day, buildup inside the kettle is a common problem. Whenever I have half of a lemon left over, I squeeze the juice into the kettle and leave it to soak for about 1 hour.
After that, I fill up my kettle to the minimum fill line and bring it to a boil. Pour out the acidic mixture and most – if not all – of the limescale will be gone.
Rinse and check to see if this is the case. If not, fill with water and bring to a boil once more, then rinse again.
6. Eat the Seeds
Think about the many kinds of seeds that are good to eat, that we often buy shelled, pre-roasted, and salted from the store.
Making your own roasted squash seeds could prevent excess food waste at home.
Especially in the autumn, when the pumpkin harvest is at its peak and Halloween is just around the corner, you have great snacking opportunities at hand.

Toasted and Seasoned Pumpkin Seeds – Get the Recipe Now
Do you tend to throw away all the seeds after removing the pulp to make a creamy butternut squash apple soup or a homemade classic pumpkin pie?
If so, you have passed up a golden opportunity to make your own roasted seeds at home! Read our tutorial for roasting pumpkin and squash seeds to get the best tips and advice, as well as customizable flavor combinations.
The best thing about this is that you have full control over the flavor and ingredients, plus you are able to reduce your produce waste.
In the end, they make a healthy snack in between meals, but the sky’s the limit for how you can incorporate these crunchy fellows into other recipes.
These tasty treats can be used as toppings for soups, salads, yogurt, and pumpkin-flavored oatmeal. They are also lovely to scatter on top of pumpkin bread or pumpkin muffin batter before baking.
Although this procedure takes some patience and time, it’s absolutely worth it.
7. Grow New Produce
There are some vegetables that can be regrown after use without much effort or expert gardening skills.
All you need is some fresh water and a bit of patience. Many vegetables are able to develop new roots after one to two weeks, some even quicker than that!
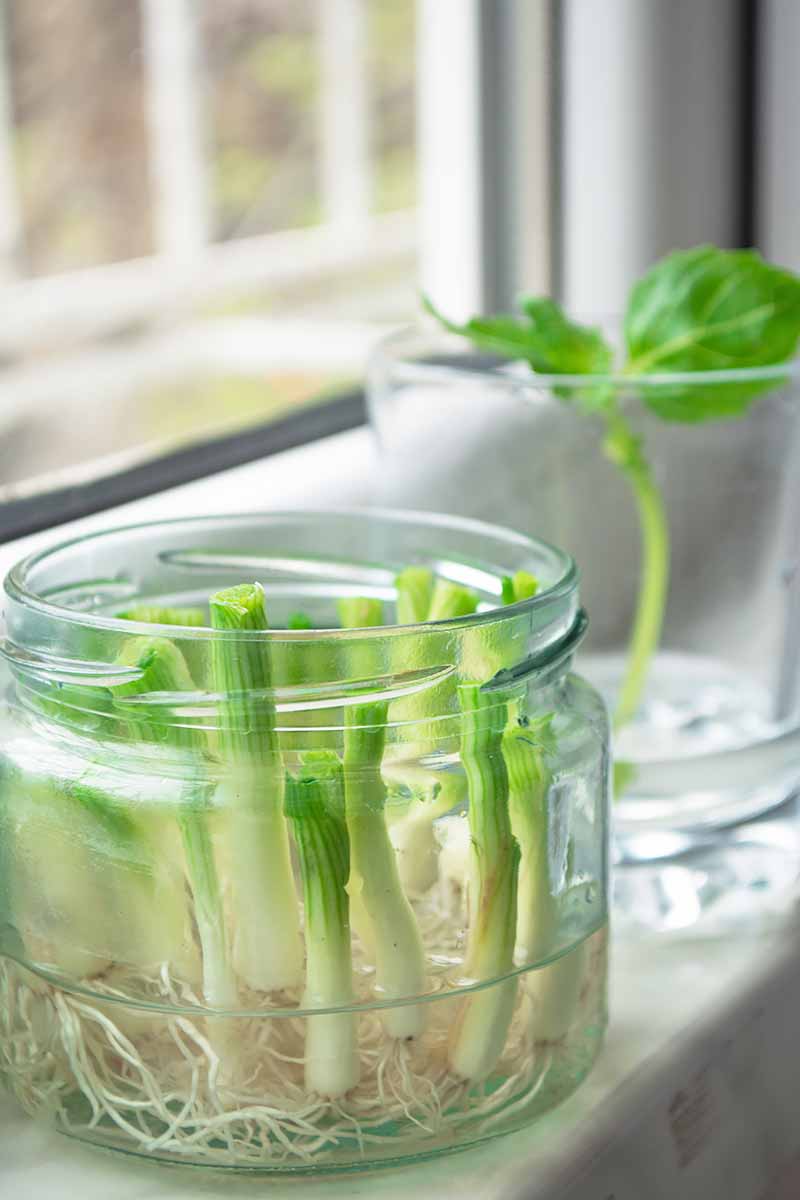
Some veggies that work well with this method are celery, scallions, and romaine lettuce or similar leafy greens. Fennel, lemongrass, celery, and ginger also work well.
When prepping these veggies in the kitchen, we tend to cut them quite generously around the root end. This part is often thrown away – but it is exactly what you need to regrow these veggies at home!
Now, don’t expect any miraculous growth. You probably won’t be able to cultivate enough vegetables using this method to satisfy all of your needs. But the chance is there to at least use the greens one more time, instead of treating them as waste.
For spring onions or scallions – one of the easiest examples for using this method – put the leftover parts into a glass of water, standing upright with the roots at the bottom. Change the water daily.
After about a week you will see that they have grown, and after about two weeks you will be able to use the greens, depending on the available sunlight.
You can wait for a couple more days until there is enough to use for a recipe, like the romaine leaf cups in our recipe for spicy beef lettuce wraps.
Or you can wait a bit longer for it to develop new roots and transplant it into a pot, or your backyard garden when it is seasonally appropriate.
This is a fun indoor gardening project to do with the kids as well!
The same procedure applies to celery or lettuce. Put the stem into a glass of water root end down, and wait for it to regrow its leaves. This way, you can reduce food waste – and enjoy growing some new greens for your next dish.
For ginger that you have had for some time, you might notice that shoots have begun to sprout. These portions can be planted directly in a pot of soil to grow again.
For a complete guide to growing your own ginger indoors, don’t forget to check out the extensive guide on our sister site, Gardener’s Path.
There, you can also find guides to regrowing lettuce, bok choy, and pineapple from scraps.
8. Incorporate the Whole Vegetable in Your Cooking
More often than not, we don’t use every part of a given vegetable or herb.
But it doesn’t have to be this way! Think about all the herbs you throw away from a bunch you bought at the store when you only needed a tablespoon or two for a recipe, or all the green tops of carrots, radishes, fennel, turnips, beets, celery, or kohlrabi.
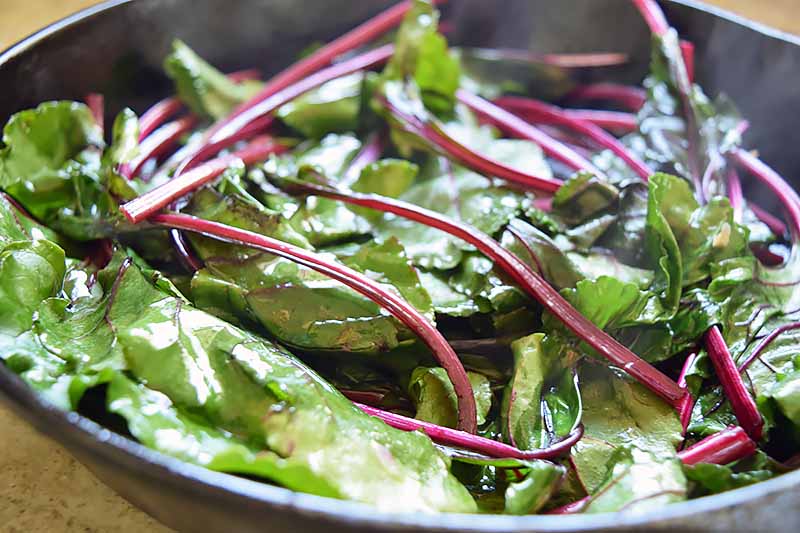
Sauteed Garlic Beet Greens – Get the Recipe Now
Do you tend to throw them away when you’re cooking? Ever wondered if there could be some use to them?
It may surprise you that the leaves that top many of the veggies we eat on a daily basis contain many of the same vitamins and minerals as the parts we more commonly consume, sometimes in even higher concentrations with additional nutrients to boot!
Strictly speaking, this is quite a waste.
Fortunately, there are plenty of ways to incorporate the entire herb or veggie into your menu:
Pesto
Instead of buying extra basil, cilantro, or parsley for making pesto, use the stems of these more tender, leafy herbs if they are in good condition. The stems will puree just as easily as the leaves in the food processor, and they include all the same herbaceous flavor!
You can also use the green tops of carrots to mix with your other pesto ingredients, which will provide a subtle bitterness and earthiness to your pesto.
Soup, Salad, and Sides
Use washed and chopped herbs and greens to bring pops of flavors to salads, soups, or dressings. They serve as flavorful counterparts to mild, leafy green vegetables like lettuce and spinach, and will provide a fresh twist.
You can also saute greens in butter or olive oil with your preferred seasonings for a quick, easy, and healthy side dish.
Green Smoothies
Do you love whizzing up a smoothie for an on-the go breakfast or snack?

Get Well Green Smoothies – Get the Recipe Now
If you enjoy having one from time to time, use the greens to add a new nuance of flavor and to boost the nutritional content of your healthy drink.
A small amount of parsley or mint stems and leaves can also be added to green smoothies for a tiny boost of additional freshness.
9. Make Natural Dyes
Some foods are perfectly suited for coloring fabrics, paper, and Easter eggs the natural way, without the use of artificial dyes.
Especially if you’re a fan of DIY projects, you’ll be able to create some wonderful new hues with kitchen waste products like coffee grounds, tea bags, beet scraps, and red onion skins.
You can also try carrot peels, fresh herb stems, red cabbage scraps, and citrus peels.
A variety of other heavily pigmented natural products like berries and fresh turmeric are also suited for this purpose.
Natural dyes are often more muted than the commercially available products, though this isn’t always the case. Experiment with different quantities of scraps to create dye, to see what you can come up with at home.

Natural Tri-Color Christmas Cookies – Get the Recipe Now
When using coffee grounds or tea, you can strengthen your extraction by varying the ratio of coffee to water, just as you would to create a bold or milder brew. Or you can gently rub some of the grounds into craft paper or fabric for a different effect.
In any case, it’s always best to try a test run before applying the color completely to your paper, fabric, or whatever else you want to dye, to make sure it looks the way you want it to before you go all in.
If you own dark wooden furniture that suffers from scratches, you can use coffee grounds to improve their appearance. Wet a few teaspoons of coffee grounds and rub them over the scratch with a cotton swab. Be sure to test this method in an inconspicuous area first!
While these aren’t typically the types of dyes that you’ll want to add to your baked goods, since they may impart their own – unwanted – flavors and may turn slightly brown when heated, there are some recipes guaranteed to yield pretty results.
Our recipe for tri-color Christmas cookies utilizes ground and dried turmeric, matcha green tea powder, and beet juice to create a naturally festive treat for the holiday season.
And our deeply vibrant spiced squash custards are naturally colored with the brilliant hue of pureed kabocha squash.
10. Spice up Your Sugar
When your recipe calls for the seeds in vanilla pods, don’t throw out the empty pods after you use them! Instead, you can make your own flavored sugar.
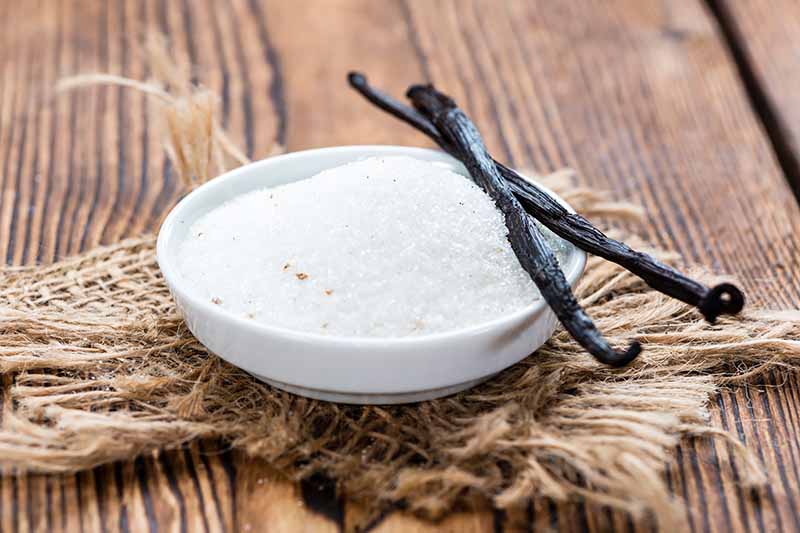
You can also do this with whole cinnamon sticks – you know, the ones that are hiding in the back of your spice rack?
Because vanilla pods will have more moisture than a cinnamon stick, allow the pods to sit out at room temperature on a cooling rack to dry for two to three days, or use a food dehydrator.
Mix a dried pod or cinnamon stick – or one of each for a flavor fusion – with 2 cups of white granulated sugar and store in an airtight container at room temperature in a cool, dry, and dark place like your pantry.
Allow the flavors to develop for a few days before using the sugar in recipes, or stirring it into your coffee or tea. The more pods or sticks you use in a single container, the stronger the aroma and flavor will be.
This works well with orange or lemon peels, too! Completely dry large pieces or strips of peel before mixing with sugar.
11. Use All the Leftover Cake
Sometimes we have some cake left over from a dinner or birthday party, and it quickly becomes stale. But it’s a pity to throw it away, especially if the cake was homemade!
So, what can you do with what remains?

Chocolate Trifle with Bananas and Whipped Cream – Get the Recipe Now
If it’s a plain cake with no frosting or glaze like our French yogurt cake or vegan chocolate cake, you could make your own sweet topping for creamy layered desserts, puddings, or yogurt cups by crumbling the pieces into fine crumbs. If you like, you can toast the cake first for more texture.
You can also cube plain cake and repurpose it into mini trifles, layered with any extra frosting and fresh fruit.
Take inspiration from our chocolate trifle, with chocolate cake pieces, banana slices, whipped cream, and pudding. The whipped cream and pudding will help to moisten any stale cake pieces.
Another great idea is to make cake pops – and you can make the pliable dough base with stale cake that has already been frosted.
Put These Tips into Action
So many of the food items we prepare on a regular basis can be enjoyed in more ways than we may think. Best of all, using these items to their fullest potential can help to reduce food waste.
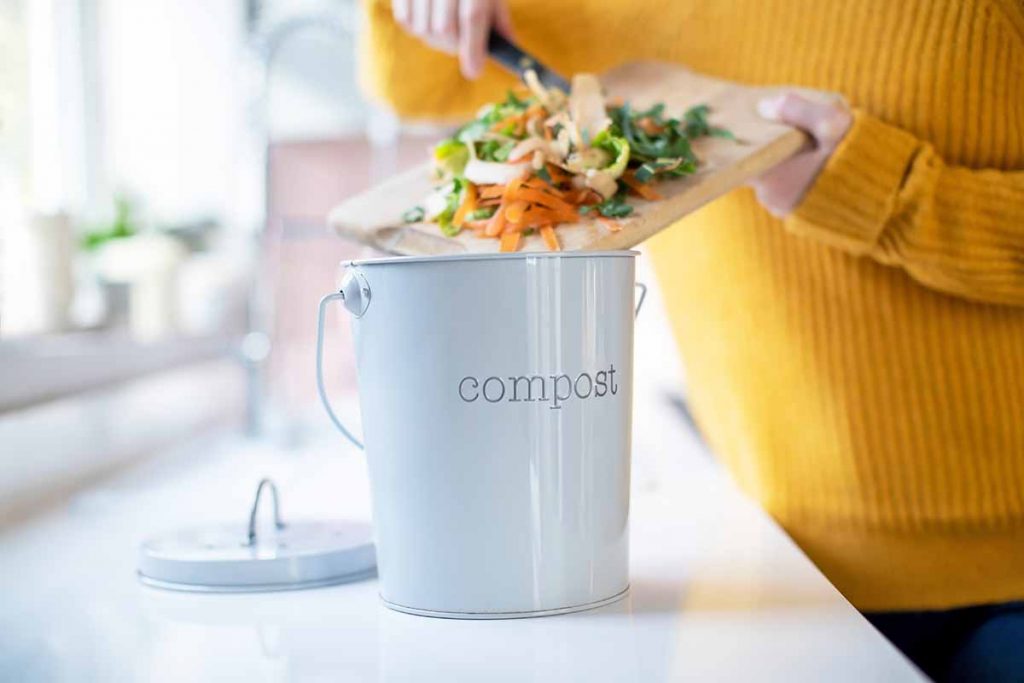
Before you put those citrus peels down the garbage disposal or toss those produce scraps or coffee grounds into the trash can, consider your options. There are so many to choose from!
What’s your experience with repurposing food scraps as household helpers? Do you have another great idea that wasn’t included here? Let me know about your favorite tips and tricks in the comments below.
But even with all of these suggestions, there’s far more household advice to discover! Learn other creative ways to store, cook, clean, and repurpose in the kitchen, starting with these articles:
About Nina-Kristin Isensee
Nina lives in Iserlohn, Germany and holds an MA in Art History (Medieval and Renaissance Studies). She is currently working as a freelance writer in various fields. She enjoys travel, photography, cooking, and baking. Nina tries to cook from scratch every day when she has the time and enjoys trying out new spices and ingredients, as well as surprising her family with new cake creations.




I certainly love seeing soups and stews on the list, and that is really my go to when it comes to using up the veggies that I always seem to have too much of. I think that I need to introduce more of the green smoothie thing into the routine though, and that sounds like another winner.
These are some fantastic ideas! I’ll have to go back and read some of the earlier articles mentioned at the beginning. I personally hate throwing out food waste, but I always found composting too smelly. I didn’t know that carrot tops can be used in pesto, and I love the graphic about using plants for food coloring. And while I usually eat as many vegetables as possible with the peels, I like the idea of cooking them as snacks. One of my favorite fiction books mentions “deep fried vegetable peelings”, and I think that would be great with a mixture of veggies, like zuchinni, carrots, etc., like after making a vegetable soup.
Another thing that I really hate is using chemicals to clean. The all-natural ones are great, but they’re a bit pricey. I love the idea of using potato skins to clean with. I will have to try that idea on the mirrors sometime. Thanks for posting this great article!
I cannot believe I skipped over the seeds part of this one. I happen to love pumpkin seeds and I have all sorts of plans this year. The place I work at this year got a lot of pumpkins for whatever reason and I am pretty sure I will be able to get to all of them for some seeds, so that means snacks for a long time.
I love the idea of using carrot greens in a pesto! I will have to look into what other green bits we can use (I know some are toxic!)
I never have potato peels (except for green bits and eyes anyway) as I cook them on the potatoes for the flavour and nutrients. But I am tempted to keep some to try cleaning my mirrors…
Compost I do have, but in the past when I had very little space, I sometimes dug scraps directly into the soil – it took very little time to break down and become soil. I include egg shells in my compost but may now try giving some more directly to my blueberry bushes, thanks for that idea 🙂
I was expecting this article to only be about vegetables and fruits then along came the stale cake. I’ve personally never had a cake go stale.
While I’m to trying most of these, I probably won’t use the fertilizer tip. I did it twice before using scraps and both times the plant pots somehow became infested with mosquitoes.
I love the ways we can use ????!! ???? stands for lemon.