When I was growing up, my parents loved hosting birthday parties at our favorite local pizza joint, where we would make our own individual pizzas.
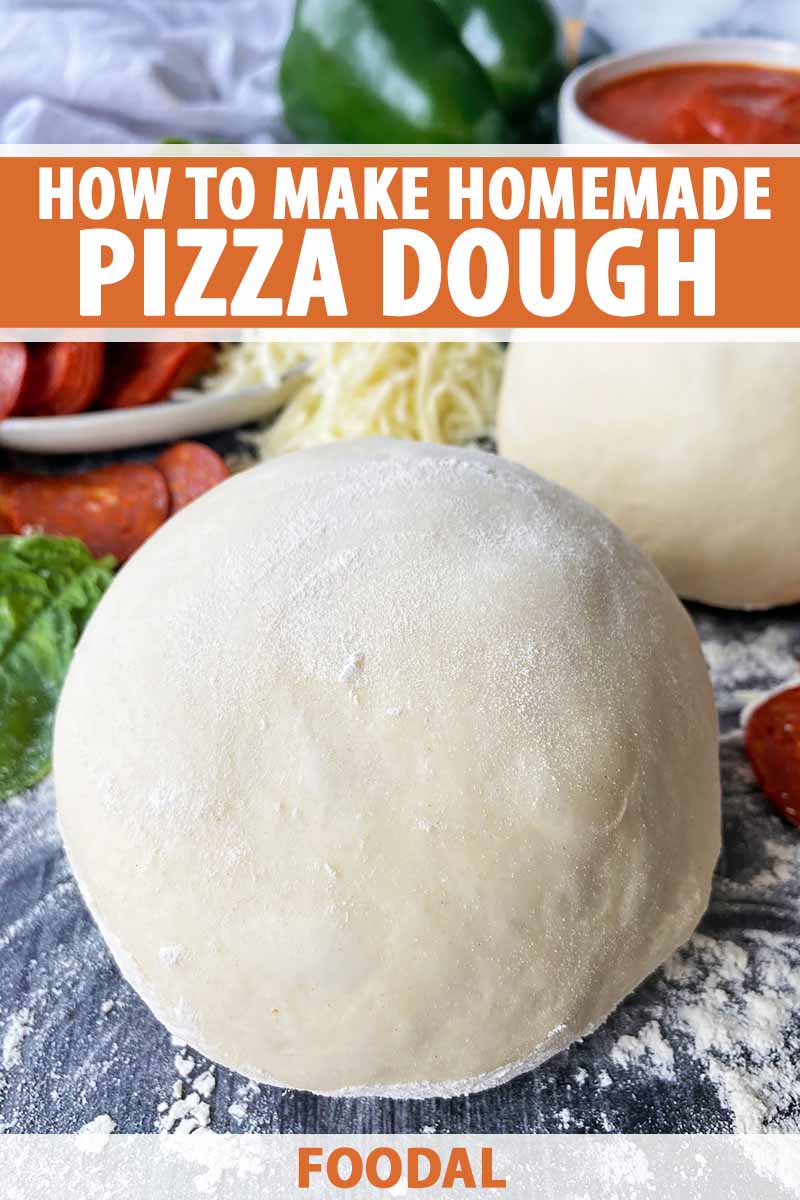
All of us kids would be set up in a big room at a long table, decorated to excess in whatever the ‘90s pop culture obsession was at the time, with appearances by the Little Mermaid and Teenage Mutant Ninja Turtles. And each of us was given a small mound of freshly made pizza dough.
When we weren’t repeatedly ninja-chopping it with our pudgy little hands or tearing off tiny pieces to eat when the parents weren’t looking, what I remember most was proudly standing over my small disc of a badly formed crust, spooning some sauce on it, and topping it with white strings of cheese.
I felt like such a cool cook!
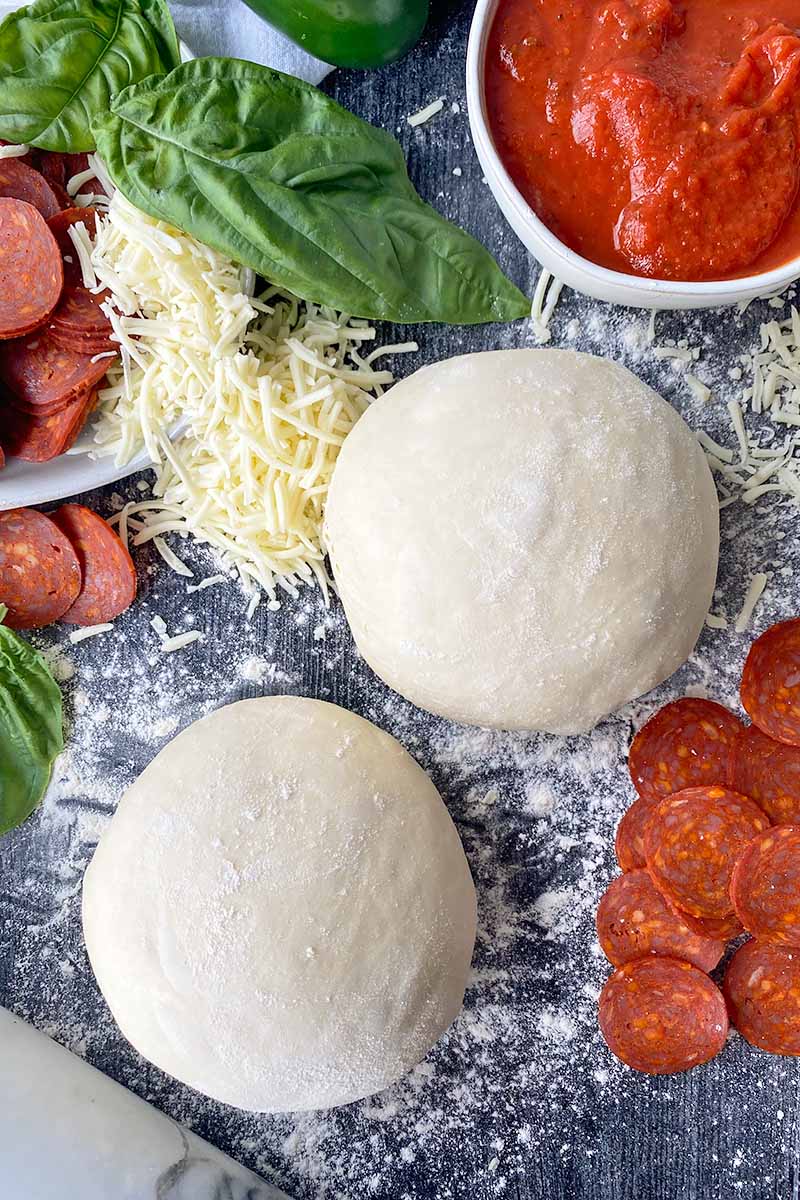
From those moments on, I knew that pizza would be part of my life forever.
I like the artisanal ones that are served at nice restaurants, the frozen ones packaged in cardboard boxes at the grocery store, and even something as simple as mozzarella and marinara sauce heaped high on a bagel and toasted.
It’s hard for me to hate any iteration, and easy for me to fall in love.
But even a hardcore fan like myself has to admit, homemade dough that’s crafted and formed with your own hands is so special. It’s a truly unique food experience unmatched by any takeout, restaurant, or grocery store option!

This article is all about learning how to make a basic pizza crust that’s easy to prepare. It’s fun and so versatile in terms of what you can do with it.
When you think about how inexpensive and readily available the ingredients are for a good crust, it’s a shame not to do it yourself, at least once!
You only need the following: water, yeast, sugar, olive oil, flour, and salt.
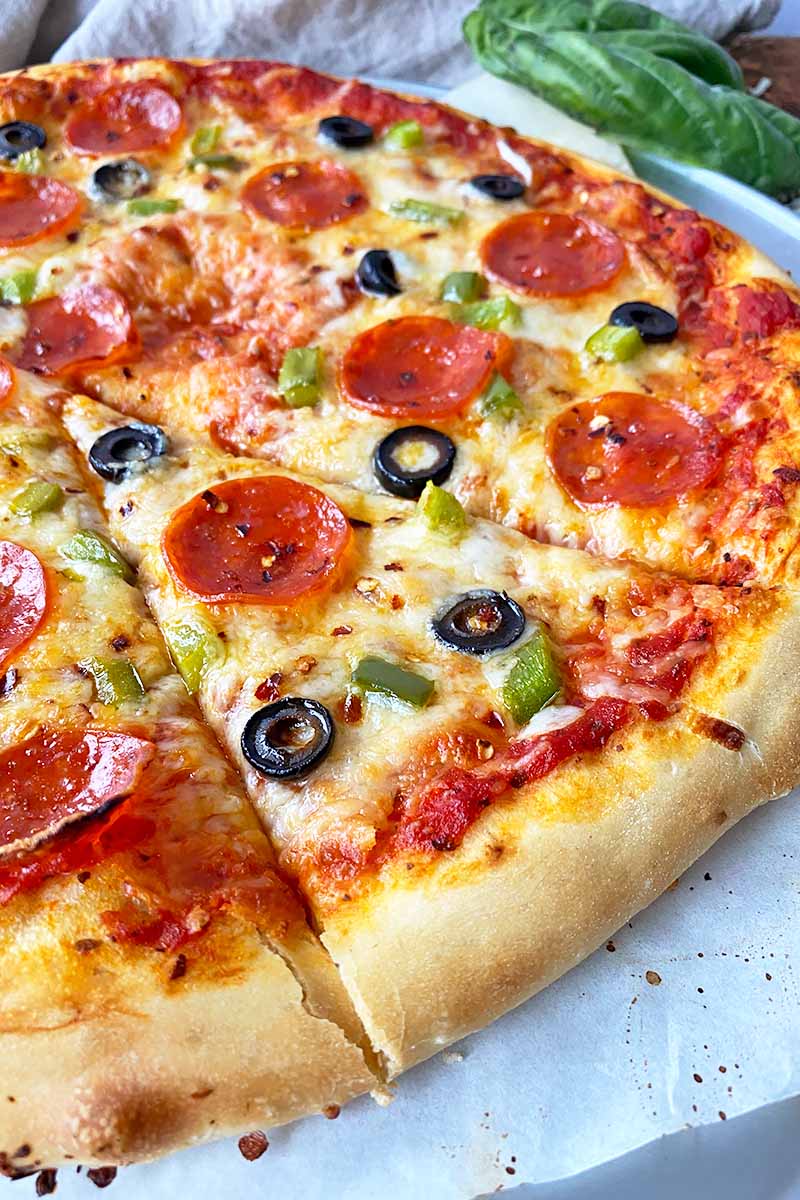
The process of forming it takes some time (so plan ahead for this meal!), but it is a beautifully choreographed combination of mixing, kneading, resting, and shaping.
As long as you have the patience and know-how that’s required to complete each step, the end result is a crust that’s chewy and substantial, one that holds up well to any variety of toppings.

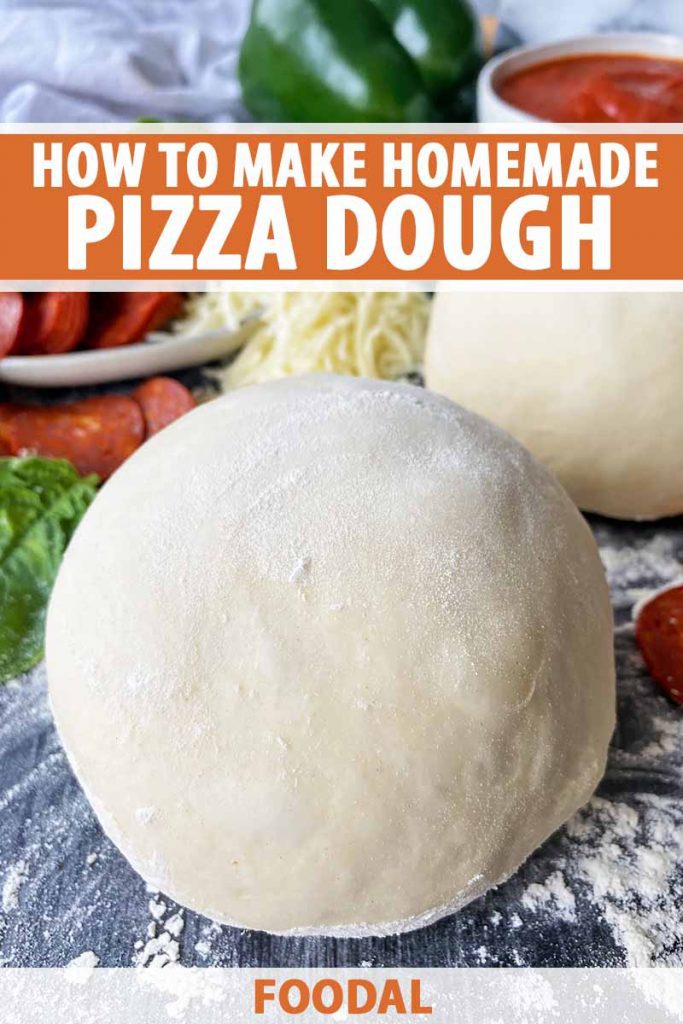
The recipe makes two round pizzas about 12 to 14 inches in diameter, depending on how thick you want the finished product to be.
It will be the perfect dough for when you are planning your next DIY pizza party at home!
Follow our recipe, and make sure you review the Cooking by the Numbers section below for even more tips and tricks that will help you every step of the way.
Print
Homemade Pizza Dough
- Total Time: 3 hours, 15 minutes
- Yield: 2 14-inch pizza rounds (8 servings each) 1x
Description
It’s so easy to make your own pizza dough. If you need a simple recipe, take a look at this one, and have some fun at your next pizza night.
Ingredients
- 1/4 cup warm water (110-115°F)
- 2 1/4 teaspoons (1/4 ounce or 1 small package) active dry yeast
- 1/2 teaspoon granulated sugar
- 1 1/4 cups room temperature water (65-75°F)
- 3 tablespoons olive oil, plus more for greasing
- 3 1/4 cups all-purpose flour or bread flour, plus more if needed
- 2 teaspoons kosher salt
Instructions
For the Dough:
- Pour the 1/4 cup warm water into a medium bowl. Evenly sprinkle the yeast and sugar onto the water, and whisk by hand to blend. Let the mixture sit for 5 to 15 minutes, or until the yeast is activated and the mixture looks frothy.
- Pour the activated yeast mixture into the bowl of a stand mixer fitted with a dough hook attachment. Add 1 1/4 cups room temperature water and the olive oil.
- Add the flour, and then sprinkle the salt on top. With the dough hook attachment, knead on low speed for about 2 minutes, or until the mixture forms a thick and cohesive dough.
- Remove the bowl from the stand mixer. Cover the bowl with plastic wrap or a damp, lint-free cotton towel. Let the dough rest and hydrate at room temperature for 20 to 30 minutes.
- Return the bowl to the stand mixer fitted with the dough hook attachment. Knead at medium speed until the dough is firm, elastic, and smooth, about 6 to 8 minutes. If the dough seems very sticky, slowly add in more flour and continue kneading to incorporate.
- Grease a large mixing bowl lightly with oil. Transfer the dough to the bowl. Cover the bowl with a new film of plastic wrap or another damp cotton towel. Let the dough rise at room temperature until doubled in size, 1 to 2 hours. Depending on the temperature of the room, the dough may need to rise for a shorter or longer period of time, so plan to adjust accordingly.
For Shaping, Assembling, and Baking:
- If using a pizza stone, preheat the oven to 500°F. Place the stone in the oven and allow it to heat up while preparing the pizza.
- If using a baking sheet, choose a metal rimless baking half sheet or 16-inch metal circular pan. Set out the sheet and line it with parchment paper. If using a rimmed baking sheet, turn the sheet upside down before lining with parchment paper. Preheat the oven to 425°F.
- Turn the dough out onto a lightly floured work surface. Divide the dough in half and form each half into a smooth ball. Cover the balls with plastic wrap or a clean towel, and let rest for 20 minutes.
- Work with one ball at a time, leaving the remaining half under the plastic wrap. Dust the top of the dough lightly with flour, and flatten the dough with your fingers or a rolling pin. Stretch and form the dough into a disc about 14 inches in diameter. Carefully transfer to the baking sheet or a pizza peel (if using a pizza stone).
- Apply your preferred toppings, leaving a 1/2-inch border around the edge.
- If using a pizza stone, transfer the pizza from the peel to the preheated stone in the oven. If using a baking sheet, transfer it directly to the oven.
- Bake for about 10-15 minutes on the pizza stone, or about 20-25 minutes on the baking sheet, until the crust is golden brown around the edges.
- Remove the baking sheet from the oven, or use a peel to transfer the pizza from the stone to a heatproof surface. Let the pizza cool slightly for 5 minutes before cutting into 8 slices.
- Serve immediately. Repeat with the remaining dough.
- Prep Time: 1 hour
- Cook Time: 15 minutes
- Category: Pizza
- Method: Baking
- Cuisine: Italian
Keywords: pizza, dough
Cooking by the Numbers…
Step 1 – Prep and Measure Ingredients
Measure out the warm water that you will use to activate the yeast separately from the room temperature water. Measure out the yeast, sugar, olive oil, flour, and salt.
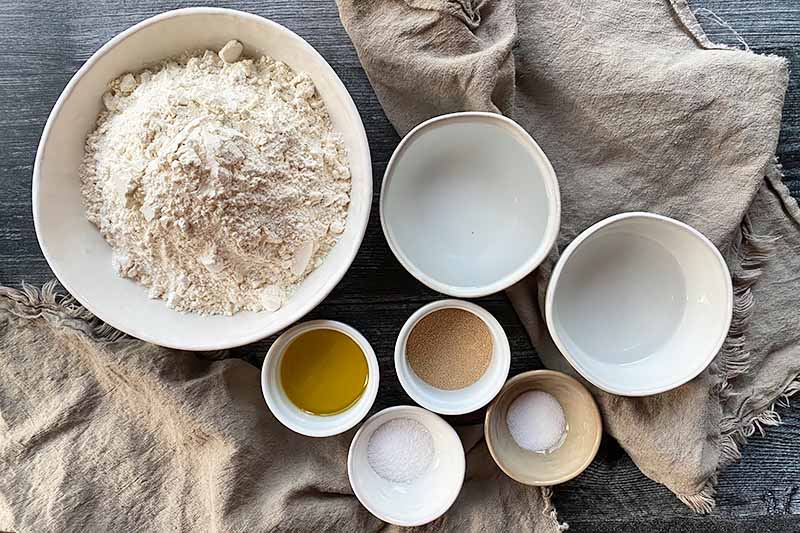
You can use either all-purpose or bread flour, both with deliciously successful results. The bread flour will yield a chewier, slightly crispier crust.
Step 2 – Make the Dough
Pour the 1/4 cup of warm water into a medium bowl.
The water should be warmed to 110 to 115°F in order to activate the yeast. If it is any colder, the yeast will be activated at too slow of a pace. If it is any hotter, the heat may kill the yeast, eliminating any opportunity for growth.
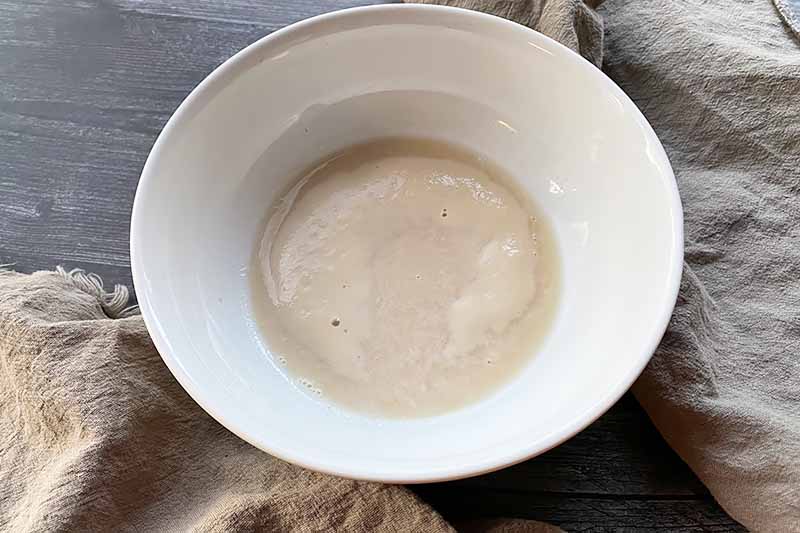
Evenly sprinkle the yeast and sugar onto the water, and whisk to blend. The sugar helps to feed the yeast.
Yeast tends to clump if it is sprinkled all at once in one spot, so it is best to spread the yeast around the entire surface of the water before whisking.
Let the mixture sit for 5 to 15 minutes, or until the yeast is activated and the mixture looks frothy.
Pour the activated yeast mixture into the bowl of a stand mixer fitted with the dough hook attachment. Add 1 1/4 cups of room temperature water and the olive oil. Extra-virgin olive oil will provide the most depth of flavor. For a less intense flavor, choose pure olive oil.
Add the flour, and then the salt. The salt is added last, because it can potentially slow the growth of the yeast if added while it is being activated.
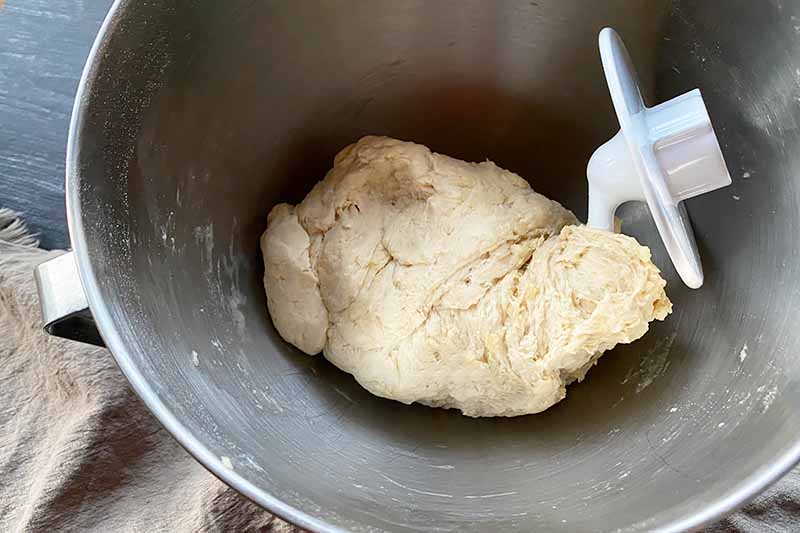
Knead on low speed for 2 minutes, or until the mixture forms a thick, cohesive mound. It will not be a smooth mixture.
Is there some flour on the bottom of the bowl that wasn’t thoroughly mixed in? You may need to remove the hook and use a pliable rubber spatula or bench scraper (or your hands!) to incorporate any remaining flour into the main mass.
You can also choose to make this recipe completely by hand without a stand mixer, working on a large surface or in a large bowl to knead.
Step 3 – Hydrate
At this stage, the dough is going to appear very thick, and not as smooth as what you might expect. No worries – everything is going according to plan!
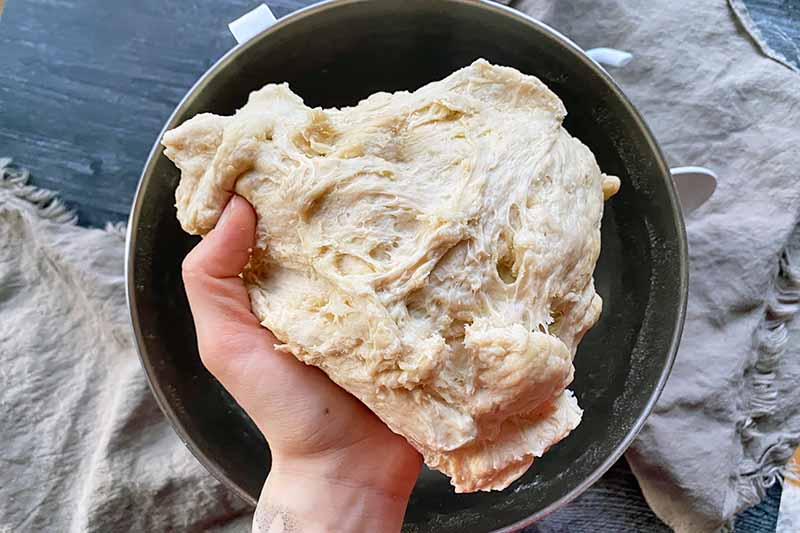
The next step is to allow it to rest. The flour will continue absorbing the water, which will soften the mound over a short period of time, and more readily activate the gluten network as you continue kneading in the next step.
Remove the bowl from the stand mixer, leaving the dough in the bowl. Cover the bowl with plastic wrap or a damp, lint-free cotton towel. Let it rest for 20 to 30 minutes at room temperature, or until it looks and feels softer and begins to rise.
Step 4 – Knead
Remove the plastic wrap or towel from the bowl. Return the bowl to the stand mixer fitted with the hook attachment.
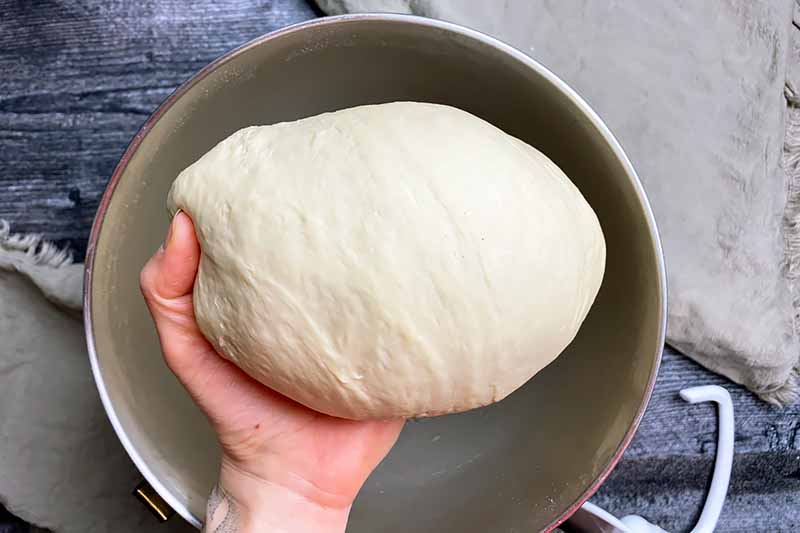
Knead at medium speed until the mound is firm, elastic, and smooth, for about 6 to 8 minutes.
To test the elasticity, you should be able to remove a small piece and gently stretch it out without it breaking immediately.
Step 5 – Proof
Remove the bowl from the stand mixer. Form the dough by hand into a smooth ball, and transfer it to a lightly oiled large bowl.
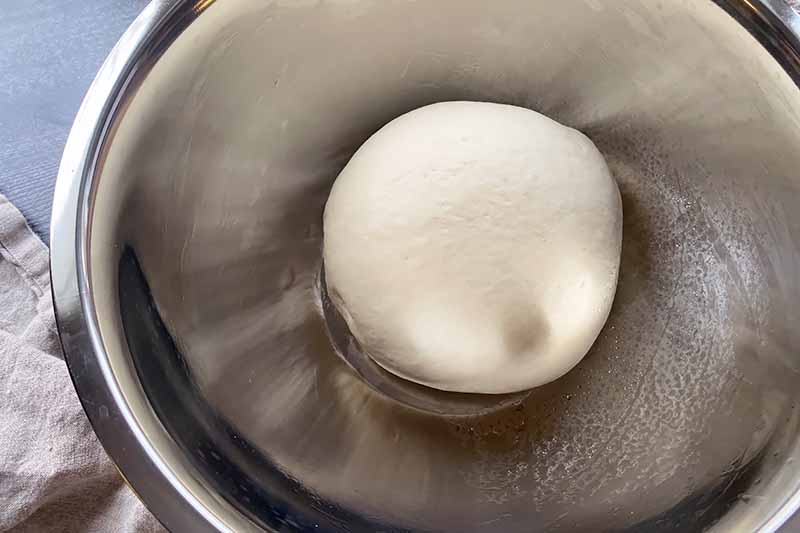
Cover the bowl with a new film of plastic wrap or a damp cotton towel. Let it rise at room temperature for 1 to 2 hours. Depending on the temperature of the room, it may need to rise for a shorter or longer period of time.
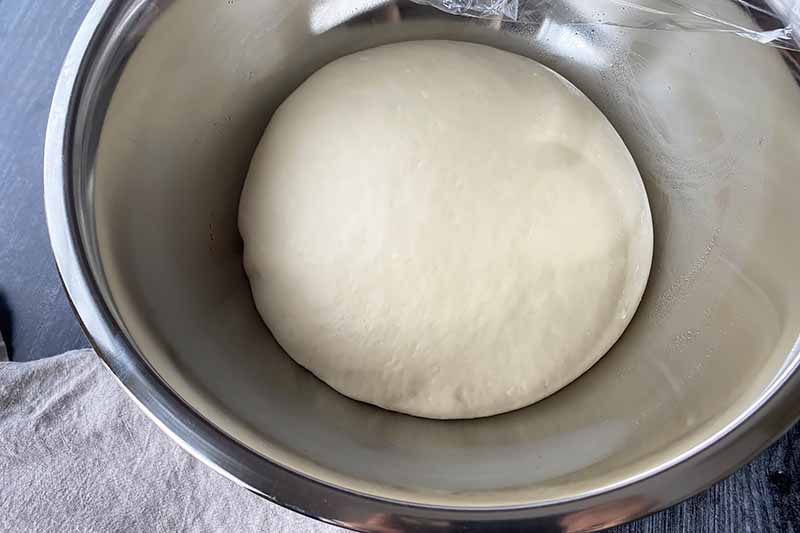
The main goal in this step is for the dough to rise until it has doubled in size. Taking a picture before you wrap the bowl can help you to determine when it has grown sufficiently.
Step 6 – Preheat the Oven and Portion
At this point, you need to prepare your oven, depending on the type of pan you are using.
Make sure the rack is in the middle of the oven for the most even heat distribution.
If using a pizza stone, place the stone in the oven and preheat the oven to 500°F.
If using a baking sheet (a rimless half sheet or a 16-inch circular pan is exactly what you need), set out the sheet and preheat the oven to 425°F.
A metal baking sheet will conduct heat differently than a pizza stone, and as such, it needs a lower setting and a longer cooking time for the crust to bake evenly. If the temperature is set to 500°F, the exposed crust of the pizza will brown far more quickly than the middle and bottom of the crust.
And no one wants a soggy bottom.
Once you have prepped the oven and pans, and the dough has doubled in size, remove it from the bowl and transfer it to a lightly floured work surface.
Is it sticking to the bowl a little? Use a pliable bench scraper to help scrape what remains from the bowl.
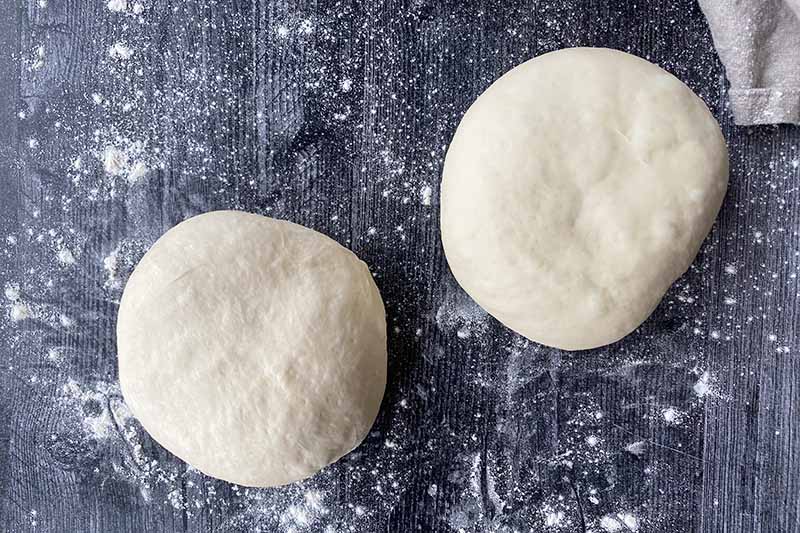
Divide the dough in half and shape each piece into a round ball. Cover the balls with plastic wrap or a towel, and let them sit for 20 minutes at room temperature.
This step will help to relax the tight gluten network, making it easier to stretch and shape in the next step.
Step 7 – Form the Round
Work with one half at a time, leaving the remaining half under plastic wrap or a towel on the kitchen counter. The half that you set aside will dry out and develop a skin if it is not covered!
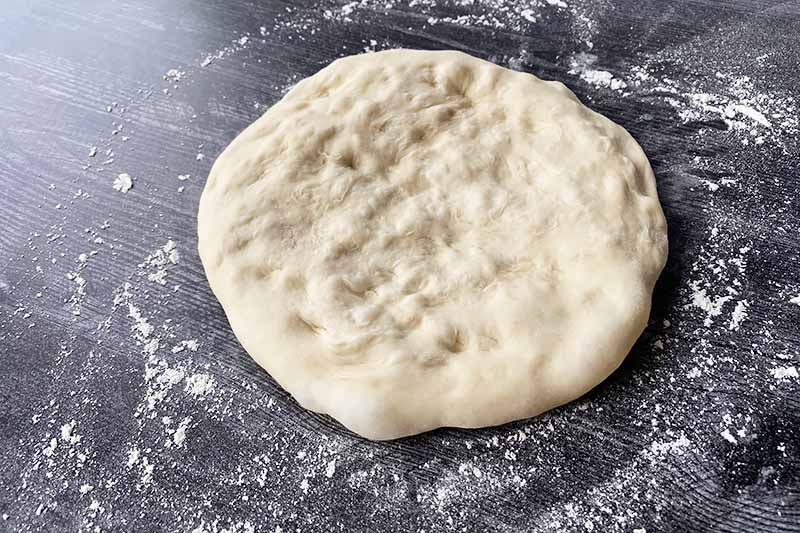
Dust the top of the dough lightly with flour, and flatten and stretch it with your fingers or a rolling pin into a disc about 14 inches in diameter, with a slightly thicker edge to create the crust.
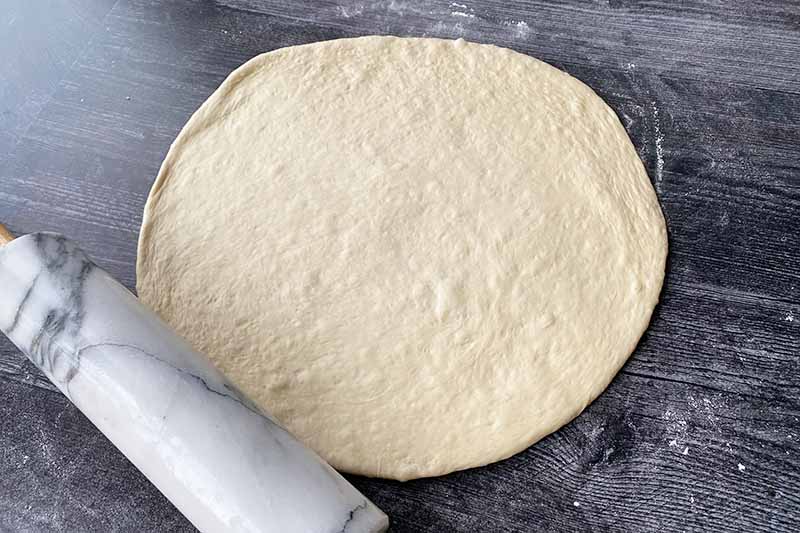
Transfer the pizza to a peel (if using a stone to bake) or a circular sheet pan. Both options will need to be lined with a piece of parchment paper to prevent sticking.
Step 8 – Add Toppings
Apply your preferred toppings, leaving a 1/2-inch border around the edge for the crust.

If you need some savory inspiration, consider these fun flavor combos:
Your options are limitless here!
Step 9 – Bake and Serve
Bake for 10 to 15 minutes on the pizza stone or 20 to 25 minutes on the baking sheet, until the crust is golden brown around the edge.
If using a pizza stone, remove the pizza with from the oven with a peel and transfer to a clean, heatproof surface.
If using a baking sheet, remove the sheet from the oven and place on a heatproof surface.
Let the pizza cool slightly for 5 minutes before cutting into 8 slices. Serve immediately.
Repeat the above steps with the remaining ball of dough.
Last-Minute Plans? Store the Dough!
Forgot you made some plans, and you’re right in the middle of making your most delicious pepperoni pizza yet?
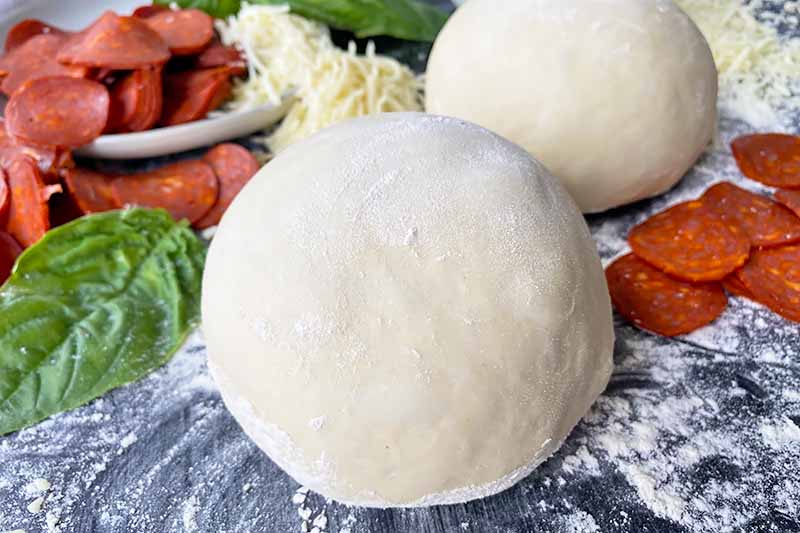
No need to throw anything away! You have a few options to store the dough for later use.
The best place to stop production is before the final proof in Step 4. You can either store it in the refrigerator or in the freezer, depending on when you wish to continue cooking.
In the Fridge
If you’re planning to serve this dinner within the next couple of days, store it in the refrigerator.
Form it into a smooth, tight ball. Put the ball in a large, lightly oiled bowl covered tightly with plastic wrap, or in a large, lightly oiled airtight container. You want the container or bowl to be about 3 times as large as the original round, since it will continue growing and proofing slowly in the refrigerator.
Store for a maximum of 2 days in the refrigerator. When you’re ready to move forward with cooking, remove it from the container and place it on a lightly floured surface, gently covered with plastic wrap or a towel. Let the dough double in size at room temperature, for about another 1 to 2 hours. Since the dough is cold, it may take longer for it to proof fully.
In the Freezer
You can freeze the dough for up to 2 months for long-term storage.
Line a baking sheet with lightly floured parchment paper. Divide it in half and roll each portion into a smooth, tight ball. Place the balls on the baking sheet, and loosely cover them with plastic wrap. Freeze for about 4 hours, or until completely solid.
Tightly wrap the frozen balls individually in plastic wrap. Store in the freezer.
To thaw, transfer the balls to the refrigerator and keep them there overnight.
When you’re ready to move forward with cooking, remove a ball from the fridge and remove the plastic wrap. Place on a lightly floured surface, gently covered with plastic wrap or a towel. Let the ball double in size at room temperature for about 1 to 2 hours. Again, because it is cold, it may take a bit longer for it to proof.
Note: If you have already fully proofed the dough, and ran out of time or you won’t be serving dinner until later on in the evening, that’s fine! You can still store it in the refrigerator or the freezer. You will need to let the dough come to room temperature for 30 or so minutes before you’re ready to use it from the fridge, or after you have thawed it in the fridge after you’ve removed it from the freezer.
Just keep in mind that you don’t want to risk over-proofing, so don’t leave it in the refrigerator for more two days max.
Enjoy the Made-from-Scratch Experience!
Now that you have everything you need for your next homemade pizza night, what will you make?
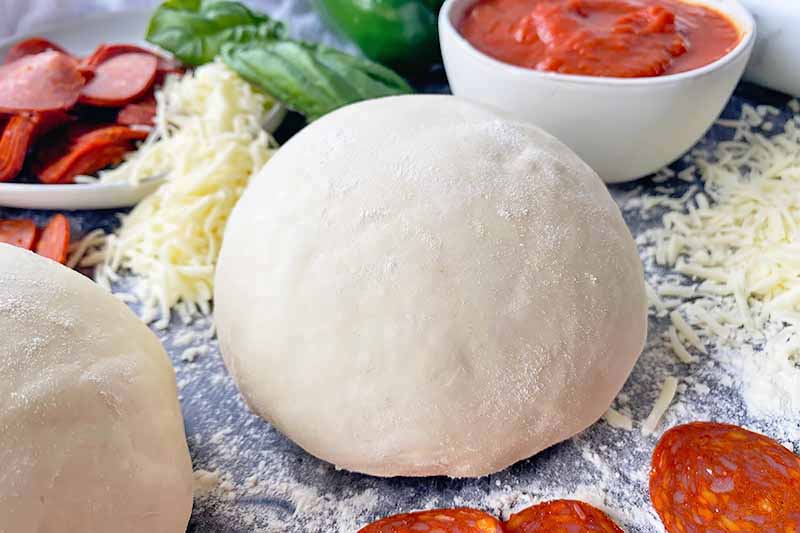
There are so many different topping ideas to choose from! Do you have a certain recipe in mind, or will you try a fun, build-your-own concept instead? Maybe you’ll grill it instead of baking it? Or maybe ditch the disc entirely, and go for a sausage and pepper calzone, spinach ricotta calzone, or pockets!
The (dough) ball is in your court! Leave a message in the comments section below with your ideas, or any questions you may have.
For more homemade pizza recipes featuring a fun crust, check out these delectable creations next:
Photos by Nikki Cervone, © Ask the Experts, LLC. ALL RIGHTS RESERVED. See our TOS for more details. Originally written by Shanna Mallon January 26, 2009. Last updated on January 25, 2022.
Nutritional information derived from a database of known generic and branded foods and ingredients and was not compiled by a registered dietitian or submitted for lab testing. It should be viewed as an approximation.
About Nikki Cervone
Nikki Cervone is an ACS Certified Cheese Professional and cheesemonger living in Pittsburgh. Nikki holds an AAS in baking/pastry from Westmoreland County Community College, a BA in Communications from Duquesne University, and an MLA in Gastronomy from Boston University. When she's not nibbling on her favorite cheeses or testing a batch of cupcakes, Nikki enjoys a healthy dose of yoga, wine, hiking, singing in the shower, and chocolate. Lots of chocolate.


i could eat pizza every day. it’s true. no lie.
i love chicago deep dish! my favorite little chicago pizza joint is actually in morton grove called burt’s place. awesome sauce, crust, toppings, everything!
yours looks delicious. and your photos look more beautiful with each post. what’s your secret?
i love your enthusiasm for pizza, even tho i don’t share it. i made my own dough once, for the daring bakers, and sigh. well… let’s just say i prefer to just buy my pizza already made, when the mood strikes me.
Deep dish is a fave. The crust is the best part of the pizza…even better when there’s just an overload of bread and sauce. Maybe it’s the pizza’s potentially sloppy factor that makes it so good!
LOL! In our house there’s a running inside joke about the pizza continuum (sp??). The bottom line: We love everything on it, from the cheapos from the freezer case to the takeout cheapos, all the way over to gourmet restaurant pies and our I-want-it-as-soon-as-I-think-of-it homemade. Someday I will make for you our barbecue chicken version, which is a nice break from the usual red sauce and pork varieties … Someday … 🙂
I love this blog and the shoutout to Chicago pizza! Last night, I was at Midway Airport (Chicago) and I overheard a visitor in the food court say “If I’m in Chicago, I have to try the pizza!” as they walked over to a fast food court Italian pizzeria. It was a sad moment – I hope they don’t think that’s what Chicago pizza is like! I should have ran over and stopped them.
This reminds me of the first time I met my husband Drew’s family…his mother had a “make-your-own-pizza” night, and I foolishly stole a pepperoni off of the top of his brother Tyler’s pizza. I learned quickly that my husband’s family does not share food. Which you’d think I’d have figured out, seeing as each person got an entire pizza to themselves. Tyler held that grudge for half a year, and even now, six years later, mentions it.
I’ll have to send this crust recipe to my mother-in-law–it sounds great!
oooh, pizza is a true love (second to burgers, if you must know). i’m on the lookout for a new pizza dough, so this is going into my bookmarks for the next time i make pizza! thank you.
I have eaten Chicago pizza once and it was amazing but I felt like I would never need to eat again. Anyway a pizza and a cookbook recommendation. You’ve just hit two pf my favourite things in one post. This looks great and love the topping combo.
we had pizza tonight 🙂 not homemade though.
I could eat pizza every day too. no lie. and, I can attest to the fact that Miss Amy from montague is a hard core pizza lover bc she and I put away a pie at our first meeting a few months ago. We don’t kid around.
My great grandmother used to make us pizza. the best. thanks for sharing this!
Chessa: *My* grandma used to make us pizza! There’s this horrible memory I have of my whining and crying to have a Pizza Hut pizza, so my grandma, the awesome cook, drove me to Pizza Hut, got me my personal pizza, and then took me home where she ate something else. With 26-year-old eyes, I think I was the biggest idiot ever. I had the best pizza maker right there, happy to make me her own!
ok, i made this tonight for my sister, she wanted pizza and i wanted her to learn how to make it from scratch. it did not make Isabella protest but i definitely kept an eye out on her. this recipe was sooooo much easier than the Daring Bakers one!
Yay! So glad you found it approachable. (PS: I love that you let me know how the recipes go for you. Makes me all happy inside.)