Are you ready for all the fall holiday gatherings that are starting to fill up the calendar?
I don’t know about you, but it feels like Thanksgiving is coming up really quickly. And other weekends and weeknights are filled with potlucks, parties, and family get-togethers.
Throughout the year, it feels like I never really have to go above and beyond with show-stopping recipes – until the holidays come around.
I don’t know if it’s just me, but I put the holidays up on a pedestal, and I always want to go above and beyond to make the dishes that I prepare truly memorable.
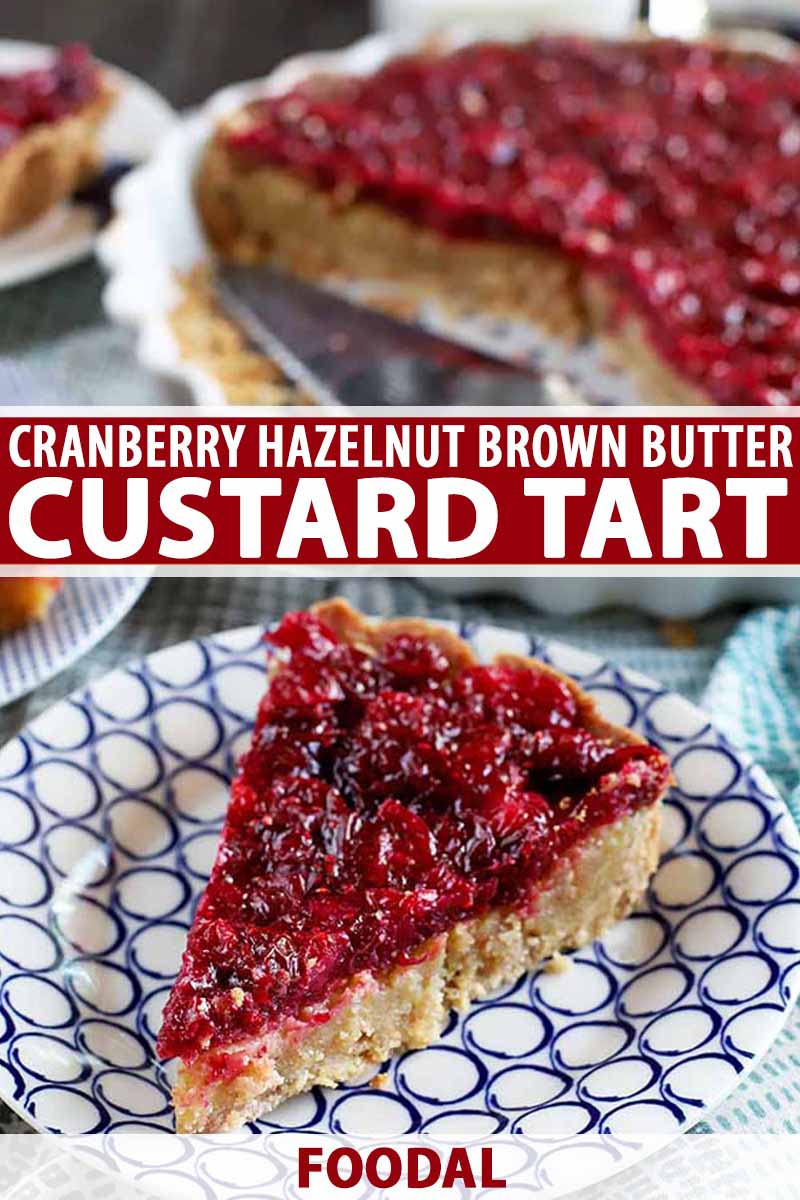
That is where this gorgeous and flavorful tart comes into play.
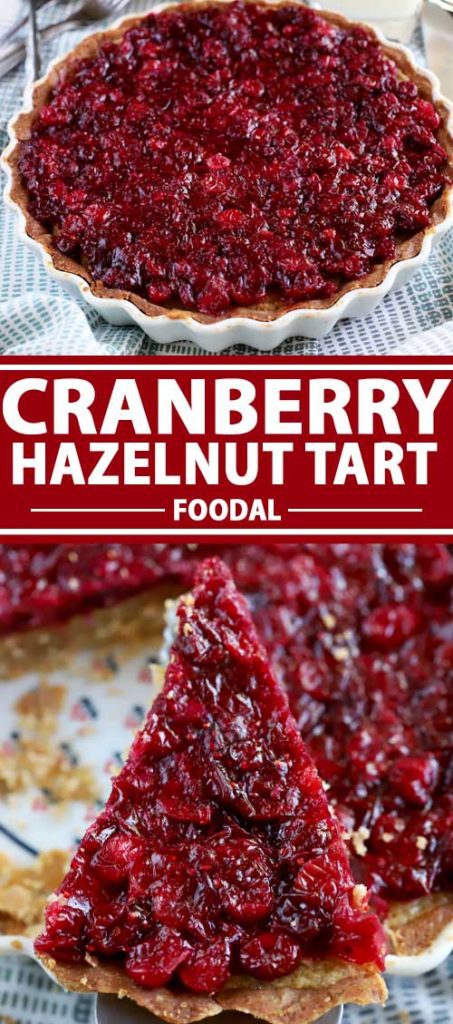
I mean, just look at this layered colorful tart. You can’t help but think of fall the moment you see it!
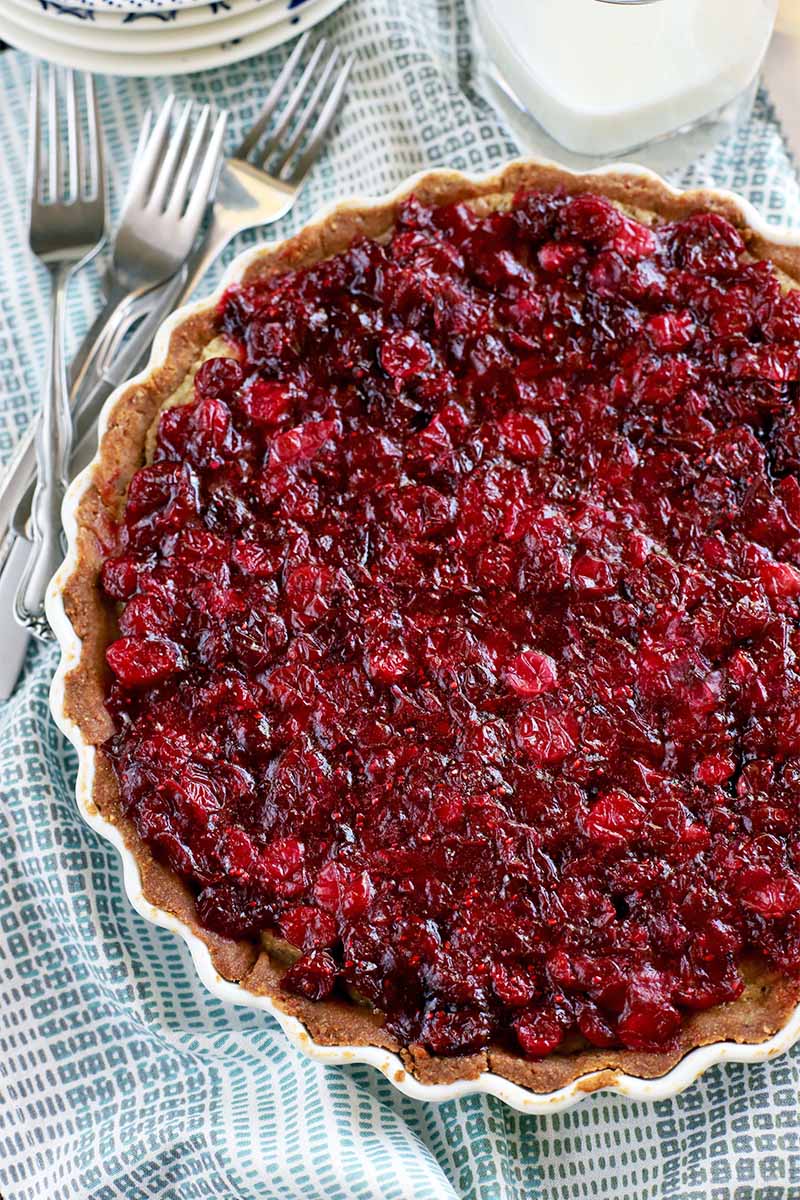
It’s full of so many different flavors, with a complex depth that you don’t always find in a dessert. If you make this, you are going to be wow-ing the crowd with every single slice.
Let’s talk about each layer of this stunning recipe, shall we?
To begin with, toasted hazelnuts flavor the crust to make it nutty and full of toasty flavor. Plus, the crust is insanely easy to bring together since you make it right in your food processor. Simply pulse it all together, then roll it out to fit the tart pan.
Yes, it’s really that simple.
After the crust comes the brown butter custard layer. Once you learn how to make brown butter, I can tell you that you will never want to do anything else with butter. The nutty flavor complements the flavors in the crust with an added richness that really elevates the entire dish.
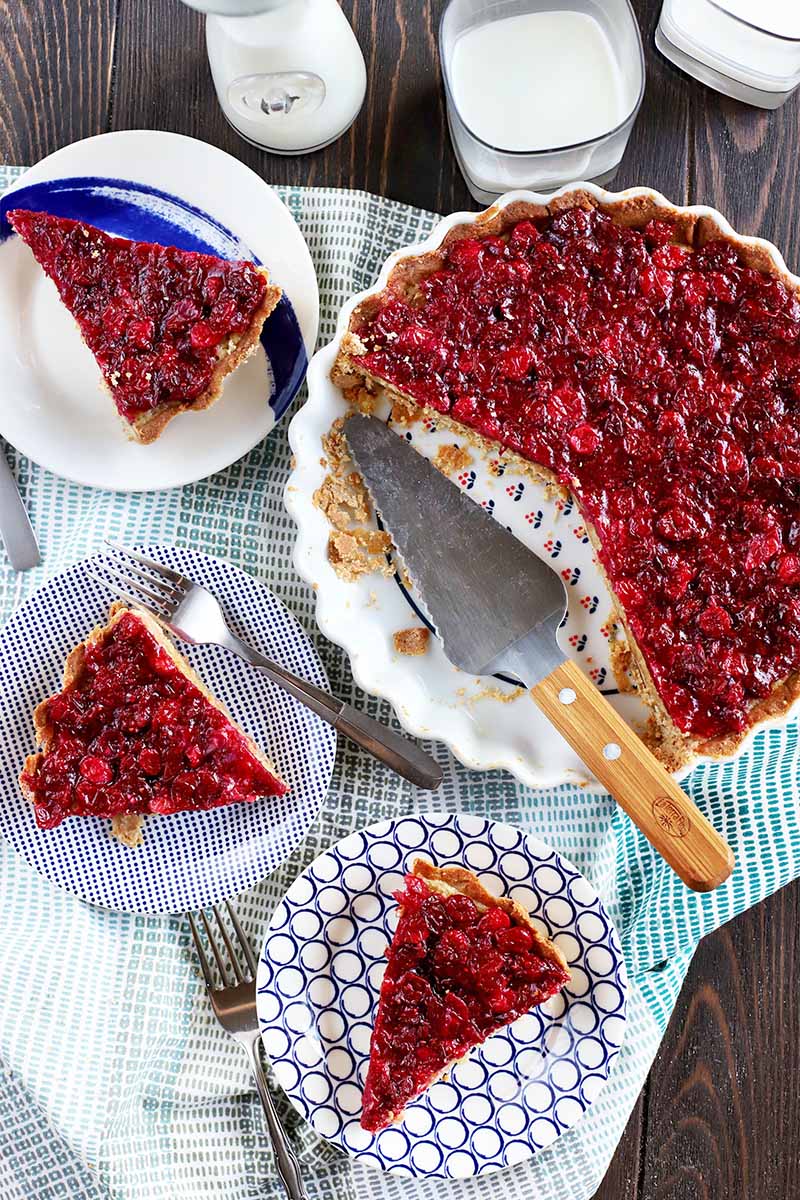
Finally, there’s the tart and tangy cranberry topping. The fresh cranberries, combined with a small amount of sugar, create the perfect balance with the rest of the tart. It brightens up the entire dish and cuts through the richness of the toasted and nutty flavors.
When you slice into it after chilling, you see these gorgeous layers with bright and earthy colors that embody the harvest season.
It’s the ideal closer for any autumn meal that you are planning to serve. No matter what your main dish is, this tart is an excellent selection. It’s both light and rich, without being too heavy.
It will satisfy your sweet tooth, but you won’t feel like you just devoured a giant molten lava cake of sweetness.
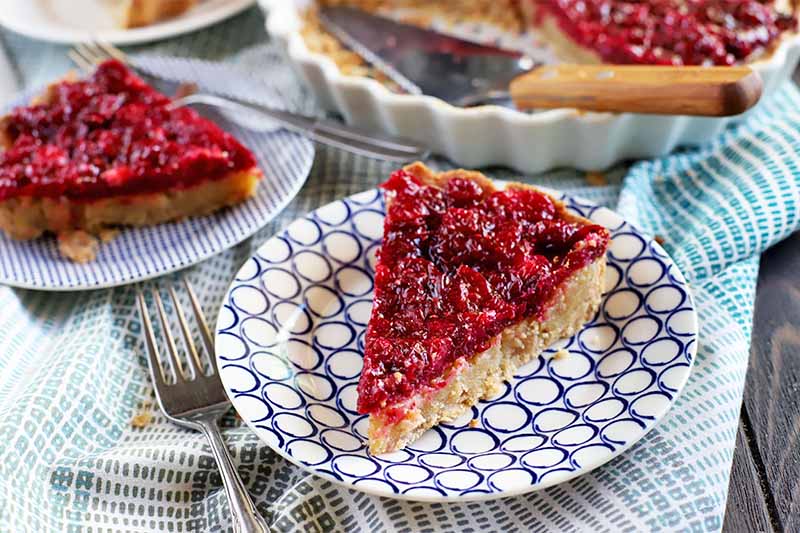
I also love that the dish is served chilled, unique in comparison to many of the other traditional harvest desserts that are served at this time of year. (Baked apples, anyone?)
To finish your festive meal, I highly recommend serving this dessert with champagne. The dry, bubbly effervescence really complements the sweet and tangy flavors in each bite.
It is a great way to celebrate any occasion, whether it’s Sunday dinner, Thanksgiving, or a simple friendly dinner party to celebrate another year of happiness.
Print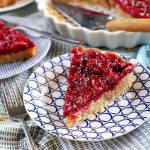
Brown Butter Cranberry Hazelnut Tart
- Total Time: 9hrs,16 minutes
- Yield: 1 tart 1x
Description
Want to really impress the folks at your next autumn gathering? Make this elegant brown butter custard tart with cranberry topping and a toasted hazelnut crust. It’s a gorgeous sweet and tangy dessert.
Ingredients
For the Crust:
- 1/4 cup toasted hazelnuts
- 1 1/4 cups white spelt flour
- 1/2 cup powdered sugar
- 1/4 tsp salt
- 1/2 cup plus 1 Tbsp unsalted butter, chilled and cut into 1/2-inch cubes (1 stick + 1 Tbsp)
- 1 large egg yolk
- 1–2 Tbsp ice-cold water
For the Filling:
- 3/4 cup unsalted butter (1 1/2 sticks)
- 1 tsp vanilla extract
- 3 large eggs
- 1 cup sugar
- Zest of 1 medium lemon
- 1/4 cup white spelt flour
- 1/4 tsp salt
For the Topping:
- 3 1/4 cups fresh or frozen cranberries (13 oz)
- 3/4 cup sugar
- 1/4 cup water
- 1/2 oz unflavored gelatin (2 packets)
Instructions
To Make the Crust:
- Generously butter a 9-inch round tart pan. In a food processor, pulse to grind the hazelnuts for about 30 seconds. You want a smooth medium grind; not chunky, but not a nut butter either.
- Add flour, sugar, and salt. Give them a quick pulse to blend together. Add butter and pulse into the dry ingredients a few times, until the mixture resembles coarse meal.
- Add egg yolk and 1 tablespoon ice water. Blend until the dough forms a ball. If your mixture is still too dry, add another tablespoon of ice water.
- Dump out dough onto a clean, floured work surface and bring it all together if there are any bits that haven’t clung to the ball. Flatten into a disc and then roll dough out into a circle that is larger than the mouth of the tart pan.
- Press dough into bottom and up the sides of prepared pan. Cover and chill for 1 hour in the refrigerator, or 30 minutes in the freezer.
- Preheat oven to 350°F. Poke holes all over the base of the dough. Line with foil and add pie weights or dried beans to blind bake the crust. Bake for 15 minutes, then remove from oven, and lift foil to remove the weights. Return to the oven for 10 minutes, until just beginning to turn golden.
- Cool on the counter, then cover with plastic wrap and chill in the freezer for about 20 minutes before filling.
To Make the Filling:
- In a small saucepan, melt the butter over medium heat until it starts to turn golden and smell nutty and toasty, about 5 minutes. Remove from heat and stir in vanilla. Set aside to cool.
- In a medium bowl, whisk the eggs with 1 cup sugar and the lemon zest.
- Slowly pour 1/4 cup of the egg mixture to the warm brown butter, whisking the entire time so your eggs don’t cook. Add the brown butter mixture back to the rest of the egg mixture, and whisk to combine.
- Whisk in the flour and salt.
- Pour the filling into the crust and bake for another 20-30 minutes at 350°F, or until golden and set (not jiggly in the center). Transfer to a rack to cool for about 1 1/2 hours.
To Make the Cranberry Topping:
- In a saucepan, combine the remaining 3/4 cup sugar with the cranberries and water. Bring to a simmer over medium-heat and cook until the cranberries just begin to pop and the sugar dissolves without stirring, about 5 minutes.
- Pour the into a bowl and sprinkle gelatin over the top. Stir, then refrigerate until cool for about 1 hour. Spread cooled cranberry gelatin on top of the tart.
- Chill the tart thoroughly for about 4 hours before serving.
- Prep Time: 10 minutes
- Cook Time: 1 hr, 15 minutes
- Category: Tart
- Method: Baking
- Cuisine: Dessert
Keywords: cranberry, brown butter, hazelnut, tart, Thanksgiving
Cooking By the Numbers…
Step 1 – Cube Butter, Zest Lemon, and Measure Remaining Ingredients
Cut the butter for the crust into cubes and place in a small bowl. Keep in the refrigerator until you are ready to use it so it stays chilled.
If the hazelnuts that you purchased are raw, toast them on a rimmed sheet pan in a single layer at 350˚F for about 10-15 minutes. Be sure to keep any eye on them so they don’t burn, transfer them to another pan, and allow them to cool completely before proceeding with the recipe.
Using a microplane or zester, finely grate the peel of a lemon.
Measure all remaining ingredients, and set them out on your counter as listed.
Step 2 – Make Crust
Generously butter a 9-inch round tart pan. You could also use a square pan, if that’s what you have. Make sure to get in each of the fluted edges so the crust doesn’t stick.
You can use a pan with a removable bottom, or one without, depending on what you have in your bakeware collection. I find the type with the removable bottom is generally easier to remove from the pan before serving.
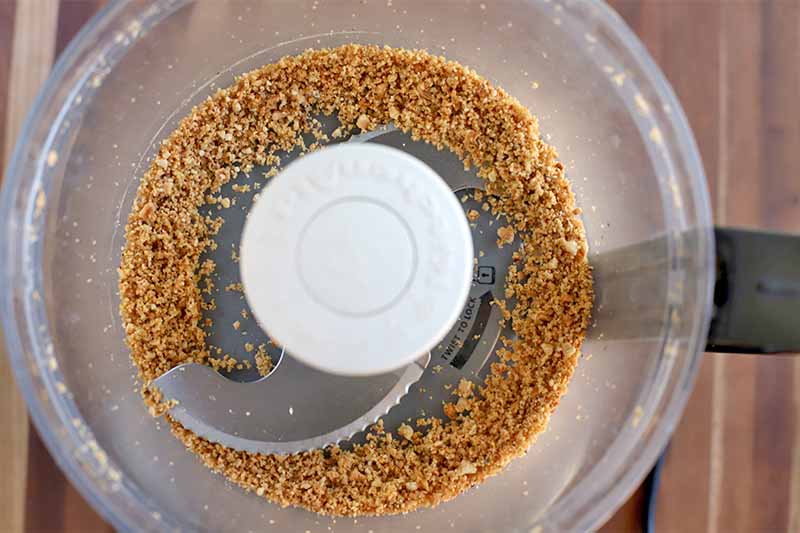
Add hazelnuts to a food processor and pulse for 30 seconds until they are ground. The mixture should not be chunky, but don’t grind it so much that you turn it into nut butter.
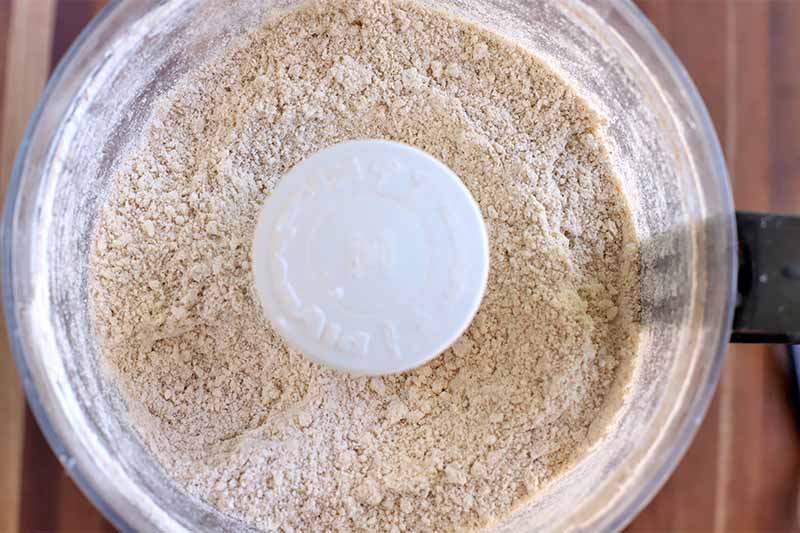
Add the flour, sugar, and salt for the crust to the food processor. Pulse again until blended.
Add the chilled butter and pulse the mixture again until the it resembles a coarse meal.
Add the egg yolk and a tablespoon of ice water. Blend the mixture until the dough forms a ball. If it’s too dry to come together, sprinkle with another tablespoon of ice water and continue to pulse.
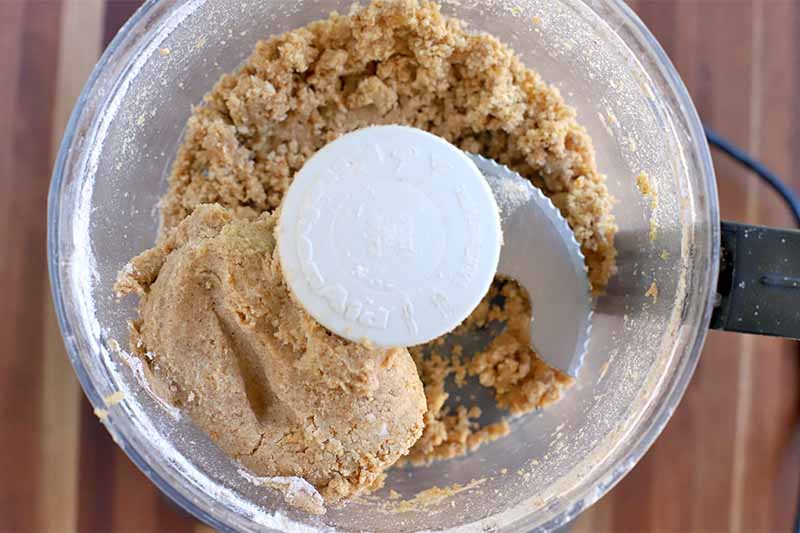
Turn out dough onto a clean, floured work surface. If you have one, a marble slab is perfect for this, since it will help to keep the dough cool. Bring dough together if there are any loose bits, and flatten into a disc.
Roll dough out into a circle that is 1 inch larger than the mouth of the tart pan.
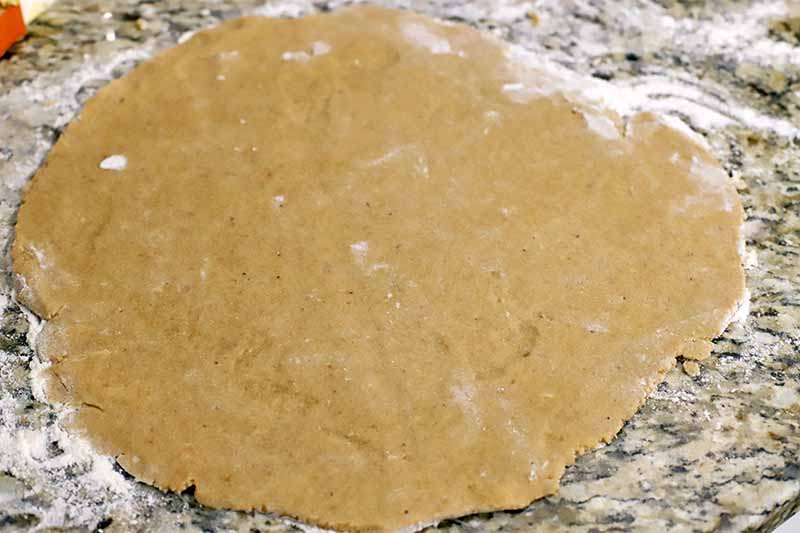
Gently transfer the dough to the pan and press it into the bottom and up the sides. Cover with plastic wrap and chill for 1 hour in the refrigerator, or 30 minutes in the freezer.
Step 3 – Bake Crust
Preheat oven to 350˚F.
Remove crust from the refrigerator and poke holes all over the base of the dough with a fork.
Cover the pie with foil or parchment paper, and then use pie weights or dried beans to blind bake the crust.
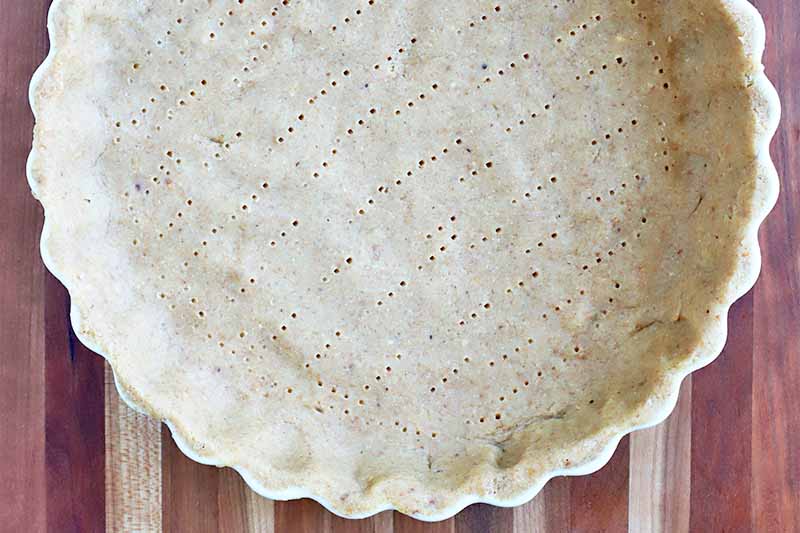
Bake for 15 minutes, remove from the oven, and lift foil to remove the weights.
Press back into place if any areas have puffed up, then return to the oven and bake for an additional 10 minutes, until the crust is just starting to turn golden brown.
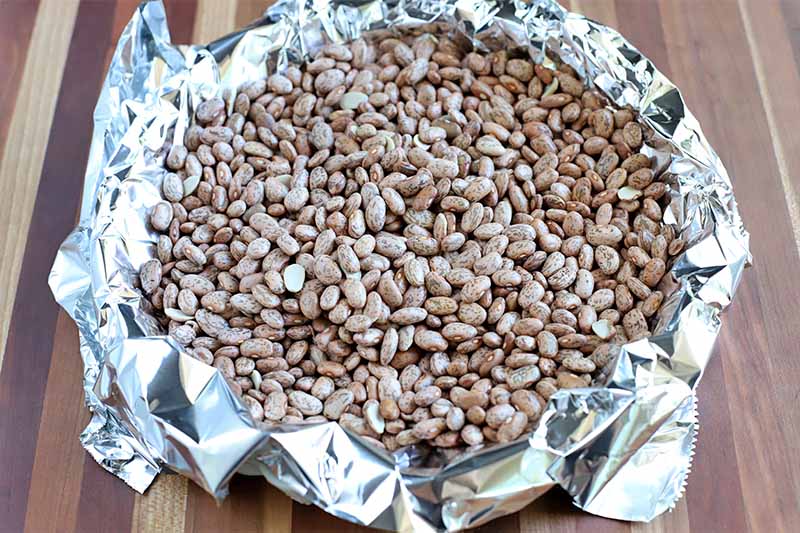
Cool on the counter, then cover with plastic wrap and chill in the freezer for about 20 minutes before filling.
Keep the oven on.
Step 4 – Make Filling
Add the butter to a small saucepan and melt over medium heat. Cook until the butter becomes golden brown and starts to smell nutty and toasty. This will take about 5 more minutes.
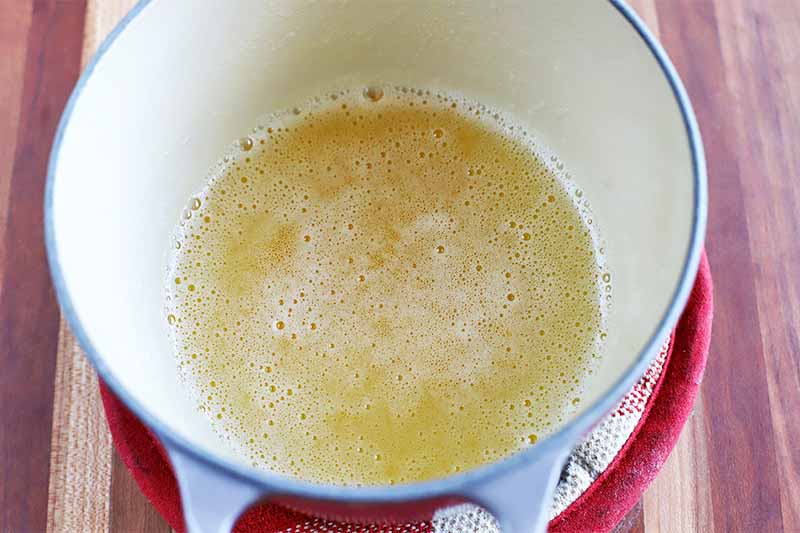
Remove from the heat and stir in the vanilla extract. Set aside to cool.
In a medium bowl, or using your stand mixer, whisk together the eggs, sugar, and lemon zest.
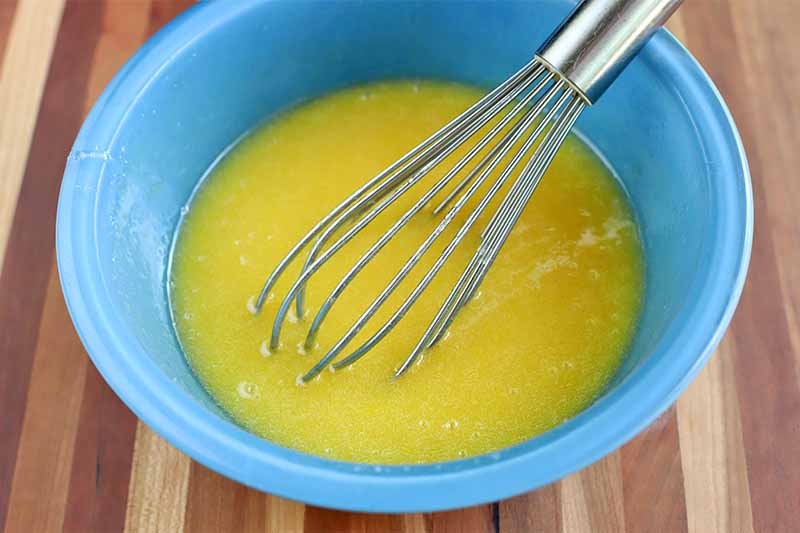
Now it is time to temper the custard mixture. Slowly pour about 1/4 cup of the egg mixture into the warm brown butter, whisking quickly to combine without letting your eggs cook in the warm butter.
Once the mixture is completely combined, you can slowly pour the brown butter and egg into the rest of the egg mixture. Again, you want to whisk the entire time, until the mixture is combined.
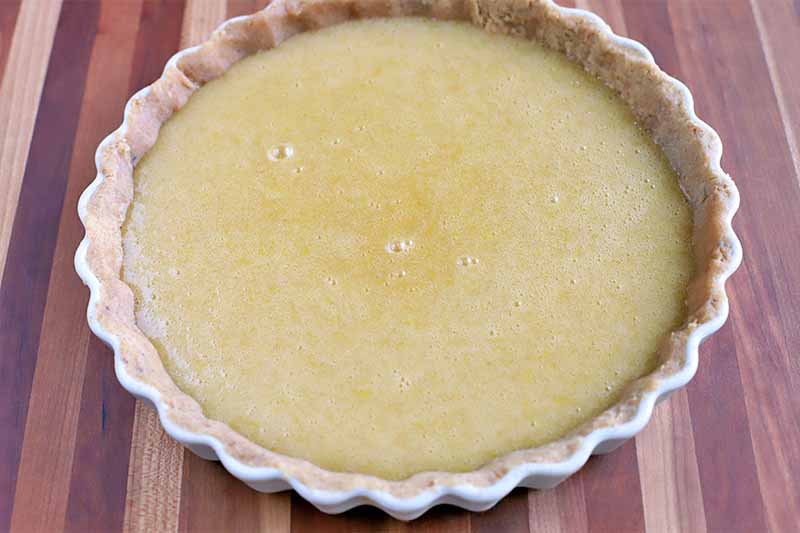
Whisk in the flour and salt. Pour the filling into the cooled crust.
Step 5 – Bake and Chill Custard
Return to the oven and bake for 20-30 minutes, or until the top is golden brown and set. It should not be jiggly in the center.
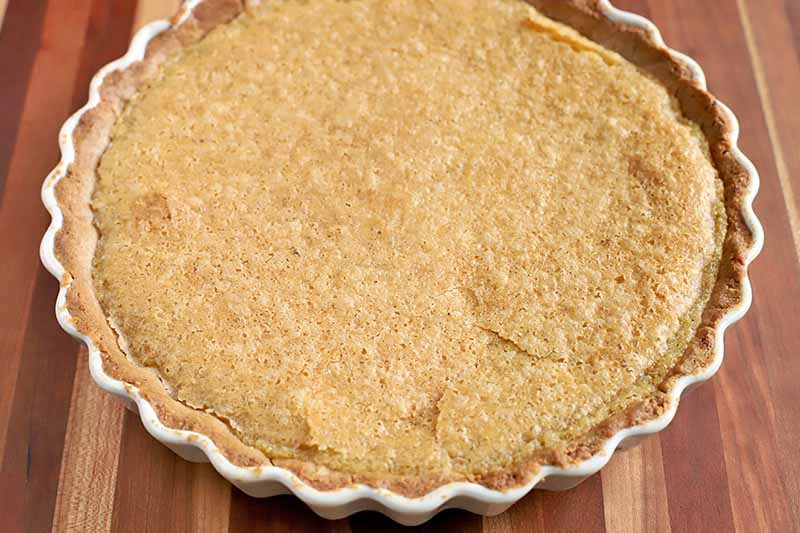
Remove from the oven and transfer to a cooling rack. It will take about 1 1/2 hours to cool completely.
You can turn off the oven at this time.
Step 6 – Make Topping and Chill
In a medium saucepan, combine the remaining 3/4 cup sugar, cranberries, and water. Bring the mixture to a simmer over medium-high heat.
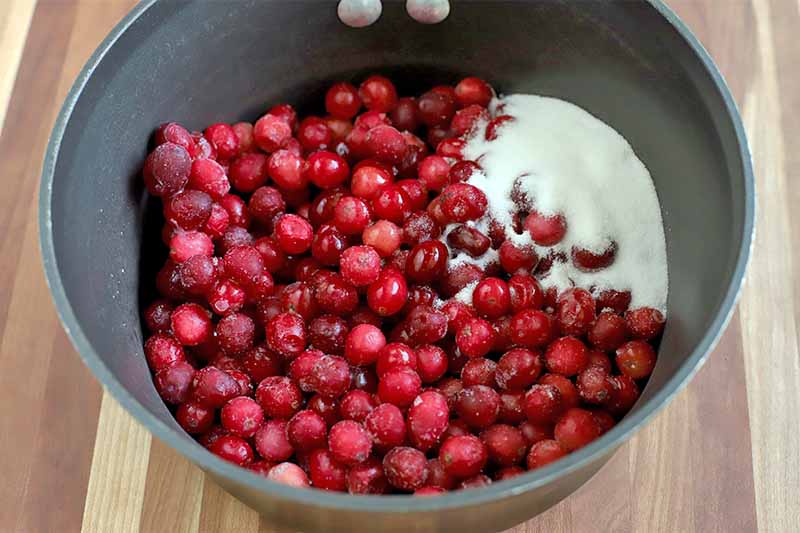
Cook the mixture without stirring until the cranberries just begin to pop and the sugar is dissolved. This will take about 5 to 7 minutes.
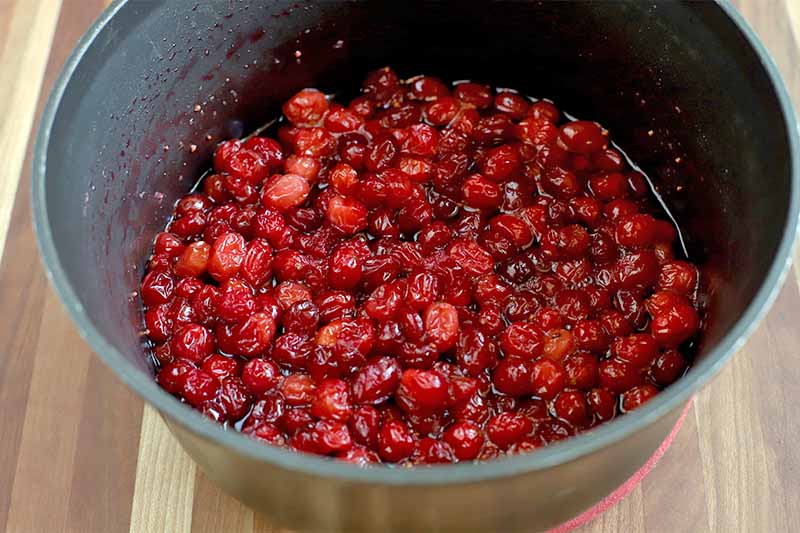
Pour the cranberries into a large bowl. Sprinkle with gelatin and stir to combine completely.
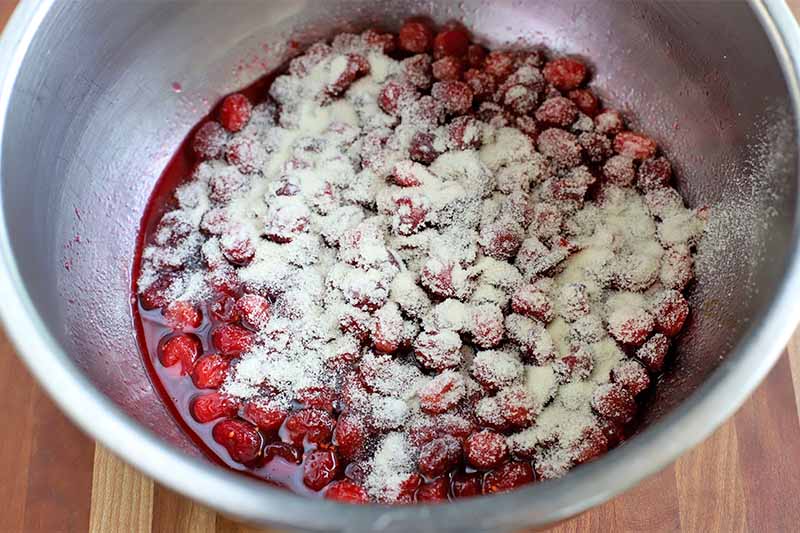
Refrigerate until cooled, about 1 hour.
Step 7 – Finish
Once the cranberry topping is chilled and set, spread the mixture on top of the cooled tart.
Place in the refrigerator and chill completely. This will take about 4 hours.
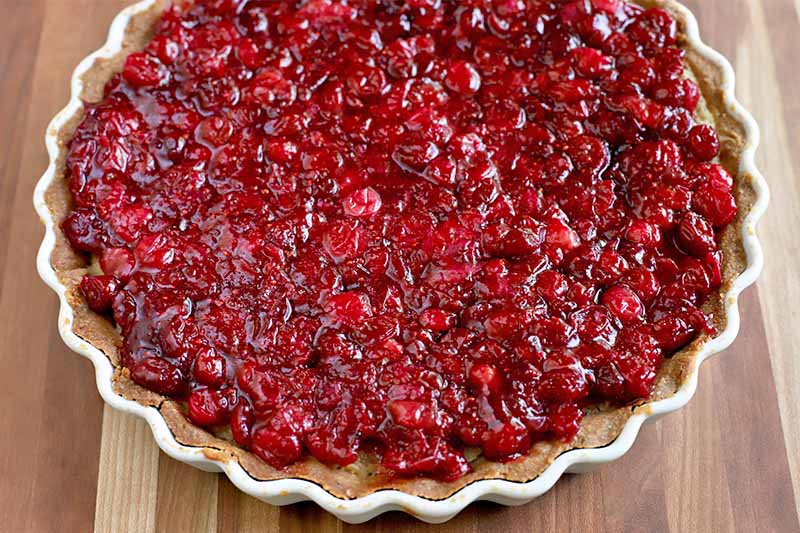
Carefully lift the base out of the collar if you used a two-piece pan. Cut the tart into wedges and serve.
You Can Make This Tart Ahead of Time
As you can probably tell from the recipe times listed, this tart takes a bit of time to pull together. It’s not a lot of active cooking, but there is a good amount of chilling involved, so you have to wait a bit.
To make your life a little easier, I highly recommend making this tart one or two days ahead of when you plan to serve it.
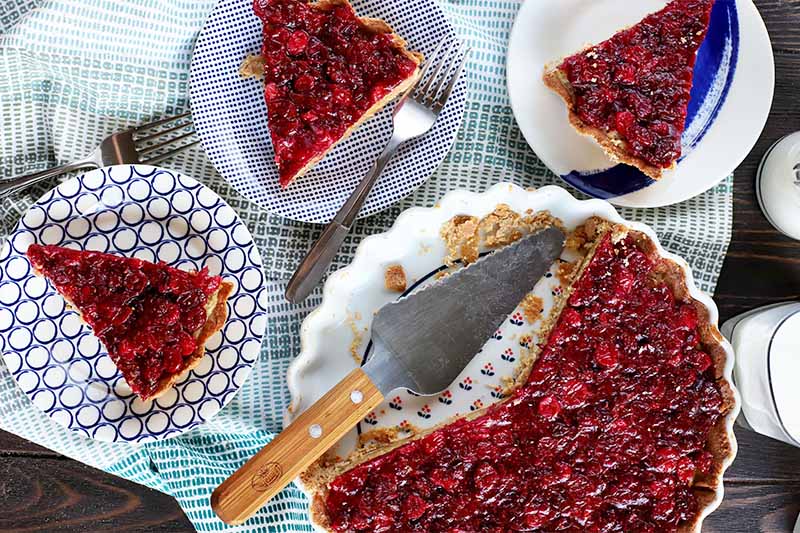
Thankfully, since the entire thing needs to be chilled, it keeps well in the refrigerator for a day or so. Simply cover it with plastic wrap and you are all set to let it rest in there until you are ready to serve it.
For another sweet treat with a complex combination of flavors that’s served chilled (and that’s bursting with the taste of fall) try our recipe for Pear Sorbet with Ginger-Infused Maple Syrup.
Or for more tasty cranberry recipes, these might tickle your tummy:
- Cranberry Upside Down Cake
- Cranberry Chocolate Chip Scones
- Moosebeereherbstblätter Bowle (Cranberry Autumn Leaves Punch)
If you’re looking for another elegant tart recipe to make, try these:
Would you serve this tart at the end of an epic dinner, or would you bring it to a potluck? Tell us in the comments below, and be sure to come back to rate the recipe once you try it.
Photos by Meghan Yager, © Ask the Experts, LLC. ALL RIGHTS RESERVED. See our TOS for more details. Originally published by Shanna Mallon on December 13, 2011. Last updated: November 13, 2022 at 13:44 pm.
Nutritional information derived from a database of known generic and branded foods and ingredients and was not compiled by a registered dietitian or submitted for lab testing. It should be viewed as an approximation.
About Meghan Yager
Meghan Yager is a food addict turned food and travel writer with a love for creating uncomplicated, gourmet recipes and devouring anything the world serves up. As the author of the food and travel blog Cake 'n Knife, Meghan focuses on unique foodie experiences from around the world to right at home in your own kitchen.



so sweet. this is Christmas – love and light, family and friends, and pie. love that you used your wedding burlap to make stockings and wrap gifts. Happy Holidays!
right? I credit Pinterest with that burlap-wrapping inspiration. : )
Whoo hoo, pie party!! So glad to be a part of it! 🙂
Thanks again for coming and for bringing your pumpkin pie! You’re so easy to be with–looking forward to seeing you again soon!
this is so very sweet. and incidentally, my darling love read The Gift of the Magi to me just last night, i’d never heard of it before.
and that dark chocolate tart has been on my list since it was posted last month.
Make it. AMAZING.
Ah! I think I just started crying a little. You two are so sweet and it warms my heart!
Also: Thankyou thankyou thankyou for this dark chocolate tart recipe. This girl needs it.
Aw, thanks, Joanna! And that dark chocolate tart was so so so so good.
Wonderfully written!
Your first Christmas is so sweet! I love the traditions you’ve started!
Thanks, Michelle!
My husband and I do the same thing with an advent calendar each year too! It really makes us feel present during the holiday month, since we get so busy with work. These pies sound amazing! I’m going to have to make the cranberry one, thanks!
You do? I love that! : ) And I totally agree that it’s a great way to stay connected when things get really busy.
We’ve been doing such big things with our Christmases (last year, Asheville, this year, Ireland), that I can’t wait for next year. Maybe then we’ll start our own traditions!
Ireland! How exciting!
It’s posts like these that make me wish I could keep nuts in the house (darn my Mister’s allergies).
Maybe I could make this next time I go to my mum’s (and then get thorougly clean afterward.
Looks divine!
Ha! Or you could just stick to the chocolate tart which, nut-free, is heaven!
What a beautiful post. Makes me want to just stop for a minute and think about what I can do to make this Christmas special before it’s too late.
I love hearing that, Michele! Merry Christmas!
Oh, I feel like I say this with every post, but how lovely! I, too, have been thinking a lot about holiday traditions lately. This is our first Engaged Holiday Season, and next year will be our first as Marrieds, and it just gets a girl thinking, doesn’t it? Our families have such different traditions (because, duh, Chanukkah vs. Christmas. Not the same holiday) that I am really having fun thinking of how we want to combine them and start our own. We visit both families every year (the benefit of having different holidays), and decorate our own home with dreidels and stockings (and a 7 foot tree this year!), and I really love creating new traditions together. It’s one of my favorite soon-to-be-married things 🙂 Plus, the colder weather and general merriment of the holiday season is perfect for getting cozy and thinking of traditions and family.
This post just warmed my heart. I love everything about it.
And I’ll have to admit, I’ve been overthinking what our first married Christmas will be like next year. So much so that I’m afraid I started looking past our first engaged Christmas. Luckily, I have a fiancé to remind me of how much I love this season and how I shouldn’t overlook it.
Wishing you and Tim the happiest and warmest first married Christmas 🙂
@Kim and @Laken – Love hearing from you two engaged ladies. : ) Tim and I never had an engaged Christmas, but I bet that’s pretty special, too—hope you both have a wonderful holiday, including anticipations of the next one!
Oh, how I love your traditions, your pictures and your writings.
It’s al just so wonderfull, romantic and creative!
My heart just melted a little bit.
Eva
Thank you for that sweet comment, Eva! : )