At one time or another, it’s happened to all of us – making a mistake while cooking!

Maybe you were able to catch and correct it on your own before anyone else noticed.
Or perhaps you had to swallow your pride and serve burnt tuna steaks that had taken on a striking resemblance to hockey pucks.
Not all of the results of common cooking errors are disastrous – sometimes, it’s just a flavor or texture that’s a little off. Or it could be a dish that’s a bit too bland, or oily, or dry.
Other kitchen botches are simply hand-me-down bad habits, because that’s how dear old Mum did it.
So, if you think some of your culinary efforts are falling a bit short, have a look at the following list to see if you’re making any of these common cooking mistakes.
We’ve scoured our own readers’ comments, gathered confessionals from everyone on our staff, and researched numerous online food forums to find the most frequent cooking issues.
Let’s have a closer look at some of these recurring kitchen blunders, examine what their causes are, and of course, reveal the solutions for healthier and smarter cooking!
21 Common Cooking Mistakes and How to Avoid Them
- You Don’t Read the Entire Recipe Before Beginning
- You Make Poor Substitutions for Your Diet Plan
- You Don’t Adjust Quantities when Subbing Fresh for Dried Herbs
- You Are Wasting Salt When Marinating
- You Always Forget to Soften the Butter
- You Aren’t Using the Right Oils for Cooking
- You Don’t Allow the Pan to Get Hot Enough
- You Crowd the Pan as You’re Cooking
- You Don’t Taste What You’re Cooking
- You Cook Veggies Until They’re Soft and Mushy
- You Struggle with Homemade Baked Fries
- You Can’t Boil an Egg to Save Your Life
- You Overcooked Your Pasta, Again
- You Can’t Make a Smooth Sauce or Gravy
- You Don’t Allow Rice to Steam After Cooking
- You Can’t Stop Your Fresh Salad Greens from Wilting
- You Attempt to Cook Tough Meats Quickly
- You Don’t Use a Meat Thermometer
- You Don’t Allow the Meat to Rest Before Carving
- You Don’t Slice Meat Against the Grain When Carving
- You Don’t Know How to Clean Your Cast Iron
1. You Don’t Read the Entire Recipe Before Beginning
Why is this one important? Because you really don’t want to be just a few hours away from serving your first Thanksgiving dinner for guests when you read the part about having to thaw the turkey in the fridge – for two days!

In our age of scanning headlines for information, it’s easy to miss out on important steps, utensils, and ingredients described within the body of an article or a recipe, particularly if we’re reading online.
You can bolster your cooking expertise by avoiding the common habit of making assumptions. And you avoid a good dose of embarrassment by being prepared!
Not only can omissions be embarrassing, skipping steps or leaving out ingredients can also result in dull, bland flavors, with tough textures and food that’s overly dry or too greasy.
To give yourself the best opportunity for success, read each recipe thoroughly, and do so well before it’s time to begin prepping.
And if there are videos or step-by-step instructions available with images – like we include in each of Foodal’s recipes – don’t skip those either!
Develop the wise habit used by professional cooks and chefs of having all of your ingredients, tools, and utensils in place and ready to go – this is your mise en place, which simply means to set in place, or to set up.
Not only will you know you have everything ready to make your culinary masterpiece, you’ll also know how much time to budget – because trying to rush dishes to completion is another common kitchen error that’s easily avoided.
If provided in the recipe, you’ll be able to estimate how long the prep and cooking process will take from start to finish by reviewing the recipe’s prep time, passive time, and total time estimates.
Being fully prepared before you begin the actual process of assembly and cooking is a time and pride saver, and your effort will be rewarded many times over.
2. You Make Poor Substitutions for Your Diet Plan
In some areas of food preparation, making a substitution is no big deal – but with certain cooking and baking methods, it can be!
Baking is as much about science as it is a creative endeavor. And precise amounts of ingredients are needed in order to facilitate the chemical changes that turn a bowl of runny dough into your favorite muffins.
If you’re trying to cook healthier, don’t make substitutions in cooking and baking that will undermine the integrity of the recipe, like switching out the type of flour without adjusting other ingredients as needed.
Instead, look for recipes that have been specifically created to suit a particular diet plan. You want to ensure that these recipes have been developed, tested, and published by reputable sources, at least until you become familiar with what’s involved in making certain substitutions at home.
Review our vegetarian, vegan, and gluten-free recipes if you’re interested in learning more about these particular diet plans.
For best results, follow the recipe without straying too far off the clear path.
3. You Don’t Adjust Quantities when Subbing Fresh for Dried Herbs
In most cases, the flavor of dried herbs will be more intense and concentrated than that of fresh herbs.
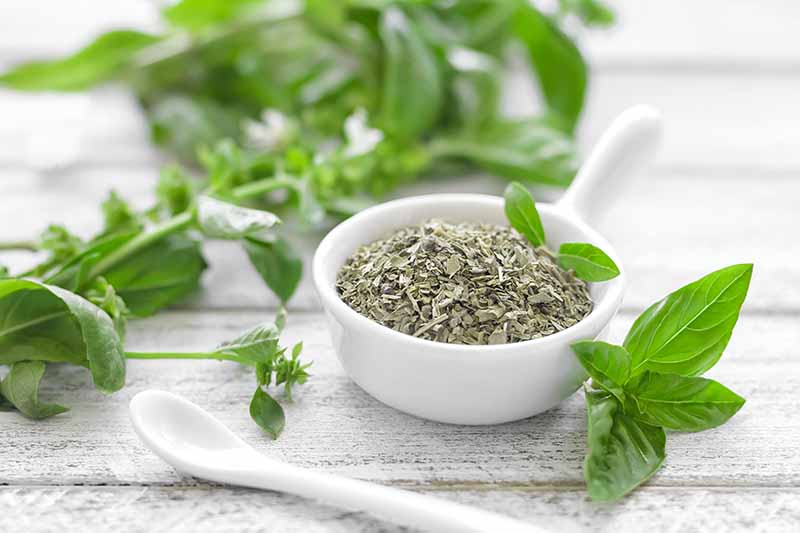
To benefit from the rich nuances of flavor that herbs offer, convert by using twice as much fresh herbs as dried, or half as much dried for fresh, depending on which way you’re adjusting.
While you’re at it, this is a good time to mention that, chances are, your spice cabinet is disorganized. This can be a hassle when you need to find a certain seasoning quickly.
Check out Foodal’s review of the best spice racks on the market, and clean up those cabinets today!
4. You Are Wasting Salt When Marinating
Maybe you enjoy the healthy technique of marinating your meats before grilling. But do you catch yourself sprinkling on far more salt than you anticipated after they’re cooked?
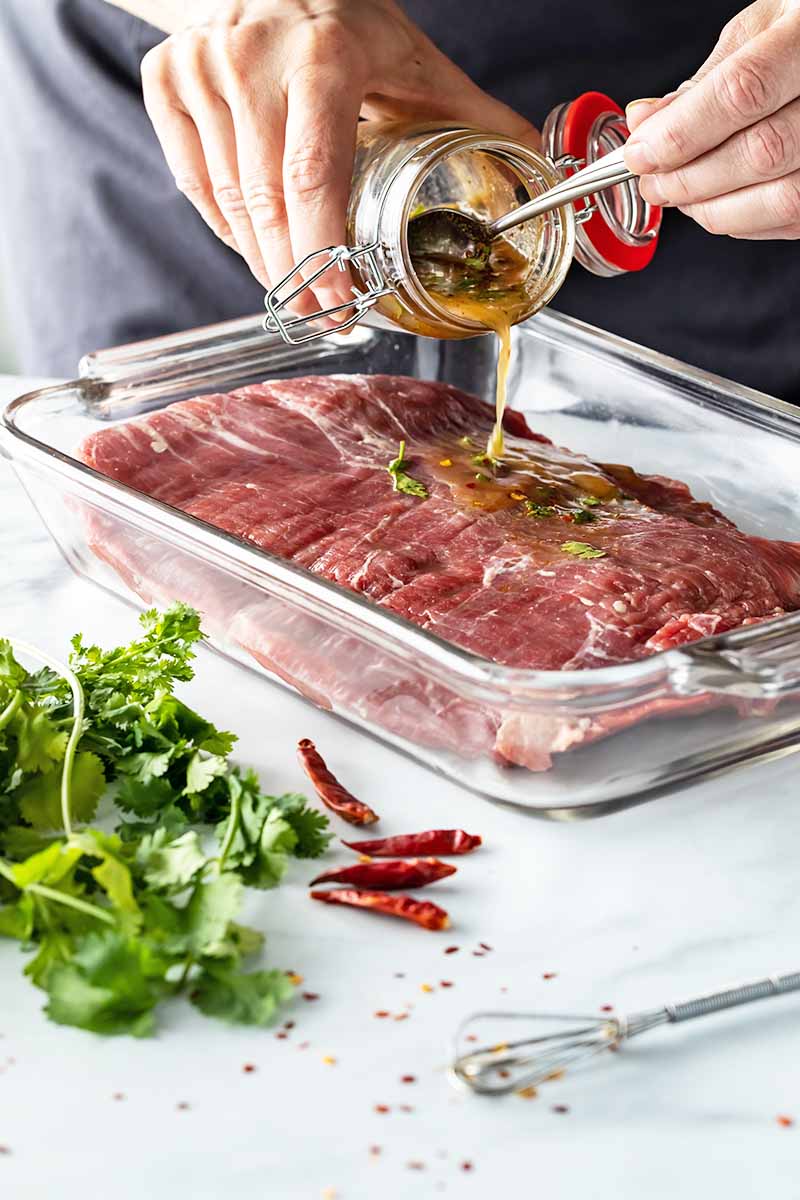
When marinated foods lack flavor, we tend to over-season at the table – which means piling on the salt!
The solution is simple: reserve half of the salt called for in the marinade, and wait to use it just before cooking.
There’s a way to keep sodium levels at a healthy level, and to save the flavors by using only half the salt called for in a marinade recipe.
The meat will only absorb a small amount of salt while marinating, and its seasoning impact goes down the drain along with the marinade when you’re finished.
Instead, sprinkle the reserved salt on the meat, poultry, or seafood when it comes out of the bath and just before cooking. Flavors will be enhanced and the salt will also help to create a beautiful, golden crust.
Give this method a try soon!
5. You Always Forget to Soften the Butter
A common oversight in baking and cooking, forgetting to soften butter is a simple mistake to fix.
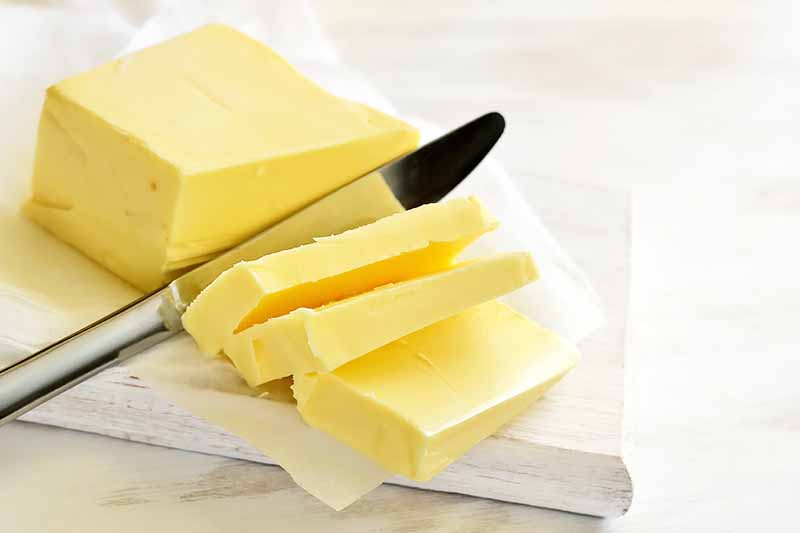
Cut the amount of butter – salted or unsalted – that’s called for into small pieces and scatter them evenly on a plate. Allow to sit at room temperature for about 5 minutes, then proceed with your recipe’s directions.
You can also carefully and cautiously microwave your butter to soften it. Place the amount of butter you need for a recipe in a heatproof bowl and microwave on a low setting in 10-second increments.
Avoid a butter explosion in the microwave by monitoring its consistency after each and every increment of heating!
Or better yet, use a vessel to store butter at room temperature to keep your butter out on the counter.
Did you soften your butter too much? Just put it back in the fridge for 5 to 10 minutes until it hardens slightly.
6. You Aren’t Using the Right Oils for Cooking
It’s a confusing puzzle, isn’t it?
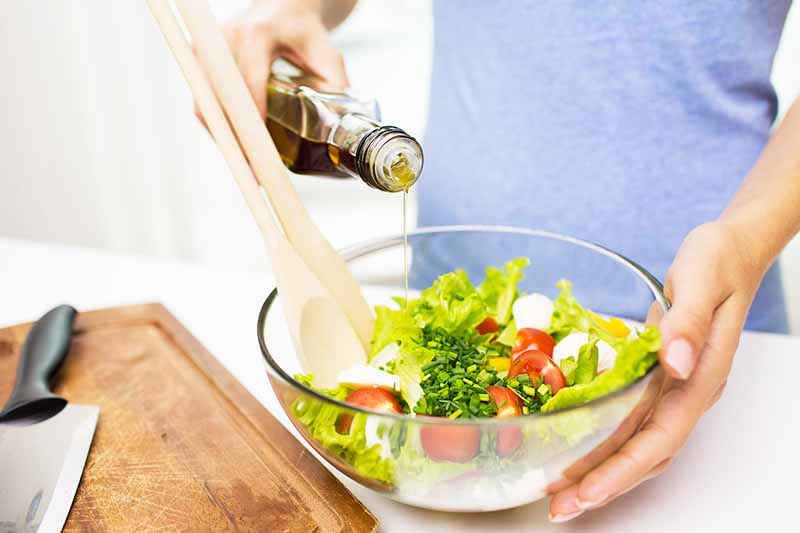
If you’re trying to eat a well-balanced diet, you’ve probably incorporated healthy vegetable oils into your cooking. However, healthy oils like extra virgin olive oil have a low smoke point, producing voluminous columns of smoke when sauteing on high heat.
So, you try a healthy oil like coconut with a high smoke point, but its strong flavor infuses some dishes with a nutty taste that’s not so great.
To avoid having a pantry full of bottled oils that aren’t getting used, and to use them in the most healthful ways, consider a few points before buying cooking oils:
Choose oils based on two main factors: flavor and smoke point.
Consider first how you want to use the oil – out of the bottle on salad greens, or for sauteing or baking, and then choose one or two that will best suit your needs.
Most unrefined oils have a lower smoke point, which make them unsuitable for cooking over high heat. However, they’re usually full of rich flavor, which makes them great for salad dressings or drizzling over veggies.
Olive, walnut, flaxseed, avocado, hemp, or almond oil are all choices with a distinct flavor that may be used to enhance salads. Other good choices with a more neutral flavor are grapeseed oil or canola oil.
For baking or frying, a refined oil with a high smoke point is the better choice. And unless you cook a lot in a particular style, choose a versatile oil with a neutral taste.
Sesame and coconut are strongly flavored oils with high smoke points.
Healthy oils that remain stable at high heat and have a light, clean, and neutral taste include canola, grapeseed, peanut, sunflower and safflower.
7. You Don’t Allow the Pan to Get Hot Enough
If you don’t allow the pan to get hot enough to properly sear or saute, you’re not allowing it to do its job properly!
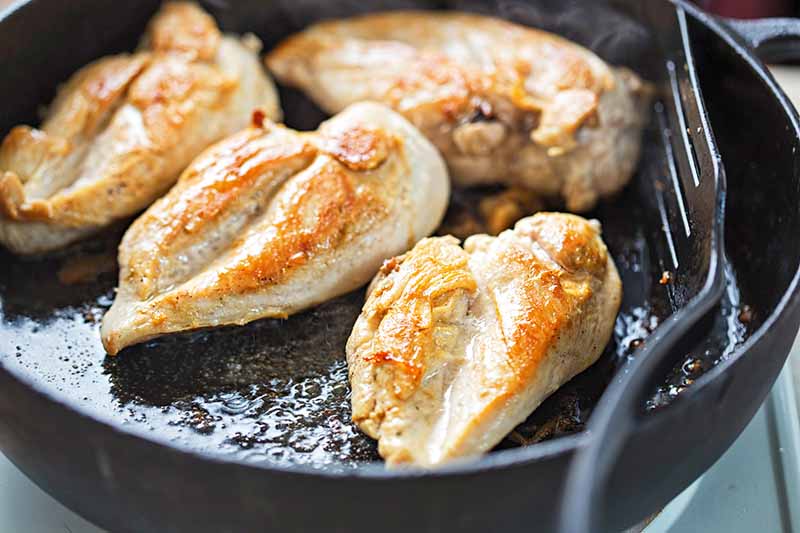
A hot pan for searing is a valuable tool in the kitchen, but you must let it work as it was designed to. This mistake seems to have two possible sources: inexperience, or simply being in a hurry.
It is absolutely essential for a skillet to be hot enough for ingredients to sizzle, sear, and saute, or to create a crust. If a pan isn’t heated adequately, foods will stick, juices will leak out, foods will simmer instead of being seared, and browning won’t occur.
Think of what happens to skin-on chicken in a pan that isn’t hot enough – it’s going to be sad, soft, and rubbery!
Look for signs to indicate that your pan is hot: you can drip a couple drops of water into the center of the pan and see if they sizzle and quickly evaporate. If you’re searing something and need that high heat, you can also check if the oil you are heating in the pan is starting to smoke just slightly.
And again, don’t overcrowd the pan!
8. You Crowd the Pan as You’re Cooking
The level of enjoyment that eating brings us can be enhanced mightily by the senses of sight and smell. Appearance and fragrance can build anticipation and add to our satisfaction… or they can take away from it.
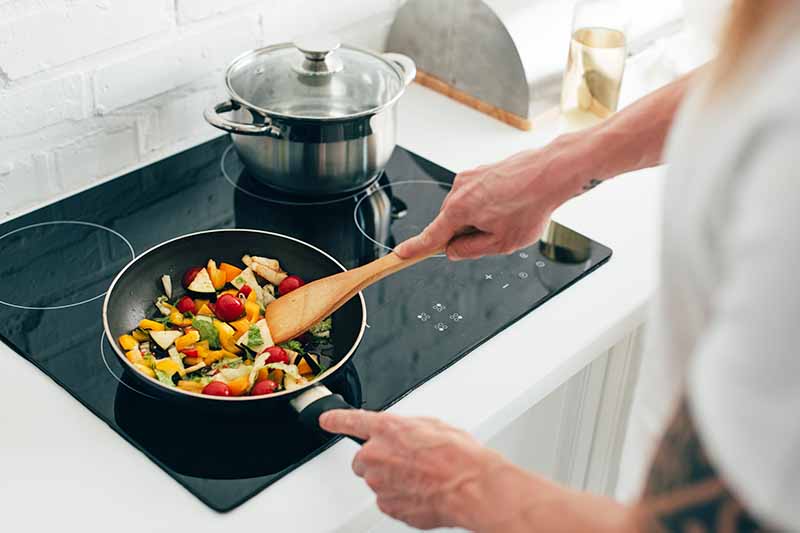
When we crowd too much food into a pan or skillet, the results are often soggy, or they look insipid and pale.
As food is cooked, it releases moisture. And if there isn’t enough space for the moisture to evaporate, it will stay in the pan, steaming or simmering food instead of frying or sauteing it.
When browning foods like meat or onions, the crusty, brown residue that forms in the pan is very important for imparting flavor, as well as for the aesthetics of presentation. The browning that takes place is known as the Maillard reaction, and it occurs when amino acids and reduced sugars combine to give browned foods their distinctive flavor and color.
Crispy, amber-hued crab cakes are much more appealing and tastier than ones that are pale and mushy from steaming as a result of overcrowding.
And a perfectly pan-seared steak is a jaw-dropping main course, all because you were disciplined enough to leave enough space in the pan between each fillet.
For best results, give your ingredients some breathing room in the pan. Cook in batches if you can’t get everything in at once. Or if you’re in a hurry, use two pans.
9. You Don’t Taste What You’re Cooking
Have you ever tried a new recipe, only to be surprised and disappointed by how bland or unappealing it is?

Chances are, you didn’t taste the dish as it was cooking.
When trying something new, we tend to assume the author is an expert and the recipe will contain exactly the right ingredients and instructions for us to obtain brilliant, outstanding results.
However, many factors come into play when cooking.
Variables such as the particular ingredients used, substitutions, altitude, the idiosyncrasies of your stove, the weather, and more all play a part in determining if your palate is going to be satisfied with your next home-cooked meal.
Testing through taste allows us to make adjustments on the fly, so we can steer our dish in the direction that’s going to be most pleasing for us, whether you need to tame the heat or add just a pinch more freshly ground salt.
After all, we’re the ones who are going to eat it, so it should satisfy our taste buds!
10. You Cook Veggies Until They’re Soft and Mushy
This is mainly a timing issue that can be remedied easily by adopting some simple cooking techniques and mastering a smart cooking plan.
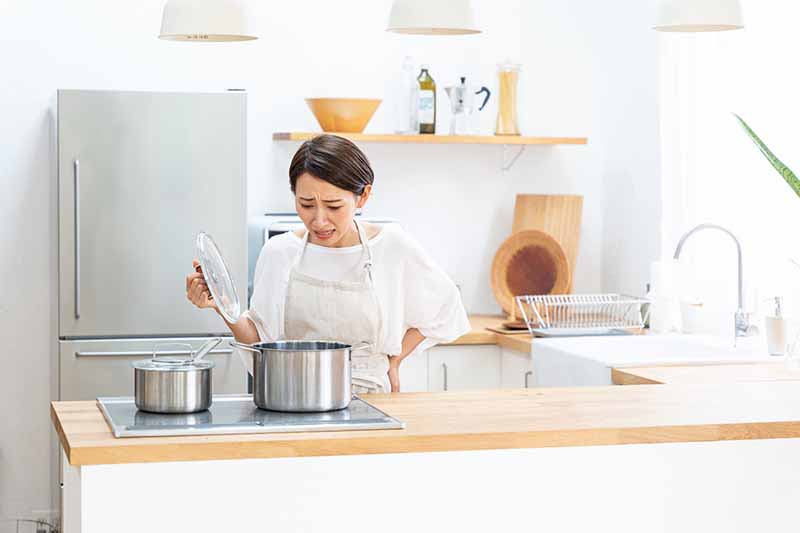
As most veggies cook fairly quickly, make sure you strategize your timing. Depending on your chosen vegetable and its cooking preparation, you can often wait to cook until after you start preparing the other items on your dinner menu.
One fast and easy technique that doesn’t take up any oven space is to blanch your vegetables – but you have to be vigilant with your timing!
For crisp, bright veggies, add them into boiling water or a pressure cooker for only a handful of minutes.
Veggies such as green beans, asparagus, carrots, broccoli, cauliflower and Brussels sprouts will all turn a vibrant color with a crisp texture in minutes. But if they have to wait for you, they’ll continue to cook and soften, even with the heat turned off.
The unpleasant result? Limp, mushy, dull vegetables.
Here’s how to keep their colors bright and the texture fresh and crisp:
When they’re finished cooking, immediately plunge your veggies into an ice water bath, or run them under very cold water, to stop the cooking process.
They will remain crisp-tender and vibrantly hued!
11. You Struggle with Homemade Baked Fries
Are your oven-baked fries excessively charred? Maybe they’re really limp and soggy? Maybe they’re both burnt and soggy?!
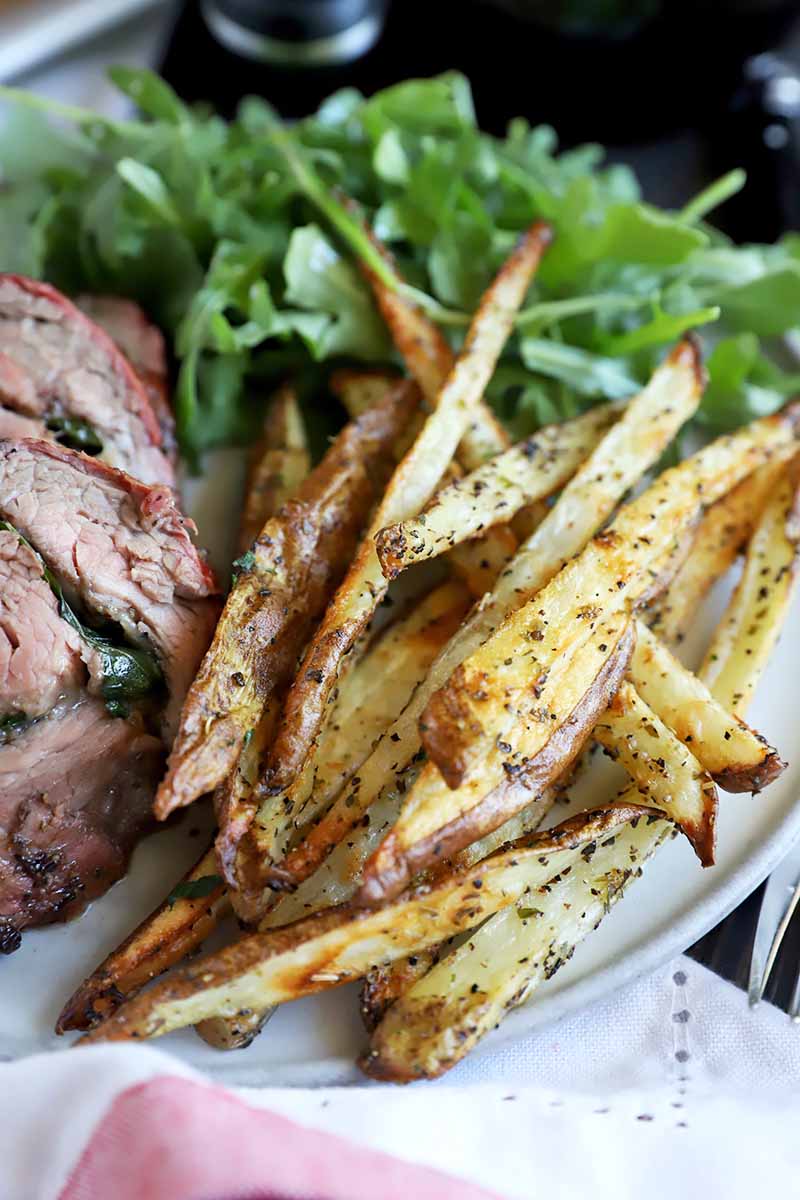
However, if done poorly, baked fries seem to turn out pale and wimpy, or they dry out and get burnt to a crisp – neither of which is a delicious outcome!
Heed our advice:
Your veggies need to be as dry as possible to prevent steaming, and each slice needs to be evenly coated in a thin film of fat.
Make sure your oven is set at a high enough temperature – the high heat will help to create a perfectly crisp crust.
Spread the fries evenly on a baking sheet lined with parchment paper, which will help to absorb excess water.
And remember, don’t overcrowd your fries! Give them room to breathe, bake, and become golden-brown!
The fries should dance with the powerful heat, not stand in one place for the entirety of cooking! Flip your fries, and the pan, halfway through the baking time. That way, there is no risk of uneven baking.
Our recipes for roasted parsnip fries, french fries for two, and parmesan garlic oven fries provide even more insight on each step of the cooking process.
12. You Can’t Boil an Egg to Save Your Life
Can’t peel a hard-boiled egg without taking big divots of the white with the shell? Do your eggs look like the surface of the moon?
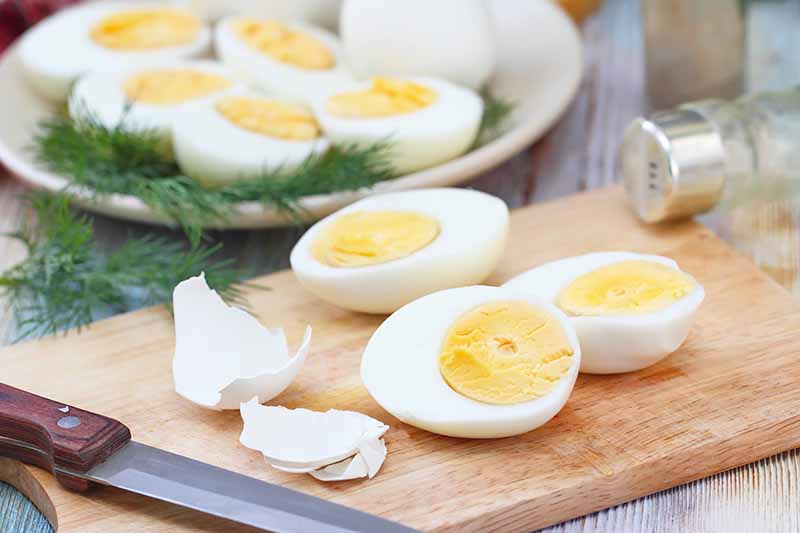
While no method for peeling hard-boiled eggs seems to be foolproof, there are a couple of steps to follow that will give you very good results most of the time:
Add the eggs to boiling water. Starting the eggs in hot water, rather than putting them in the pot with cold water and then bringing it to a boil, helps to separate the shell from the egg.
Cooking times will vary, depending on the size of the egg and your personal preference for the yolk’s texture. For large eggs, about 6 to 8 minutes is a suitable range for soft-boiled eggs, while 10 to 12 minutes is a good range for hard-boiled eggs.
When finished, plunge immediately into an ice water bath. Allow to cool for 15 minutes before peeling.
And avoid using super fresh eggs, if you can help it.
If you raise your own chickens or buy from a local farmer, allow the eggs to sit in the fridge for up to 2 weeks before hard boiling, as very fresh eggs tend to stick to the shell.
13. You Overcooked Your Pasta, Again
If you constantly cook your pasta to the proverbial “limp noodle” stage, we can help.

The process of boiling pasta can be a bit deceptive, and it’s easy to use too little water.
And adding more water to the pot when your pasta is only halfway done is an excellent way to instantly destroy its delicate texture, resulting in limp and soggy noodles, since you are drastically lowering the temperature of the boiling water with this new addition.
Another common error is using a pot that is far too small, which won’t allow the pasta enough room to cook evenly.
For firm yet tender results, cook 1 pound of dry pasta in roughly 1.5 gallons of water.
And don’t worry about adding too much water, as it will be drained off when you’re finished. Using “too much” water won’t destroy the pasta’s integrity the way using too little will.
Use a large, wide mouthed pot that will accommodate both the pasta and water, one that will allow room for the noodles to cook without getting trapped or sticking together.
Wait for the water to come to a full boil before adding the pasta, and cook for the appropriate amount of time, according to the package or recipe directions.
As a basic rule of thumb, fresh pasta takes significantly less time than dried pasta to reach the perfect al dente consistency – so double check the instructions!
To play it safe, check a single piece of pasta about 1 minute before the allotted cooking time is complete. From there, decide if more time is necessary, and set another timer in 1 to 2-minute increments.
And you can also prepare different styles of pasta in the electric pressure cooker for another easy method.
14. You Can’t Make a Smooth Sauce or Gravy
Is your sauce or gravy turning into a lump mess? Oh no!
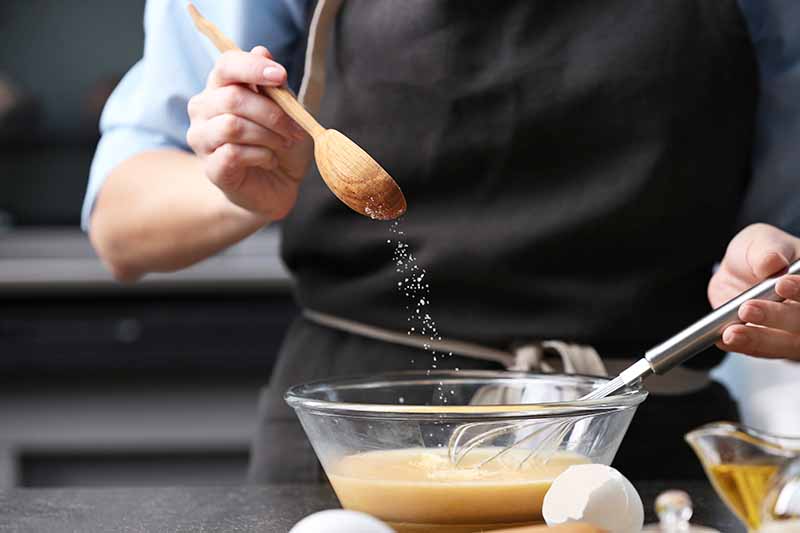
Everything else for your lovely dinner is ready, but the gravy looks as though it’s been infected with some sort of doughy pox… and there’s just no hiding those bobbing white lumps.
What happened? Well, there are a few reasons for lumpy gravy.
Adding flour, or any thickener, directly into a hot liquid such as broth or stock will cause lumps, as will adding hot liquid too quickly into a roux of flour and pan drippings.
And if you’re making gravy in a large roasting pan, hot spots may also cause the flour to fail to integrate into the sauce.
In any sauce or gravy where a starch is used to add body and texture, the thickener needs to be added slowly to the hot liquid, stirring as you go until the desired consistency is reached.
You can also make a slurry first, which helps to evenly distribute starch in liquid. To create a slurry, whisk together the starch with some cold water, and then slowly pour and whisk this mixture into your hot liquid.
For a roux, the heat has to stay low as the liquid is slowly incorporated to thicken without lumps.
And the type of thickener you use will also affect how it should be incorporated!
For more thorough information to help you, read all about how to choose and use the best thickening agents for soups, sauces, and gravies.
And our recipe for a classic mornay sauce dives more deeply into making the perfect roux.
It might take a few attempts to develop your skill set here! If lumps still happen, you can save the day by pouring the gravy through a fine-mesh strainer, or puree it until smooth with a hand-held immersion blender.
15. You Don’t Allow Rice to Steam After Cooking
Rice is one of the most common grains eaten by a large part of the world’s population, yet cooking a pot of fluffy rice seems to be one of the great challenges for many a cook!
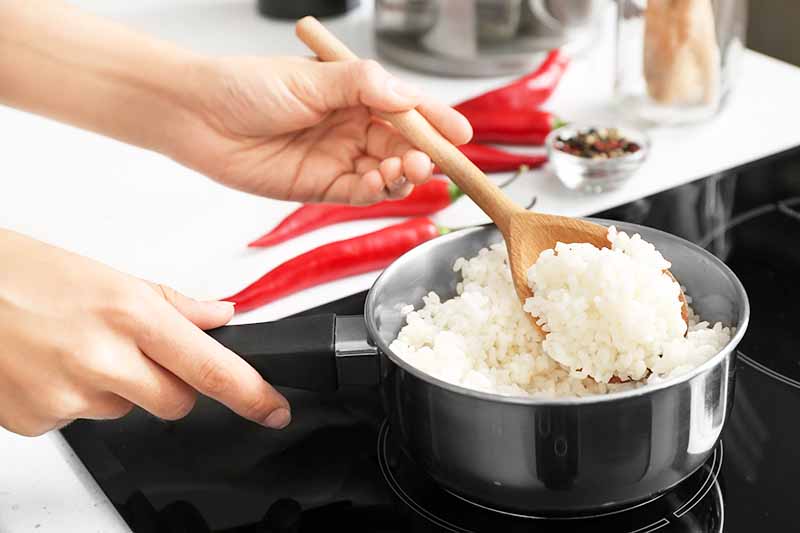
Gummy, sticky rice is a very common complaint – unless you are intentionally making a glutinous preparation, like warm and comforting congee.
For great tasting rice with a light texture, make sure you rinse the rice thoroughly under cold running water to remove any milling agents and excess starch.
Place the rice in a strainer, and rinse under cold water until the water runs clear through the grains.
And don’t skimp on steaming! When the cooking time is complete, without removing the lid, turn off the heat and allow the rice to sit and steam for another 5 to 10 minutes.
This essential resting period allows the trapped steam to finish the cooking process, resulting in separate grains rather than a gummy mess.
If all else fails or you just want to simplify things, you can always invest in a rice cooker.
And all rice grains are not created equal – each style will require slightly different amounts of water and time to cook.
We highlight a range of options for cooking rice in our guides that you can review now. Study our stovetop tips, or check out how to cook different varieties of rice in the pressure cooker.
16. You Can’t Stop Your Fresh Salad Greens from Wilting
There’s no denying that sad, soggy salad greens are a big bummer, and really unappetizing to look at on your plate.

To keep your freshly made salads looking and tasting their best, the following tips will help:
If you’ve washed your greens, they must be dried immediately, as excess water will result in soggy greens and watery dressings with a thin taste. The water can also potentially repel the oil in an oil-based dressing, leaving a puddle in the bottom of the bowl.
Use a salad spinner to quickly and easily dry your greens, or blot gently with paper towels or kitchen towels, taking care not to bruise the delicate leaves.
Once your salad is made, don’t add the dressing until you are ready to serve – this ensures your greens will stay crisp and fresh for as long as possible.
As we have all experienced when taking home dressed salad leftovers from a restaurant, greens that sit in a liquid for a long period of time will become limp and lifeless.
When preparing salads at home for a party, you can choose to serve the dressing on the side of the undressed salad for diners to use as much or as little as they desire.
If you prefer to dress a salad before serving, pour the dressing along the sides of a large salad bowl and toss to coat. Pouring onto the bowl rather than the salad will result in evenly coated ingredients, so you won’t oversaturate your salad.
And it’s always best to use less dressing than you think, at least at first! You can always add more after tossing, but it’s nearly impossible to remove excess dressing.
Chilling your salad plates before serving will also help to keep greens fresh and crisp.
17. You Attempt to Cook Tough Meats Quickly
If a recipe calls for a dish to simmer for an hour or more, cranking up the heat and boiling hard for 20 or 30 minutes should do the same job, right?
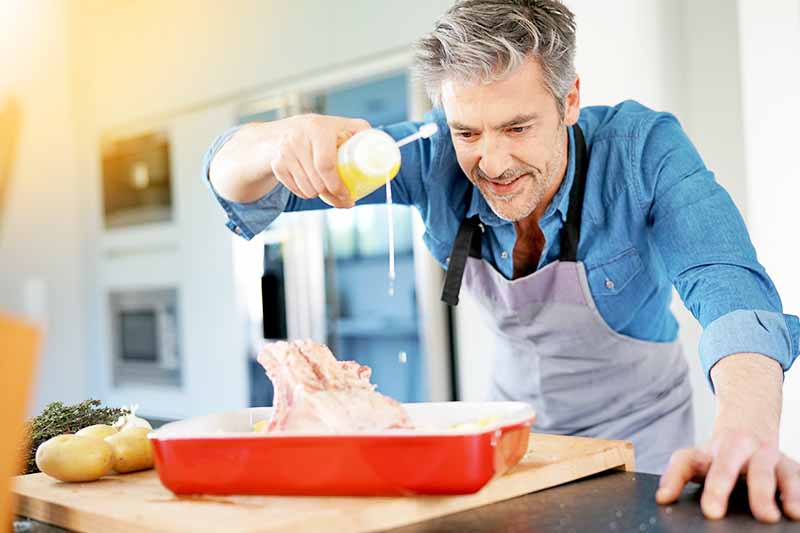
Ummm, not so much.
Unless you enjoy chewy, tough, and dry meat, that is.
This is another very common cooking no-no, and it usually occurs when we’re in a hurry or haven’t read the recipe all the way through, missing important info on cooking times.
Simmering refers to a very gentle, low boil with only a few bubbles breaking the surface at any moment. This low and slow heat is required to gently cook the meat while allowing it to tenderize, by breaking down the muscle tissue – and it simply takes time to accomplish.
Braising is another cooking method that requires time and patience, in which the majority of the cooking is done at a low temperature in the oven with liquid in a closed cooking vessel.
Take a look at our red wine braised beef for a classic example of this style.
You just have to accept that some dishes take time to develop – so choose your recipe wisely depending on how much time you can dedicate to the cooking process.
You can also learn how to master using your pressure cooker, which will help you cut down on time if you have a perpetually busy schedule.
18. You Don’t Use a Meat Thermometer
One of the least expensive but most valuable kitchen tools, the meat thermometer, is sadly underutilized.
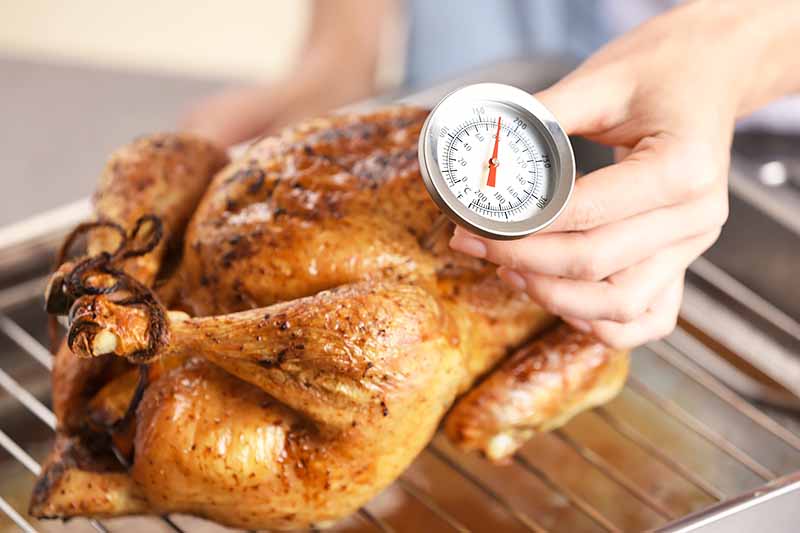
As a result, cuts of meat, large roasts, hefty meatloaves, and delicate poultry are cooked incorrectly. Without knowing the internal temperature, they may still be raw in the center, or they may be overcooked, dry, and tough.
How are you able to tell?
The easiest solution is to invest in a meat thermometer, because it eliminates all of the guesswork when determining doneness.
Read this thorough review of our favorite meat thermometers, and learn about proper food safety and how to use and care for these valuable kitchen tools.
Having – and using! – one is well worth it to help you expertly roast the perfect chicken, or master a juicy meatloaf!
19. You Don’t Allow the Meat to Rest Before Carving
It’s hard to wait to eat, particularly if you’re hungry and the food smells so good!

But if you don’t allow meat and poultry to stand before carving, all of the delicious juices will drain out, leaving your roast or bird with dry meat.
Giving the meat time to rest after it’s cooked helps to redisperse the juices back into the meat. Cover loosely with foil to keep the food warm, and set aside until ready to carve.
Be sure to allow enough time:
- For smaller cuts like a steak or chicken breast, rest for about 5-10 minutes.
- For a large whole birds, racks, or roasts, rest for about 20-30 minutes.
Do your best to be patient – you and your guests can nibble on an appetizer or two to quell your growling stomachs!
20. You Don’t Slice Meat Against the Grain When Carving
Cutting against the grain of a cooked piece of meat when serving seems to go against the grain of our natural instincts.
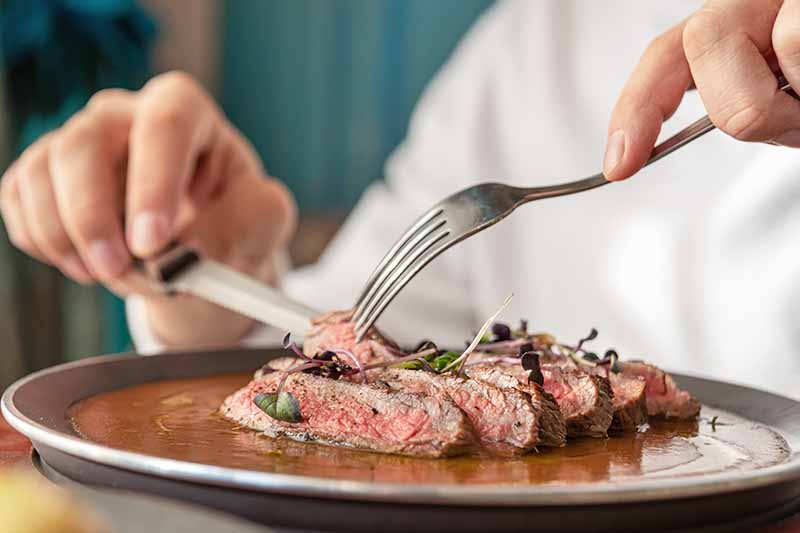
However, cutting with the length of the grain, or the muscle fiber of the meat, can result in unnecessarily tough and chewy results.
For delectable and tender pieces, cut across the grain, not with it.
In other words, cutting against the grain of the meat means slicing with the blade of your knife perpendicular to the muscle fibers of the meat.
By cutting through, and thus shortening, the muscle fibers with each slice, you will yield more tender pieces that are easier to chew.
This technique is especially useful with the tougher cuts such as a flank steak, but it works well with tender cuts, roasts, prime rib, and poultry as well.
21. You Don’t Know How to Clean Your Cast Iron
I know. It’s not easy for some of us to put a pot or pan away if it hasn’t been washed thoroughly.
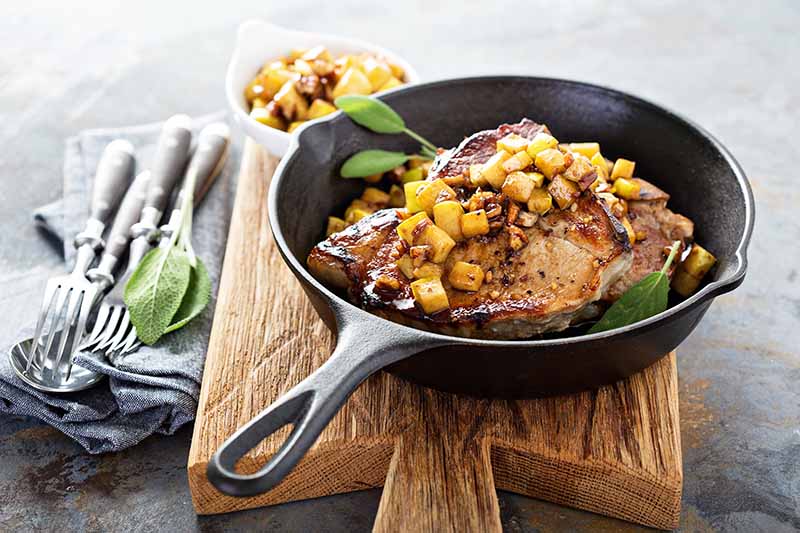
But if you’re washing your cast iron cookware every time you use it, chances are you’re washing off the seasoning. And it’s this seasoning that produces a natural nonstick surface, protecting the pan from rust.
To clean a cast iron pan, there are multiple methods you can employ – the most important consideration is that you must immediately dry your cast iron to prevent it from rusting.
If you wash your cast iron with water and dishwashing soap as a last resort after preparing a particularly messy dish, give it a light re-seasoning before it goes back into the cupboard.
We have plenty of reading material for you to review so you can gain confidence in using and caring for this mighty piece of kitchen equipment.
Read more about cleaning and caring for your cast iron, and if you’re in the market to buy a new pan, learn all about the pros and cons of these rustic relics compared to pans made of other materials.
Tighten Your Apron, and Get Back in the Kitchen
That’s the end of our look at 21 of the most common cooking mistakes, and how to correct them!
Regardless of the outcome of your culinary errors, don’t feel discouraged!
Rest assured, rookies and seasoned kitchen vets alike, we all make our fair share of cooking gaffes. To err is human after all, and any endeavor undertaken on repeat may result in a bungle or two.
It’s natural, and it’s a big part of how we learn – continue your culinary adventures, and learn from your mistakes…
All of them!
If you have any other pressing cooking issues, leave a comment below. It’s a great way to find the specific solutions you’re looking for in the kitchen!
Hungry for more cooking advice? Familiarize yourself with our other informational how-to articles. From prepping and storing ingredients to mastering different kitchen tools, we’re here to help! Start with these:
- How to Use Your Refrigerator’s Crisper Drawers
- How to Use Each Side of a Box Grater
- How to Prep Onions
Photo by Meghan Yager, © Ask the Experts, LLC. ALL RIGHTS RESERVED. See our TOS for more details. Uncredited photos via Shutterstock. Originally published on on October 17, 2015. Last updated on February 8, 2023. With additional writing and editing by Nikki Cervone.
Nutritional information derived from a database of known generic and branded foods and ingredients and was not compiled by a registered dietitian or submitted for lab testing. It should be viewed as an approximation.
About Lorna Kring
Recently retired as a costume specialist in the TV and film industry, Lorna now enjoys blogging on contemporary lifestyle themes. A bit daft about the garden, she’s particularly obsessed with organic tomatoes and herbs, and delights in breaking bread with family and friends.



It really is kind of eye opening because i tend to make a lot of such mistakes without even realizing it until now. I am guilty of overcrowding the pot which doesn’t give the right cook all over the items in the pan. Lesson learned will hopefully not do this again.
It is an eye-opener Sara, we seem to go on auto-pilot just because ‘that’s how it’s always been done.’ Seeing it in print kind of brings it home though… then it’s just practicing a new habit to replace the old one.
Couldn’t agree more about soaking the fries for half an hour to remove the starch. You can even see the starch in the water when you come to drain them off! It really does make a difference to the way they cook though. I’ll generally cut my fries at some point in the afternoon and just leave them soaking until they are actually needed.
A great time-saving tip, thanks mb.
I admit I can get impatient, but waiting for the pan to get hot first does make a huge amount of difference. I was always afraid of the oil spitting if it got too hot, but have learned to use a pan cover or to take it off the stove when I add ingredients for a moment.
As for hard boiled eggs, no matter what I try sometimes they just won’t peel. Again patience and for me it’s how I crack it and where I start to peel from that makes a difference.
Patience is a hard art to practice Bella, especially when we’re hungry! But a habit worth cultivating in the kitchen…
Wow, interesting post you have here. I was smiling when I read mistake number 7. Guilty! My hectic schedule permits me to marinate my meats for shorter periods. Having said that, it would be obvious that the flavors will stay in the marinate. I find adding salt right after marinating a really smart move. Can’t wait to try it! Thanks!
At least you are marinating your meats frazzled, it’s a great practice. Hope you enjoy the flavor boost of salting after marinating.
This is so helpful!!! I’m ashamed to say that I’m guilty of the first two, especially when I’m baking new recipes I’m not too familiar with. I’m trying to cook more of my food myself because I want to be more aware of what goes into my lunch, and I’ll definitely be keeping these in mind. Thank you so much!
Glad you enjoyed the post chynnese, hope the tips help with your cooking goals. Thanks for your comments.
As a newlywed, this is what I need to print out and look at when cooking. I’ve never really cooked regularly before I got married so this is very new to me. Oh, the addition of vinegar on boiling eggs, I did not know that but that’s what I do when cooking crab. Nice to know it works with eggs too!
We all start somewhere Kathy, glad you found the post helpful. And vinegar has so many beneficial uses, it’s not surprising it helps with peeling eggs or crab.
My meatloaf falls apart despite using only 2 eggs for moisture and a whole row of crackers as a binder.
Now I know how to take care of my cast iron pots! I was wondering about that.This is a very informative article, full of helpful solutions to all those silly mistakes we make in the kitchen. Well it is always nice to learn something new. Thanks for all the great tips.
Thanks for your comments oraclemay, so glad you found a tip or two to be helpful… the kitchen’s a great classroom for us all.
I’ve actually attempted to bake/cook before without reading and memorizing the recipe. I’ve made some terrible mistakes before learning that it’s always better to know what you’re making than to scramble last minute.
I’m surprised about the rice cooker. In Asia, it’s very common to have a rice cooker and cooking in it is very easy. That being said, I have cooked small quantities of rice on the stove before, but always made sure to time it.
Well, I’m an expert at mistakes because I’ve made them all (at least once) at one time or another! But, they’re a great learning tool too…. and you’re right Cloverz, a rice cooker is sure way to get great results.
Couldn’t help but blush and laugh at myself…the mistakes I make in the kitchen are many but I learn as I go, I remember once cooking pancakes with oil instead of fat, what a major mess, pancakes sticking to the pan in defiance, smoke that would call the fire brigade in a heart-beat…I’ll never forget that day…lesson learnt; use vegetable fat or margarine when cooking pancakes and for the love of cooking, please use medium heat 😉
Lol, I remember a batch of black pancakes and voluminous clouds of smoke! Medium heat it is diane…
What a wonderfully comprehensive article about very common problems. 1,3,4,5 and 11 have been my biggest faux pas to date. I am keeping a copy of this list for future reference. You never know when it will come in handy.
That’s great icecat, a quick reminder can go a long way for a successful meal!
This is great. Not only you gave tips you also gave us some recipe. I was laughing when I was reading because I don’t cook a lot, I’m still learning but I’m guilty with some of them especially number 4. I’m always in a hurry and I can’t wait for the pan to get heated up. I’m just starting to learn how to cook so maybe my patience will develop in time. This article is a great help for a beginner like me so this is going to my bookmark. I’m looking forward to more articles from you. Good luck and more power to you!
It seems to me that patience develops with experience venuscorrea, so just keep practicing… Glad you found the post to be helpful, and thanks for your good wishes!
I learned that baking your fries instead of deep frying them produces better results a few years ago. It really is a really good switch to make.
Baked fries are my choice CA, and certainly a healthier choice than frying! Thanks for your comments.
As of late I have been trying to change the way I prepare food, not only to be a better cook but also to make healthier choices. After reading this I’m pretty sure I have done every single one of these mistakes!! I’m sure it’s going to be difficult to change (especially the rush cooking) but I’m hoping these tips help me get on my way! Another tough one will be not washing my pan, I’m kinda OCD about cleanliness. Thanks for your tips I’m sure this will change the way I prepare food for the better! (Maybe ill stop over cooking everything!)
Change is a process AD13, and one day at a time you’ll reach your goals. And I know what you mean about not washing pans… I can let skillets and a wok season without washing them, but I still have to wash my cast iron dutch oven! Glad you found the post useful, and thanks for your comments.
I tend to make so many of these mistakes. If only I will remember these pointers when I get back into the kitchen. I especially loved the tip for the baked fries because I find I don’t love them as much when I try to fry them at home so maybe baking would do now.
Bookmark the page to refresh your memory… I think you’ll like the baked fries Zhen25, they’re pretty light and yummy!
One of my biggest cooking issues is that’s veggies always come out either to soft or too hard. I always either over or under cook them.
I find it very hard to find the perfect medium. I recently started tasting them as I go along so I can turn the heat off before they get too soft.
Tasting’s a great way to help with timing KM. And remember to take veggies off of the burner to stop the cooking process – and let some of the steam escape if they have to wait for other dishes.
I always crowd the pan! This is something that happens to me all the time. I always wondered why my steaks look simmered instead of fried. Also not waiting for the pan to get hot enough affects everything. Big eye openers.
Now the homemade French fries tip is awesome. I can’t thank you enough for this. I simply stopped trying to make my own French fries at home because of this reason, so I really appreciate this tip.
Both easy mistakes to make, and easy to correct gaby1283. Enjoy those fries!
This article is just what I need. Even though I love cooking I am guilty of so many of these it’s crazy. I always crowd my cooking pan. I’m used to cooking for a lot of people so often times I’ll just dump whatever needs to be cooked in the pan and to try and counter the sogginess I’ll put the setting on high. That either works well or I end up with soggy and burnt food. I guess I’ll have to slow down in the future. I definitely let my pan get hot enough though, in fact, sometimes I let it get too hot. I don’t know how many times I’ve walked into the kitchen to be greeted by a smoking pan full of oil. I absolutely must try soaking my fries in water. They almost always end up soggy and I never knew why. I thought maybe the temperature conflict wasn’t enough so I would freeze them but what you said totally makes sense. I think my cooking just improved by 20%.
It’s actually kind of comical how often we’ll make the same mistakes in the kitchen, and expect different results! But a late lesson’s better than not changing at all… Glad you enjoyed the tips NN.
I really do like the tip about reading the recipe before starting. I have had too many mistakes done when I wanted to make cookies but didn’t have baking soda or baking powder. I also make hamburgers often and I know all about how you shouldn’t raise the heat to cut down on cooking time. You don’t want meat that is raw in the inside but hard on the outside. That would be a waste of time and food.
When inspiration hits, it’s hard not to jump right in to a recipe – only to discover you’re missing ingredients half-way through! It took me a while to clue into reading the recipe first… glad you found the tip helpful Jasmine.
Haha, this is funny, I do make some of these mistakes. Number one was already one of my faults, I often only read part of a recipe before starting, having some surprises later on, but I am always so eager to start cooking. I do taste my food, always! I think it is the most important thing when cooking. Trying to put as much stuff in my pan is my next mistake, I always seem to think that it will fit, and then I end up making a huge mess!
The thing about the butter really made me laugh, it happens almost every time when I am baking that I think; s*t, the butter is still in the fridge! I usually put in on the wood burner in winter or in the sun in summer to soften quickly. I will try to cut it in small pieces first next time because I am sure it will happen again!
well you’re not alone valedevento, after all they are common mistakes! And I still forget to take the butter out when baking, so I know this tip works very well…
This article has finally solved the mystery of why my vegetables get all soggy when I sauté them! I didn’t realize that overcrowding the pan was to blame, but it makes perfect sense the way you explained it. I’m going to try blanching them and following up with an ice bath next time and see how it turns out 🙂
I really like the mise en place tip as well. Cooking dinner every night is so much easier when I’ve got everything organized and ready to go beforehand!
It does make sense, doesn’t it? And having everything in its place before starting is a great time saver and stress buster… because really, the simpler making dinner is, the more enjoyable it is too.
Hi Lorna! Thank you so much for such great tips! Seeing all your great tips made me feel like a total klutz in the kitchen! LOL Where do we start? I don’t always do this, but there are times when I don’t really read a recipe in it’s entirety and I’ll end up making my meal not quite so tasty, or very different from the picture on the recipe. My problem with pans is not that I don’t allow them to get hot enough, it’s that I allow them to get overly hot, and sometimes I end up burning things on the side that initially made contact with the pan. My other big problem in the kitchen is that I ALWAYS over cook the pasta. Try as I may, the result is always the same……total limp noodles. Hopefully with all your helpful tips, I’ll be able to become more of a pro in the kitchen.
The thing about making mistakes is that if we don’t know any differently, we just keep repeating them – and I’ve made them all at one time or another!
So, one tip at a time takes us a bit closer to mastery Michelle… glad you enjoyed the post.
I always tend to mess up the gravy during thanksgiving. I love mashed potatoes and gravy, but it’s hard to enjoy with lumpy gravy… I never really thought you could puree the gravy to make it the consistency you want it to be. I’ve been doing gravy wrong, but this website helped me with that error. I made some gravy during Thanksgiving, and it turned out the way my mom used to make it. Thank you for this post Lorna, I truly appreciate it!
The gravy tip is a total life-saver. I don’t know how often I’ve been left with floury lumps in my gravy, but it’s too often. This whole list is very informative and useful. I’ll have to keep this bookmarked for future reference.
Glad you found the tips to be useful cnt422 – and may your gravy always be smooth and lump-free!
There are some very good tips here! I don’t have a lot of kitchen mishaps, but once in a while I wonder why something didn’t turn out the way I thought it would.
I’m surprised at the hard boiled egg tip! My entire life I’ve heard to NOT start them in hot water… always start with cold. I’m anxious to see if this method works for me, because it sure makes more sense to me. 🙂
Most valuable of all in the article was the tip about soaking the potatoes for fries! I’ve always had those wimpy fries and now I know why! This would, I assume, work for the pre-cut sweet potatoes from my store’s produce department as well? That’s usually what I made and although they were alright limp like they always got, they never were really like fries. Can’t wait to get to the store and try it out!
Starting eggs in boiling water does make more sense as it immediately starts cooking – then plunging them in ice water to stop the cooking process.
And soaking the pre-cut sweet potatoes should work as well Kate, but maybe soak a bit longer as the cut surfaces will begin to heal after a while… try giving them an extra 15 minutes in the cold water.
What a great list! I am notorious for committing #8 and ended up with limp, lifeless broccoli (one of my favorite vegetables) once in a while I get lucky and steam them just right. Getting my timing right in the kitchen is a constant work in progress. #9 is something I absolutely cannot wait to try, I absolutely LOVE making my own french fries but they have never come out crispy, and thanks to you I now know why! #16 I have to say, I have tried all the suggestions for hard boiled eggs listed several times, to no avail. What did work for me the best was placing the cooked egg in a small cup, adding about 3-4 tablespoons of water, covering the top of the cup and shaking vigorously for 20-30 seconds. 9 times out of 10 my eggs slid right out of the shell, only a couple times did I have a difficult couple pieces of shell stick to my egg. Thank you for such a great post!
Glad you enjoyed the post xina… Your tip for peeling HBE’s is interesting, I’ll have to give it a try – and thanks for sharing. And enjoy those crispy fries!!
It’s quite embarrassing to have to admit this but I make at least 50% of these mistakes when I’m cooking. I really need to start paying more attention at what I’m doing in my kitchen. Great post nonetheless, will definitely be looking in to these to fix my problems.
Mistakes are just an opportunity to get better Canary! Glad you found the post helpful.
I must confess I’m guilty of at least five of those culinary gaffes and I have to agree with you, it’s something ingrained in me, I don’t really stop to think about what I’m doing, I just do it because that’s how I’ve always done. Thanks to your post I will no longer eat soggy fries or overcooked vegetables and my meat will be juicy and tasty. Thank you so much for the useful tips, from now on I’ll make sure to follow them and I’m sure my family will be very happy about it!
Habits are funny things Snarya. Without them, we’d never get anything done, but sometimes they do more harm than good… thanks for your comments, and glad you found the tips helpful!
These are all very helpful! My mother doesn’t like cooking, so we grew up eating the same things over and over and now that me and my sisters try out new things, we end up making lots of basic mistakes.
I recently did over fries for the first time and they turned out brown and tasting kind of bitter and I had no idea what I did wrong! Ii’ll be trying out your suggestions here next. I also realize I overcrowd pans and overcook vegetables… but I’m glad these are fixes for these issues and my own food can start tasting and looking better like the one I like in restaurants or other people’s houses.
Thank you for the great post!
Awesome yokatta! It certainly helps to have a good cook as a model, but it isn’t necessary… and as you mention, most fixes are pretty simple! Glad you enjoyed the post, and thanks for your comments.
Ahahahahahaha, me and my sister always makes these mistakes -even though we already know that it’s wrong, it’s just hard to change habits (especially #1, since that’s the starting point XD). Although I never knew about #11 and #21 though (who really would’ve thought that oils aren’t “oil-around” (all-around, okay, I’m bad at puns XD) and even though I hated that my gravy always turned out like that, I never really knew how to correct them -w-). We never do #2 though -we always taste-test the food almost every minute XD we’re too excited for the food, I know XD.
It is hard to change habits toradada, but awareness is the first step! And your puns works just fine…
I knew most of these, but letting poultry rest before cutting – that’s new. Whoops! We’ll cook up some chicken breasts and slice it open in the middle of cooking it to see if it’s done yet or not. I’m guessing this is just as much a no-no as cutting it too soon after it’s cooked. (Especially since we have a meat thermometer!)
Slicing open the protein is a favorite of many deanyd! But do try to get into the habit of using that thermometer, your chicken breasts will be much juicier.
Wow! So many great tips here – and I think the mystery as to why my potato fries never come out looking anything like they’re supposed to has finally been solved! Although soaking them in water does seem a bit counter-intuitive it makes sense that they need that internal moisture to steam themselves from the inside out. Hopefully my next batch will not be burnt on the outside and raw on the inside!
Been there, done that with the fries cafwen! And soaking them is the solution, the longer the better…
Oh my! I’ve made so many of these mistakes! I’m an impatient cook, and I’ve often overfilled the pan or not waited long enough for the pan to get hot. I just figured out the secret with with the rice; I turned the heat off, went to go check my Facebook, then came back fifteen minutes later… and the rice was perfect. I still have a lot of trouble with making gravy and getting it to be smooth and not lumpy. Hopefully this will let me finally make good gravy that’s not warmed up out of a jar. Thanks for posting these!
Glad you enjoyed the post HappyKoi, and good luck with the gravy!