
Who says you need cheese to make creamy enchiladas?
At first, I was pretty skeptical of the idea of enchiladas without cheese. In fact, I actually looked up several definitions of this Mexican classic dish, as I was convinced that without cheese, they couldn’t technically be called enchiladas.
Turns out I was wrong.
After looking at multiple sources, the only “musts” are that you have a tortilla (traditionally corn) that’s wrapped around a filling (usually shredded beef or chicken, and sometimes seafood) and covered with a chili pepper sauce.
So, how do these stack up?
Tortillas? Check!
For this recipe, we are using flour instead of corn. Unless I’m eating street tacos, I’m a flour tortilla girl all the way. I love them for my fajitas, chimichangas, and even breakfast burritos!
Not only do I love how much softer they are, but flour tortillas are also way easier to roll up. However, to keep things more traditional, feel free to stick with the corn ones instead.
Next up, the filling. While I’ve had chicken, beef, pork, and veggie varieties, I learned recently that you can also fill enchiladas with seafood. Being from landlocked Colorado, I don’t typically eat a ton of fish or shellfish, but I can imagine how good a shrimp filling with salsa verde on top would be.
For these, we’re using shredded chicken that’s been quickly poached. When I was growing up, I remember my mom always used a rotisserie chicken as she preferred the flavor, but ever since the grocery bill has been coming out of my paychecks, I’m a big fan of saving money and just cooking my own chicken.
Plus, poaching chicken is super easy, and using this cooking method gives you time to prep the other ingredients while it just simmers away. You can also cook a whole chicken in the Crock-Pot to save time, as well.
Need a break from poultry? You can easily sub in shredded beef, pork, or even pulled jackfruit if you’re vegetarian.

Finally, the most important component: the sauce. While some of the best homemade enchilada sauces are made using roasted whole chilies, that’s not always the most convenient option. Instead, we’re keeping this sauce super simple with chili powder, cumin, broth, a little butter, and a big, flavorful punch of garlic.
For the creaminess factor, I used 2% plain Greek yogurt. Lower in calories and higher in protein than cream or sour cream, plain Greek yogurt is a staple in my household. At any given time, I have at least two large tubs in my fridge. It’s an incredibly versatile and nutritious ingredient.
In fact, I love Greek yogurt so much that we’re using it in both the sauce and the filling mixture!
Made by straining traditional yogurt, Greek yogurt is thicker and richer in protein. While you can use 0% fat if you’re trying to cut back on calories, I’m an advocate for 2% or whole milk, as the combination of fat and protein will help keep you feeling fuller for longer. Plus, when used in baking or cooking, it gives the final dish a better mouthfeel, and is more satisfying to eat.
Just as there aren’t many restrictions on what can go into enchiladas, the toppings are just as flexible and varied.
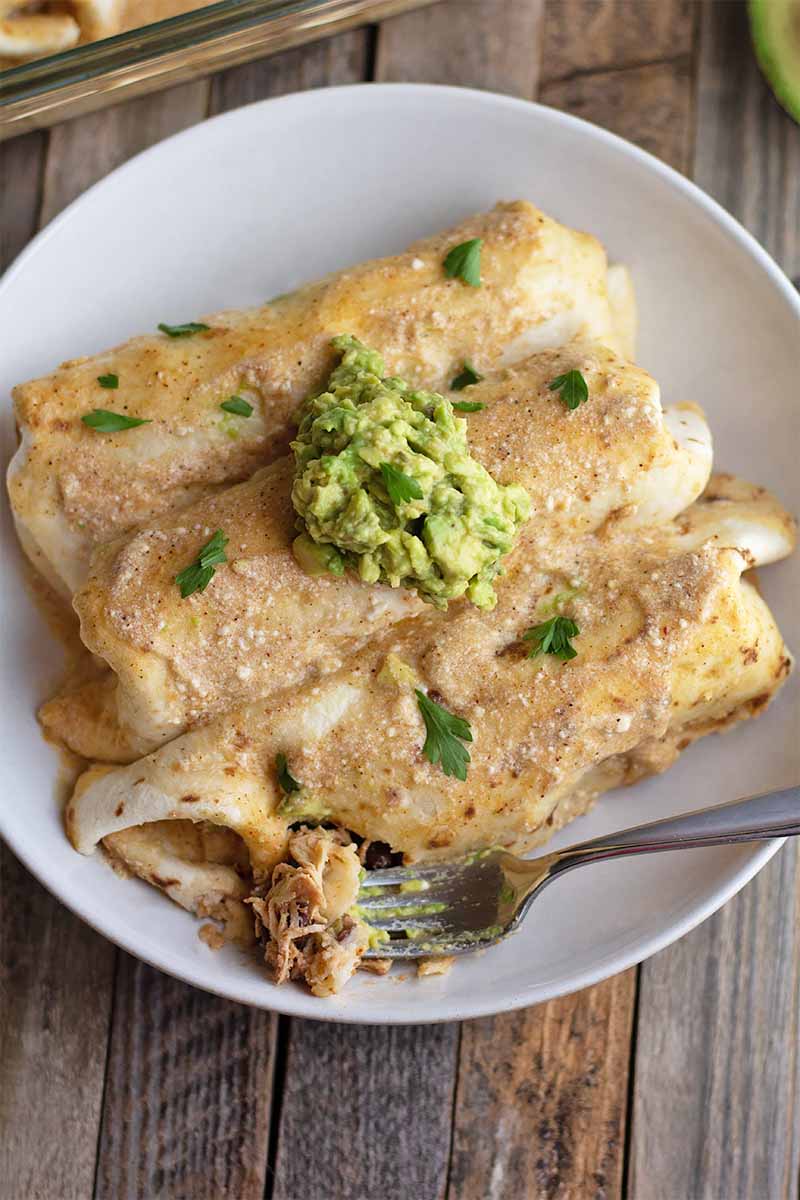
Some classic options include avocado, sour cream, and cilantro. However, smothering them in green chili sauce is by far my favorite way to go.
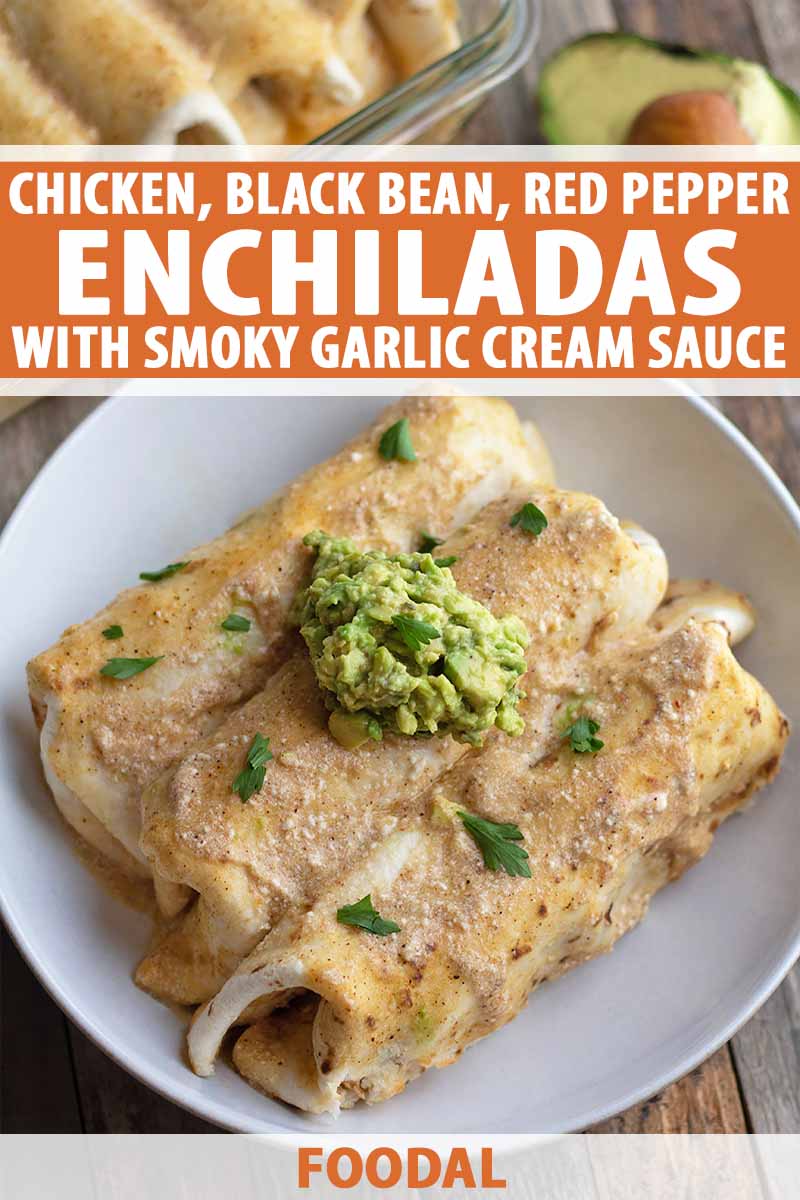
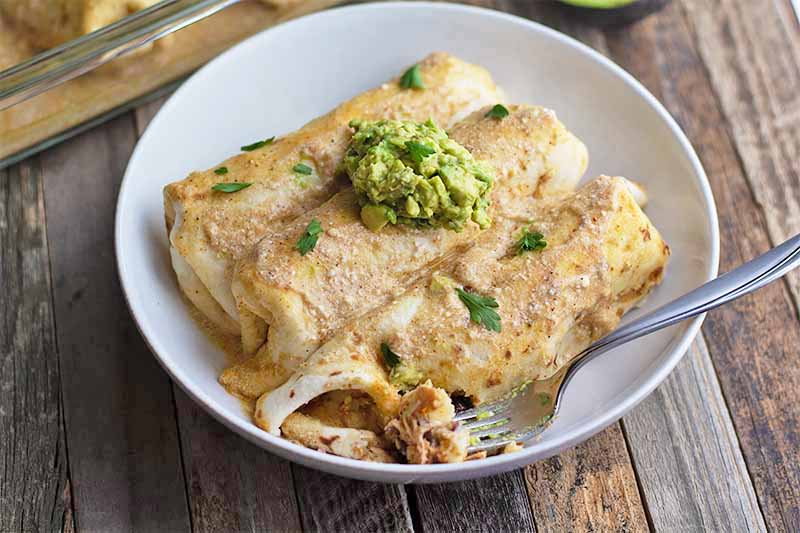
I kept things simple with mashed avocado and a sprinkle of fresh parsley as a garnish. But to be perfectly honest, these enchiladas are just oozing with flavor and creaminess, and you really don’t need to add anything extra on top.
So, put the cheese down, grab a tub of Greek yogurt, and get those chicken breasts cooking!
Print
Chicken Enchiladas with Smoky Garlic Cream Sauce
- Total Time: 40 minutes
- Yield: 8 servings 1x
Description
No one will guess that the secret to these easy chicken and red pepper enchiladas smothered in garlic cream sauce is Greek yogurt.
Ingredients
For the Enchiladas:
- 2 boneless, skinless chicken breasts
- 1 tablespoon unsalted butter
- 1 medium red bell pepper, chopped
- 1 15-ounce can low-sodium black beans, rinsed and drained
- 3/4 cup plain 2% Greek yogurt (or full fat)
- 1 teaspoon ground cumin
- 1 teaspoon paprika
- 1/4 teaspoon salt
- 1/4 teaspoon garlic powder
- 8 8-inch flour tortillas
For the Sauce:
- 2 tablespoons unsalted butter
- 2 tablespoons all-purpose flour
- 1 clove garlic, minced
- 1 1/4 cups homemade or low-sodium chicken broth
- 1/4 teaspoon ground cumin
- 1/4 teaspoon chili powder
- 1/2 cup plain 2% Greek yogurt (or full fat)
Instructions
- Preheat oven to 350°F.
- To poach the chicken, place breasts in a stockpot. Add enough water to cover by 1 inch. Heat on medium-high until boiling, then reduce heat to medium-low and simmer for 5 minutes. Turn off heat, place a lid on the pot, and let chicken sit for 15 minutes, or until cooked through with an internal temperature of 165°F. Remove chicken from water and set aside.
- While chicken cooks, heat butter in a small skillet over medium heat. Once melted, add diced red pepper and cook until softened, about 5-8 minutes. Set aside.
- Shred cooked chicken using two forks, and place in a medium-sized mixing bowl. Add cooked red pepper, black beans, Greek yogurt, cumin, paprika, salt, and garlic powder. Stir to combine, and set aside.
- Make sauce by melting 2 tablespoons butter in a small saucepan over medium heat. Add flour and stir frequently until it turns a light brown, almost golden color, about 3-4 minutes. Add garlic and saute for 1 minute, then add chicken stock, cumin, and chili powder. Cook for 5 minutes, then remove from heat. Whisk in 1/2 cup Greek yogurt. Set aside.
- Pour 1/2 cup prepared sauce into bottom of 9-by-13-inch pan.
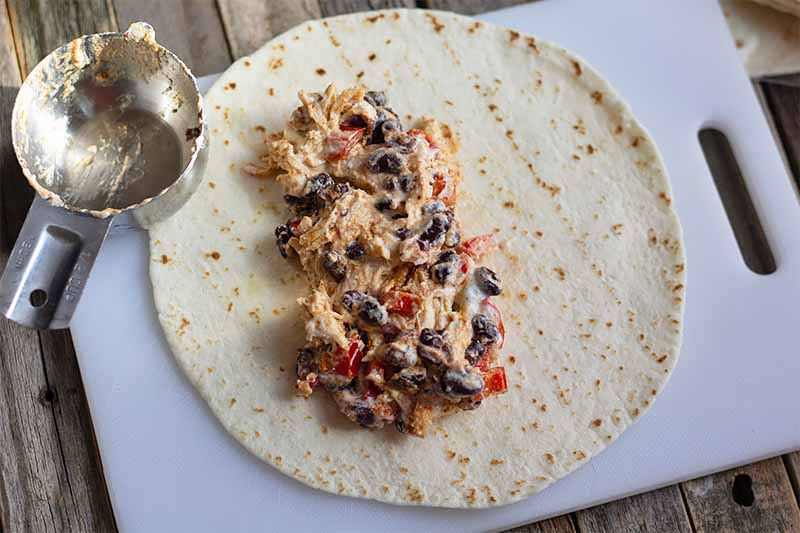
- Assemble enchiladas by placing about ½ cup chicken mixture into a tortilla, and then roll it up. Place tortilla seam-side down in the baking pan. Repeat with remaining tortillas.
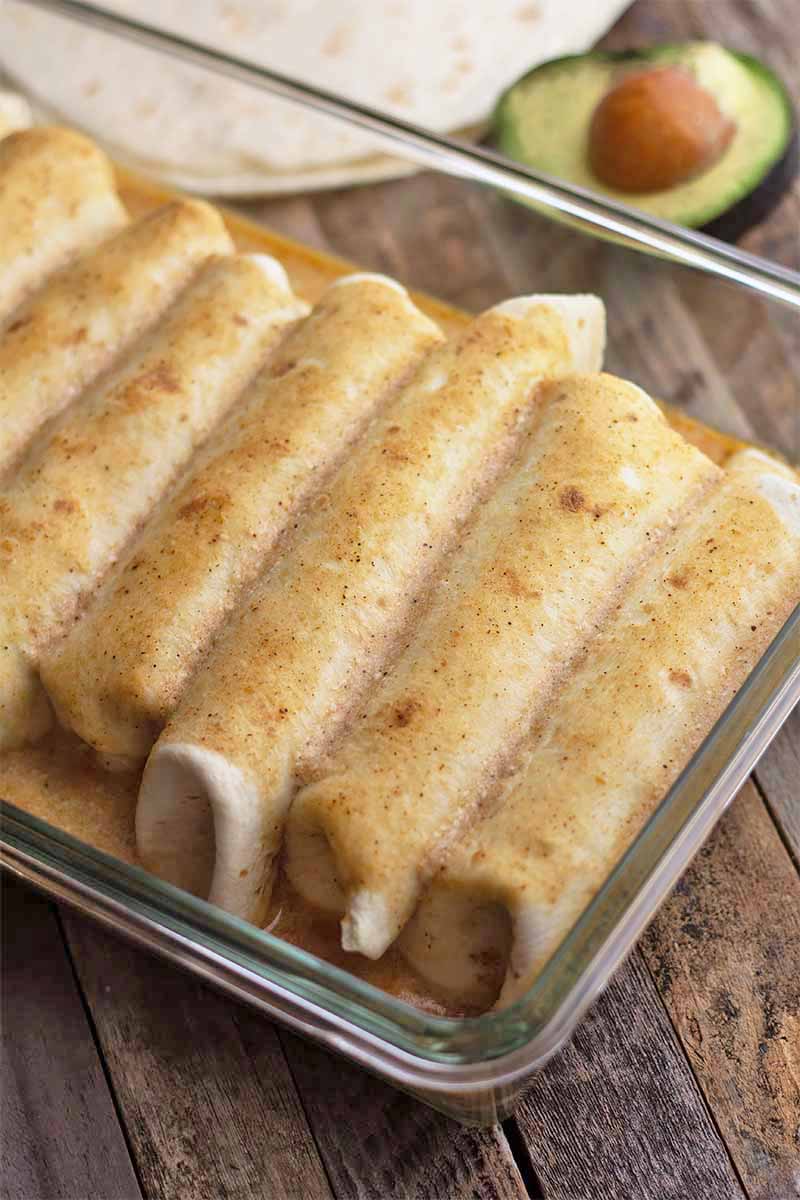
- Once all enchiladas are in the pan, cover with remaining sauce and bake uncovered for 15 minutes, or until sauce is bubbling.
- Remove from oven. Let cool for 5 minutes before serving.
- Prep Time: 25 minutes
- Cook Time: 15 minutes
- Category: Enchiladas
- Method: Baking
- Cuisine: Mexican
Cooking By the Numbers…
Step 1 – Preheat Oven, Measure Ingredients, and Dice Pepper
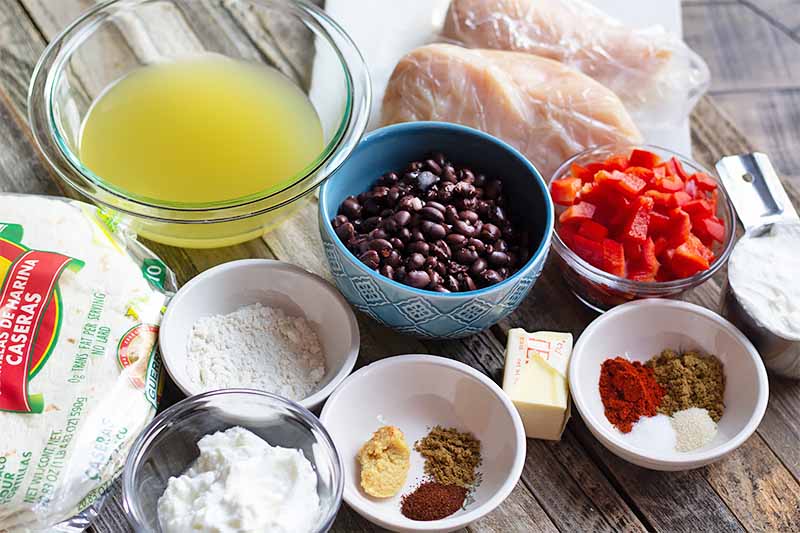
Preheat your oven to 350°F. Using a sturdy cutting board and sharp knife, dice the red bell pepper, and measure out the remaining ingredients. Rinse and drain the canned beans.
I prefer to use low-sodium canned ingredients, and homemade chicken broth, or a low-sodium boxed version.
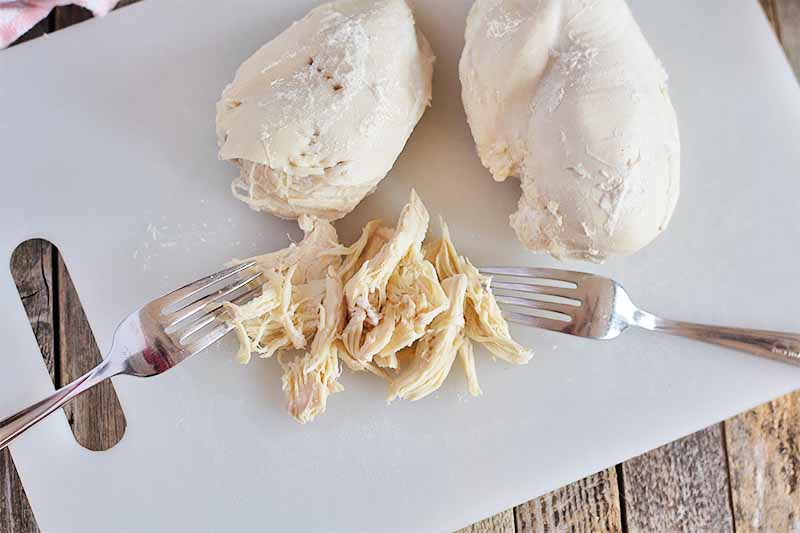
Step 2 – Poach and Shred Chicken
Place the chicken breasts in a medium-sized pot and add enough water to cover the meat by 1 inch.
Bring water to a boil over medium-high heat, and then reduce to a simmer. Simmer uncovered for 5 minutes. Once the water is simmering, turn off heat, cover the pot, and let it sit for 15 minutes. Check with a meat thermometer for an internal temperature of 165°F to determine that they’re done.
Remove meat from the water, and allow to cool slightly on a cutting board before shredding with two forks.
Step 3 – Saute Diced Pepper and Assemble Filling
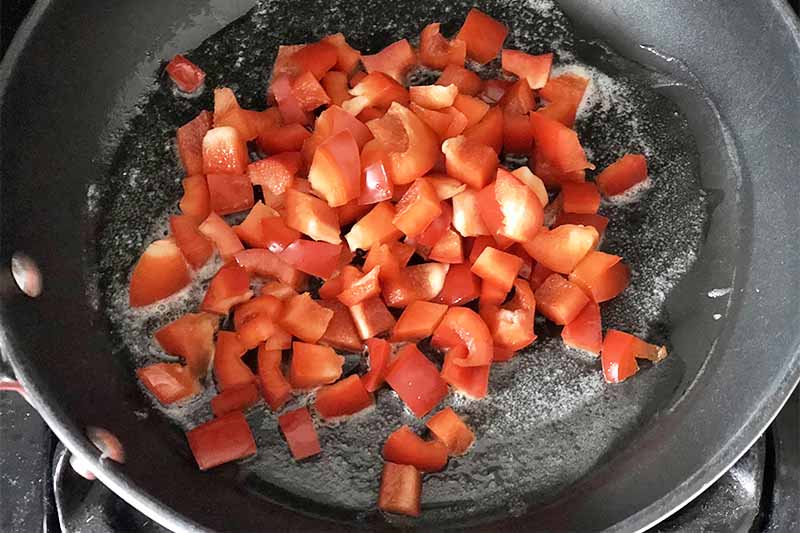
While chicken is cooking, place 1 tablespoon of unsalted butter in a small saucepan over medium heat. Once the butter has melted, add the diced red pepper and cook until soft, about 5-8 minutes.
You could also use yellow or green bell pepper, or a combination of sweet peppers and spicy chilies in this recipe, if you prefer. Green Hatch chilies or jalapenos make a tasty addition to this entree.
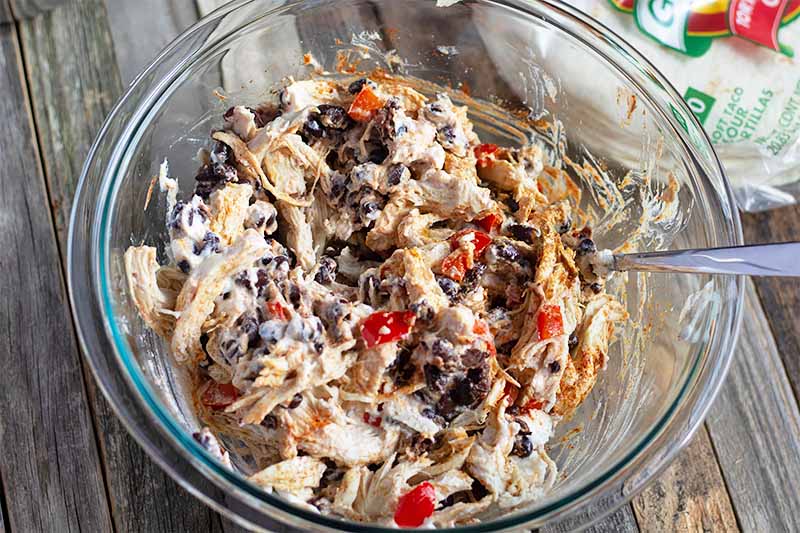
Place shredded chicken, cooked peppers, black beans, Greek yogurt, cumin, paprika, salt, and garlic powder (keep that spice rack organized!) in a medium-sized mixing bowl. Stir well to combine, then set aside.
Step 4 – Make Sauce
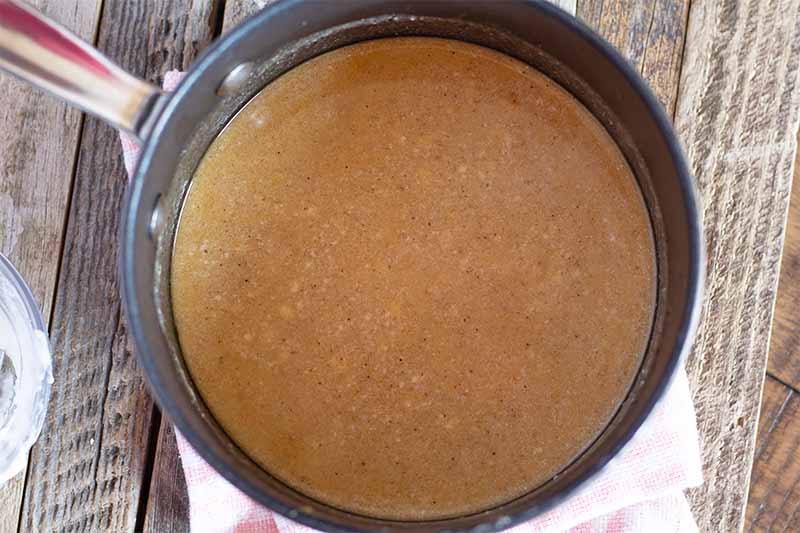
Add 2 tablespoons of butter to a small saucepan and place it over medium heat. Once it has melted completely, add the flour and cook for 3-4 minutes while whisking, until the roux is light golden brown.
Add the minced garlic and saute for one minute, then add the chicken stock, cumin, and chili powder. Cook for 5 minutes, stirring occasionally.
Remove the pot from the heat, and stir in 1/2 cup Greek yogurt until well-combined. Set aside.
Step 5 – Assemble
Ladle 1/2 cup of sauce into a 9-by-13-inch baking pan, and spread to distribute it evenly.
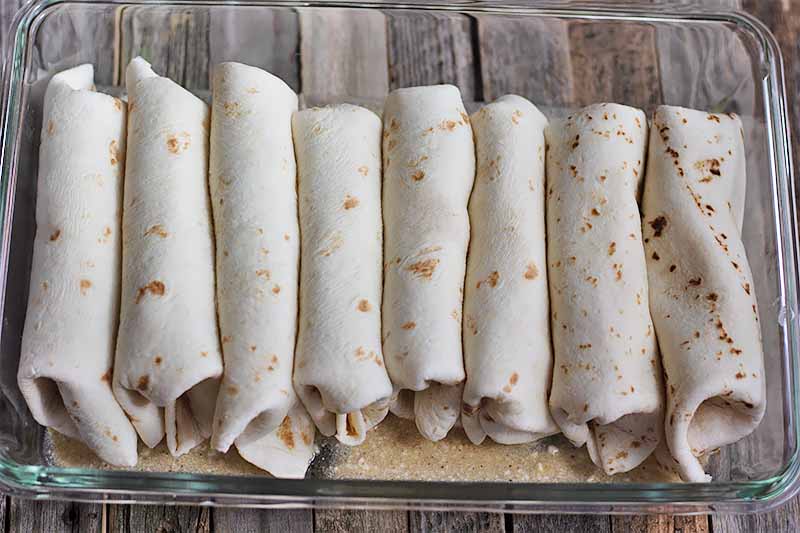
Place 1/2 cup of chicken mixture into each tortilla, roll it up, and place the filled tortillas seam-side down on top of the sauce in the pan.
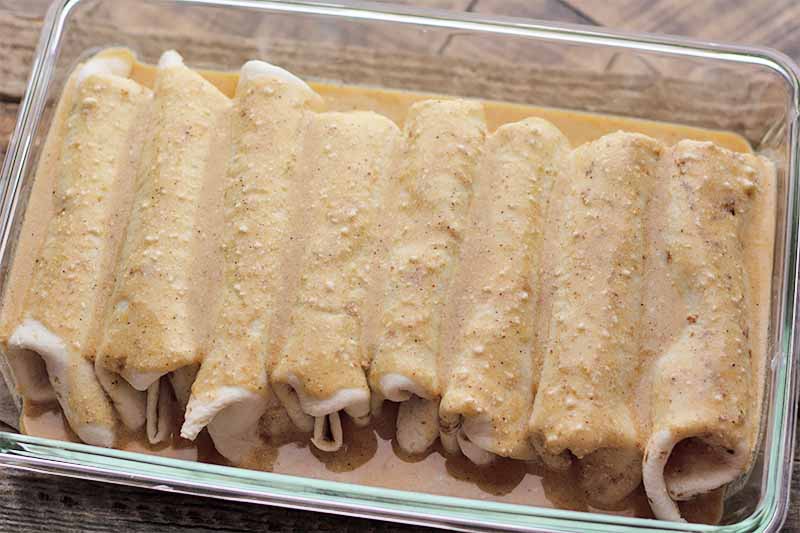
Once all of the tortillas have been filled and arranged in the pan, pour the remaining sauce on top.
Step 6 – Bake and Serve
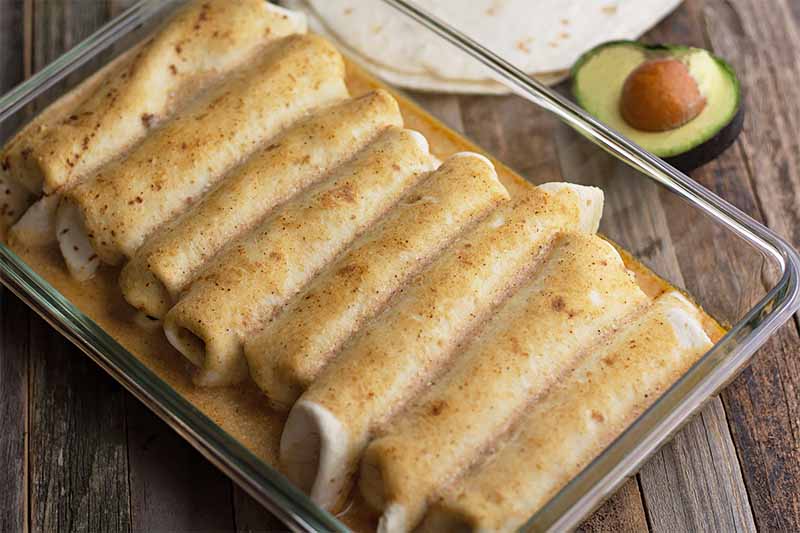
Place the pan in the preheated oven and cook for 15 minutes, or until the sauce is bubbling. Let cool slightly, about 5 minutes, then serve with your favorite toppings.
Leftovers will keep in the fridge for up to 5 days.
How to Freeze Enchiladas
Being all about meal prep, I’m constantly looking for ways to cook more when I have a free day. This helps me to have plenty of options already prepped for when those busy days (or weeks) hit.
Similar to lasagna, enchiladas work really well as freezer meals. To freeze a whole batch, I recommend using a disposable aluminum pan, or a glass one that has a snap-on cover.
Assemble the enchiladas as directed, but instead of baking them, cover the pan with foil (or a lid), and place it in the freezer for up to 3 months.
When you’re ready to bake, simply set out the enchiladas while the oven preheats to 350°F, and remove the lid or foil. Once your oven is preheated, bake for 45-50 minutes, or until the sauce is bubbling. You can also let the enchiladas thaw in the fridge overnight, and then just bake for 20-25 minutes.
Don’t have room in your freezer for a whole pan? You can also freeze the sauce and filing separately in freezer bags, and then thaw, assemble, and bake when you’re ready to serve them.
Of course, you don’t have to freeze these if you’re planning to eat them in the next day or two. Feel free to assemble these enchiladas 24-48 hours ahead of time, and store the casserole in the fridge until you’re ready to bake it.
Looking for other types of enchiladas to make at home for dinner? Give one of these recipes a try! To make them ahead of time, simply assemble as directed, and then store in the fridge before baking the next day:
What are your go-to make ahead meals? Share in the comments below, and be sure to give these creamy enchiladas a rating after you give them a try!
Photos by Kelli McGrane, © Ask the Experts, LLC. ALL RIGHTS RESERVED. See our TOS for more details. Originally published on August 14, 2012. Last updated May 20, 2020. With additional writing and editing by Allison Sidhu.
Nutritional information derived from a database of known generic and branded foods and ingredients and was not compiled by a registered dietitian or submitted for lab testing. It should be viewed as an approximation.
About Kelli McGrane, MS, RD
Kelli McGrane is a Denver-based registered dietitian with a lifelong love of food. She holds undergraduate and master’s degrees in nutrition science from Boston University. As a registered dietitian, she believes in the importance of food to nourish not only your body, but your soul as well. Nutrition is very personal, and you won’t find any food rules here, other than to simply enjoy what you eat.

We loved this. Thank you for this recipe. It’s going into my monthly routine!